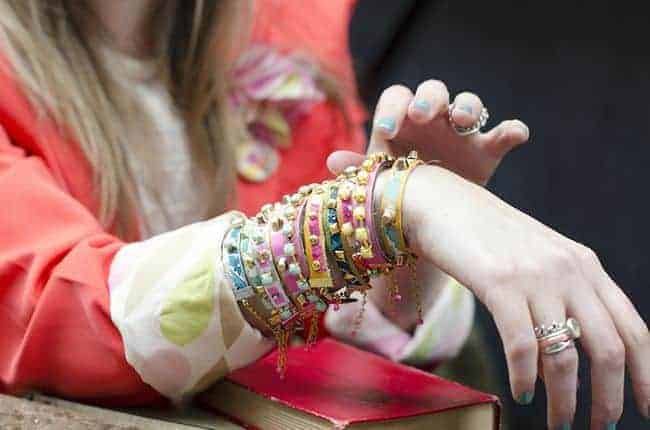
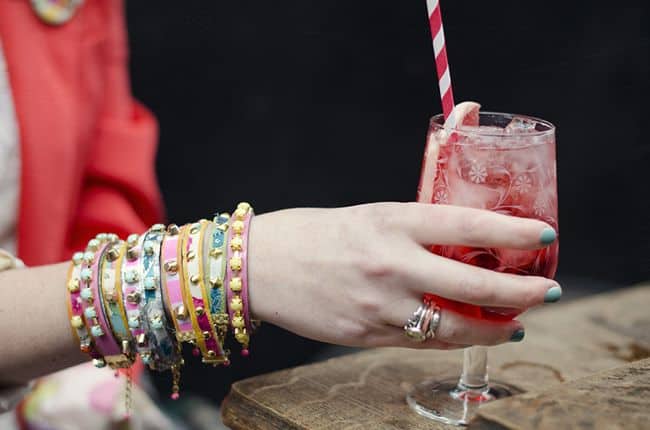
Today’s tutorial is a very feminine and fun take on the studded punk trend doing the rounds. Whilst I love the studded embellishment, dark colors aren’t really my thing. So I made a colorful DIY using gorgeous leather and traditional Liberty prints to make these really summery bracelets. Nothing says summer to me like an armful of bracelets collected (or made) on your travels. These are perfect to add to your stack.
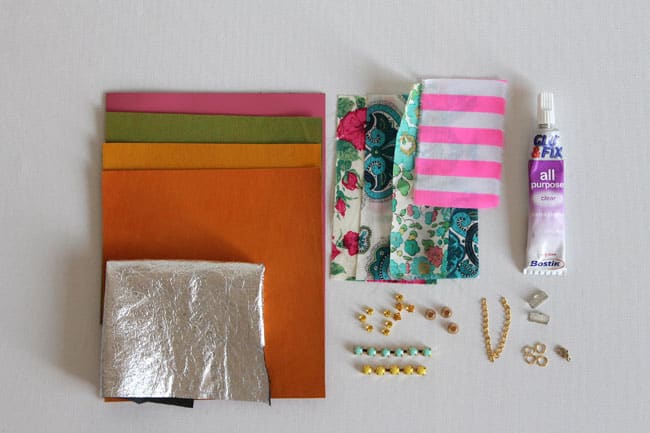
Supplies:
- A selection of colored leather
- A mix of fabrics
- Bondaweb
- Studs
- Diamante (aka colorful rhinestones)
- Connector chain
- 1.3mm flat cord ends
- 5mm jump-rings
- Lobster clasp
- Strong glue
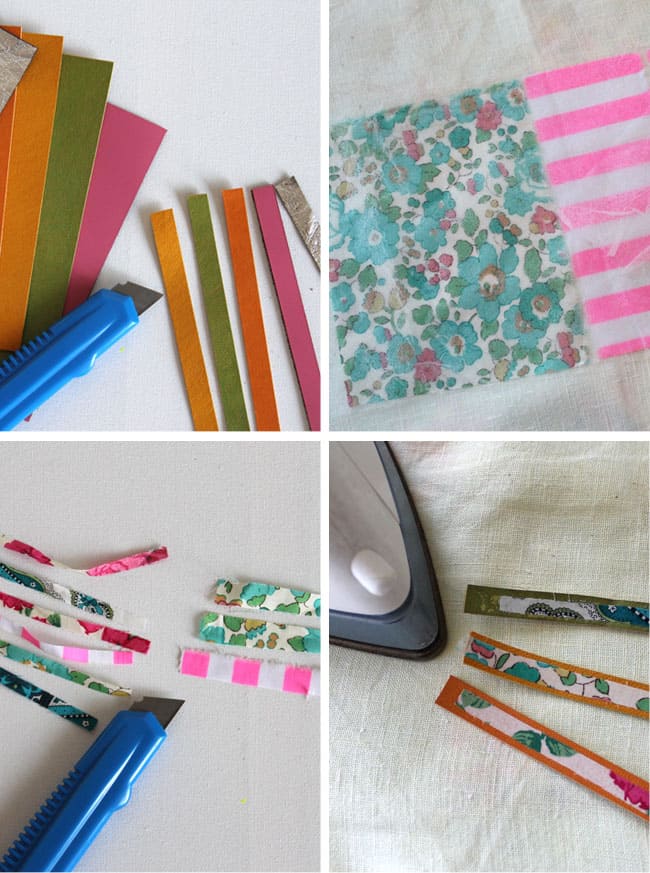
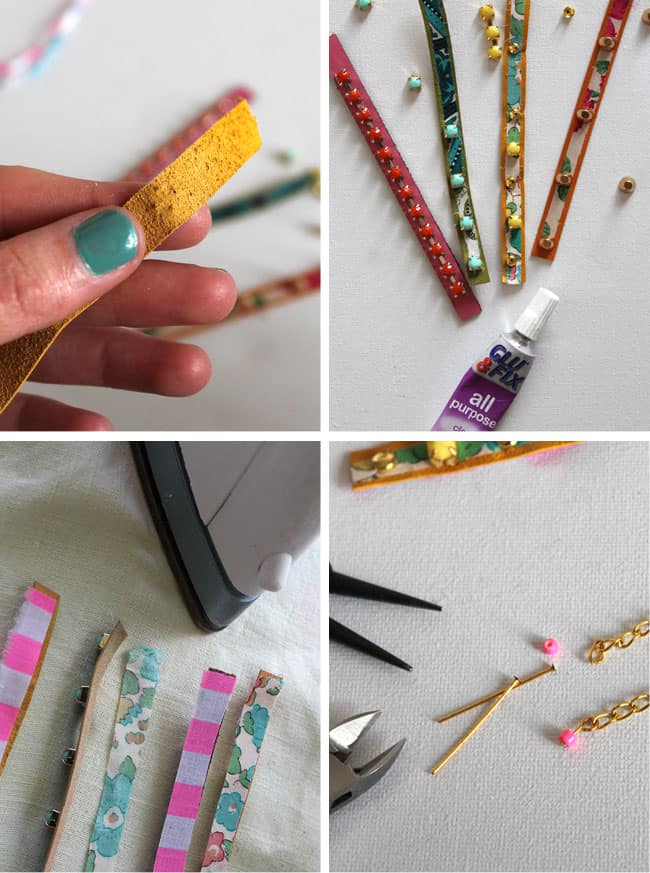
Step 1. Cut your leather into strips 1 cm x 15 cm. I used the width of my cord ends to determine how wide the bracelets should be.
Step 2. Cut pieces of fabric the same length as your leather strips and and adhere the bondaweb with an iron as per the package instructions.
Step 3. Cut pieces of fabric in two widths; 0.5cm and 1cm. I used a craft knife to cut mine as the bondaweb makes the fabric stiff enough to cut through. If the fabric starts to pull when you cut it, then use scissors instead.
Step 4. Peel off the backing and the press your 0.5cm width piece of fabric onto the front of your leather.
Step 5. This is the fun part, embellishment time! If you are using claw studs, push them through the leather and fabric, fold the claws over to secure. If you are using diamante using a strong glue, and glue into position.
Step 6. Taking your 1cm width of fabric, press onto the backs of the leather strips to hide any studs.
Step 7. Taking a piece of connector chain about 3cm long, add a small bead to the end using a head-pin. You can skip the bead part if you’re not a massive jewelery maker. I like to add them as I really think they finish these bracelets off nicely.
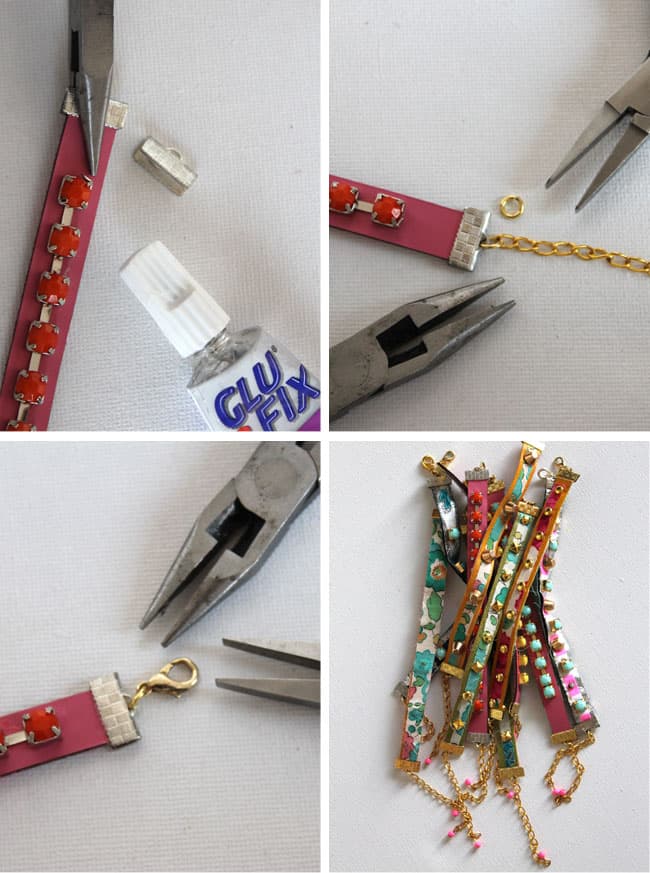
Step 8. Add a very small line of glue to the inside of your cord end. Insert the leather and close the cover tightly with a pair of flat nose pliers. Leave to dry for a few minutes.
Step 9. Taking a jump ring add the connector chain to one end of the bracelet.
Step 10. Taking a jump ring fix the lobster clasp to the other end.
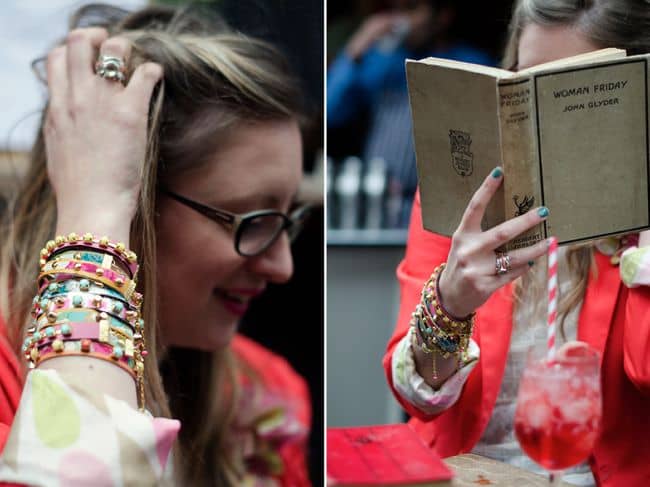
Step 11. Make a whole pile! They look amazing all layered up together.
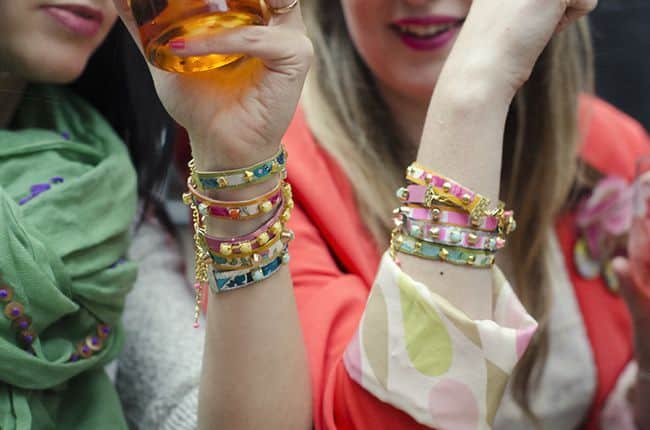
They are so addictive, the more you make the better they look. I couldn’t choose a favorite so went with a nice stack on each arm. I have been dishing them out to all my girlfriends, who love mixing them with their favorite pieces.
[Photos by Creative Photography for Hello Glow]
16
