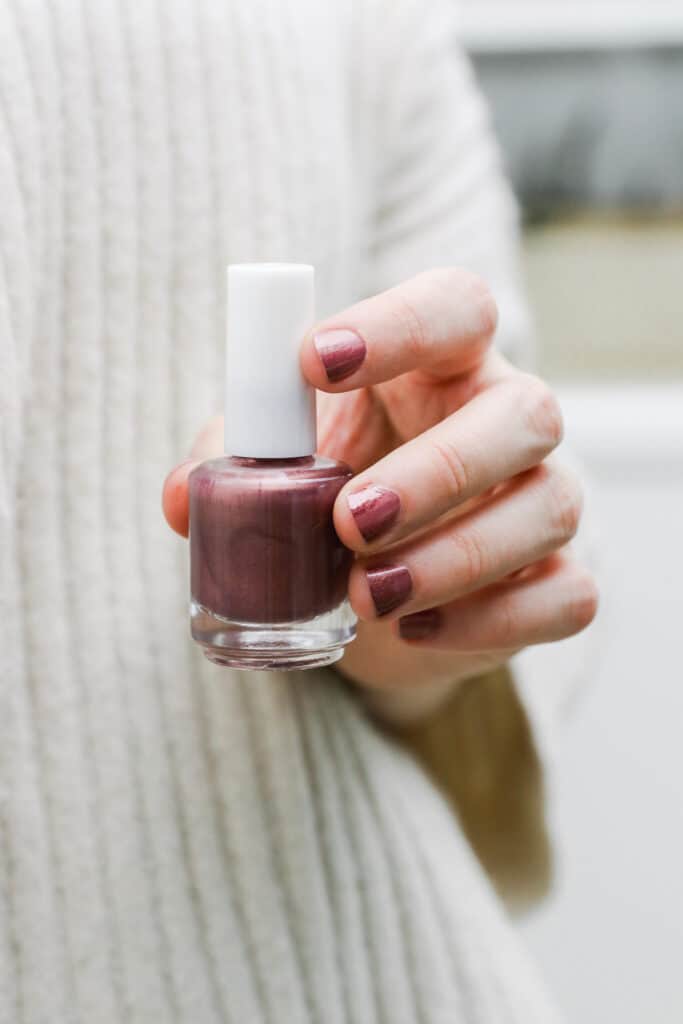
It turns out that making your own nail polish is not only doable, it’s also actually pretty easy and affordable with the right ingredients. We'll show you how to mix and match colors to create your own custom nail polish shades.
Raise your hand if you’re always drooling over those gorgeous nail art photos all over social media. Those women are #nailingit. I gravitate toward natural nail designs, but sometimes you want to take it up a notch for holidays or a special occasion, right?
Well, guess what, you have endless options for nail creativity by creating custom shades of polish. Don your mad scientist goggles and learn how to make your own nail polish at home!
Jump to:
How To Make Nail Polish
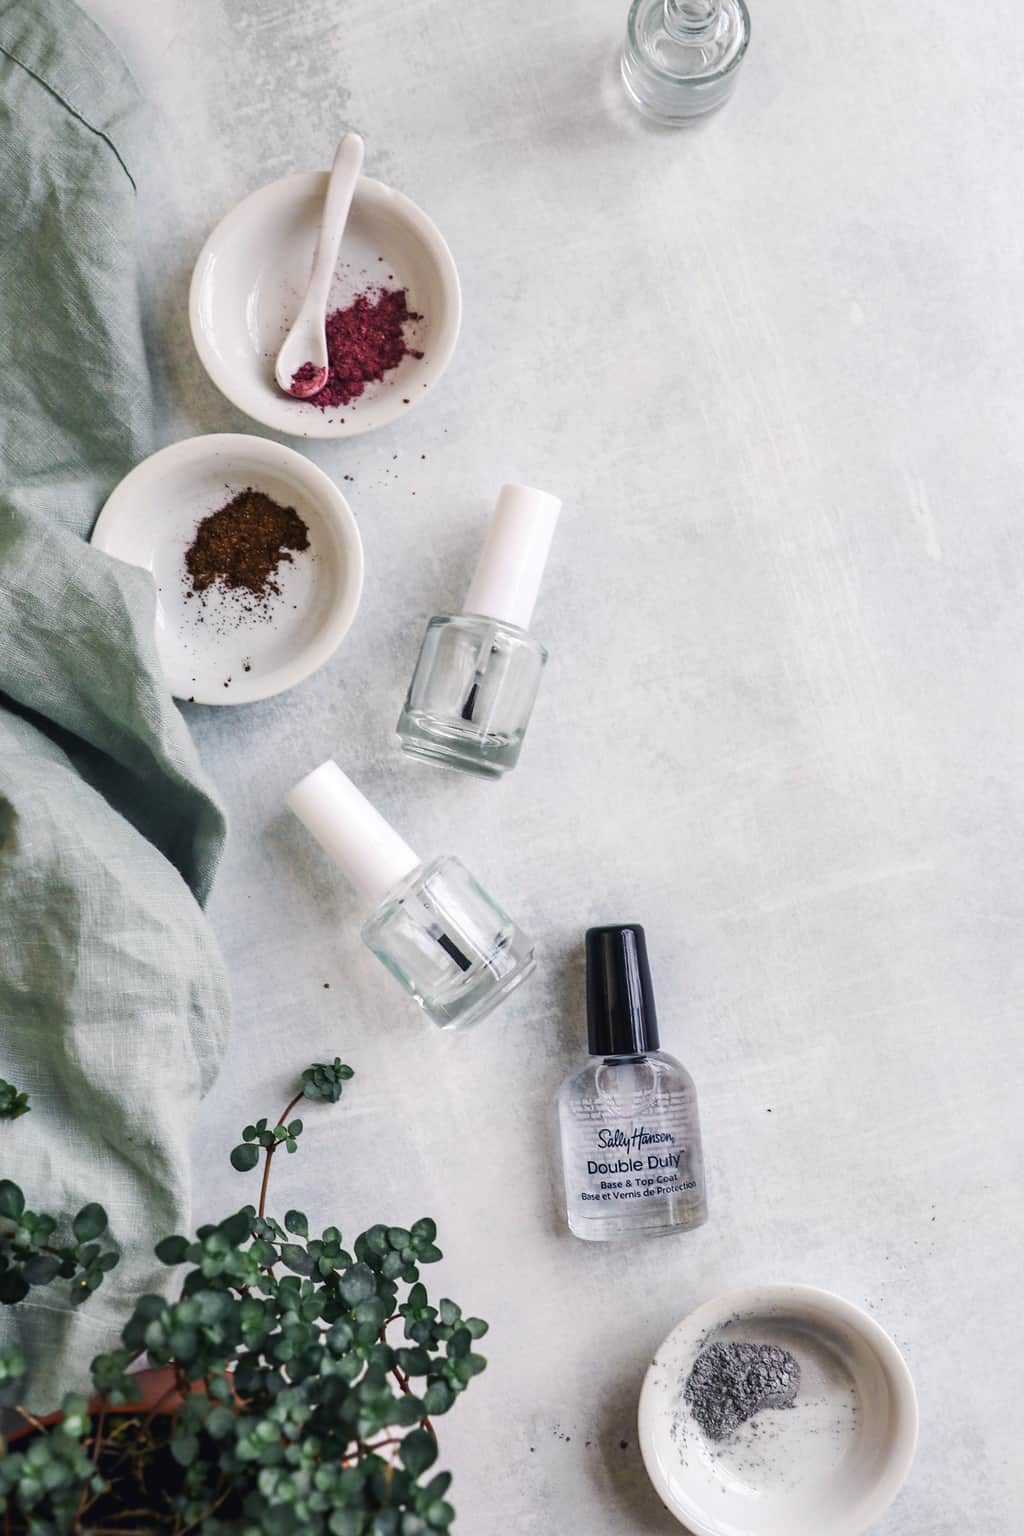
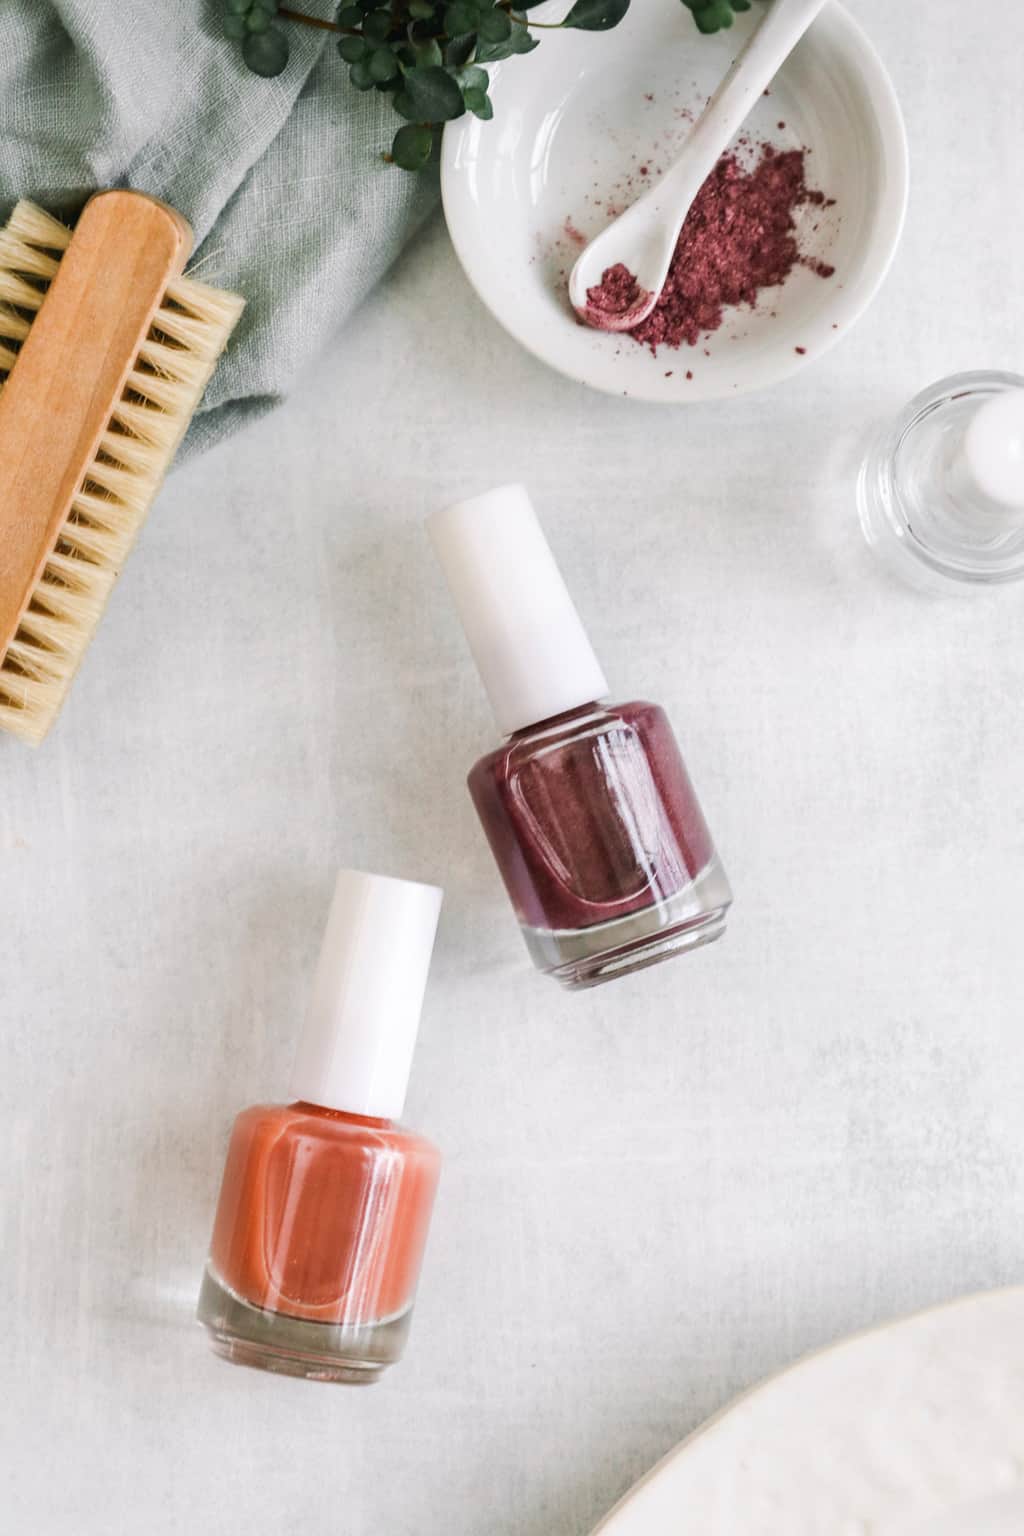
Start by gathering your supplies: clear nail polish, a few empty nail polish bottles with mixing balls and colorant.
1. Use Empty Nail Polish Bottles
You don’t have to buy completely new nail polish bottles for this, but you will need the little metal mixing balls that sometimes come inside nail polish. My basecoat didn’t have ‘em.
So rather than buying the mixing balls separately, I just picked up a few empty bottles with mixing balls already included. Plus, having fresh bottles allows me to see how the color looks while I'm mixing it and I can make several small batches of different colors if I choose.
Each empty nail polish bottle should have two mixing balls. If your bottles come with one mixing ball per bottle, just take a second mixing ball from the bottles you're not using.
2. Start with a Clear Base
I used some standard Sally Hanson base coat to make my polish because it’s all they had at my local grocery store.
But you’re not limited to toxic polish if you’re trying to go green. Choose a non-toxic clear coat, like this one from Karma to limit your exposure to toxins traditionally found in nail polish. Or try this nail polish suspension base that will make several bottles.
Start by filling your empty bottle with the clear nail polish.
3. Choose Quality Pigments
Select high-quality pigments, mica powders, or colorants for your desired color. These can be mica powders, eyeshadow pigments, or even food coloring. The quality of your pigments will impact the vibrancy and longevity of your nail polish.
I like dry powders that will evenly disperse throughout the clear polish. Mica powder is my colorant of choice. Mica powders are finely ground minerals that come in a wide range of colors. They often have a shimmery or metallic appearance, making them great for creating pearlescent or metallic nail polishes.
Colored clay, glitter and even dried spices like turmeric and beetroot powder could also work (just be forewarned, turmeric and beetroot powder may stain your nails).
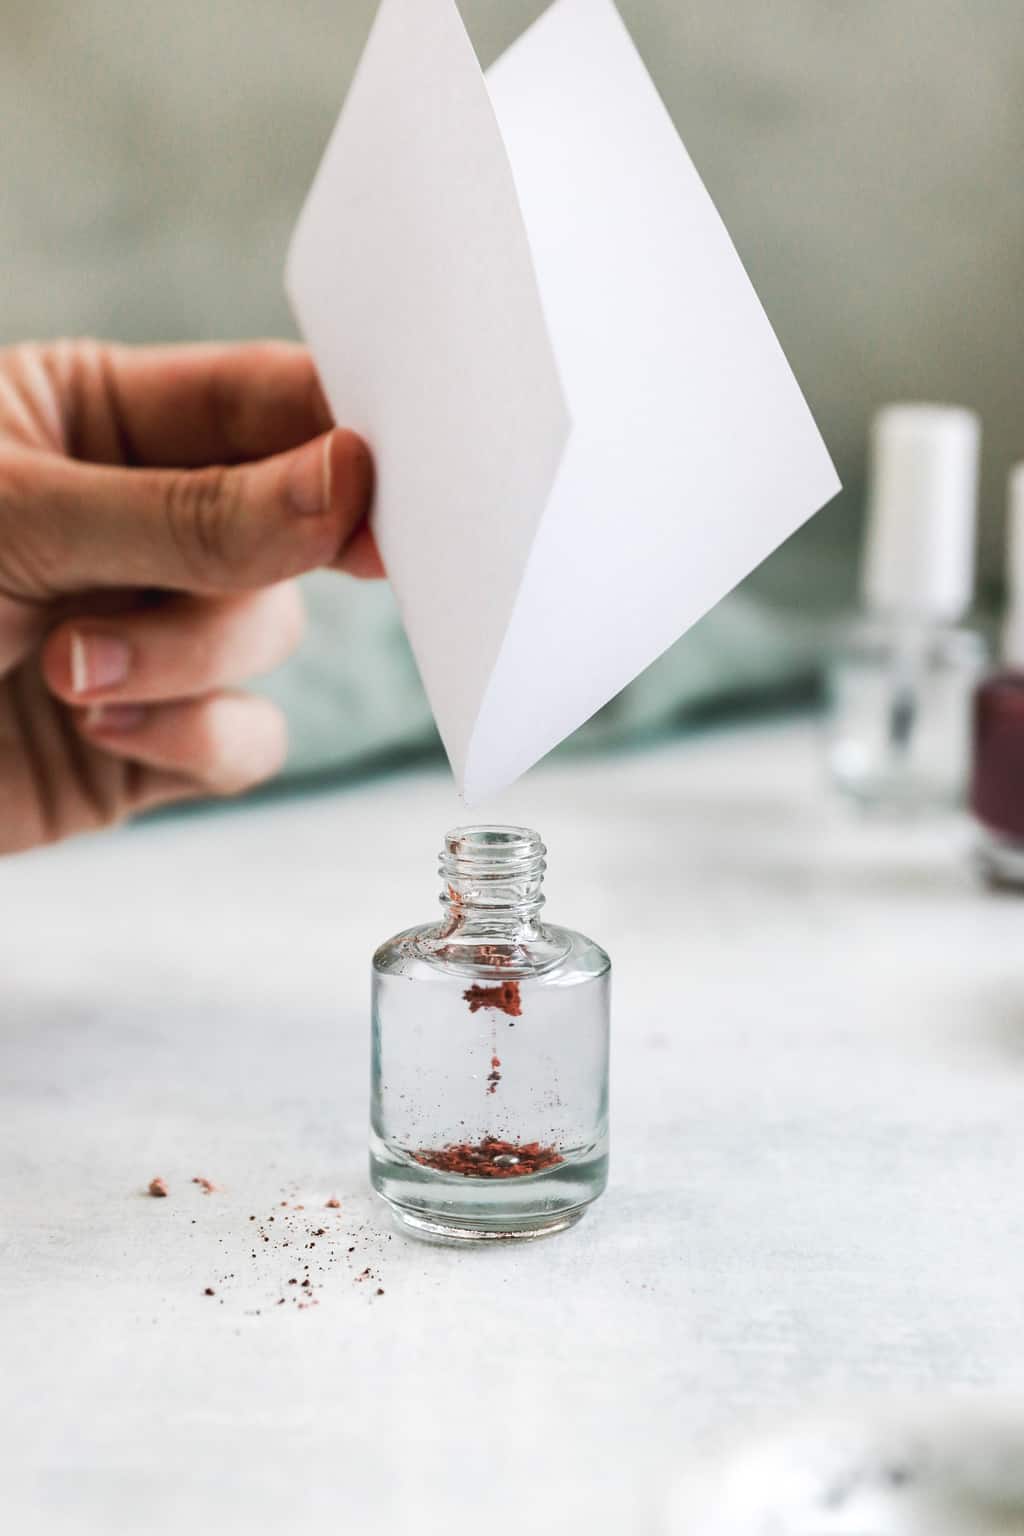
If you don't have a funnel, fold a piece of printer paper in half, place ½ teaspoon of colorant in the center, and use it to guide the colorant into the bottle.
4. Mix Thoroughly
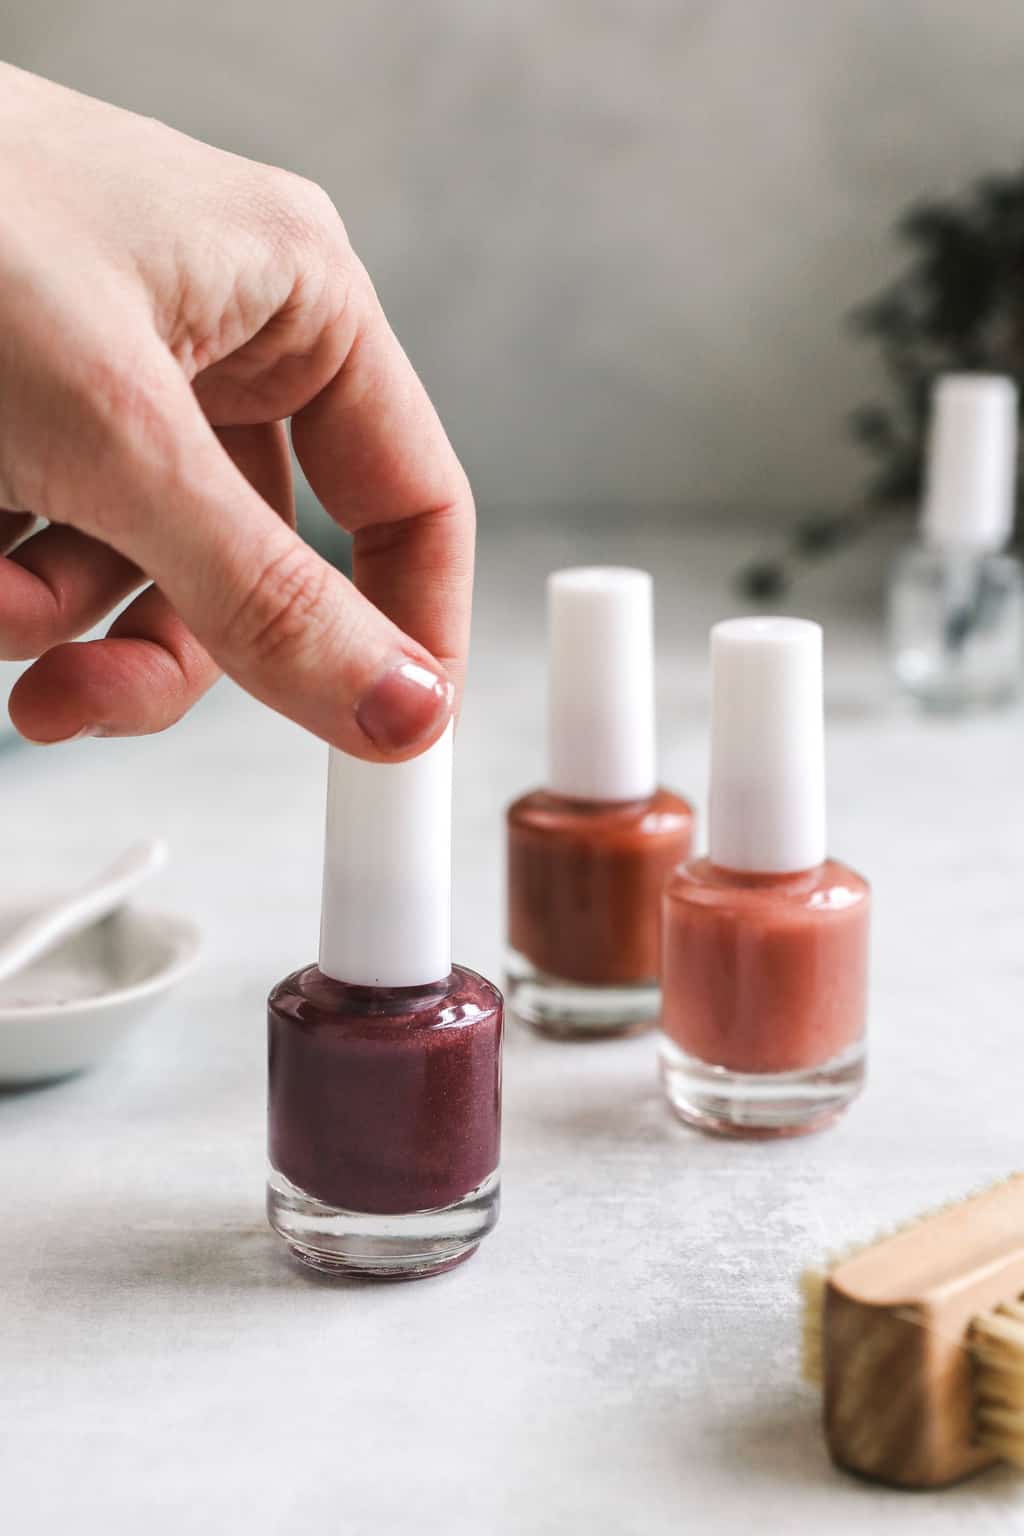
Start with a small amount of color and gradually add more until you achieve the color you want. Use a toothpick or a mixing stick to stir the mixture thoroughly.
Screw on the lid and give it a good shake for at least 2-3 minutes. If you’re not happy with the color, add more colorant until you get a shade you’re happy with. You might want to paint one nail to see how it looks after the polish has dried.
Hint: I didn’t have any trouble with color or sparkles rubbing off on my hands or clothes, but depending on your choice of colorant, it might be an issue. The only way to know for sure is to test it!
More Nail Polish Powder Options
There are various types of pigments and powders that you can use to create custom nail polish colors. Using them in a clear nail polish base allows the color to shine through.
For all powders, start with a small amount of pigment (about ⅛ to ¼ teaspoon) for a subtle color. Increase the amount if you want a more intense color.
Glitter Nail Polish
Glitter powders add sparkle and shine to your nail polish. They come in different particle sizes and shapes, allowing you to create various glitter effects, from fine shimmer to chunky glitters.
Matte Nail Polish
Matte pigments provide a flat, non-shiny finish to your nail polish. Make your own matte nail polish by adding matte powder or a matte agent like cornstarch or baking soda. Start with a small amount, approximately ¼ teaspoon, and add it to the clear nail polish. You can adjust the amount to achieve the level of matte finish you want.
Remember that the matte effect might change slightly as the polish dries, so give it some time to fully see the matte finish. If your nail polish becomes too thick over time, you can add a few drops of nail polish thinner to get back to the right consistency.
Holographic Nail Polish
Holographic or chrome powders are often used to create mirror-like high-shine nail colors. Holographic pigments are usually more intense, while holographic glitter can provide a sparkly effect. Add the pigment or glitter to your clear nail polish.
Metallic Nail Polish
Creating metallic nail polish is a great way to achieve a shimmering, metallic finish for your nails. To create the metallic effect, you'll need metallic pigments or metallic nail polish. You can also use existing metallic nail polish as a base and add more pigment to intensify the effect.
Neon Nail Polish
Neon nail polish is perfect for adding a pop of color to your manicure! To make your own neon nail polish, you'll need neon pigments or neon nail polish. If you have neon nail polish, you can use it as a base and add more pigment to intensify the neon effect.
If you're using neon pigments, start with a small amount and mix it thoroughly. Continue adding pigment until you achieve the desired neon effect. If you're using neon nail polish, you can adjust the intensity by adding more of it.
More Polish Powder Options:
Fluorescent Powders: Fluorescent pigments are vivid and glow under blacklight. They're ideal for creating unique nail polishes that have a glowing effect in certain lighting conditions.
Thermochromic Powders: Thermochromic pigments change color with temperature. You can use these powders to create nail polishes that shift colors depending on whether your nails are warm or cool.
Chameleon Powders: Chameleon pigments shift colors depending on the angle of the light. They create a dynamic, color-changing effect and can add depth to your nail polish.
Iridescent Powders: Iridescent pigments create a play of colors, similar to the shimmering effect of a soap bubble. They are great for achieving a multi-dimensional and ethereal look.
Storing Homemade Nail Polish
Proper storage is essential to maintain the quality of your homemade nail polish. Here are some tips to help you store your DIY nail polish effectively:
Shake Before Using: If your nail polish sits for an extended period, pigments and other ingredients may settle at the bottom. Before using the polish, shake the bottle well to ensure the color and consistency are evenly distributed.
Use Clear Nail Polish Bottles: Clear bottles are preferable for homemade nail polish because they allow you to see the color and consistency without opening the bottle. If you use colored bottles, label them with the name and date of creation for easy identification.
Label the Bottles: Clearly label each bottle with the name of the color, any specific details about the mix, and the date of creation. This helps you keep track of your creations and use them before they potentially expire.
Use Nail Polish Thinner If Needed: Over time, homemade nail polish may become thicker. If this happens, you can use nail polish thinner to restore the desired consistency. Add a few drops, shake well, and test the polish.
Top tip
Don't want to shop around? Try a DIY nail polish making kit that has all of the supplies you need to make fun colors.
FAQ
Yes, you can use eyeshadow or other makeup powders to color your nail polish. However, make sure they are finely ground and suitable for use in cosmetics.
Keep the polish bottle tightly sealed. And storing your nail polish in a cool, dark place away from direct sunlight can help prevent premature drying.
Yes, you can use colored nail polish as a base. However, using clear nail polish base gives more control over the color and intensity.
No, don't use regular craft glitter in nail polish. It's not fine enough and could cause texture issues. Use cosmetic-grade glitters specifically designed for nail polish
Use nail polish thinner to thin out your homemade nail polish. Add a few drops of thinner, shake well, and test the polish until you have the consistency you want.