Face mists not only nourish your skin, but they can work double and triple duty to address issues such as dehydration and irritation. Customize your own DIY face mist with these simple and effective recipes to fit your skin type and skincare routine. Read on to get the instructions!
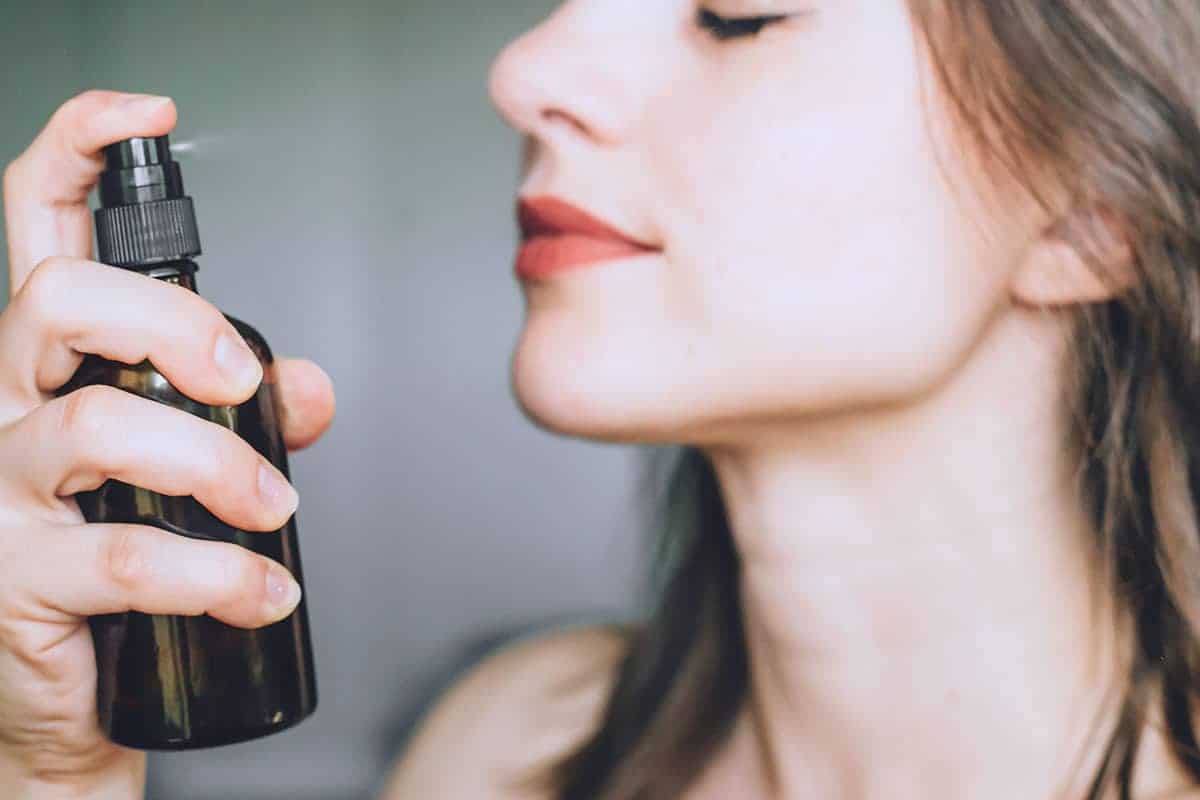
My skincare routine only changes slightly in the summer months. My heavy winter moisturizer gets swapped out for something lighter, and I break out my bottles of face mist, one of my favorite skincare multitaskers.
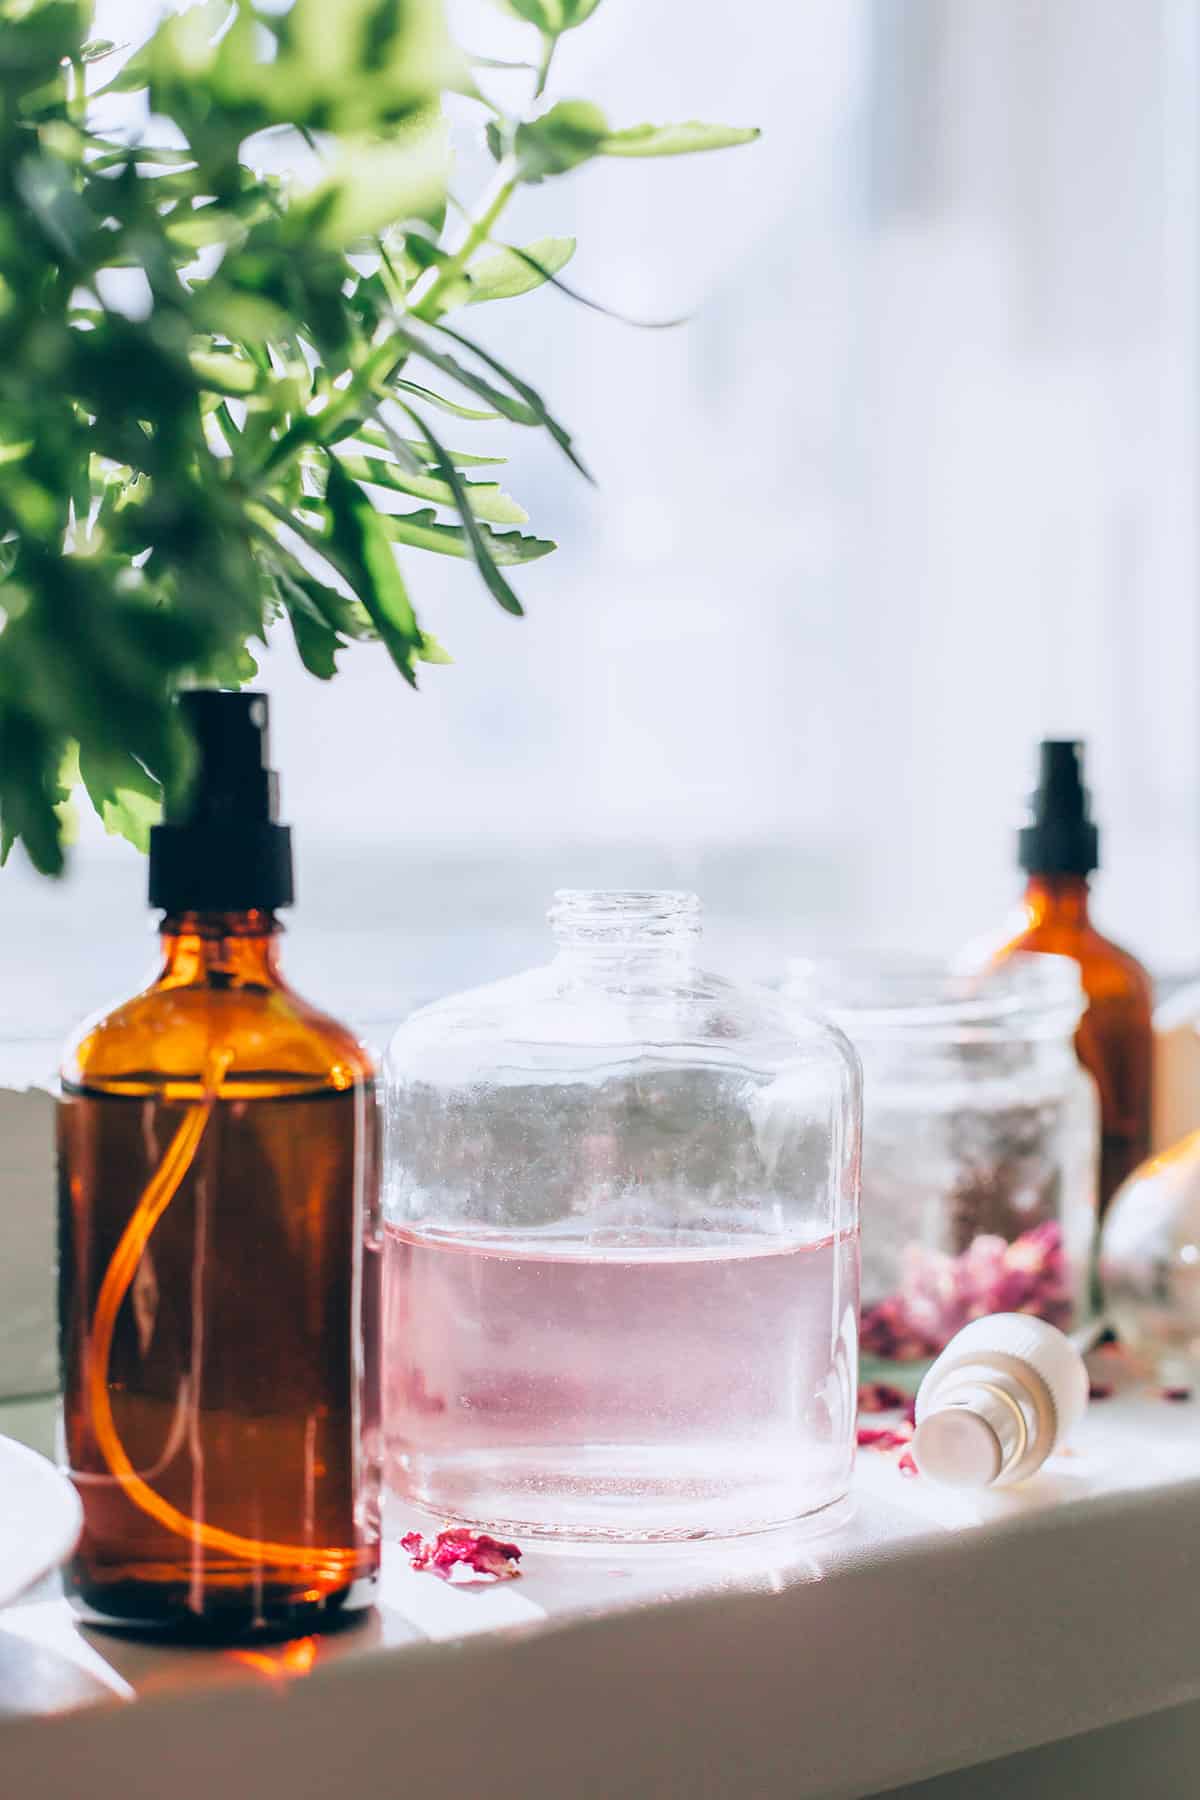
You don’t have to spend a ton of money on those fancy store-bought face mists. Simple ingredients like green tea, rose water, and apple cider vinegar naturally soothe the skin, provide nourishment, and leave your face feeling refreshed.
Plus, they are so economical because you can make them again and again—even mixing up ingredients and tailoring them to your skin type—for next to nothing.
Feel free to turn your favorite toner recipe into a mist or try one of these DIY face mist recipes tailored for different skin types:
Jump to:
- 1. Hydrating Rose Hibiscus Face Mist for Dry Skin
- 2. Vitamin C Face Mist for Mature Skin
- 3. Balancing Witch Hazel Face Mist for Oily Skin
- 4. Soothing Lavender Face Mist for Acne-Prone Skin
- 5. Calming Cucumber Face Mist for Sensitive Skin
- 6. Green Tea Face Mist for Every Skin Type
- Storage
- How To Use a Face Mist
- FAQ
- References
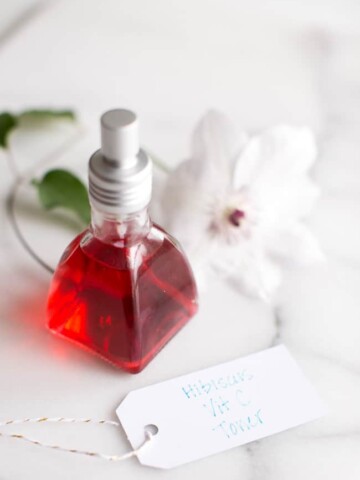
1. Hydrating Rose Hibiscus Face Mist for Dry Skin
Rosewater both soothes and hydrates skin, making it ideal for dehydrated or dry skin. The anti-inflammatory and antioxidant [source] properties of rose water extracts also help ease morning puffiness. Yields 2 ounces.
Ingredients:
- 2 tablespoons rosewater
- 2 tablespoons hibiscus tea (brewed and cooled)
- ½ teaspoon glycerin
- 3 drops rose geranium essential oil
- 2-ounce fine mist spray bottle
Instructions:
- Brew a cup of hibiscus tea and let it cool.
- Mix rose water, tea, and glycerin in a bowl. Add essential oil and stir.
- Transfer the mixture to a spray bottle.
- Shake well before use and mist it onto your face for hydration.
2. Vitamin C Face Mist for Mature Skin
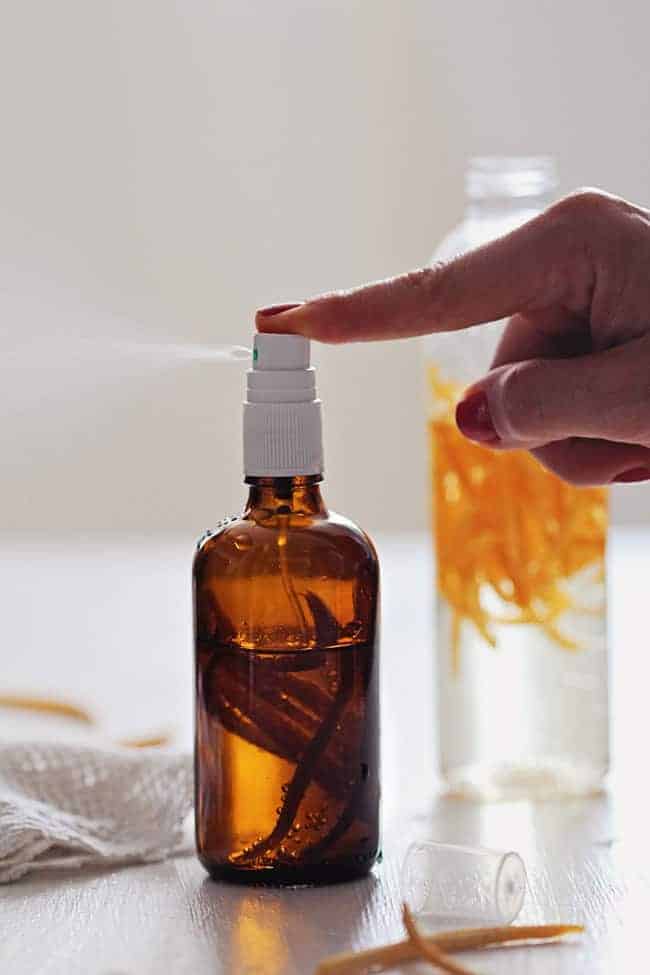
Adding vitamin C to your morning beauty lineup is a wonderful defense against skin-damaging free radicals [source]. This facial mist fights sun damage and pollution simultaneously. Yields 2 ounces.
Ingredients:
- Almost 2 tablespoons distilled water
- 2 tablespoons orange blossom water
- ½ teaspoon rosehip seed oil
- ¼ teaspoon vitamin C powder
- 3 drops frankincense essential oil
- 2-ounce fine mist spray bottle
Instructions:
- Mix distilled water and orange water in a bowl.
- Add rosehip oil, vitamin C, and essential oil and stir well.
- Pour the mixture into a spray bottle.
- Apply a tiny bit of the prepared mixture to your neck first to make sure you don’t have any sensitivity, and then use it each morning after cleansing to benefit from antioxidants and hydration. Make sure to wear SPF because citrus causes skin photosensitivity.
3. Balancing Witch Hazel Face Mist for Oily Skin
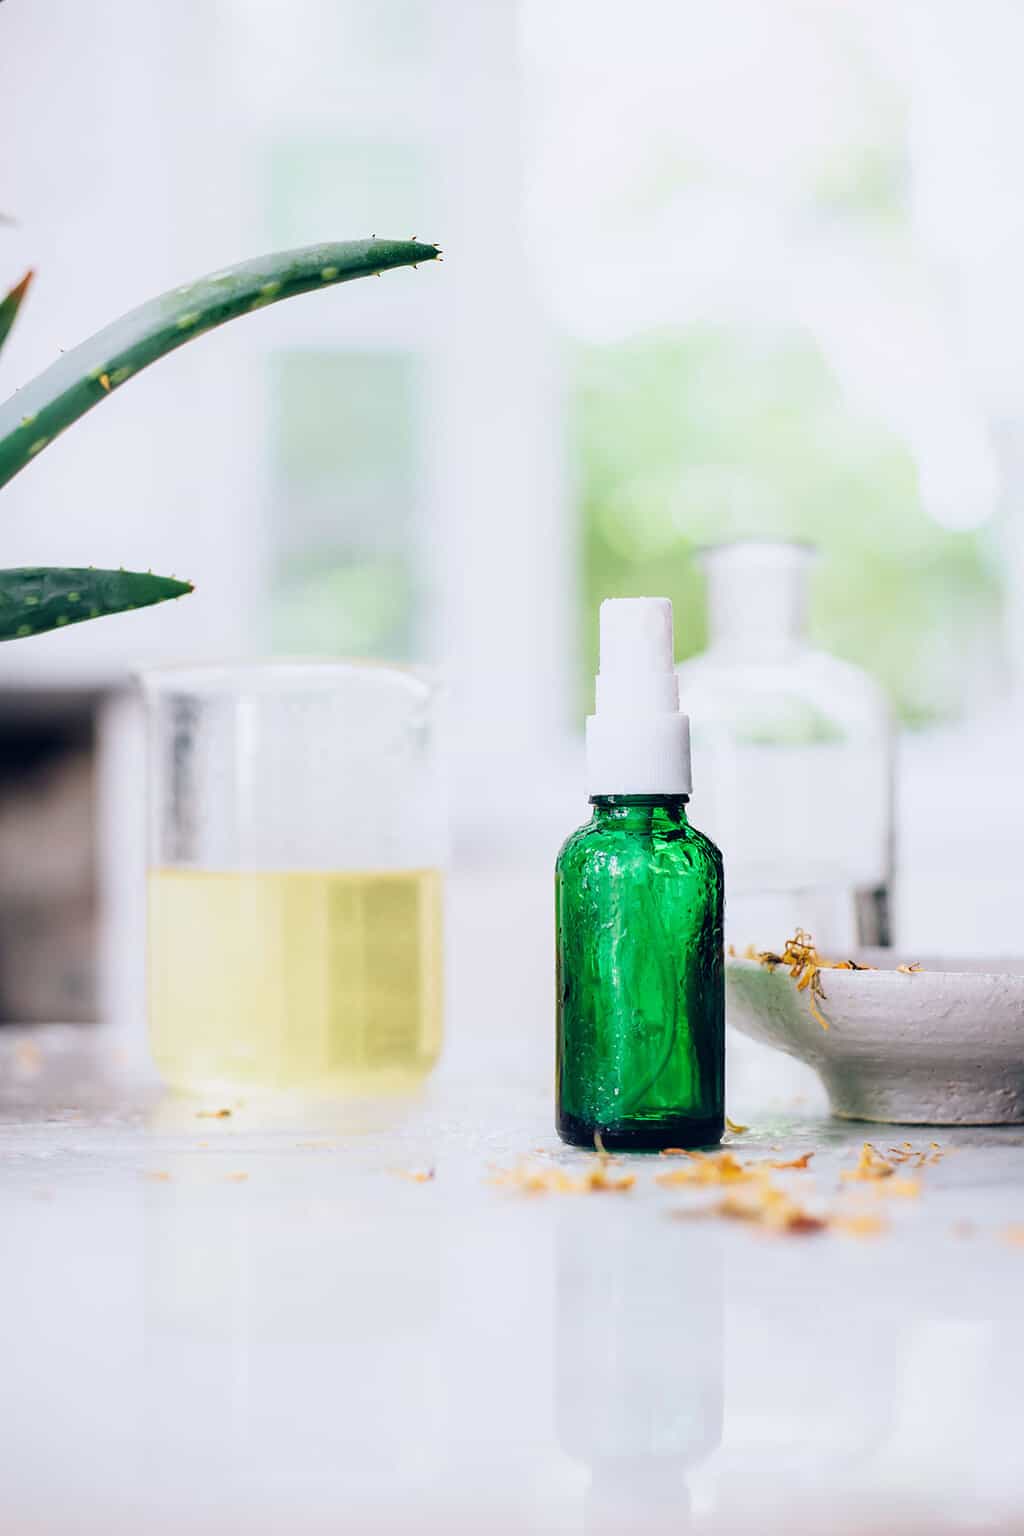
This recipe for face mist addresses oily skin hydration needs without clogging pores—thanks to the witch hazel. With the addition of natural anti-inflammatories, such as aloe vera, it can soothe irritated skin, reducing redness and inflammation [source]. Yields 2 ounces.
Ingredients:
- 2 tablespoons distilled water
- 1–2 teaspoons alcohol-free witch hazel
- 1 teaspoon aloe vera gel
- 3 drops tea tree essential oil
- 2-ounce fine mist spray bottle
Instructions:
- Combine distilled water and witch hazel in a bowl.
- Add aloe vera and tea tree essential oil and mix thoroughly.
- Transfer the mixture to a spray bottle.
- Spritz on your face to help control excess oil and maintain balance.
4. Soothing Lavender Face Mist for Acne-Prone Skin
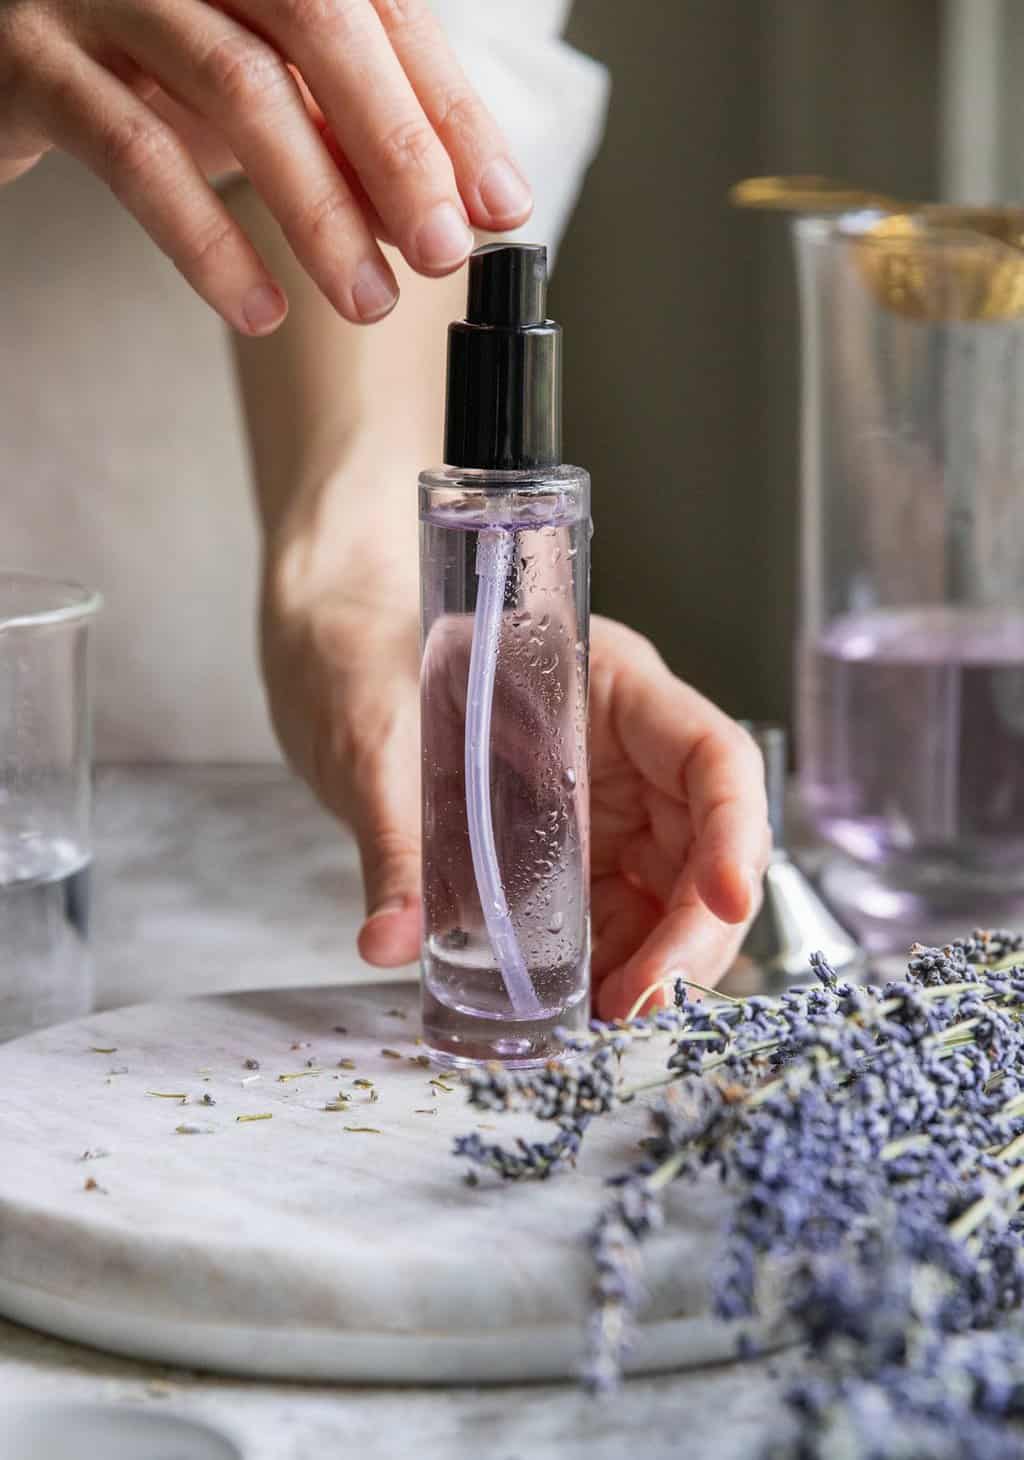
Often cleansers are made to be alkaline to soften the skin and help dissolve makeup. This can wreak havoc on your skin and damage its protective barrier, which usually has a pH of approximately 5.5.
When you make your own facial mist, you can help rebalance the pH by introducing slightly acidic properties back into the skin with apple cider vinegar. Yields 2 ounces.
Ingredients:
- 3 tablespoons lavender water or hydrosol
- 1 teaspoon alcohol-free witch hazel
- 1 teaspoon aloe vera gel
- ½ teaspoon raw apple cider vinegar
- 3 drops lavender essential oil
- 2-ounce mist spray bottle
Instructions:
- Mix lavender water and witch hazel in a bowl.
- Add aloe vera and lavender essential oil and stir gently.
- Pour the mixture into a spray bottle.
- Mist onto your face to soothe inflammation and promote healing.
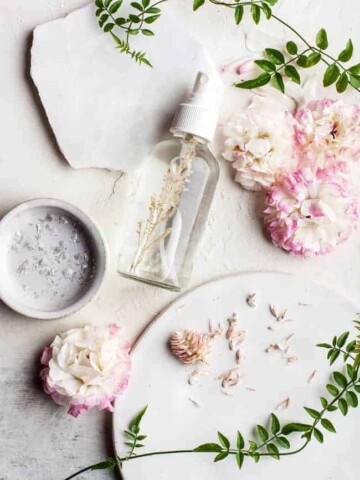
5. Calming Cucumber Face Mist for Sensitive Skin
For skin with irritation or redness, use chamomile hydrosol and essential oil to work double duty [source]. Yields 2 ounces.
Ingredients:
- 2 tablespoons hydrosol (chamomile, calendula, or rose)
- 2 tablespoons cucumber juice (blend cucumber and strain)
- 2 drops Roman chamomile essential oil
- 2-ounce fine mist spray bottle
Instructions:
- Combine floral water and cucumber juice in a bowl.
- Add chamomile essential oil and mix well.
- Transfer the mixture to a spray bottle.
- Gently mist your face to calm and refresh sensitive skin.
6. Green Tea Face Mist for Every Skin Type
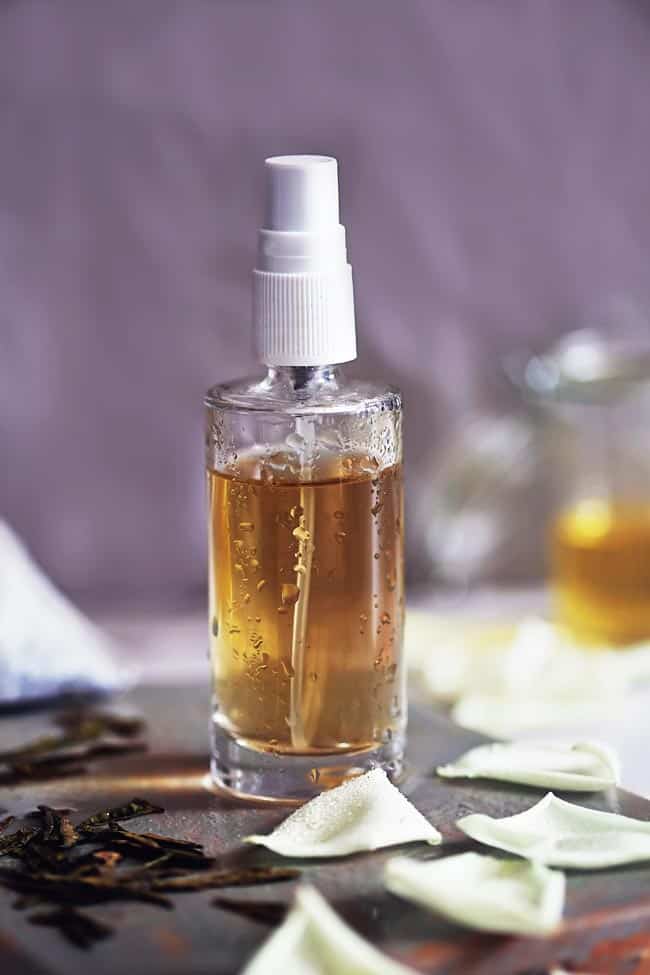
If you’re unsure which mist is right for you, you can’t go wrong with a green tea toner that is anti-inflammatory, acne-fighting, and high in antioxidants [source]. Plus, it’s so simple to make! Yields 2 ounces.
Ingredients:
- Almost 2 ounces green tea (brewed and cooled)
- 1 teaspoon aloe vera gel
- 2–3 drops vitamin E oil
- 2-ounce fine mist spray bottle
Instructions:
- Brew a cup of green tea and let it cool.
- Add aloe vera and vitamin E and mix well.
- Customize by adding any of the below ingredients to the green tea base.
- Transfer the mixture to a spray bottle.
- Spritz whenever you need a cooling and revitalizing boost.
Dry or aging skin: Add ½ teaspoon of glycerin, rosehip, argan, jojoba, or avocado oil to your facial mist to treat aging or dry skin—just be sure to shake well before each use. Jojoba, in particular, is a wonderful choice for dry skin because it’s closely related to our skin’s own sebum or oil [source]. It mimics our skin’s oil and thus is easily absorbed.
Sensitive or dry skin: Add equal parts rosewater to the green tea mist to treat sensitive or dry skin. Rosewater‘s anti-inflammatory properties treat redness and irritation [source].
Oily or acne-prone skin: Add one teaspoon of witch hazel to your green tea mist for oily or acne-prone skin. As a natural astringent, witch hazel removes excess oil while it tones and soothes the skin.
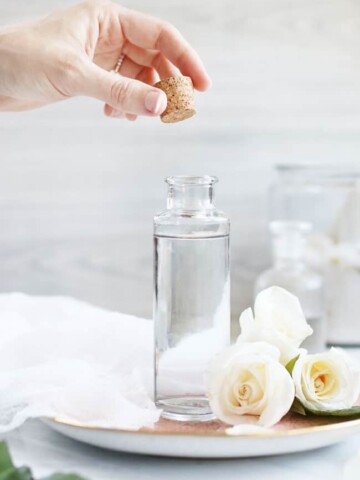
Storage
Store your face mist in the refrigerator for up to 1–2 weeks. Use it twice daily after cleansing—shaking well before each use. To protect against mold and bacteria in DIY toner and face mists, add 0.5 mL of Optiphen ND.
Since these don’t contain an emulsifier, some natural ingredients like vitamin E and essential oils will naturally separate. You can get around this by simply shaking your face mist prior to each use or adding an emulsifier.
To help blend the essential oils and water, add an equal amount of essential oil and polysorbate 20. Mix until it turns clear.
How To Use a Face Mist
To get the most out of your mist, I recommend incorporating it into your a.m. and p.m. skincare routines. After cleansing your face, make sure your eyes are closed tightly, and spritz your facial mist right before applying serum and moisturizer to help increase absorption. Then let everything sink in before either applying sunscreen and makeup or hitting the hay.
Face mists are amazing. Here’s why:
1. You can use them as a toner. For some people, a toner you can spray is a lot more fun than the kind that comes in a regular bottle and has to be applied with a cotton ball. Spritz it as part of your twice-daily beauty routine.
2. Face sprays are the perfect way to use the power of evaporation to cool off when it’s hot out and your face feels gross. Keep them in the fridge for even more cooling effects, and spritz any time of day.
3. Some face mists also work as setting sprays. And you know we all need a good makeup setting spray when it’s eleventy-billion degrees out.
4. Mists are perfect for traveling to freshen your skin and give it an added hydration boost to counteract dry air on an airplane. Rosewater is an especially great facial infusion mist for traveling and boosting your skin when you’re on the go.
FAQ
Toner is nothing more than a fast-penetrating liquid that boosts the skin’s hydration and helps remove dead cells, grime, and makeup from the surface of the skin. While some commercial toners do this with chemicals, you can get the same effect from homemade face mist as well.
In a pinch, yes. But I find that face mist is best used in conjunction with a moisturizer. When applied just prior to your moisturizer, a face mist helps draw moisture into the skin and seals it in so it lasts longer.
Some natural ingredients are perfect for moisturizing dry skin. If your skin’s always parched, add any of the following to your homemade facial mist:
– Raw honey
– Organic oat milk
– Glycerin
– Jojoba oil
– Aloe vera
You can also try these hydrating face mask recipes for soothing dry skin.
References
References
- Lee MH, et al. Skin anti‐inflammatory activity of rose petal extract (Rosa gallica) through reduction of MAPK signaling pathway. Food Sci Nutr. 2018.
- Pullar JM, et al. The roles of vitamin C in skin health. Nutrients. 2017.
- Sánchez M, et al. Pharmacological update properties of Aloe vera and its major active constituents. Molecules. 2020.
- Srivastava JK, et al. Chamomile: a herbal medicine of the past with bright future. Mol Med Report. 2010.
- Prasanth MI, et al. A review of the role of green tea (Camellia sinensis) in antiphotoaging, stress resistance, neuroprotection, and autophagy. Nutrients. 2019.
- Pazyar N, et al. Jojoba in dermatology: a succinct review. G Ital Dermatol Venereol. 2013.
This post was medically reviewed by Dr. Jennifer Haley, a board-certified dermatologist with extensive experience in medical, cosmetic, and surgical dermatology. Learn more about Hello Glow’s medical reviewers here. As always, this is not personal medical advice, and we recommend that you talk with your doctor.
65