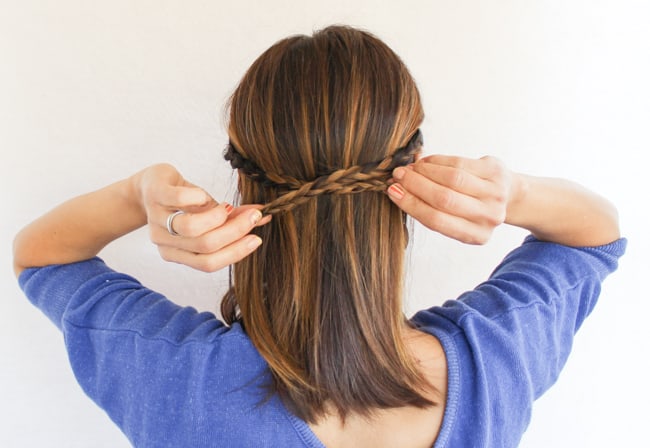
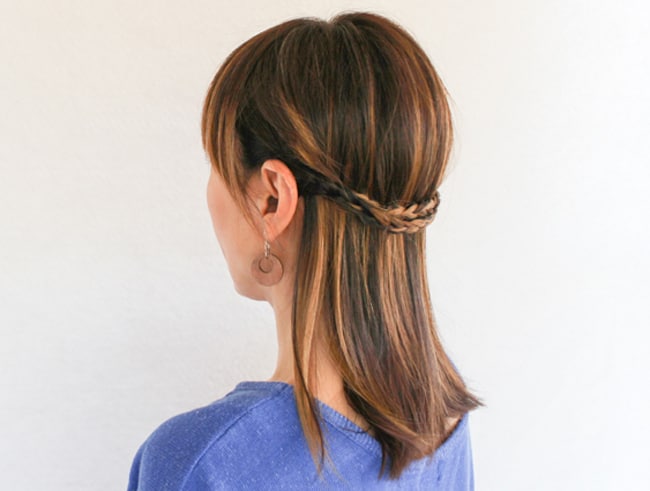
Hairstyling can be intimidating for beginners but creating pretty 'dos doesn’t have to be complicated. In fact, overthinking it may be the problem. There is loveliness in simplicity and with just a few basic skills, you can execute looks that are on-trend, chic and practical.
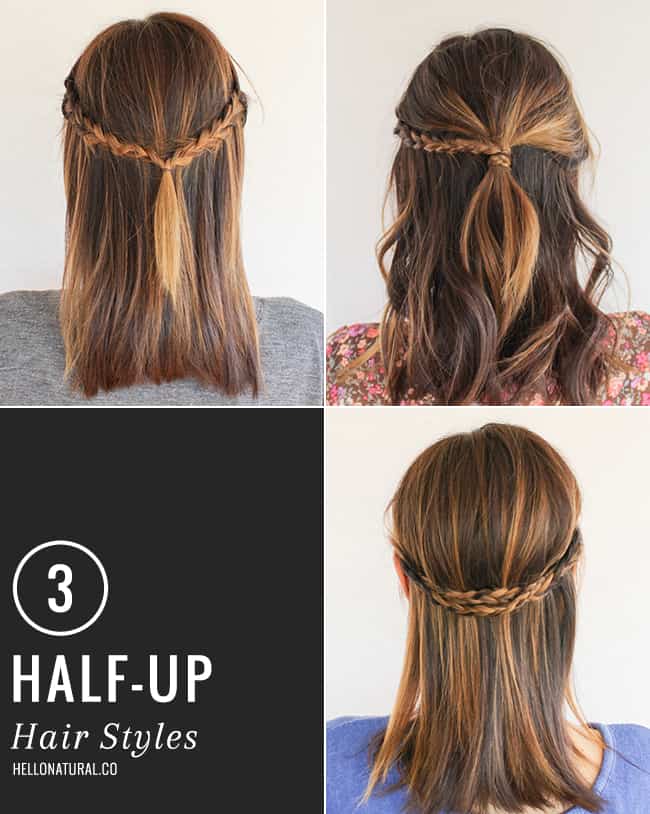 To demonstrate the possibilities, here are three different ways to wear the popular half-up style incorporating just one easy technique – the 3-strand braid. Yes, I mean the most common version that most of us learned in childhood. No French, Dutch, waterfall, fishtail, rope or pull through braiding is required. With a little creativity, simple braids offer plenty of variety. The 3 styles in this post are all unique and, who knows, maybe you'll feel inspired you to invent your own version.
3 Half-Up Hair Styles with Braids
Because the 3-strand braid is likely already in your skillset, these boho beauties can be whipped up in minutes. Silky, clean hair is really difficult to work with so be sure to prep your hair with a styling product to add a little grip before you begin. A texturizing cream, pomade or dry shampoo will do the trick.
Supplies Needed
- styling product (see above)
- comb for sectioning (optional)
- clips
- small hair elastics (available at dollar stores or Amazon)
- bobby pins
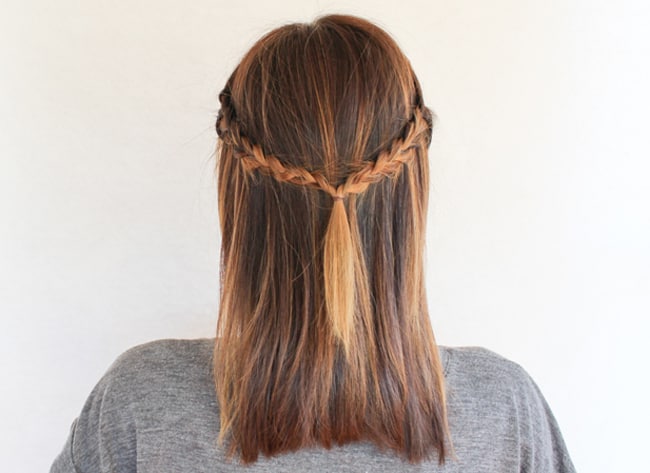
Look 1 - Half-Up Braid
Instructions
Step 1
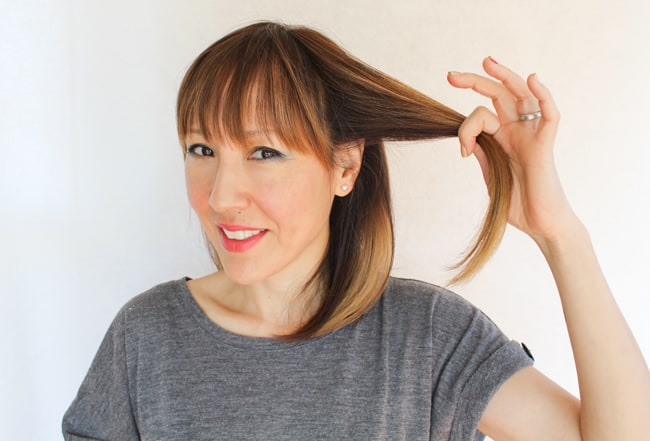
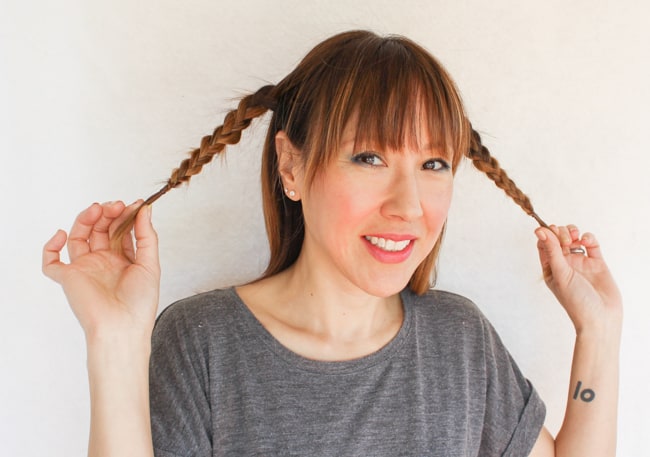
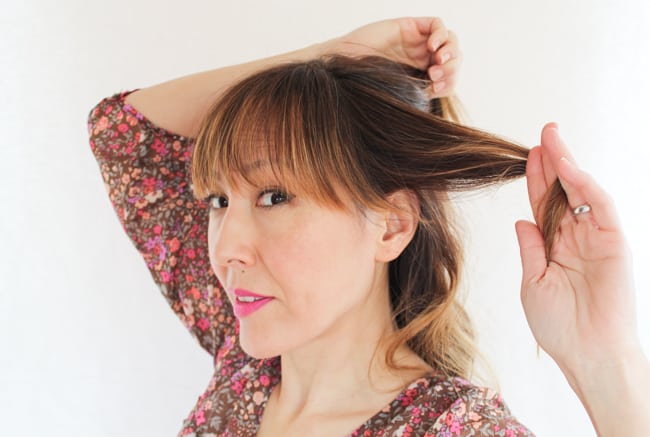
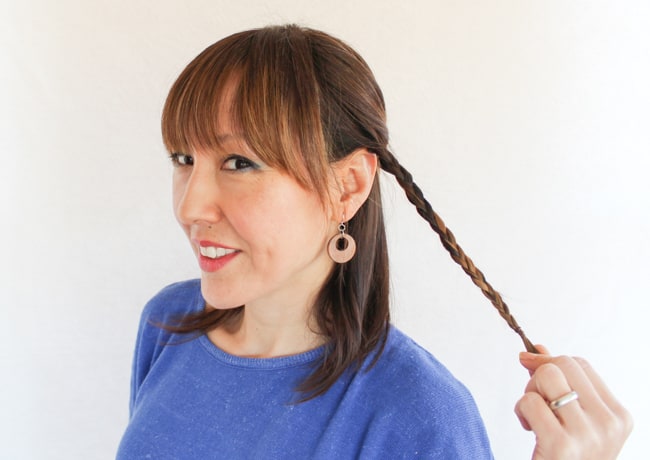
Pick up a section of hair above your ear on one side.
Step 2
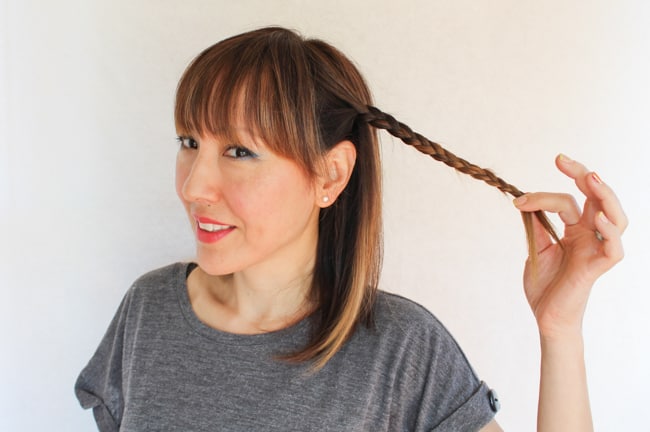
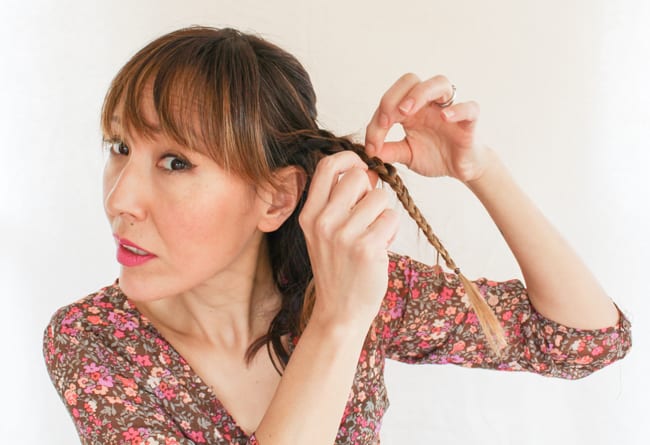
Divide it into 3 subsections, braid it and tie off with a small hair band.
Step 3
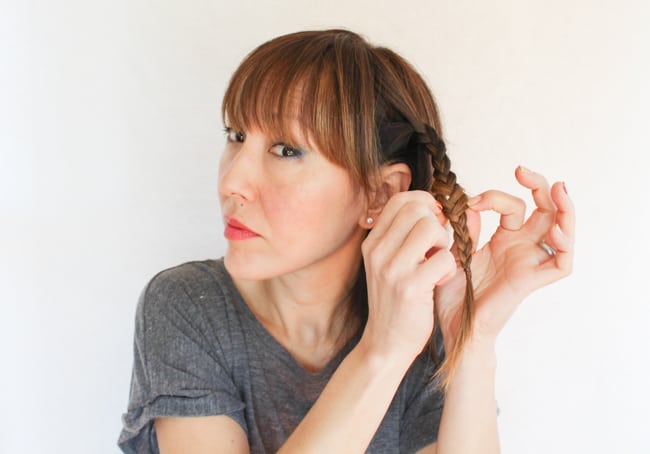
Gently tug on the braid to pull it a little wider so that it appears fuller.
Step 4
Repeat on the other side.
Step 5
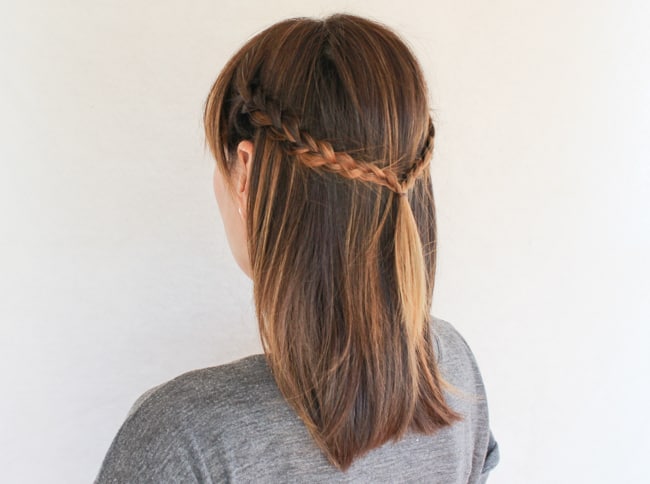
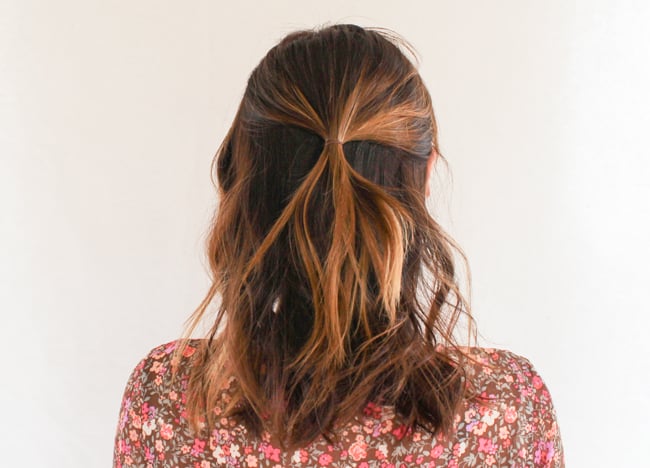
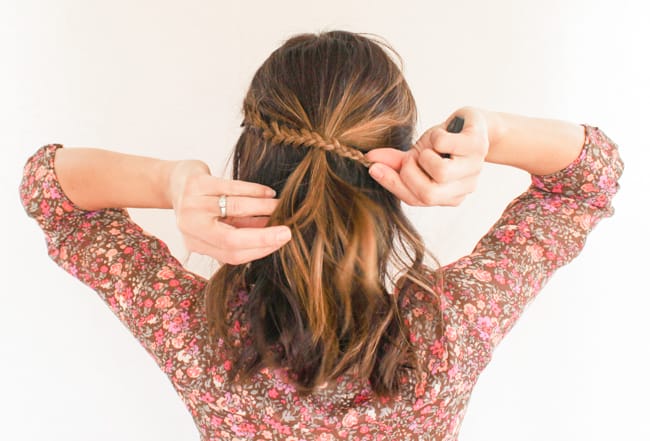
Join the two braids in the back and tie them together with a third hair elastic. Remove the other 2 elastics originally holding the braids together.
Look 2 - Twisted Braid
Instructions
Step 1
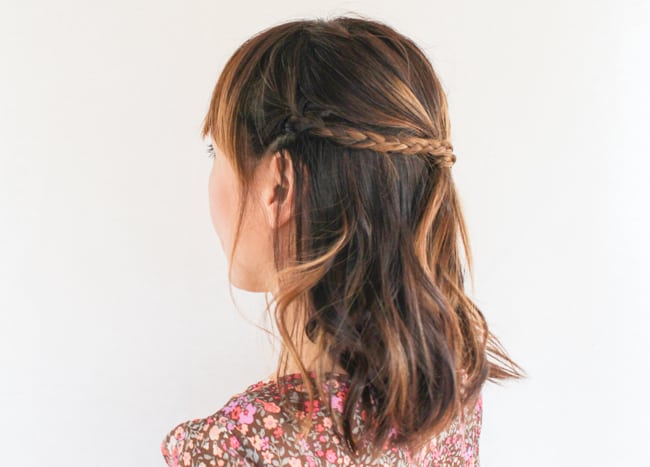
Create section from the front of your head above your ears all the way to the back in a horseshoe shape.
Step 2
Drop a chunk of this section from the front on one side only.
Step 3
Tie the remainder of the section into a ponytail in back using a small hair elastic.
Step 4
Braid the subsection you dropped all the way to the end and secure with a small hair elastic. Again, you can pull this braid a little wider, if you like.
Step 5
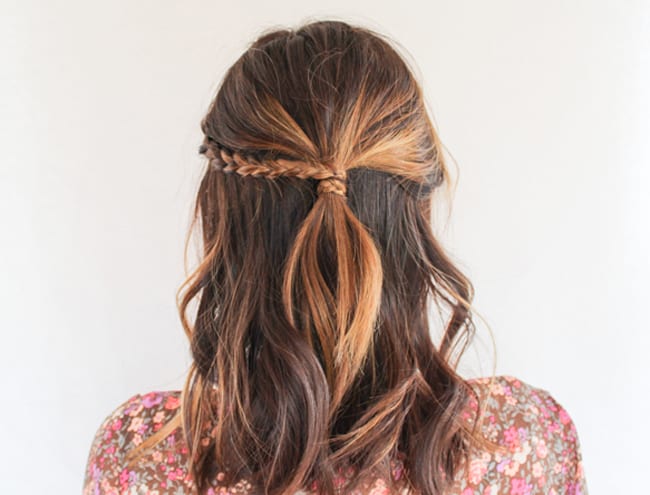
Wrap the braid around the ponytail band in the back and use bobby pins to secure it in place. Weave a bobby pin right through the band holding the ponytail for a stronger hold.
Look 3 - Braided Crown
Instructions
Step 1
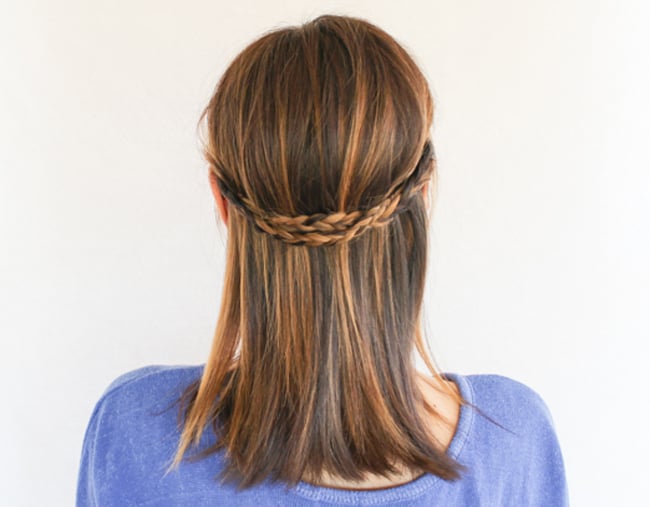
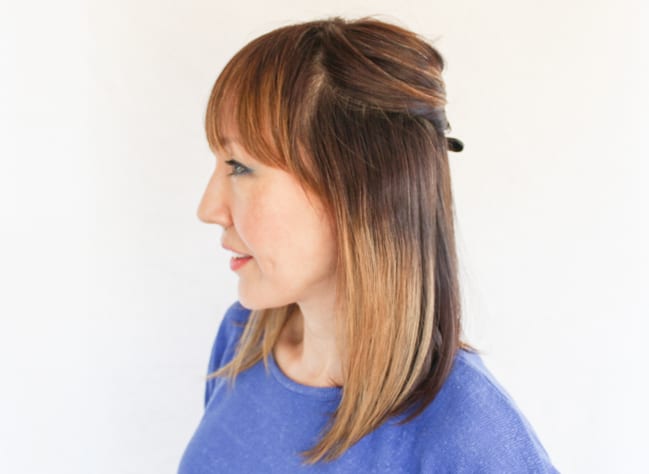
Use your fingers or a comb to part your hair horizontally about 2 inches above your ears creating a section on the top of your head. Clip the section up out of your way.
Step 2
From the hair you left loose, pick up a chunk of hair near the front. Braid it and tie off with a small elastic. Repeat on the other side.
Wrap both braids around to the back of your head. Cross two bobby pins at each braid end to secure the braid, doing your best to hide the pins under the braid.
Step 3
Tuck the ends under the opposite braid and pin to hide them.


