I may be in the minority here, but the only thing better than a bath this time of year is a nice hot shower, made all the more luxurious with a rejuvenating shower bomb. It doesn’t require you to clean out the tub pre-soak, and it saves the added step of having to rinse off when you’re done (am I the only one that feels a little slimy after a bath?).
Simply toss one of these copycat Lush shower bombs in your shower and enjoy the aromatherapy benefits as the bomb dissolves in the water. We love Lush copycats! And if baths are more your speed, check out last week's Lush-inspired holiday bath melt recipe.
These shower bombs fizz and release whatever ingredients you use, infusing the air with a relaxing scent and sinus-clearing mineral salts that soothe the respiratory system and open the airways. They’re practical and fun, so make a few for yourself or give them as a last minute gift to your beauty-loving friends this holiday season.
Copycat Lush Shower Bombs 3 Ways
We’re a tad obsessed with Lush around here. They make the best year-round bombs and lotions, but they really step up their game with a ton of fun Christmas-themed bath products around the holidays. Last week we made these Christmas Tree Bath Melts for parched skin. This time around, we’re making a trio of shower bombs that resemble their Rudolph Nose Shower Bombs.
How to get shower bombs to fizz
One of the things I love about Lush shower bombs is that they don’t just fizz, they actually create a light foam that you can use as a cleanser for skin and hair. And while it’s not necessary (most traditional shower bombs don’t make suds), I really wanted mine to do double-duty, too. So I hit the internet looking for a powdered surfactant I could add to my shower bombs.
Enter: SLSa
Now, before you panic, SLSa (Sodium Lauryl Sulfoacetate) sounds a lot like SLS (Sodium Lauryl Sulfate), which is something we definitely don’t want in our DIY shower bombs. But whereas SLS is a cheap surfactant that can be harsh on skin and bad for your body, SLSa is a pretty nontoxic, natural surfactant that’s often used in natural beauty products to make them suds up a bit. Simply add it to the dry ingredients in bath and body products to get that foamy action without the added chemicals of SLS.
Since it’s said to be safe, I have no problem adding SLSa to my DIY shower bombs. But if you’re still unsure, go ahead and leave it out entirely so they’re more like traditional shower bombs. Or use 1-2 tablespoons of natural bubble bath in place of the water. Do whatever you feel most comfortable with!
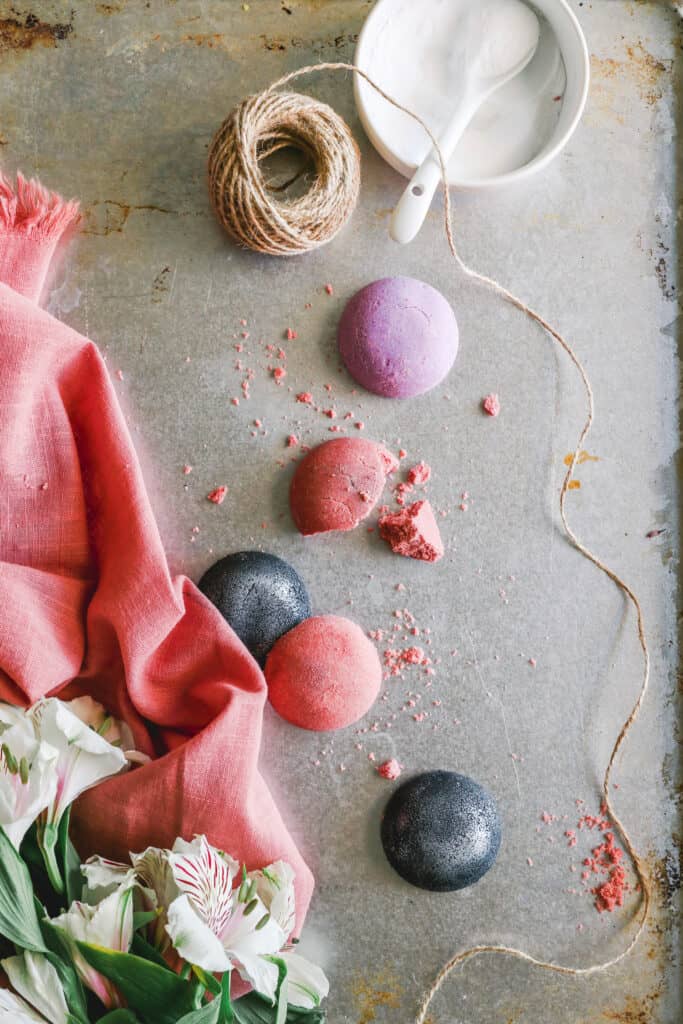
These shower bombs come in three varieties: Rudolph, Polar Bear and Elf Nose. Aside from the colors and scents, they’re pretty much the same, so you make one or a set of three. Then package them up in a pretty bag and give ‘em away to the last-minute recipients on your gift list.
3 DIY Lush Shower Bombs
Equipment
- Small bowl
- Half circle silicon mold
- Lidded glass jar or tupperware container
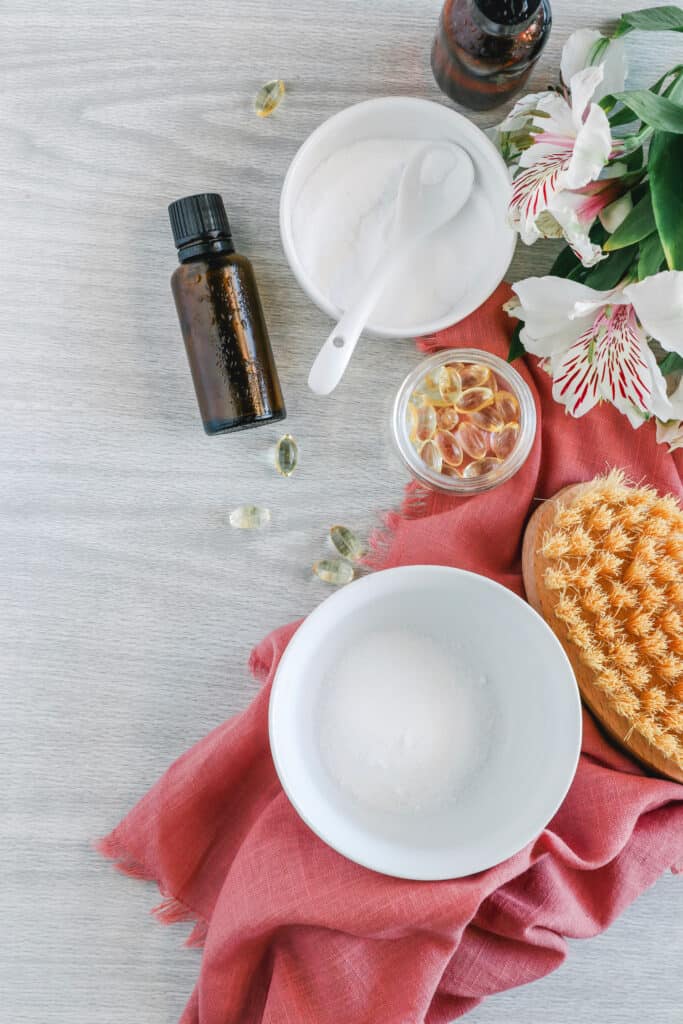
Materials
Base Recipe for all Shower Bombs
- 1 cup baking soda
- ⅓ cup cream of tartar
- ⅓ cup citric acid
- ¼ cup SLSA
- 1 tablespoon sea salt
- 1 teaspoon coconut oil melted
- 1 tablespoon water
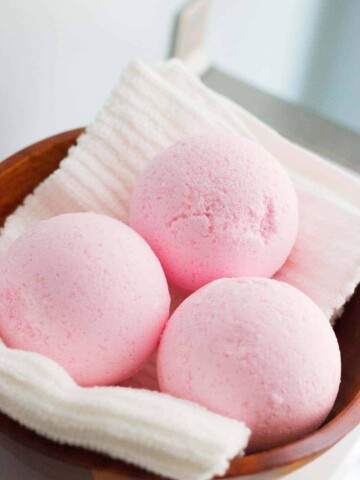
Rudolph Nose Shower Bombs
- 10 drops lemon essential oil
- 7 drops cedarwood essential oil
- 1 teaspoon red mica powder for color
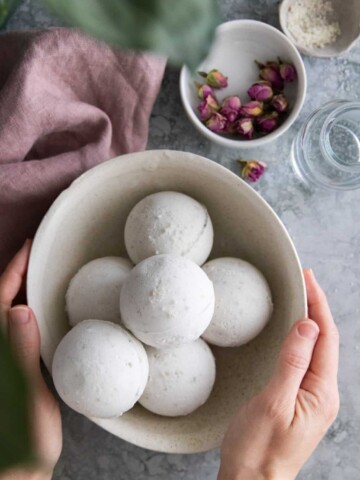
Polar Bear Nose Shower Bombs
- 10 drops sandalwood essential oil
- 7 drops pine essential oil
- 1 teaspoon activated charcoal for color
Elf Nose Shower Bombs
- 8 drops Rose Absolute oil
- 5 drops lemongrass essential oil
- 1 teaspoon purple mica powder for color
Instructions
- Combine all the dry ingredients in a small bowl and whisk well to combine.
- Add the melted coconut oil and use your hands to mix into the dry ingredients.
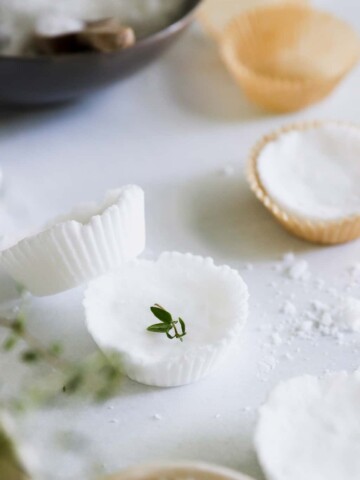
- Slowly add the water. Wait for the fizzing to subside then mix thoroughly, either with your hands or a wire whisk.
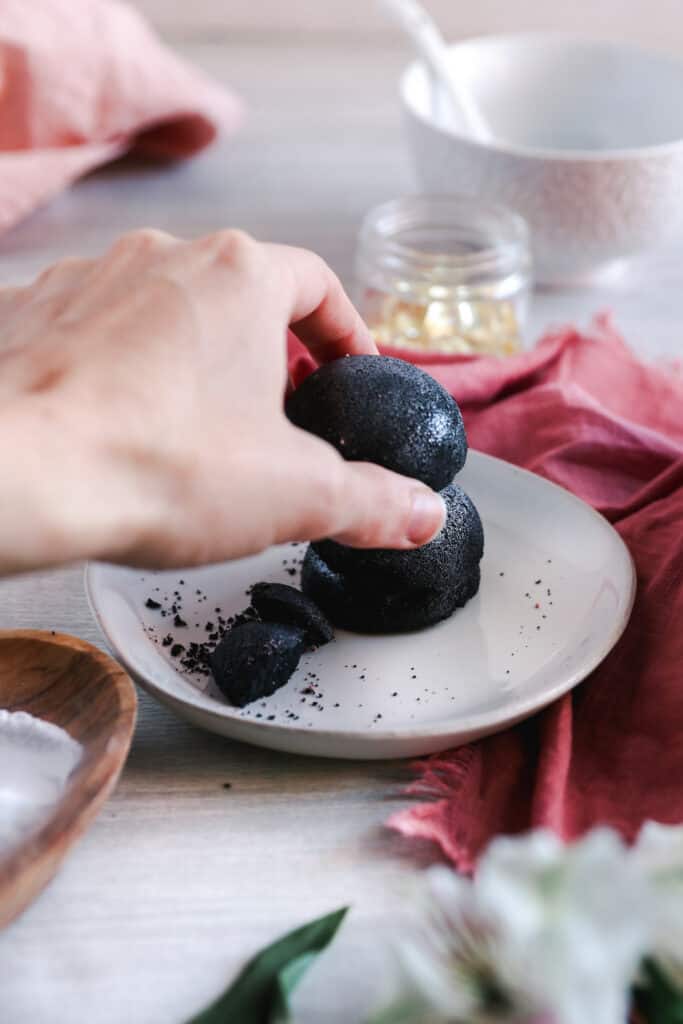
- Spoon the mixture into your mold and press down firmly. Keep adding more and pressing down until the mold is full, then set aside to let your shower bombs dry overnight.
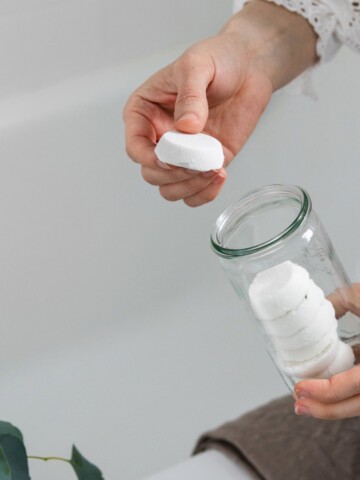
- Once the bombs are dry and can be removed from the mold in one piece, place them in a lidded glass jar until ready to use.
- Hold your shower bomb under running water. As it expands, scoop up the foam and use it to gently cleanse your body until the whole bomb is gone.
- The remaining shower bombs should be stored in a cool dry place and used within 1-2 weeks.
Notes
Love Shower Bombs? Try These Bomb Bath Bombs Next!
Lavender and Eucalyptus Bath Bombs: In a large bowl, combine 1 cup of baking soda, ½ cup of citric acid, ½ cup of epsom salt, and ½ cup of corn starch. In a separate bowl, mix together 2 tablespoons of coconut oil, 20 drops of lavender essential oil, and 10 drops of eucalyptus essential oil. Slowly add the wet ingredients to the dry ingredients, mixing quickly to prevent the mixture from fizzing too much. Spray the mixture with witch hazel until it is just wet enough to hold its shape when pressed together. Press the mixture into bath bomb molds and let dry for 24 hours before using.
Peppermint and Rosemary Shower Fizzies: In a small bowl, mix together 1 cup of baking soda, ½ cup of citric acid, ½ cup of corn starch, and ½ cup of kaolin clay. Slowly add ¼ cup of water and 20 drops of peppermint essential oil, mixing quickly to prevent fizzing. Add 10 drops of rosemary essential oil and mix again. Press the mixture into small balls and let dry for 24 hours before using in the shower.
Lush-Inspired Bath Bombs: In a large bowl, mix together 1 cup of baking soda, ½ cup of citric acid, and ½ cup of corn starch. Slowly add 2 tablespoons of coconut oil and mix until well combined. Add 20 drops of your favorite essential oil and a few drops of food coloring if desired. Slowly add witch hazel until the mixture is just wet enough to hold its shape when pressed together. Press the mixture into bath bomb molds and let dry for 24 hours before using.
Citrus and Sage Bath Bombs: In a large bowl, mix together 1 cup of baking soda, ½ cup of citric acid, and ½ cup of epsom salt. In a separate bowl, mix together 2 tablespoons of coconut oil, 20 drops of orange essential oil, and 10 drops of sage essential oil. Slowly add the wet ingredients to the dry ingredients, mixing quickly to prevent the mixture from fizzing too much. Spray the mixture with witch hazel until it is just wet enough to hold its shape when pressed together. Press the mixture into bath bomb molds and let dry for 24 hours before using.
Relaxing Lavender Shower Steamers: In a large bowl, mix together 1 cup of baking soda, ½ cup of citric acid, and ½ cup of corn starch. Slowly add ¼ cup of water and 20 drops of lavender essential oil, mixing quickly to prevent fizzing. Press the mixture into small shapes and let dry for 24 hours before using in the shower. Place a shower steamer on the floor of your shower and let the warm water activate the essential oils for a relaxing shower experience.
These bath bomb recipes are made with simple and natural ingredients, making them a great DIY beauty project or gift idea. Each recipe makes several bath bombs or shower steamers, depending on the size of your molds. Have fun experimenting with different essential oils and colors to create your own custom bath bomb blends!
This post was medically reviewed by Dr. Jennifer Haley, a board-certified dermatologist with extensive experience in medical, cosmetic and surgical dermatology. Learn more about Hello Glow’s medical reviewers here. As always, this is not personal medical advice and we recommend that you talk with your doctor.
64