When it’s time to wrap gifts, I always, always run out of gift bows and tags at the last possible minute. I must burn through them when I’m not looking, which means that I usually end up making my own at 10 pm on Christmas Eve. A few weeks ago we made some Nordic-inspired cornstarch clay gift tags on Hello Nest, which are simple and beautiful.
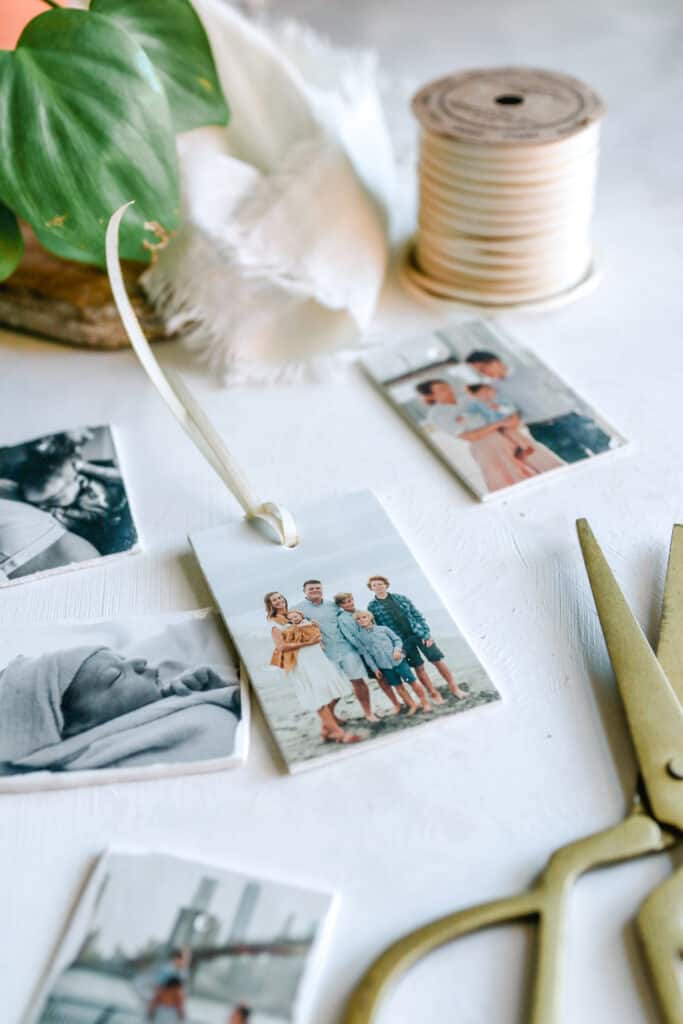
Since Christmas is still a couple weeks away, I decided to play with some clay photo gift tags to round out my stash. I love that you can use them to personalize any gift, whether it be for a baby shower, Mother’s Day or birthdays. But they’re especially magical with family photos from this year’s Christmas card shoot.
Make your photo gift tags in color or black and white and write a sweet message on the back. Then tie those babies on practically everything you can get your hands on.
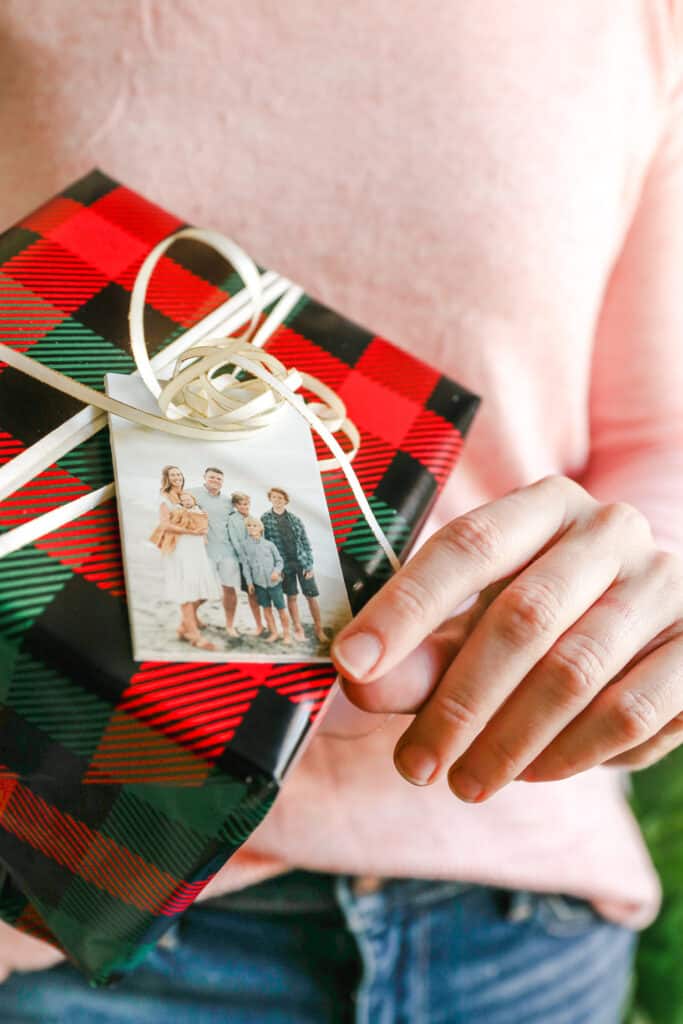
DIY Photo Clay Gift Tags
I’m going to be honest, I spent a ton of time playing around with these to make sure the image came out somewhat crisp. Most tutorials recommend using glossy photo paper or plain printer paper to give you a simple transfer, but I really spun my wheels with both of those options and could never quite get it to work.
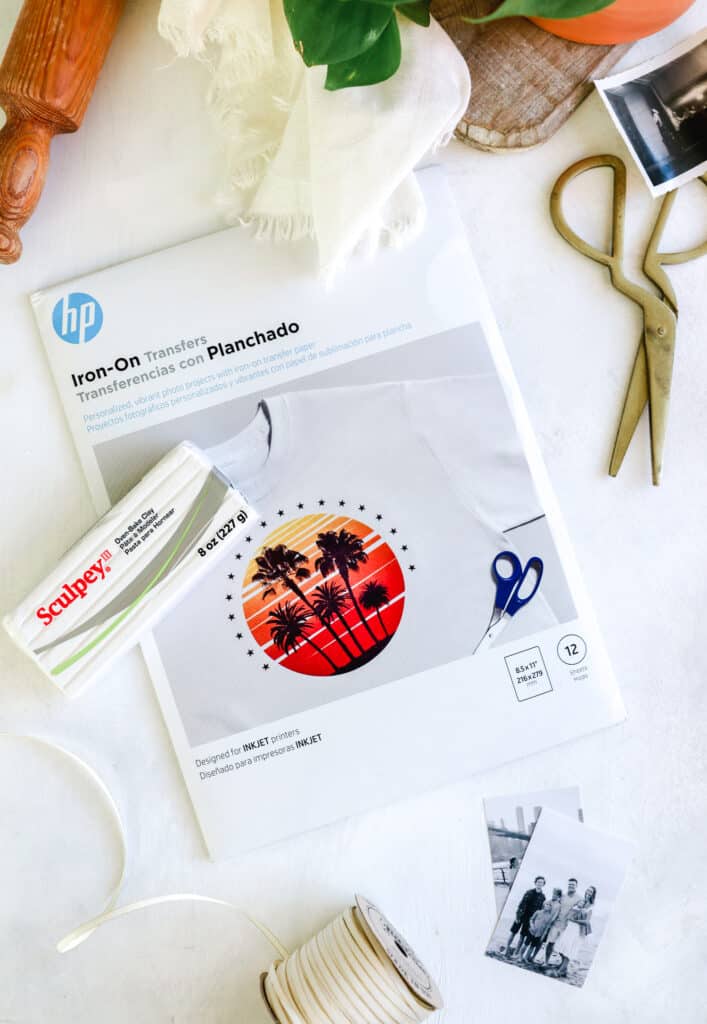
Eventually the I stumbled on the secret: you have to use t-shirt paper and Sculpey. Once you get all the variables right, the images transfer perfectly.
Supplies
- White Sculpey Clay
- HP T-shirt Transfer Paper for White Fabric
- Parchment Paper
- Scissors
- Photos
- Rolling pin
- Knife
- Baking Sheet
Instructions
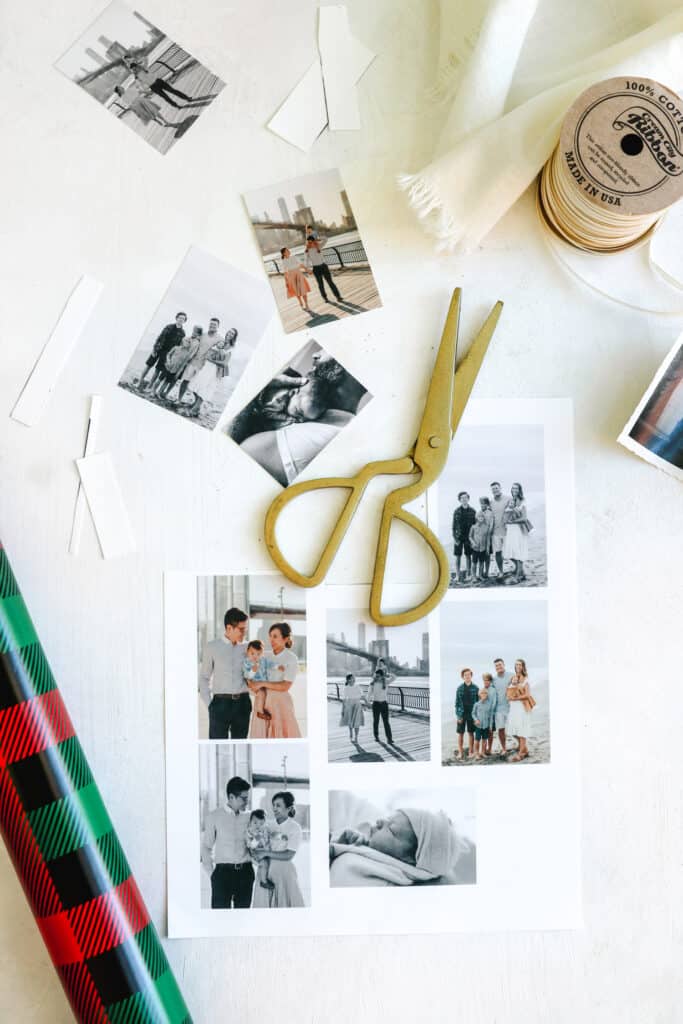
1. Size your images so they’re roughly 2”x3” in size and print them on the t-shirt paper (either black and white or color will work).
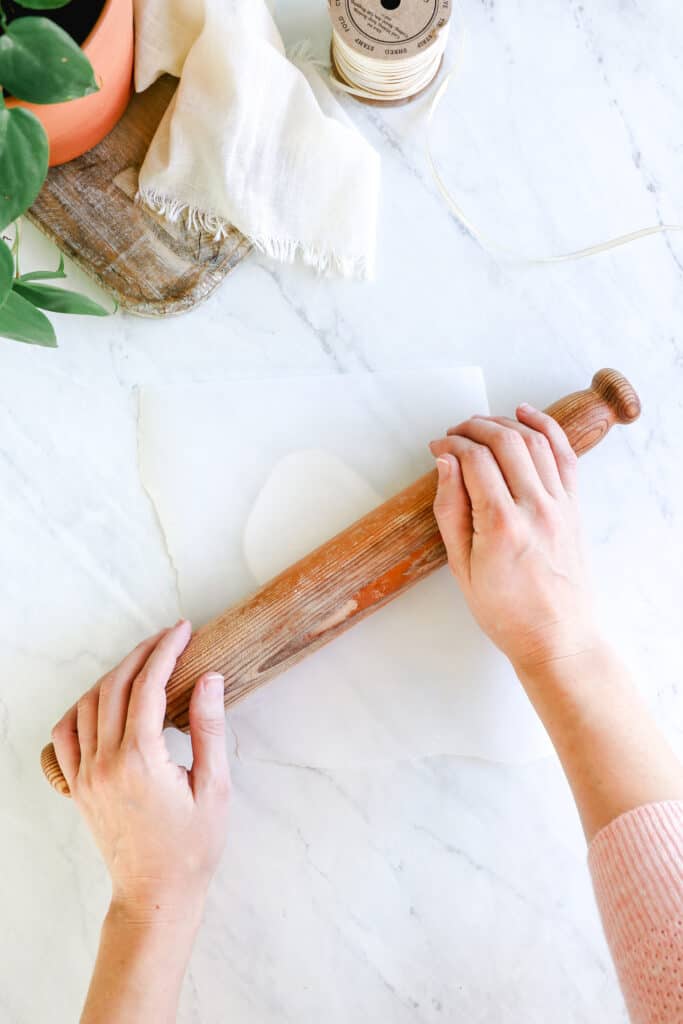
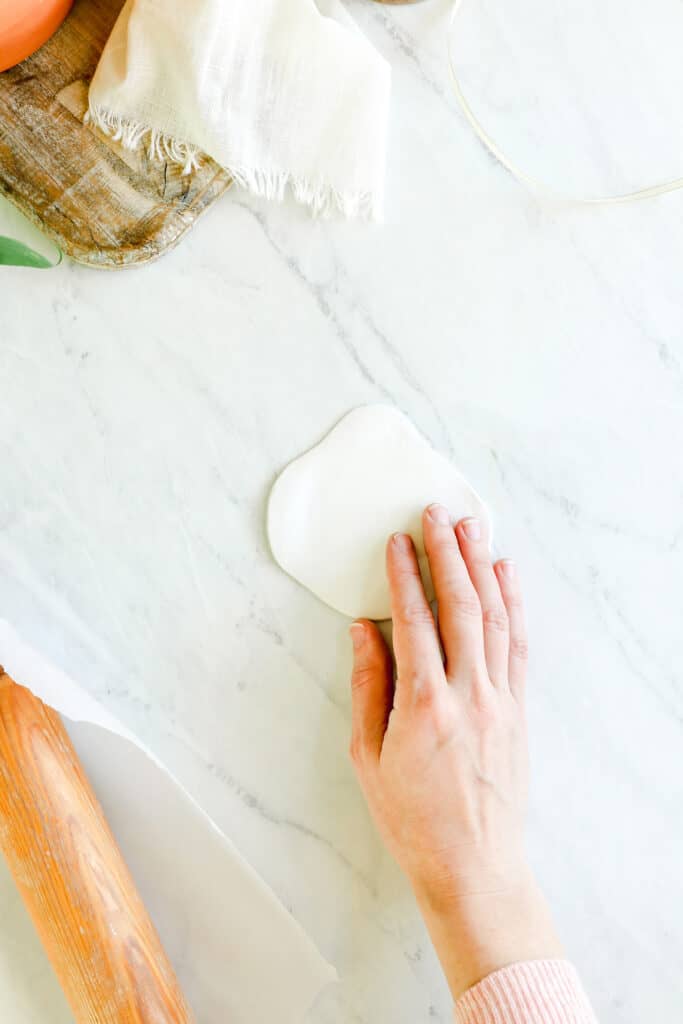
2. Roll a 2-inch piece of Sculpey between your hands to soften it a little. Then place it on a smooth surface (I placed it directly on my clean marble countertops) and flatten it with your hands a bit.
3. Place a piece of parchment paper on top of the clay and use a rolling pin to roll the clay to about ⅛”-¼” thick.
4. Lift up the clay off and flip it over so the smooth side is facing up. Use your fingers to continue smoothing the surface of the clay as best you can. You want the clay to be as smooth as possible so the transfer paper sticks without leaving any bare spots.
5. Cut your images to size and lay them on top of the clay. Using a sharp knife, cut the clay to the same size as your image. Use a nail, skewer or screwdriver to create a small hole at the top of the tag.
6. Place the Sculpey directly on top of a metal baking sheet (you want the clay to get nice and hot and I didn't run into issues with sticking). Center the image on the clay with the photo facing down. Use your fingers to burnish the back of the image, pressing as hard as you can without distorting the clay. Make sure to get the edges really well.
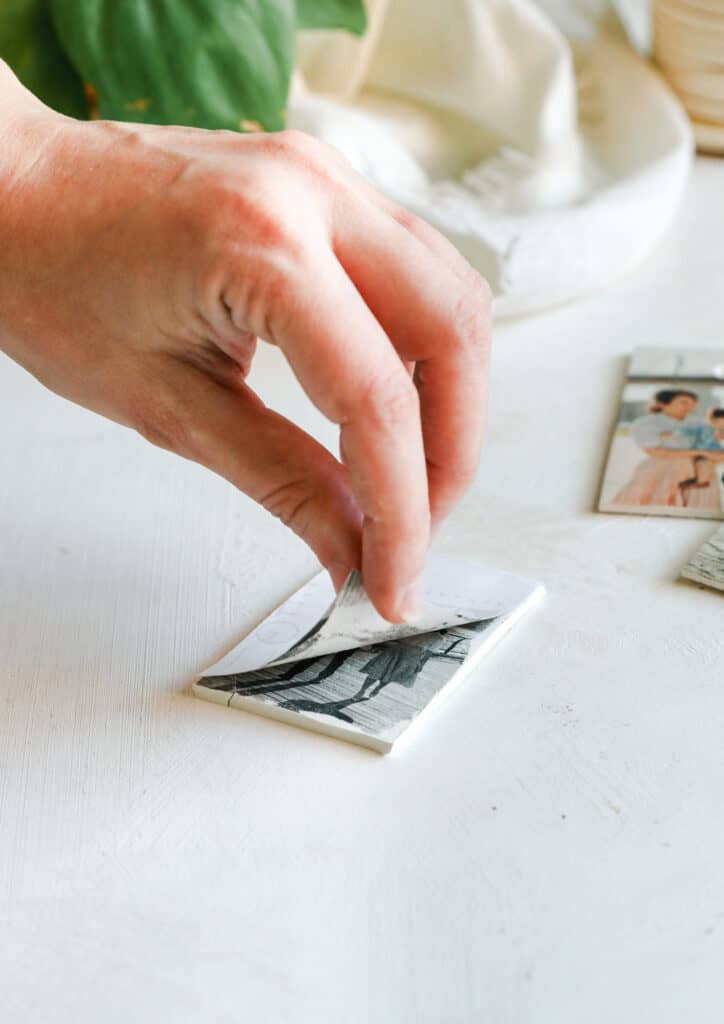
7. Bake your Sculpey at 275 F for about 6 minutes. Then remove the t-shirt paper and continue baking for another 5 minutes to completely harden the clay.
8. Let the tags cool completely before running a string through the hole at the top. Affix to gifts, stocking stuffers or the Christmas tree as ornaments.
Personalized Gift Tags: More Ideas
Personalized gift tags are a great way to add a special touch to any gift-giving occasion, and there are many ways to create them. Custom gift tags can be made using various materials such as cardstock, craft paper, and even wood. To make personalized gift tags, start by choosing a design that reflects the recipient's personality or interests. For Christmas gift tags, incorporate festive elements like holly, snowflakes, and red and green colors. Personalized gift tags can also feature photos of loved ones or have the recipient's name printed on them. To add a unique touch, consider adding embellishments like ribbon, sequins, or beads to the tags.
One fun idea for personalized gift tags is to use free online photo printing services that offer unlimited free prints. Simply upload a photo and have it printed on cardstock or craft paper. Then, cut out the photo and attach it to the gift with a ribbon or string. Another idea is to create gift tags using recycled materials like old greeting cards or fabric scraps. Cut out the desired shapes and add personalized messages or names to the tags. These eco-friendly gift tags are not only unique but also sustainable.
Gift boxes and gift bags can also be personalized with custom tags. For gift boxes, use a puncher to create a hole in the top of the box and attach a ribbon with a personalized tag. For gift bags, create tags with the recipient's name or use a photo to add a personal touch. With a little creativity and imagination, personalized gift tags can make any gift extra special for loved ones.
Need more ideas? Try making a few of these quick and easy gift tag crafts!
Photo Collage Gift Tags: Collect some of your favorite photos and print them out on photo paper. Cut the photos into small rectangles and punch a hole in the top center of each one. Then, tie a ribbon or twine through the hole and attach the photo tag to your gift.
Customized Gift Tag Stamps: Purchase a rubber stamp carving kit and use it to carve out a custom design or message on a small stamp. Use ink to stamp the design onto cardstock or any other sturdy paper material. Cut out the tag shape, punch a hole in the top, and tie it to your gift.
DIY Personalized Calligraphy Tags: If you have some experience with calligraphy, you can use a calligraphy pen to write the recipient's name or a short message on a tag made of cardstock or any other sturdy paper material. Cut out the tag shape, punch a hole in the top, and tie it to your gift.
Hand-Painted Gift Tags: Use watercolor or acrylic paint to create a custom design on a tag made of watercolor paper or any other sturdy paper material. Once the paint is dry, write the recipient's name or a short message using a metallic marker or calligraphy pen. Punch a hole in the top and tie it to your gift.
Printable Gift Tags: Find free printable gift tags online and print them out on cardstock or any other sturdy paper material. Cut out the tag shape, punch a hole in the top, and tie it to your gift. To make it more personalized, you can use a calligraphy pen to write the recipient's name or a short message on the tag.
352



Debbie MANSELL says
Did you put the cookie sheet in the oven to heat it before placing the clay on it? My images aren’t sticking.
Sunny says
Beautiful! 🧡
Paige Cassandra Flamm says
These are such fun ideas! I love how beautiful these turned out!
Paige
http://thehappyflammily.com