For all of you herb and veggie lovers out there, there’s one type of fresh produce you can grow at home year-round without any expensive equipment or even a green thumb: sprouts!
When seeds first start to grow, they produce little green shoots called sprouts. These sprouts are collected early in the plant’s life cycle before the leaves fully develop, and they’re eaten whole, often as a garnish, in sandwiches and on salads.
Growing your own sprouts is easier than you think. And if you love putting sprouts on your plate, you’ll save some serious money by growing them yourself. You don’t need much equipment, either. Just grab a mason jar, breathable mesh lid (or cheesecloth), and some seeds, and you’re in business.
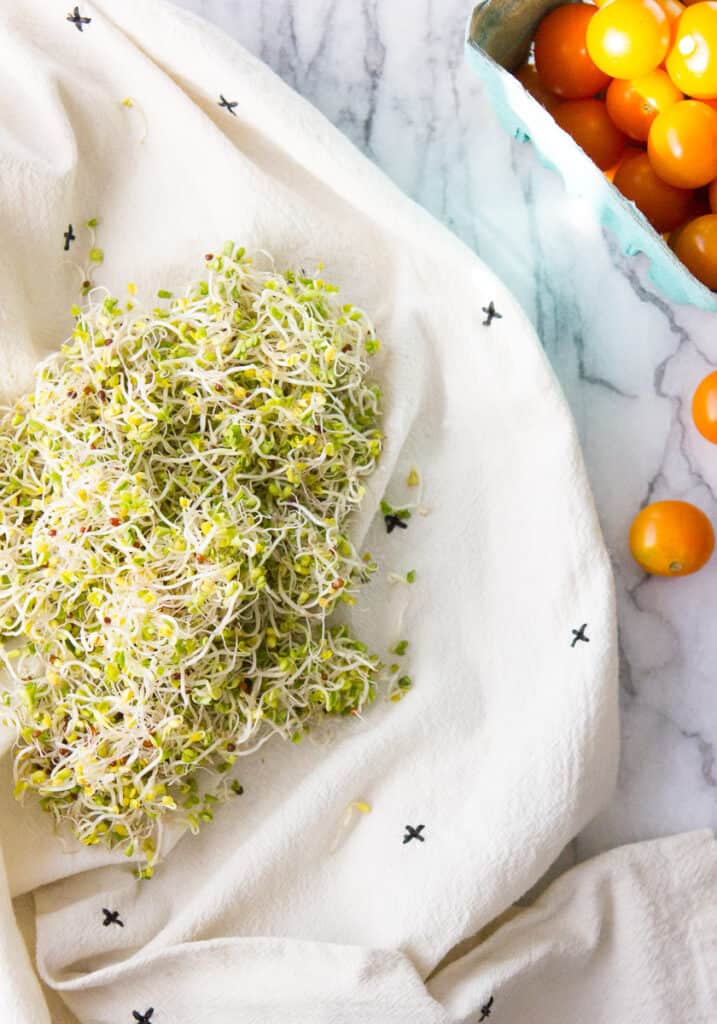
Why are sprouts so good for you?
The process of sprouting seeds makes them easier on the digestive system, which means your body is better able to extract all the nutrients they contain.
And they do contain a lot of nutrients—protein, minerals like folate and magnesium, vitamins, and antioxidants [source]. Because seeds pack in all the nutrients plants need to germinate, they are tiny nutritional powerhouses, and sprouting is the best way to reap those benefits.
While sprouts have sometimes been associated with food poisoning outbreaks, growing your own sprouts at home is much safer than purchasing them from the store. Because you control how often the seeds are rinsed and what contaminants they may come in contact with, there’s less chance your sprouts will become vectors for E. coli, salmonella, or other bacterial pathogens.
What kind of seeds can be sprouted?
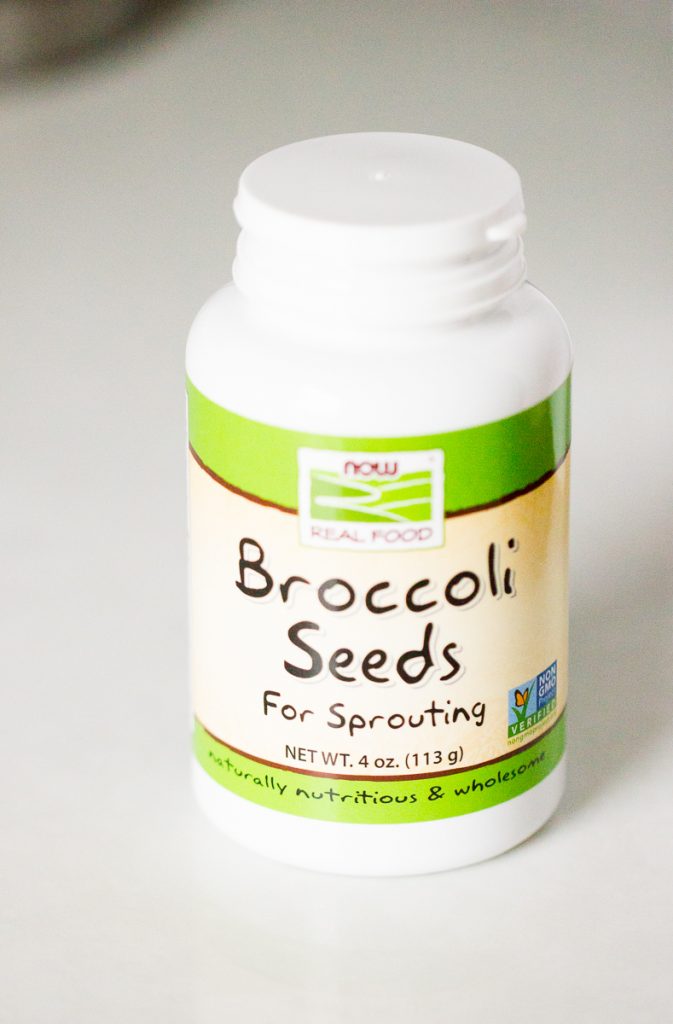
So many! But I recommend always choosing seeds sold especially for sprouting, which are subject to stricter controls than garden seeds. This will help keep mold and bacteria to a minimum and ensure your sprouts are safe to eat.
For crunchy green sprouts to add to salads and sandwiches, try:
-alfalfa
-broccoli
-fenugreek
-mung bean
-radish
-red clover
-sunflower
-wheat
-fenugreek
-green pea
-mustard
-beet
-lentil
-spelt
-sunflower
-buckwheat
You can also soak and sprout various nut, bean, and grain seeds for a short amount of time (about 12 hours or overnight) to make them more easily digestible before cooking with them or grinding them into a flour. This is how sprouted breads and baked goods are made.
Different types of sprouting containers
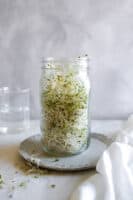
All you really need to grow your own sprouts at home is a wide-mouth mason jar, cheesecloth, a rubber band, and—of course—the seeds.
But if you plan to grow a lot of sprouts, you might want to upgrade your setup and purchase a sprouting lid made with mesh that lets air circulate and water drain out. I use NOW Foods’ sprouting jar, but there are lots of different options to choose from.
Stackable sprouting tray - These are big enough to grow both large and small sprouts or several different kinds of sprouts at once.
Self-watering sprouting tray - A tray that waters itself takes the guesswork out of growing sprouts. And it works for microgreens, too!
Terracotta sprouter - Great for wicking away excess water and keeping sprouts clean and dry. Looks good on your counter, too.
Sprout bag - Another set-it-and-forget-it method for growing sprouts, just fill the bag with seeds and dip it in water. As they grow, the seeds wick moisture from the bag, keeping them perfectly hydrated.
Potting soil - You don’t even really need a fancy sprouter at all. Just fill a small pot with potting soil, sew your sprouting seeds, and water regularly. Once they reach 3”, harvest them using a clean pair of kitchen scissors.
How do you grow your own sprouts?
Instructions for individual seeds vary; I’ve found that Sprout People has the best, most detailed growing guides.
Typically, you’ll soak the seeds overnight, drain them and give them a good rinse, then leave them in a dark place for a few days, continuing to rinse and drain thoroughly every 8 to 12 hours.
After about 5 days, place your sprouts in indirect sunlight for a few hours to help the leaves develop chlorophyll and turn green.
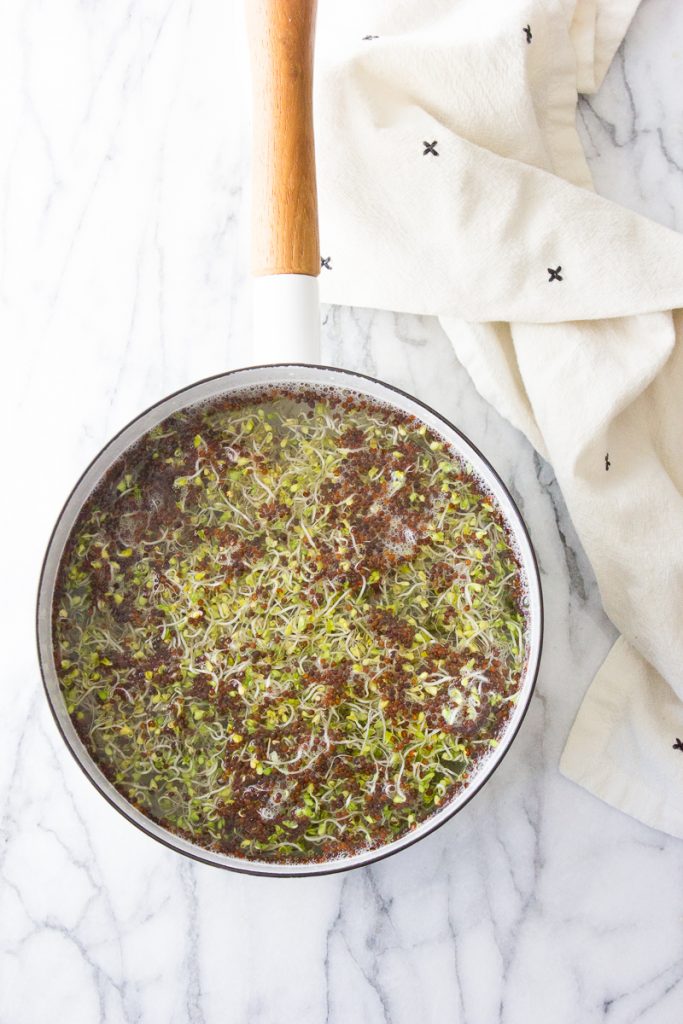
Soak your finished sprouts in a large bowl of water, and agitate them gently to let the seed hulls loosen and float to the top; skim the hulls off, rinse the sprouts again, and then drain well.
Now, your sprouts are ready to eat! Here are a few ways I like to enjoy them:
-Eat them raw
-Put them on sandwiches or salads
-Use them in a stir-fry
-Add them to pasta salad
-Fold ’em inside an omelet
-Garnish tacos
-Sprinkle on top of soup
-Put them in smoothies
-Juice them
-Try them in wraps
How to harvest sprouts
It all depends on how you grow them.
If you use a sprouting jar or tray, then the sprouts don’t need to be harvested, per se. You can simply remove them from the jar or tray and use your hands to loosen the sprout mass. Then soak them, skim off the hulls, and let them dry thoroughly.
But if you used a container with soil, then you’ll need to wait until your sprouts are about 3 inches high before harvesting them. Start by picking off any hulls that may still be clinging to the sprouts. Then use a clean pair of kitchen scissors to cut the sprouts off at the base. Just like with sprouts grown in a jar, you may want to soak your sprouts to remove any lingering hulls. Then lay them on a paper towel to dry thoroughly.
How to store sprouts
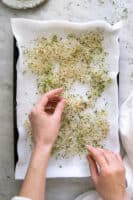
Before putting your sprouts in the fridge, I recommend spreading them on a paper towel-lined baking sheet and letting them dry thoroughly. To help get rid of excess moisture, you can use a fan to increase air flow and eliminate as much moisture as possible.
Once the sprouts are completely dry, refrigerate them in a dry jar, storage container, or produce bag. Sprouts should be kept dry—they should never be slimy or waterlogged.
Growing sprouts safely
Growing your own sprouts helps reduce a lot of the bacterial contamination risk seen with store-bought sprouts, but it’s still important to use common sense with them: always wash your hands before handling them, keep sprouts in the refrigerator, and throw them out if they smell off or get slimy.
Here are some tips for making sure your sprouts are safe to eat.
Sanitize your container. Before you even get started, you need to make sure your sprouting container has been sanitized well. If using a mason jar, submerge the jar in boiling water for 10 minutes. Then remove the jar and place it upside down on a wire cooling rack to dry thoroughly. You also want to make sure your sprouting lid is sanitized, so go ahead and clean that with warm soapy water and let it dry thoroughly as well.
Use filtered water. Using filtered or bottled water can help cut down on the pathogens that may spoil your sprouts.
Rinse your sprouts often. Rinsing your sprouts often helps flush away bacteria before it has a chance to set up shop. At a minimum, rinse your sprouts twice a day. But if you have the time, you’re free to rinse more often.
Drain sprouts well. You want to try to drain as much water out of your sprouts as possible each and every time you rinse them. Stand over the sink and gently spin, shake, or bounce your sprouting jar to release as much moisture as you can.
Store sprouts in a cool location. You want to keep your sprouts relatively cool and away from direct sunlight. You always want to allow plenty of air circulation, which encourages sprouts to grow. I store mine covered on the kitchen counter a few feet away from all windows and appliances. Definitely don’t store your sprouts in a closed cabinet or drawer.
Enjoy within 3 to 4 days. On the third day, move them into the light to let them green up. Then enjoy! Like most foods, sprouts have a short shelf life. Store harvested sprouts in the refrigerator and enjoy them within a few days.
How to Grow Sprouts
Equipment
- Wide mouth mason jar
- Sprouting lid (or cheesecloth and a rubber band)
- Mesh strainer
Materials
- 2 tablespoons sprouting seeds
- ½ cup water
Instructions
- Rinse seeds well with cool tap water.
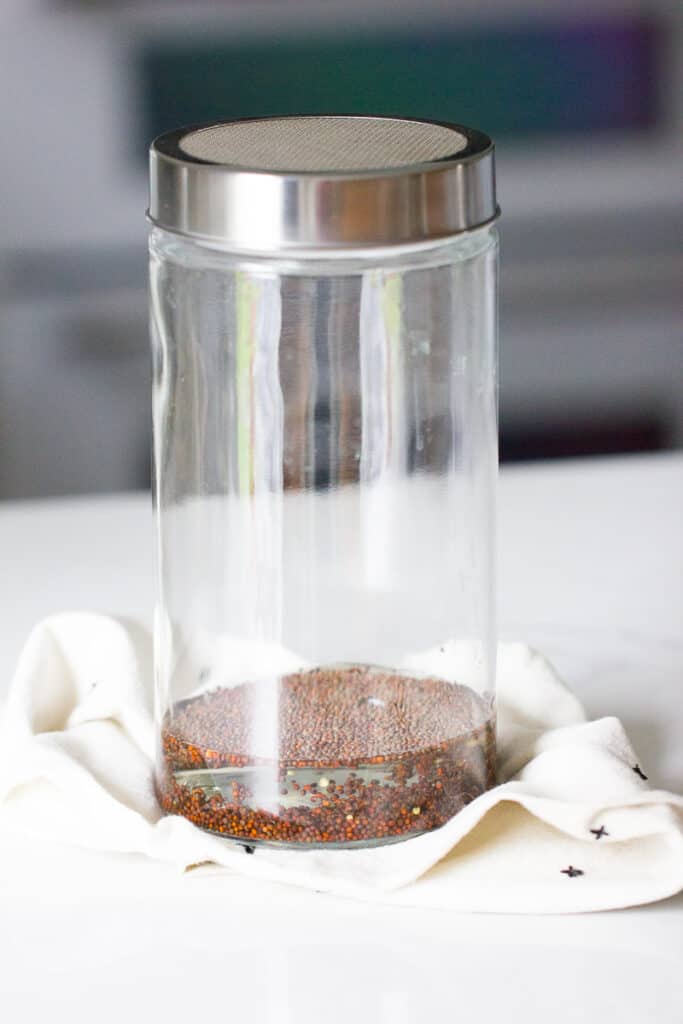
- Transfer seeds to a mason jar and cover with ½ cup filtered water. Screw on the sprouting lid to keep out dust and let soak for 6–8 hours.
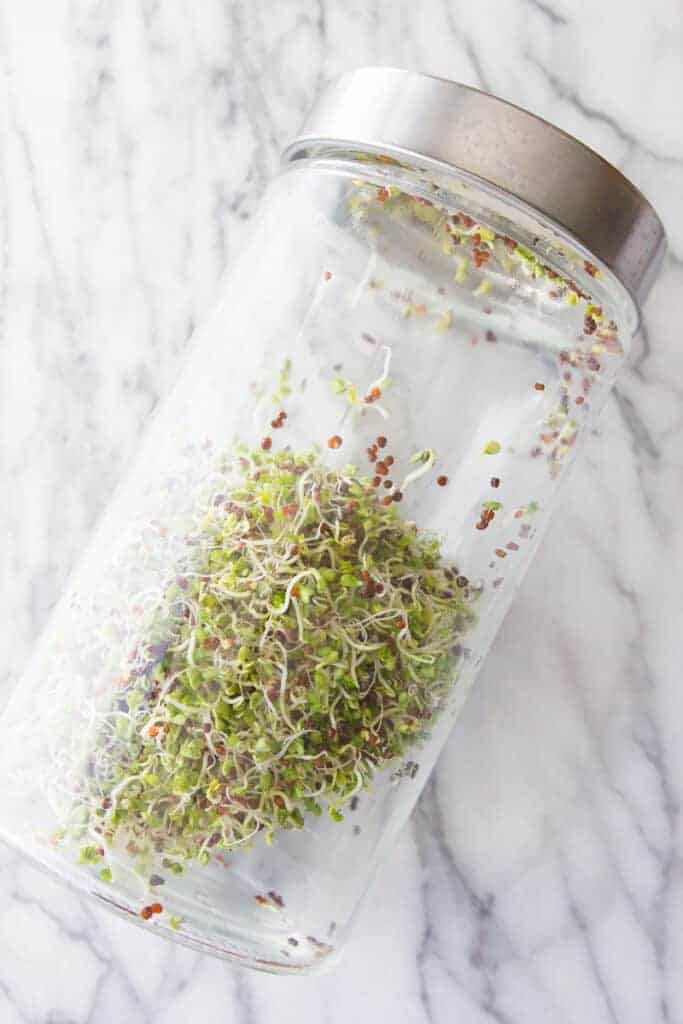
- The next day, drain the seeds and give them a good rinse. Replace the sprouting lid, and place the seeds lid-side down in a well-ventilated spot that’s away from heat and direct sunlight. Rinse and drain thoroughly every 8-12 hours.
- After about 5 days (it will depend on the type of seeds you used, but 5 days is about average), place your sprouts in indirect sunlight for a few hours; the leaves will develop chlorophyll and turn green.
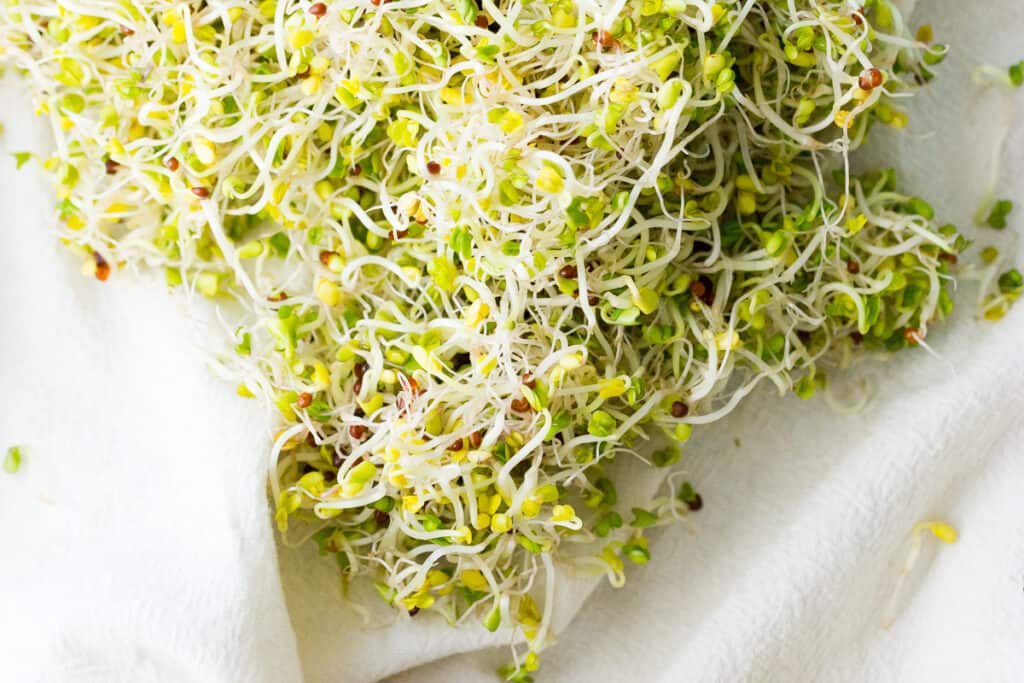
- Soak your finished sprouts in a large bowl of water and agitate them gently so the seed hulls loosen and float to the top; skim the hulls off, then spread the seeds on a paper towel-lined baking sheet and let them dry thoroughly.
- Store sprouts in a jar or produce bag in the refrigerator and consume within 3 to 4 days.






Leave a Comment