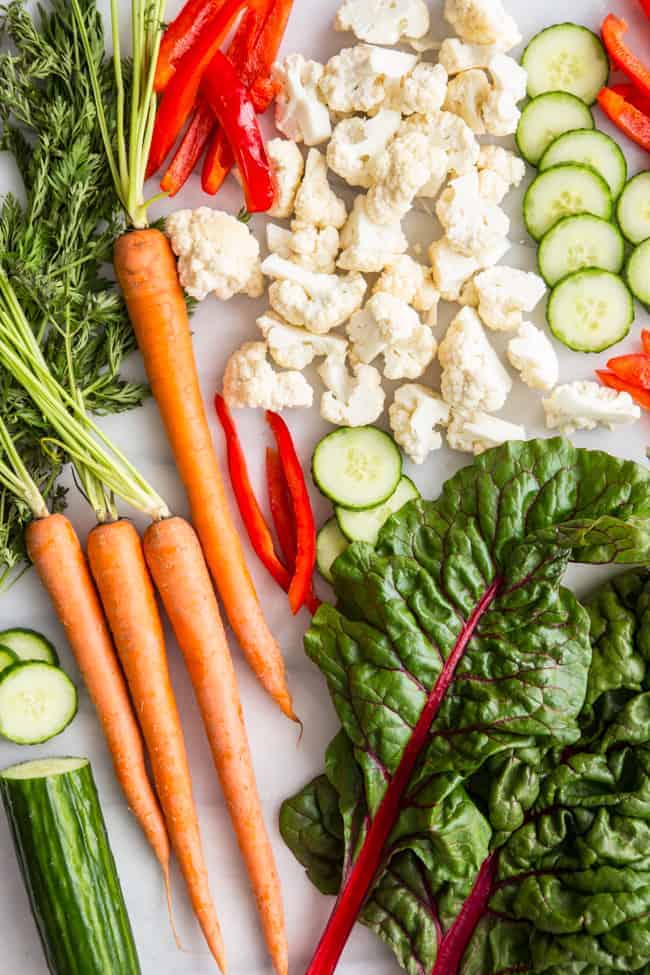
 Have you ever been reading through a recipe that seems quick and easy only to realize that the ingredient list is full of chopped or precisely cut vegetables? This used to happen to me all of the time. Before I learned how to properly break down and cut veggies, I would spend so much time prepping that by the time I was done, I hardly felt like cooking.
Cutting vegetables can be a time-consuming endeavor, but if armed with the knowledge on how to quickly break down certain veggies the right way, you can cut your prep time down by half and be cooking in no time! (No pun intended.)
How to Cut Cauliflower
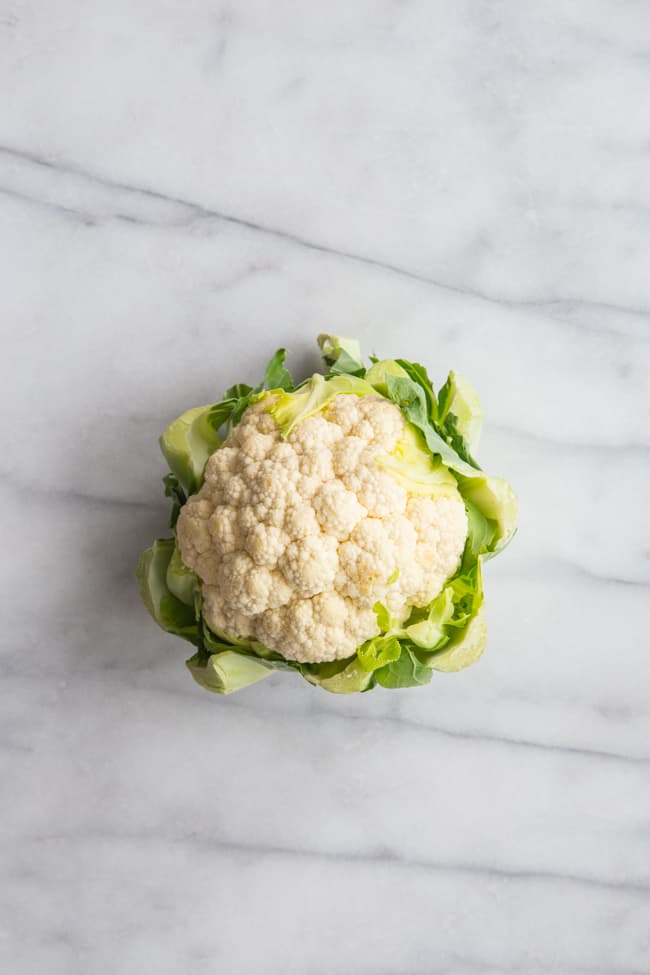
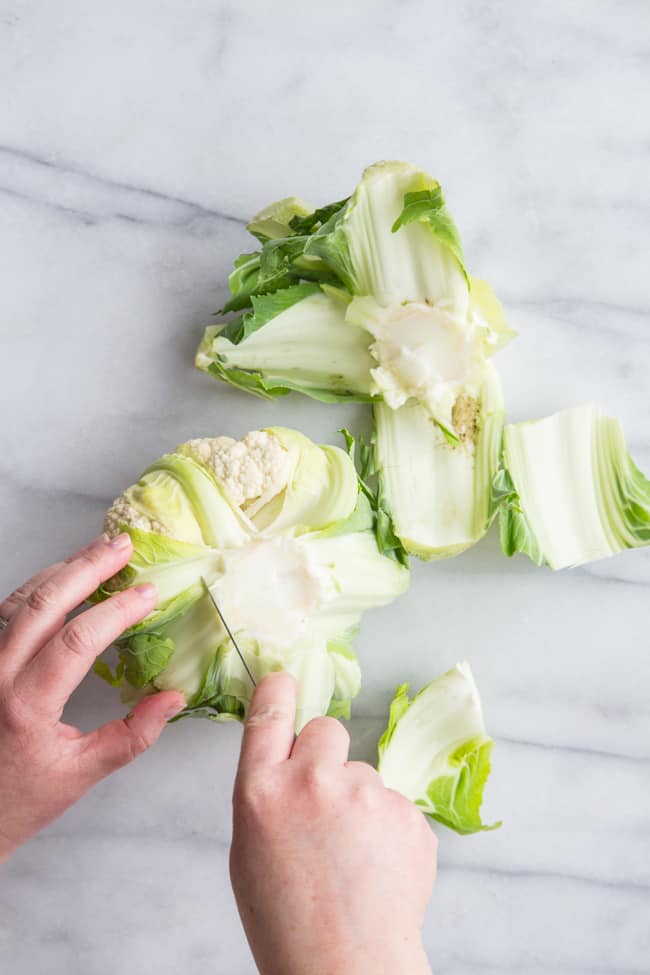
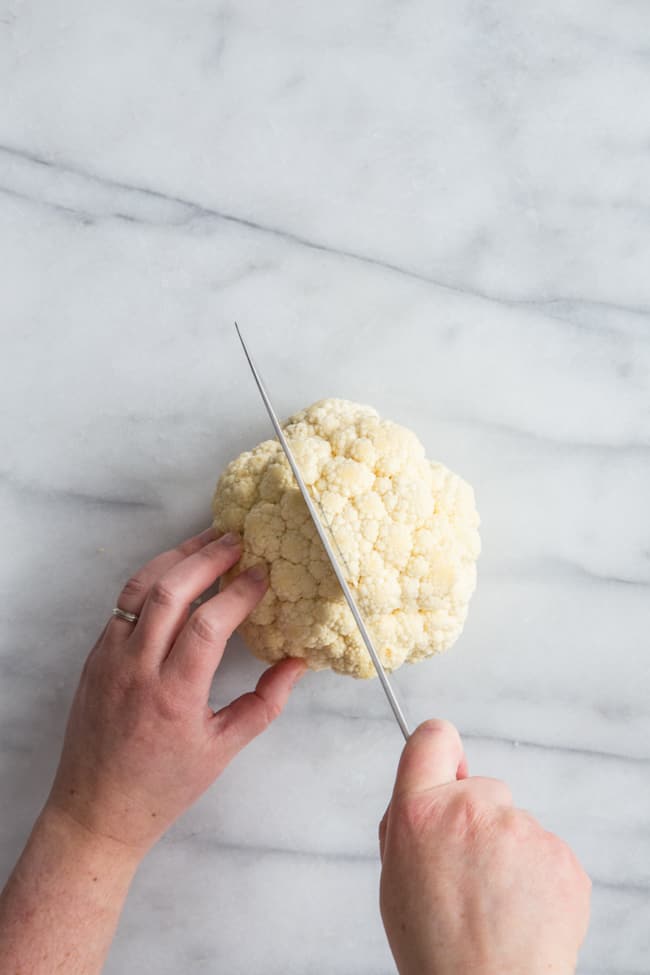
Most often for cauliflower, you are looking to break it down into small florets, and it’s easier than it looks. First, remove the cauliflower leaves with a sharp paring knife.
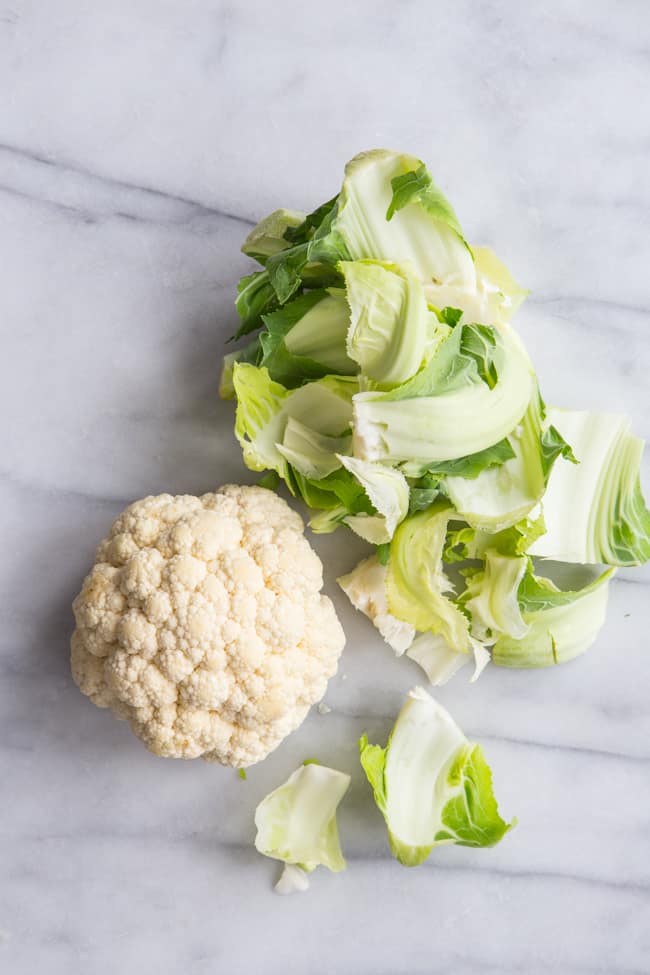
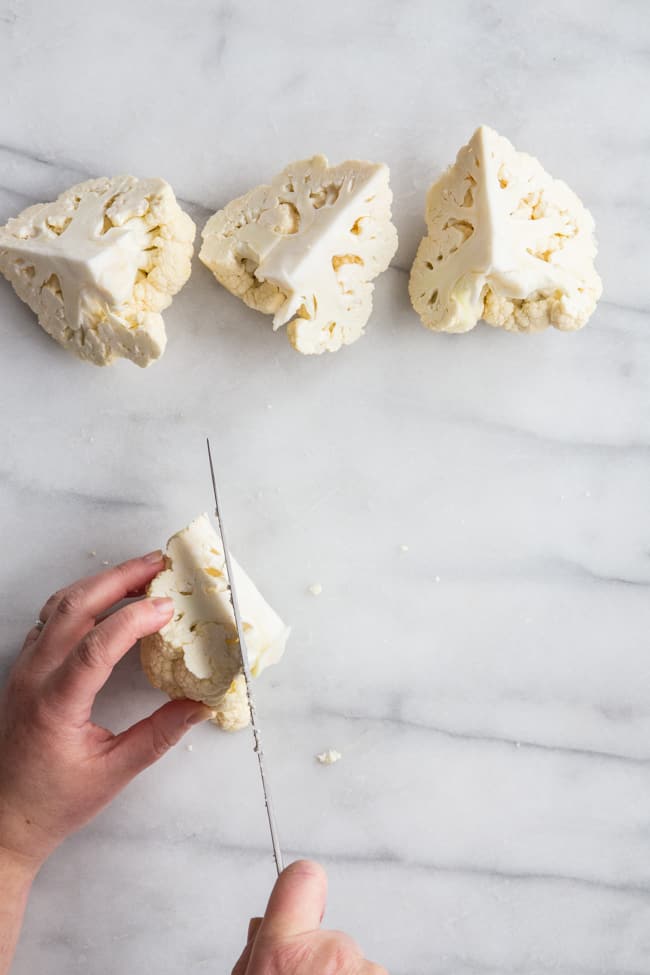
Cut the cauliflower head into quarters and remove large stem pieces by cutting them out at an angle.
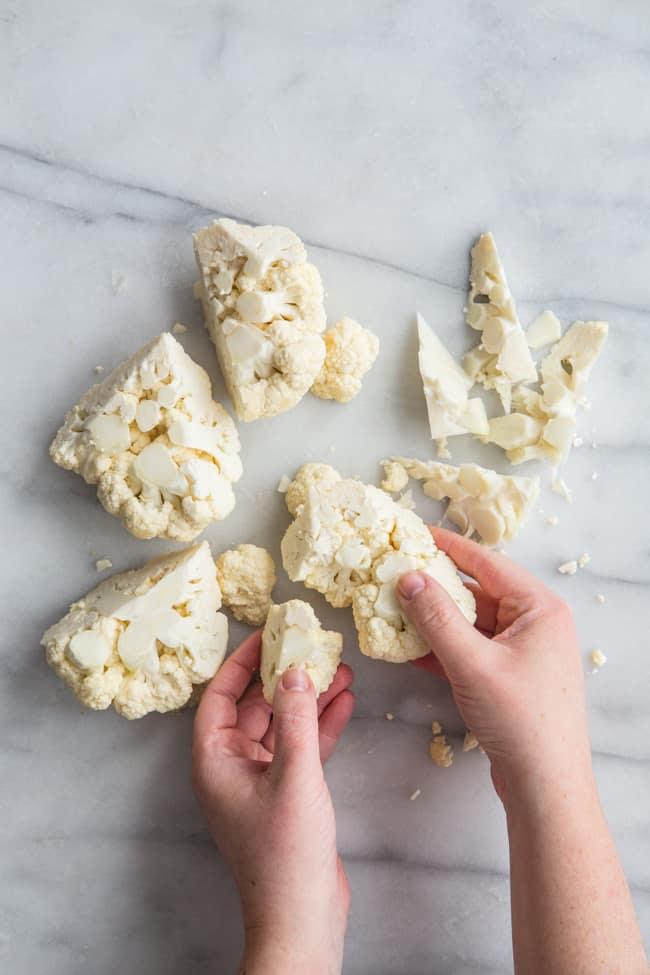
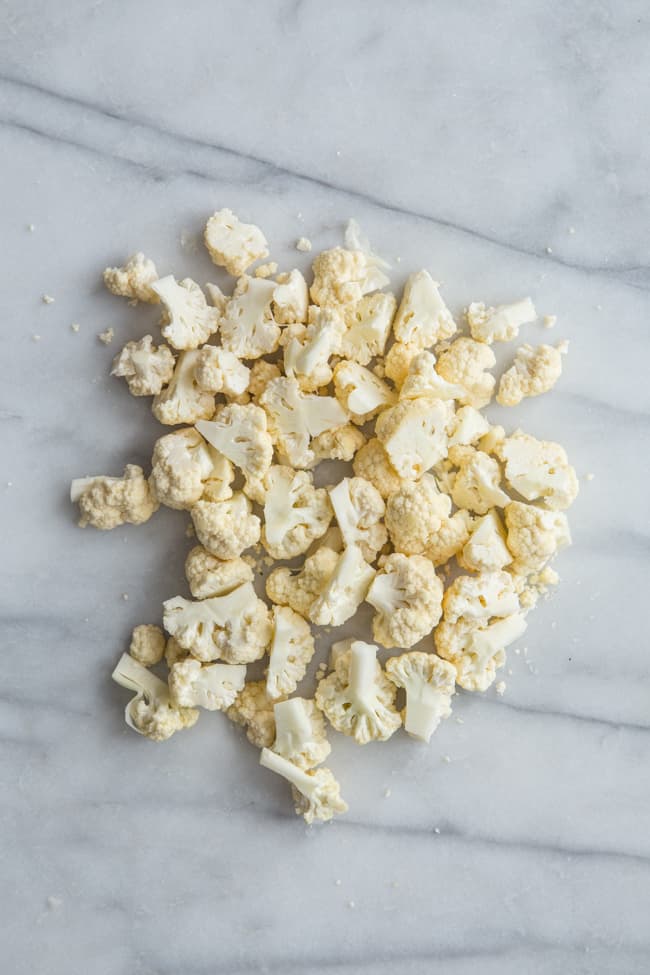
Pull the cauliflower florets apart by hand or use the tip of your knife to cut them into even smaller pieces. These florets can be served on a vegetable tray with hummus or roasted into a delicious side dish.
How to Cut Bell Peppers
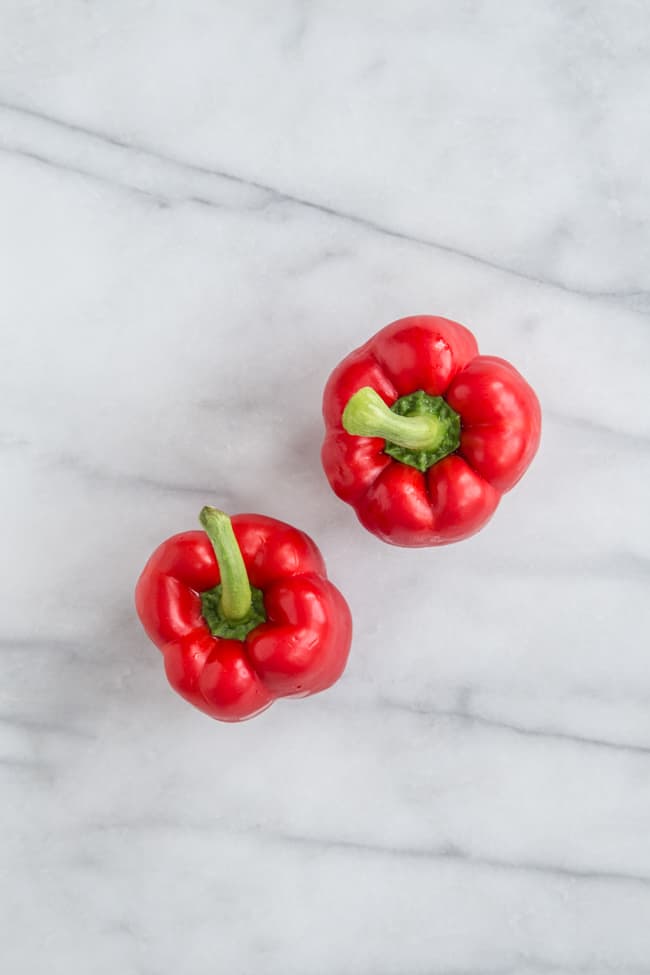
Bell peppers can be cut in a variety of ways. Depending on your recipe, you may need strips or a dice.
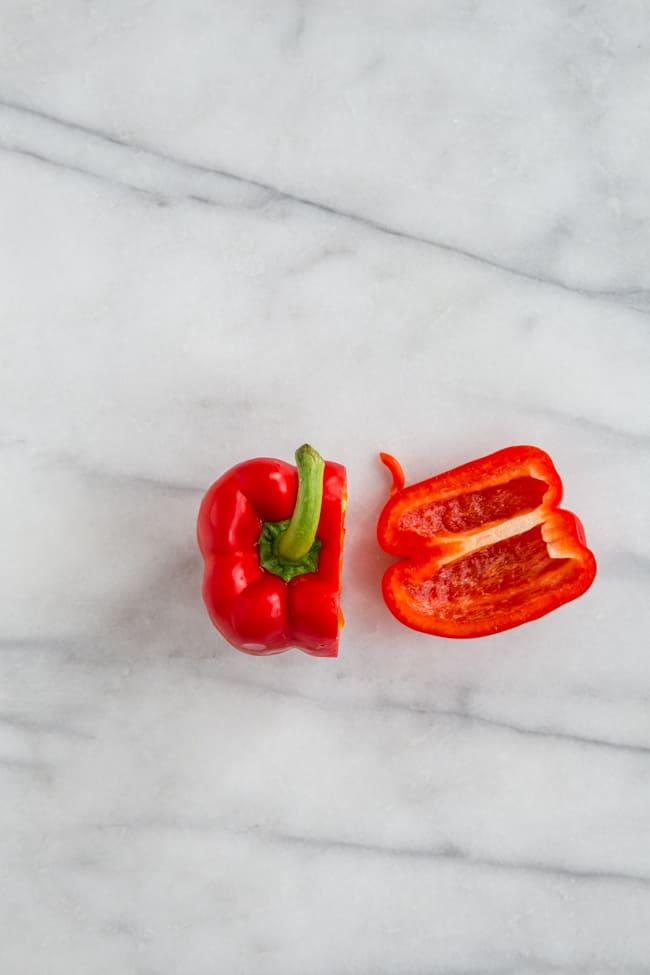
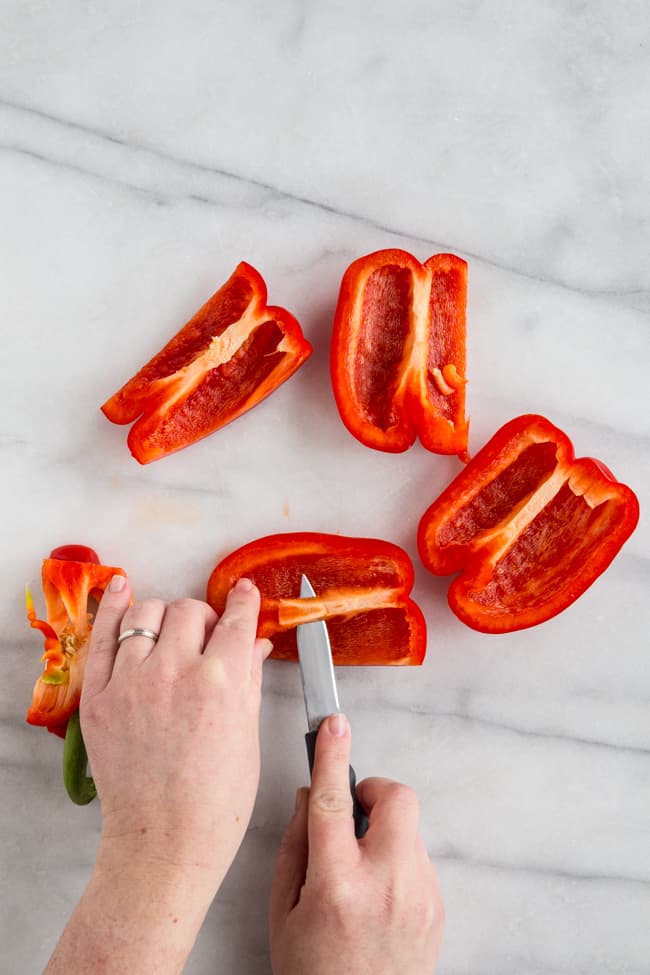
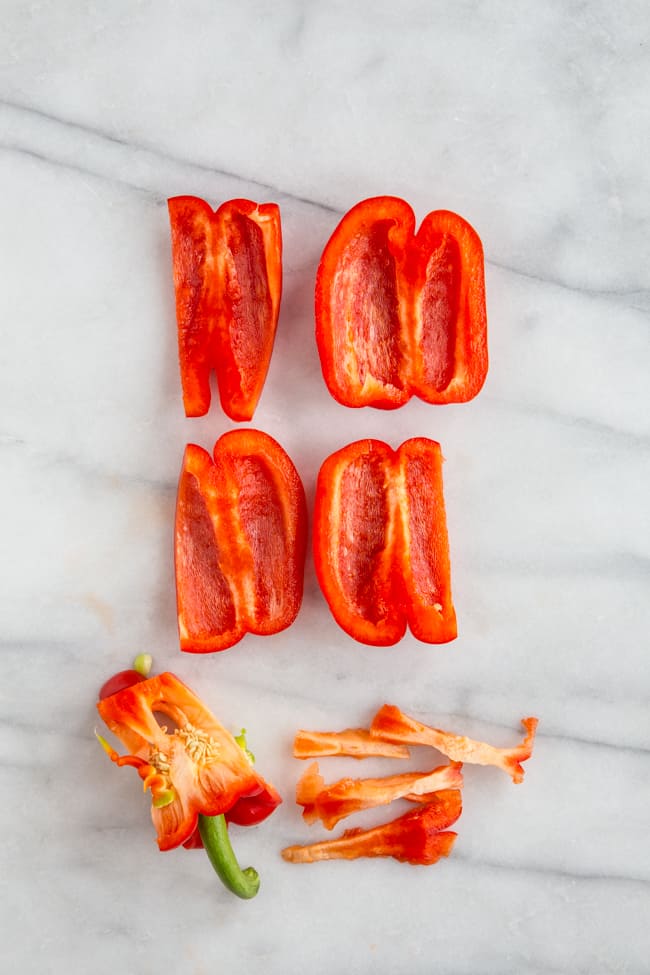
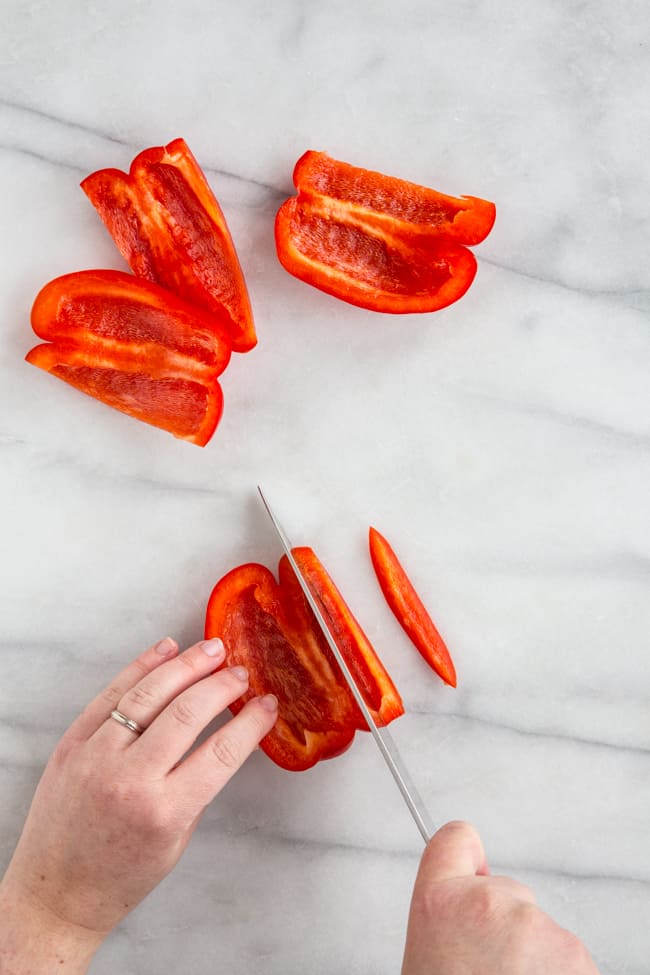
Begin by standing the bell pepper up and using your chef's knife to cut sides off of the pepper in four “sheets” or “cheeks.”
Turn the pepper on its side and cut off the bottom of the pepper. Trim additional white ribs off of the pepper pieces.
Discard the core, stem and ribs.
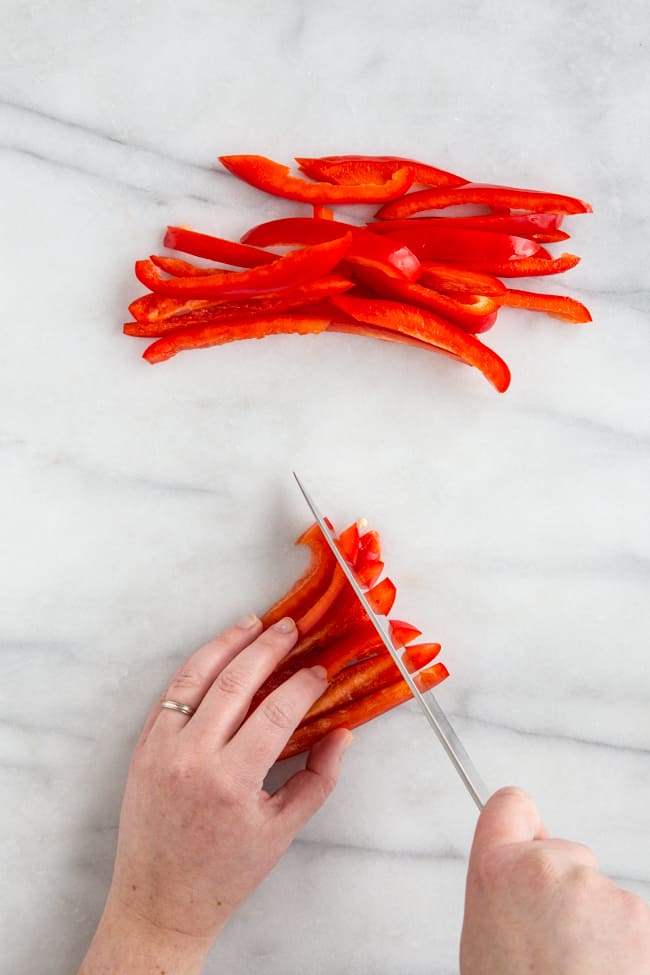
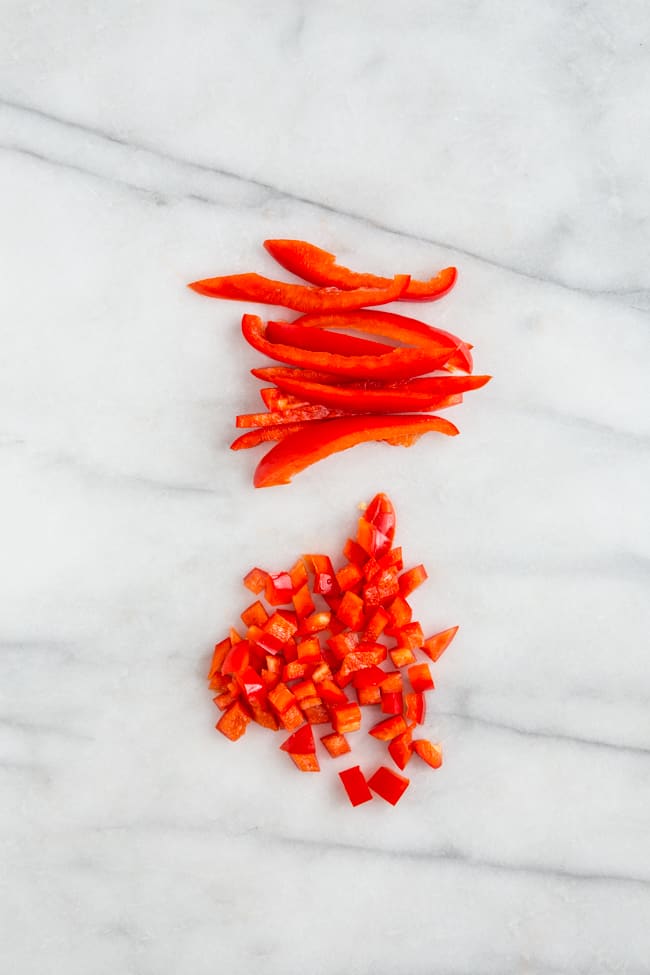
Cut the sheets of the pepper into strips for a vegetable tray or stir fry or turn the strips sideways and continue to cut them into a dice. Thinner strips will create a smaller dice.
How to Cut Onions
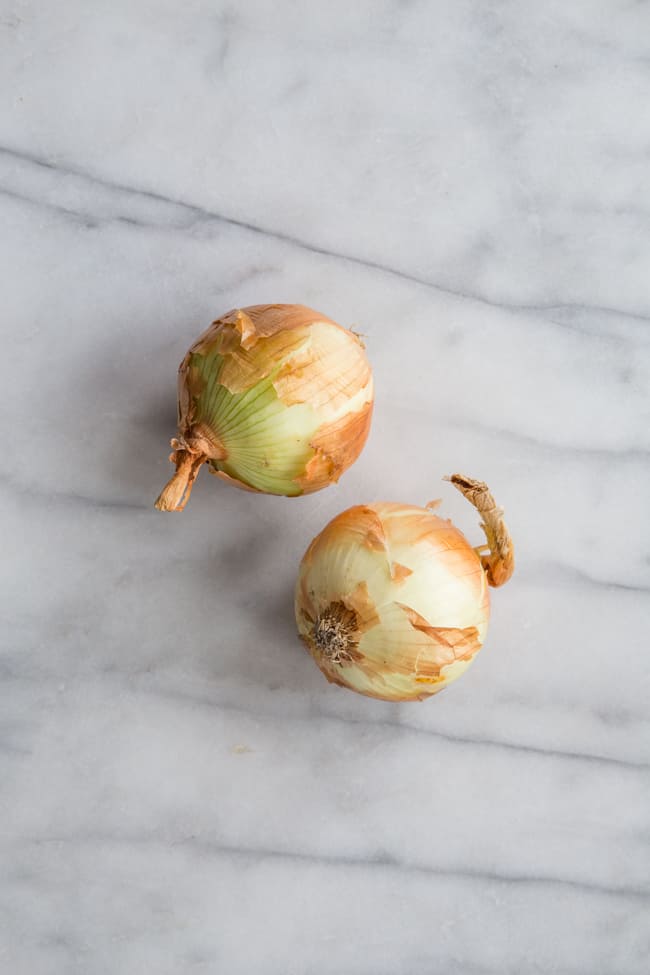
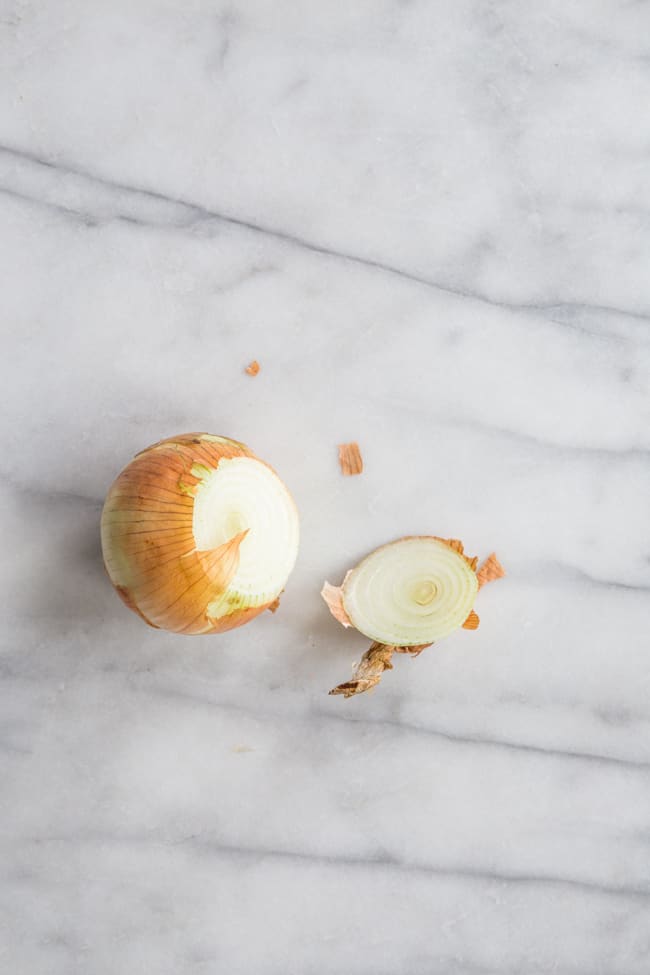
So many recipes begin with onion, and knowing how to quickly cut an onion will be a life saver in the kitchen. Start by cutting the top off of the onion and standing the onion up, cutting side down with root end in the air.
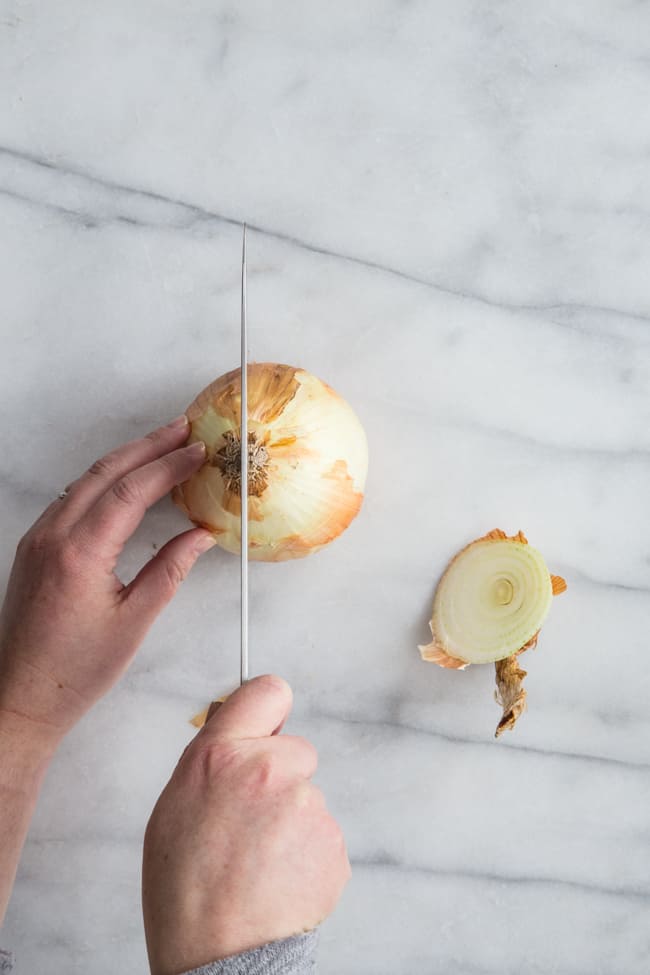
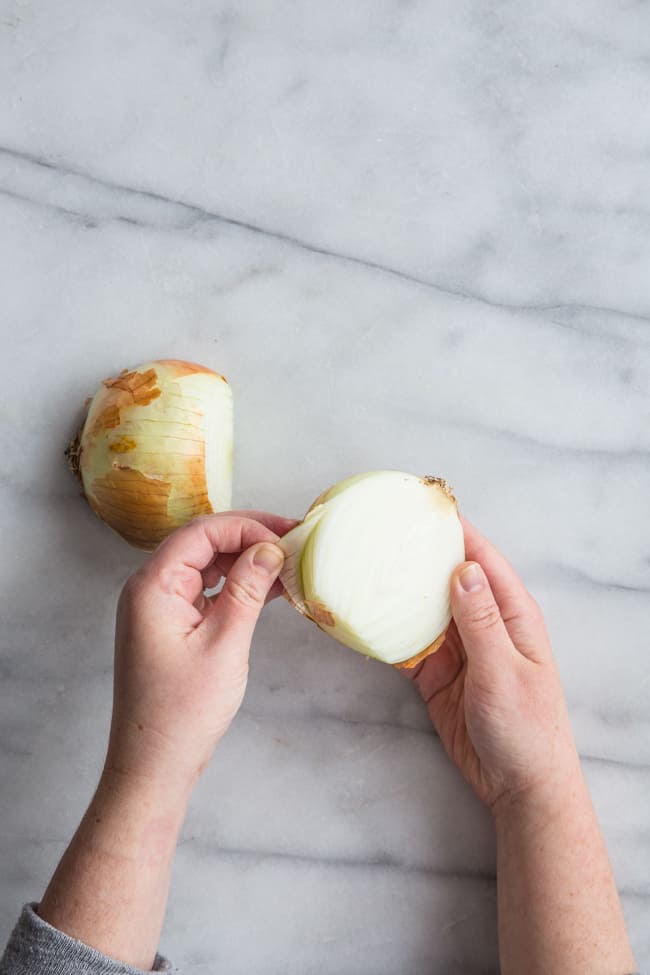
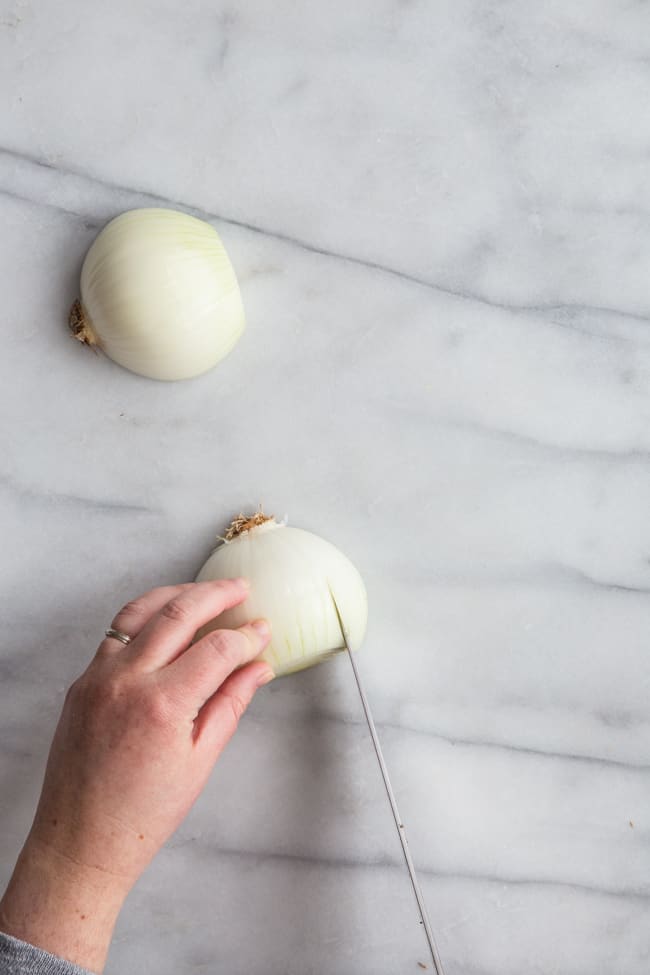
Use your knife to cut through the root of the onion creating two halves. Peel off and discard outer skin.
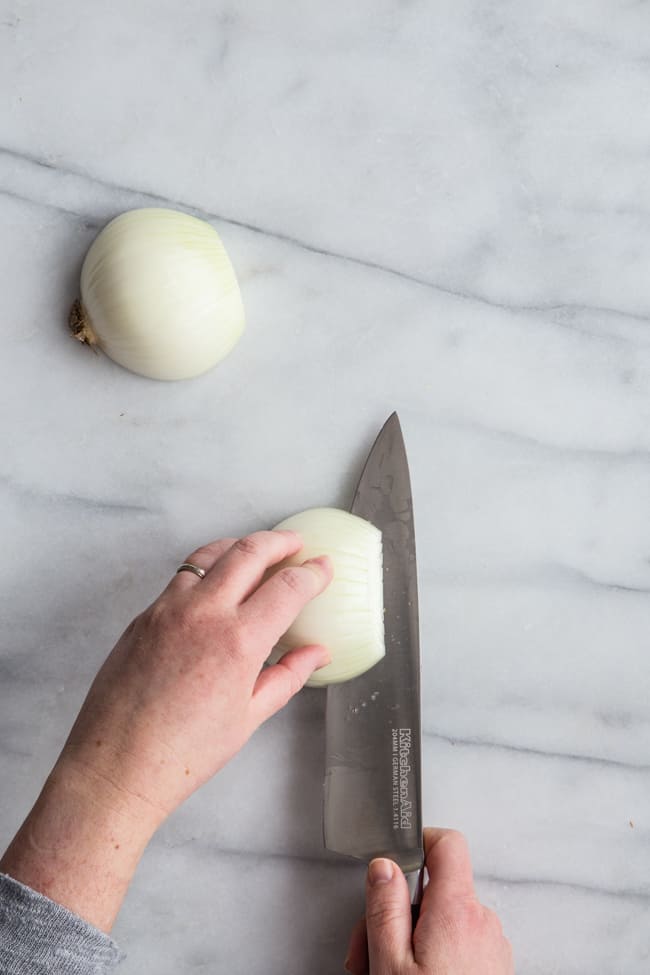
Place half of the onion flat on a cutting board.
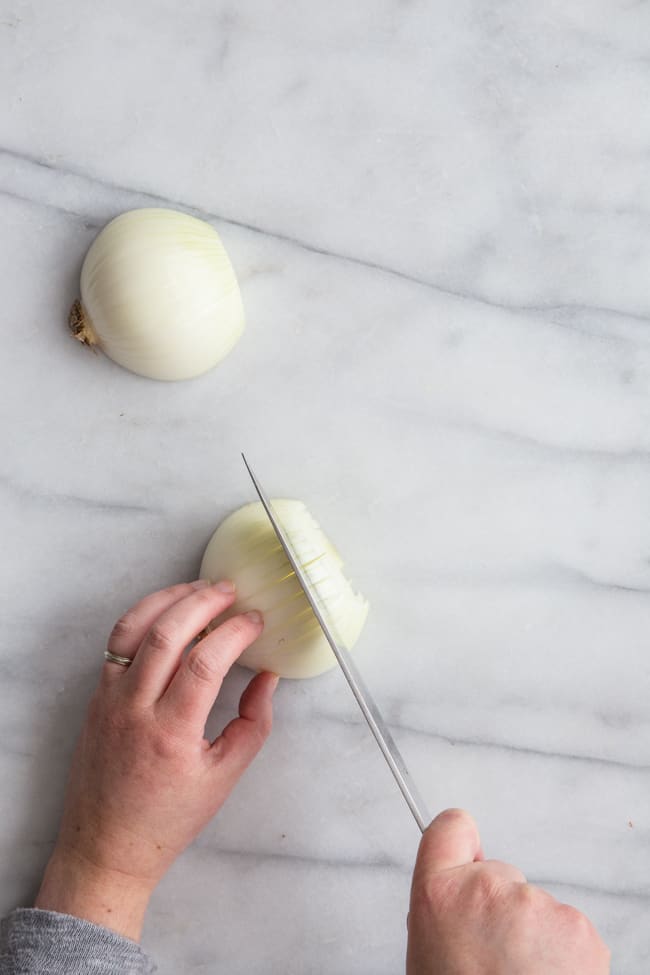
For a dice or mince, make several horizontal cuts through the onion, stopping just before reaching the root end. Then make several vertical slices through the onion, pointing toward the root end, but avoid cutting through the roots.
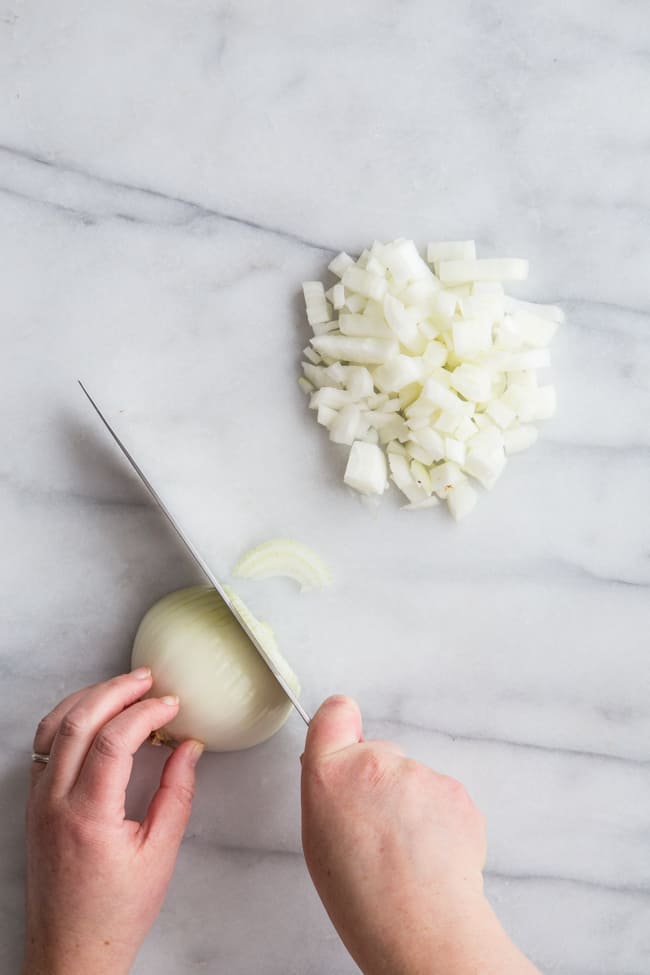
The root end will hold everything together, making it easier to cut without slipping. Turn the knife perpendicular to the vertical cuts and slice the onion in about ¼ inch wide cuts. This will create a dice or small cubes of onion.
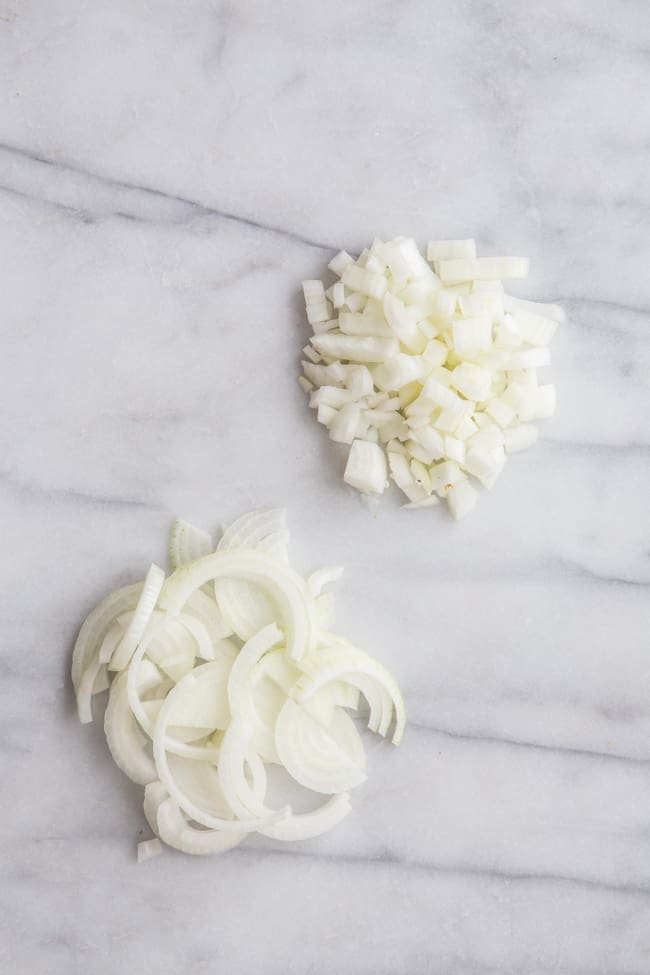
For minced onion, make all of your cuts and slices closer together to create smaller pieces of onion.
For sliced onion, cut the onion into thin slices.
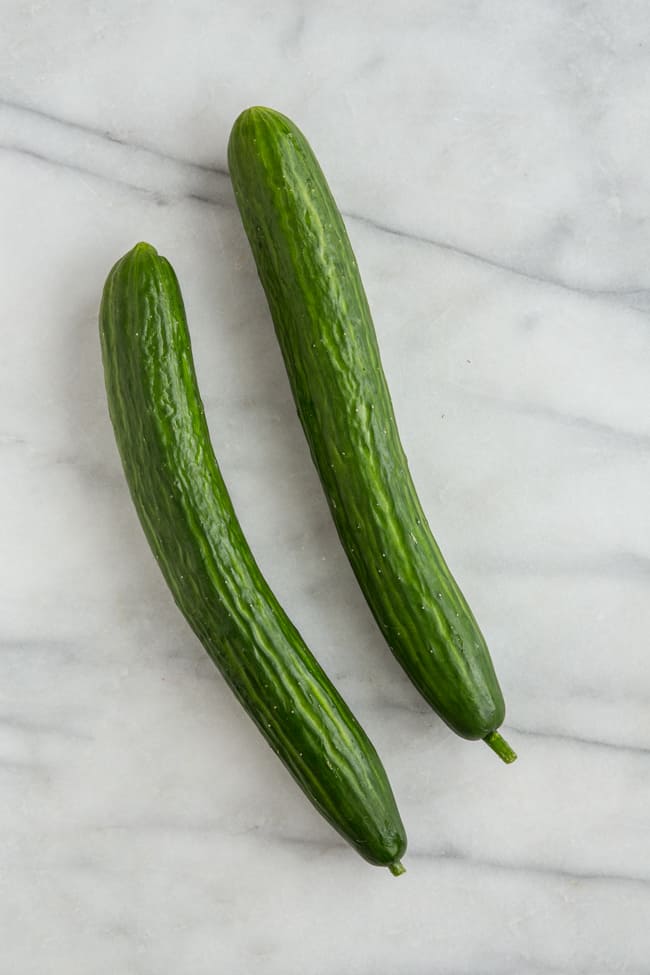
How to Cut Seedless Cucumber
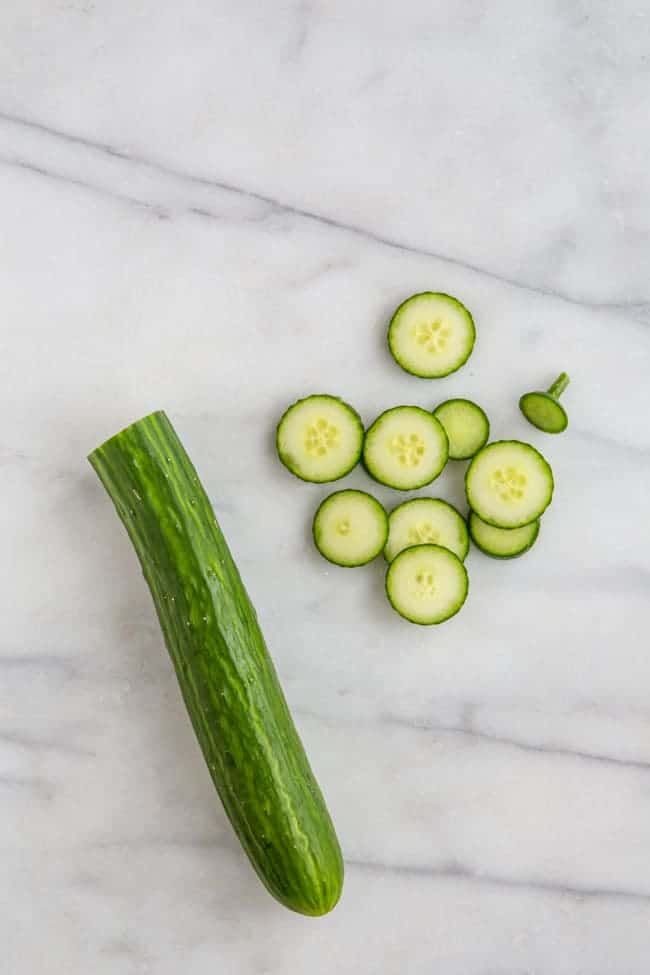
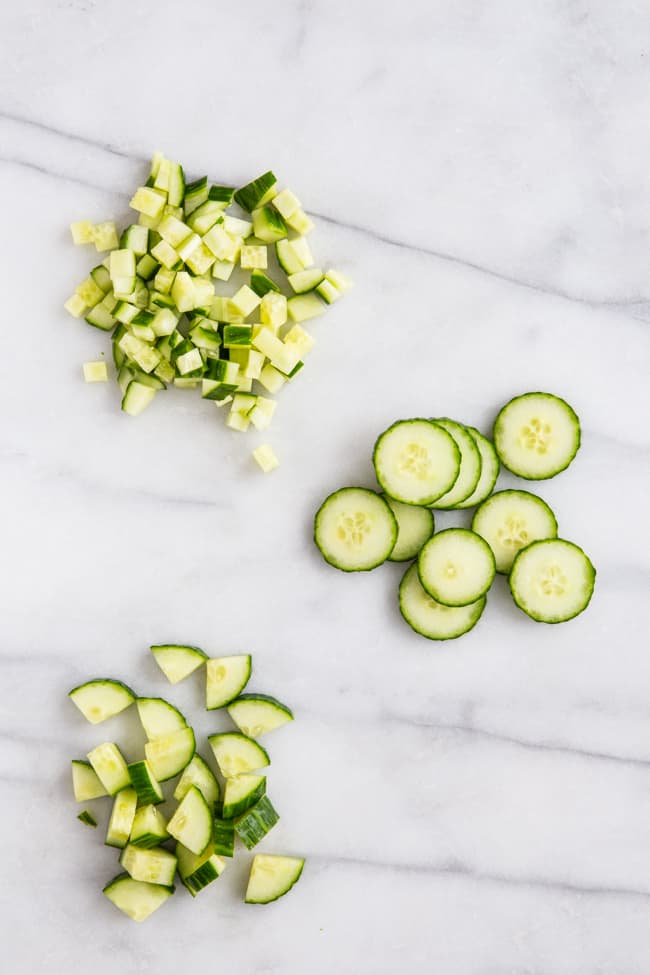
For cucumber slices, remove the stem end and thinly slice the cucumber. These slices are great for snacking, dipping and at-home spa days.
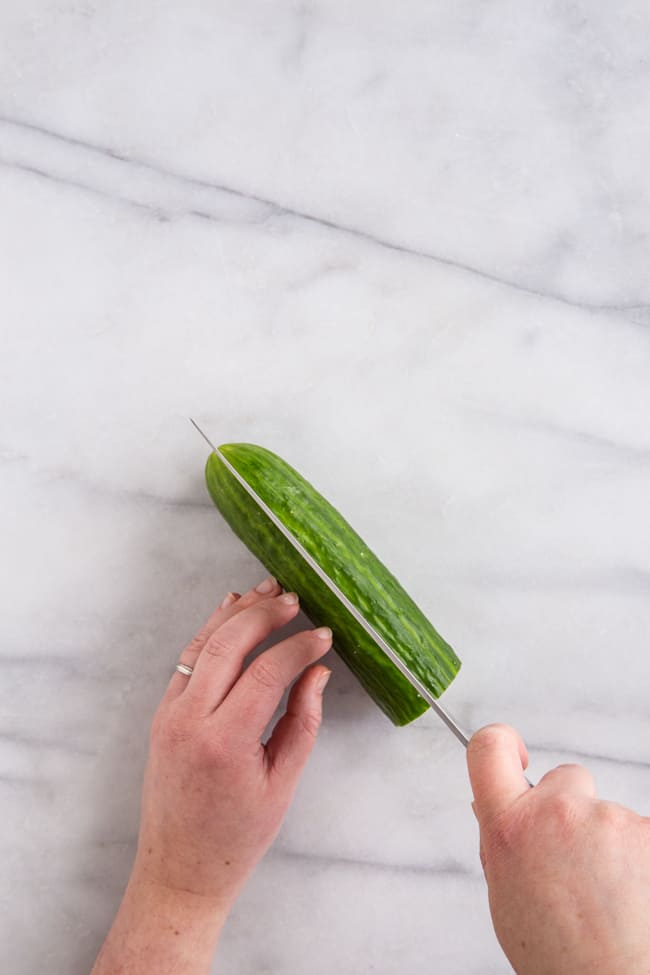
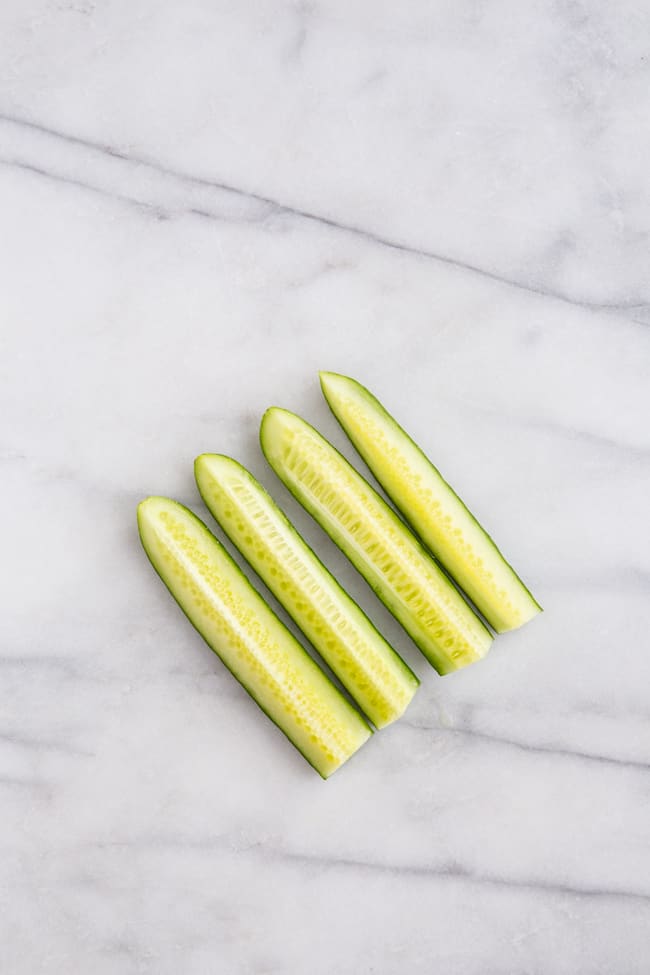
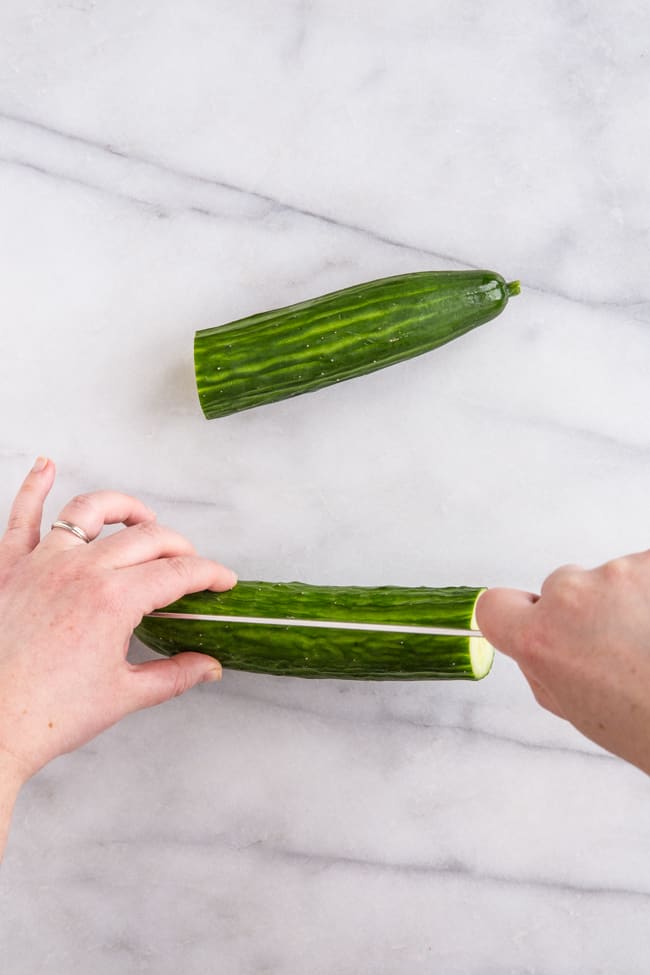
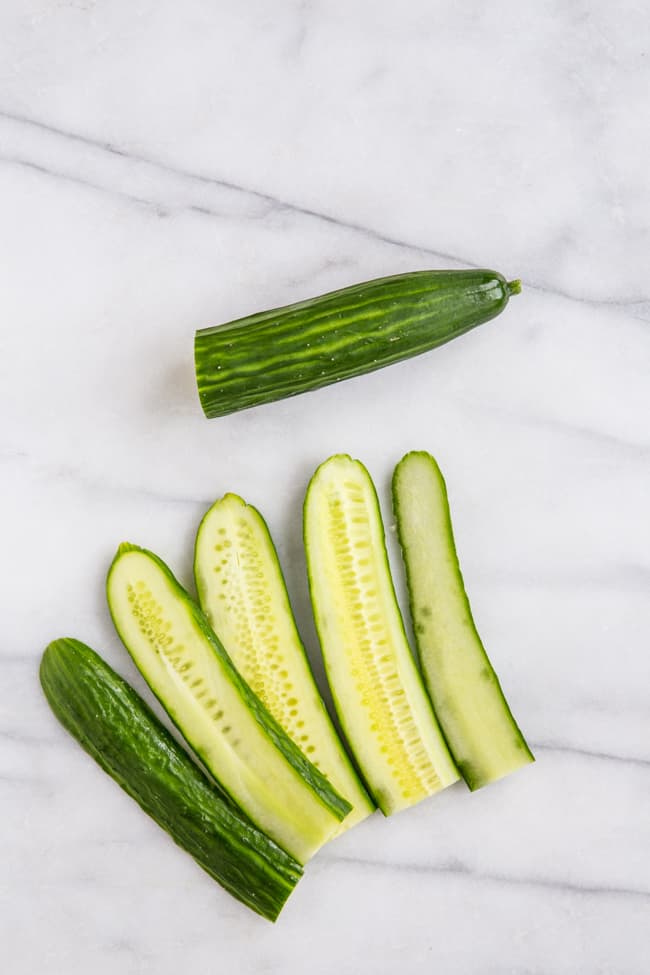
For chopped cucumber, cut cucumber in half and in quarters lengthwise, then thinly slice cucumber strips into small pieces. This creates roughly chopped cucumber that is great for salads.
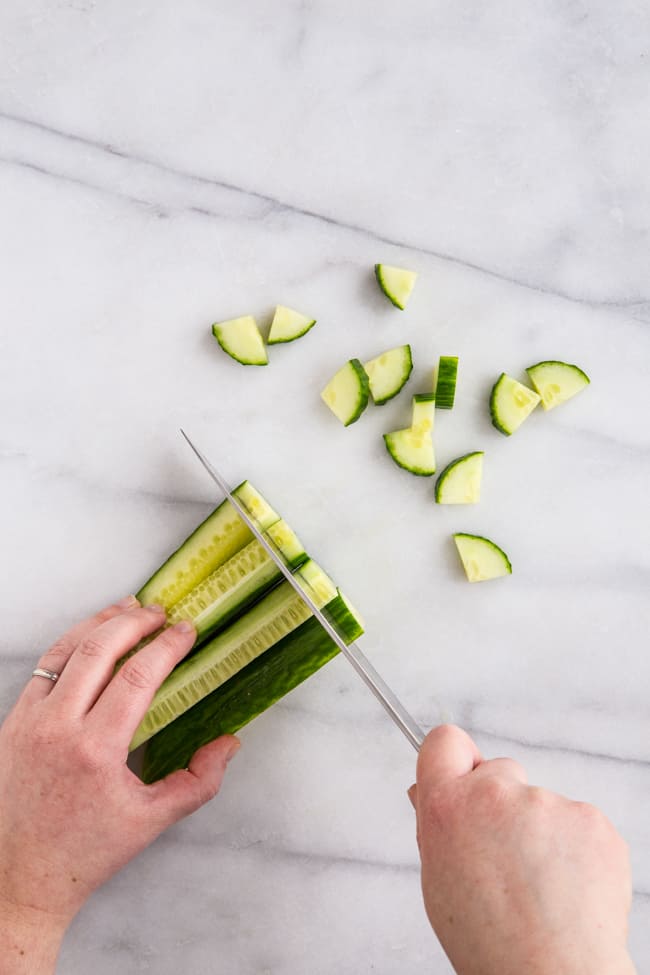
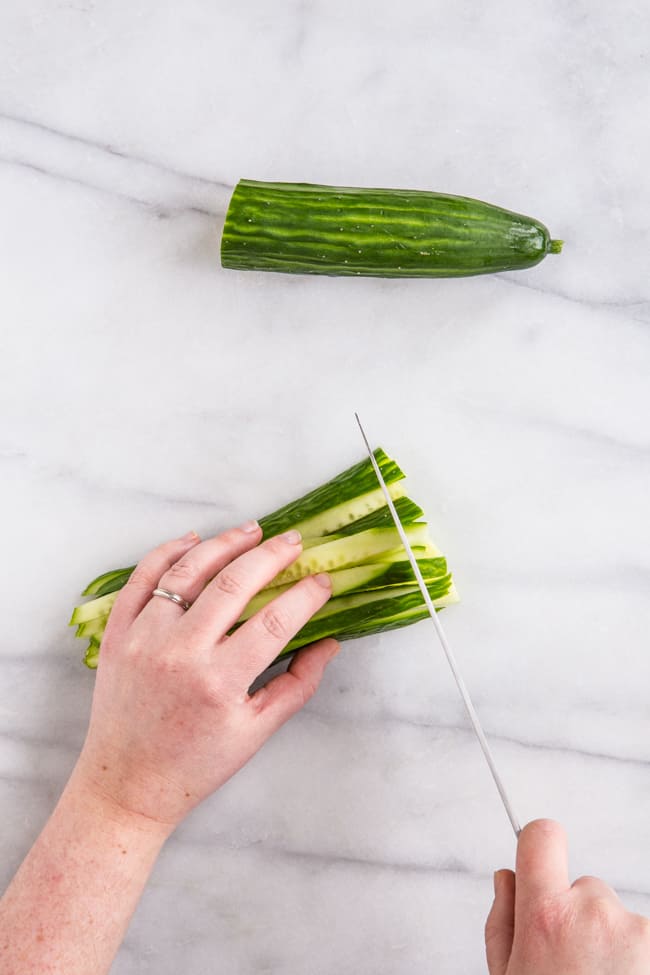
For a more precise dice, cut the cucumbers lengthwise into flat sheets about ¼ inch thick. Lay the cucumber sheets down and cut the cucumber lengthwise again creating long, square-shaped cucumber strips. Slice the strips of cucumber perpendicularly, creating small cubes or dice.
How to Cut Carrots
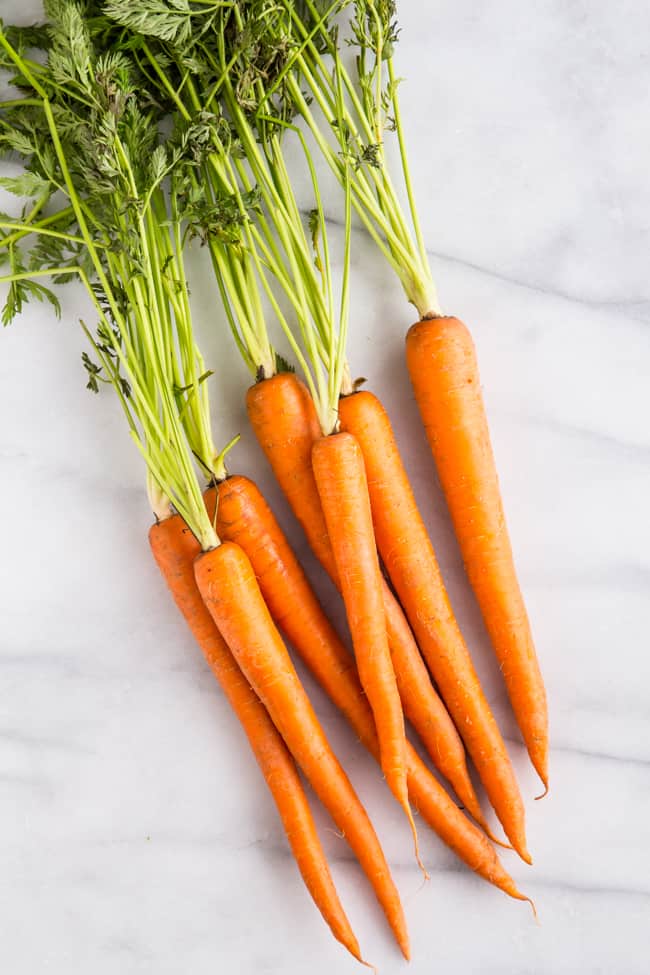
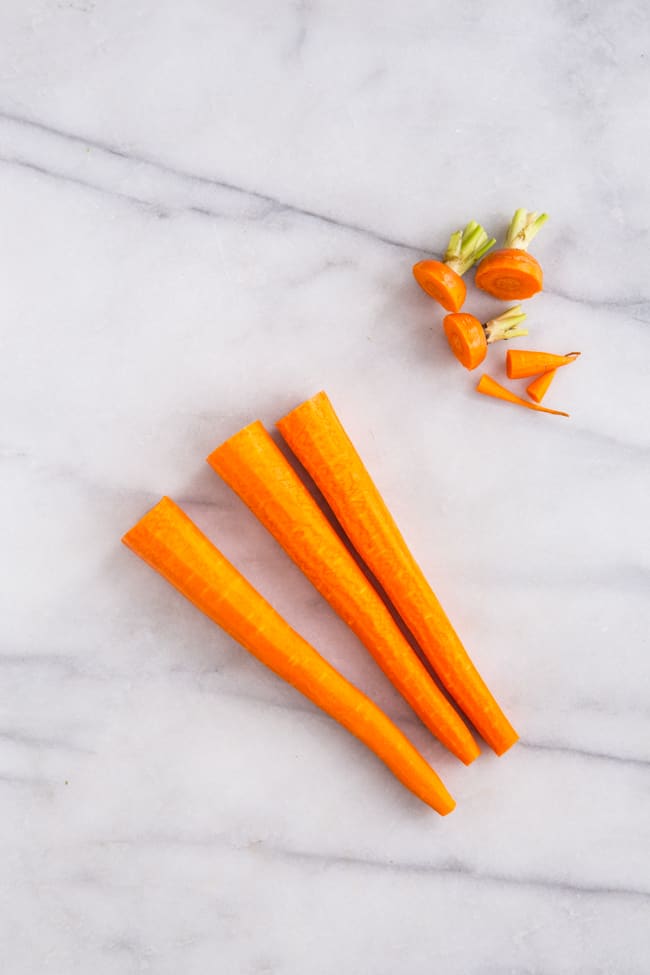
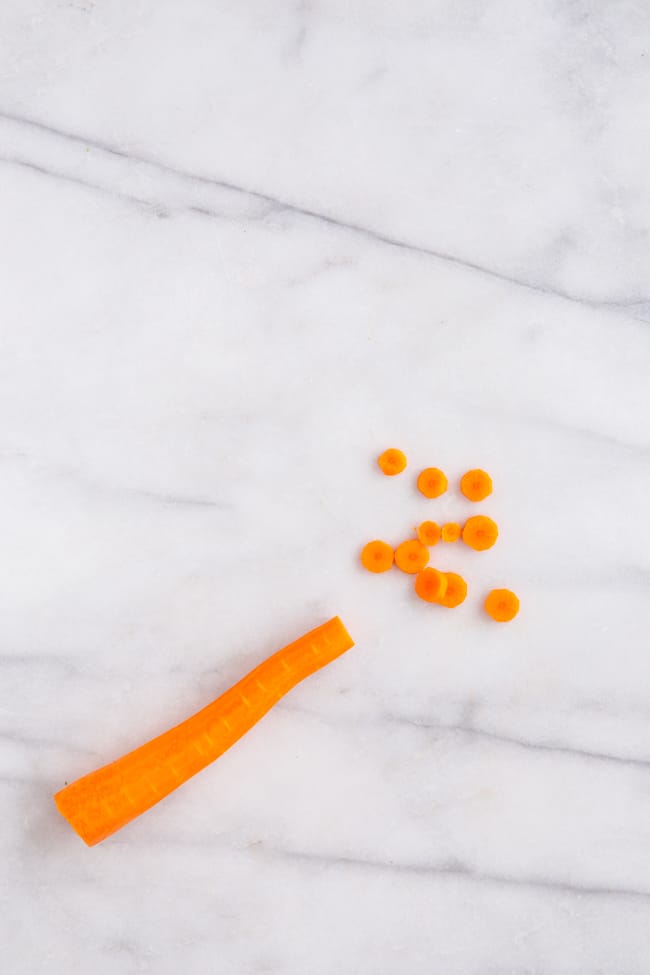
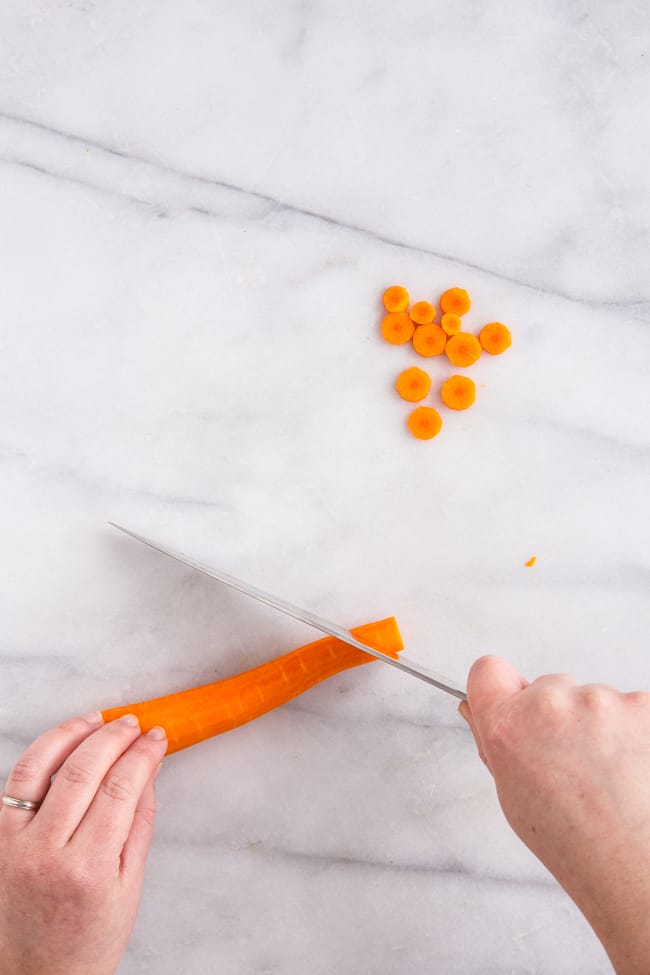
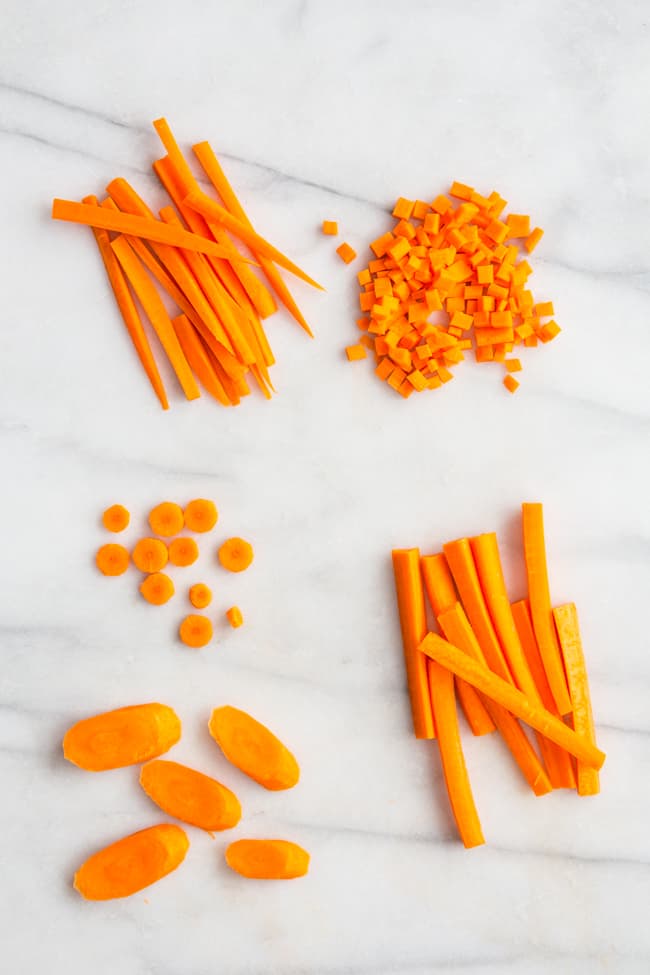
Remove the greens and peel the carrots. For carrot slices, thinly cut the carrots with a knife to about ⅛-1/4 inch thick slices. You can also angle your knife to create diagonal sliced carrots, which are pretty for stir fry dishes or glazed, roasted carrots.
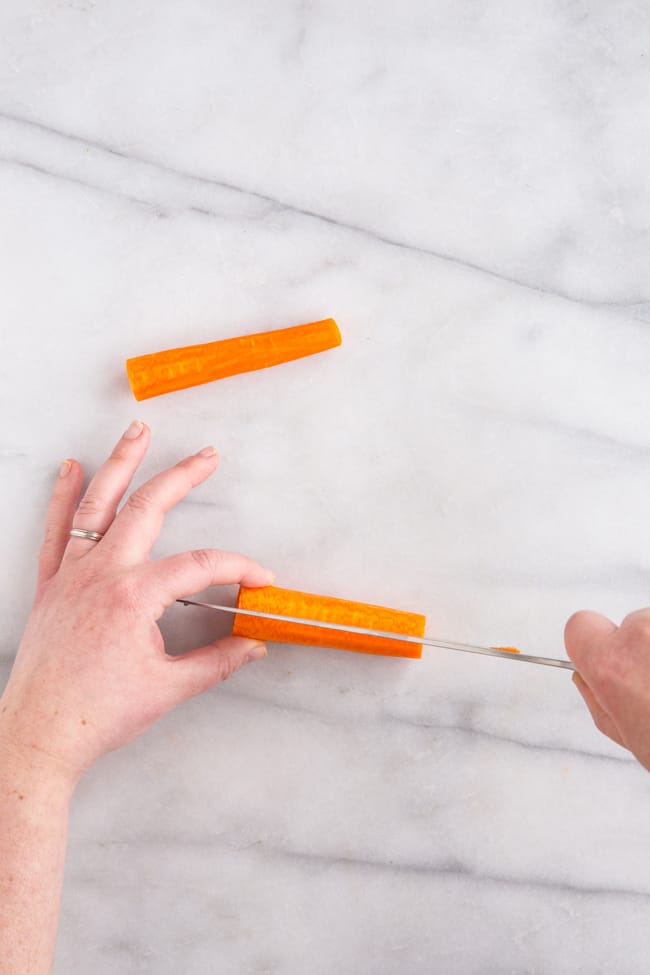
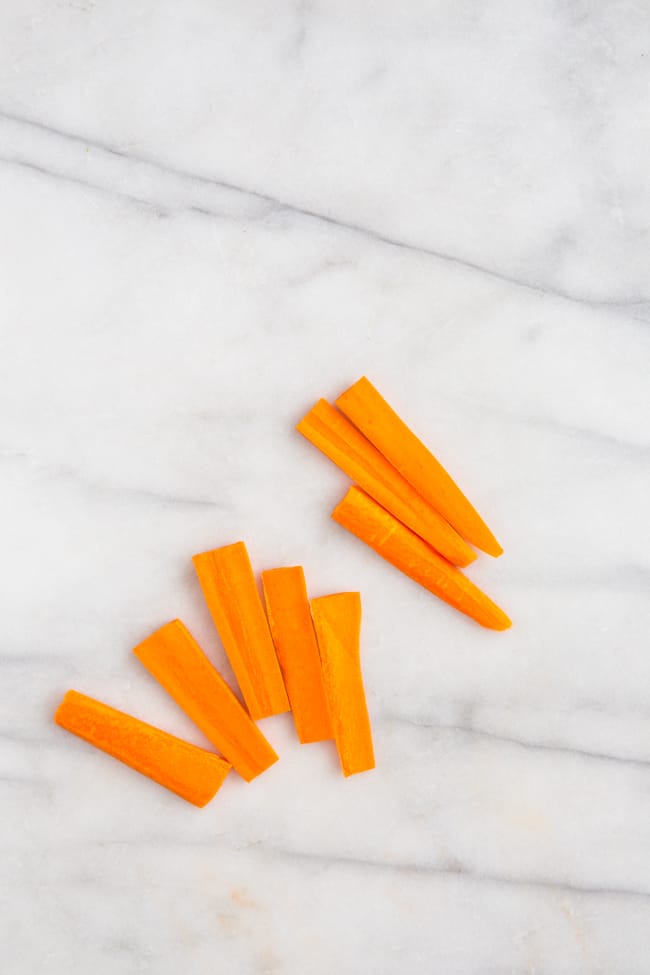
For carrot sticks, cut the carrots into 4-inch lengths. Cut the carrots into quarters lengthwise.
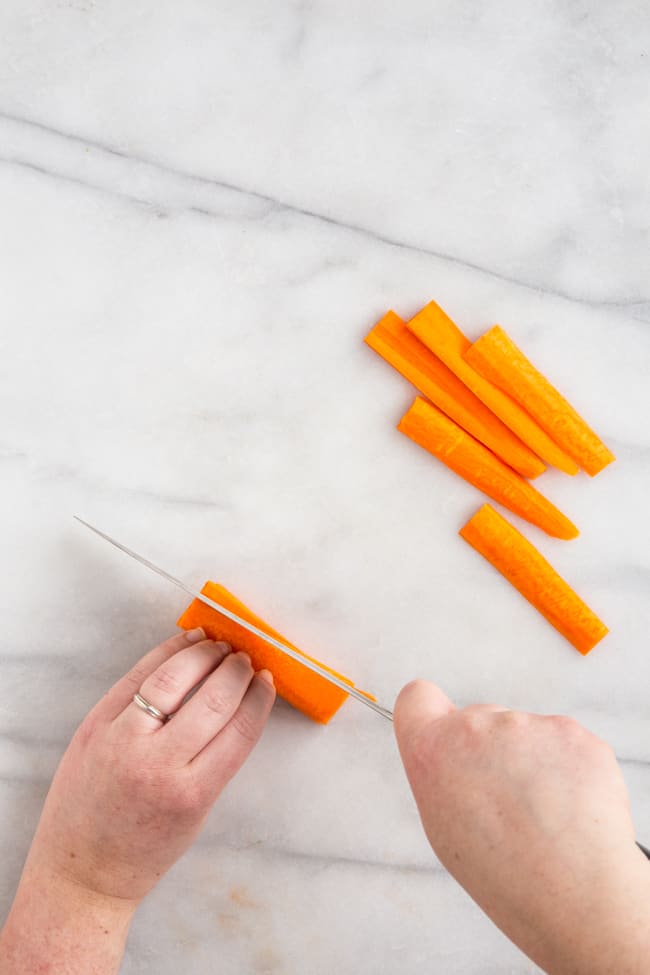
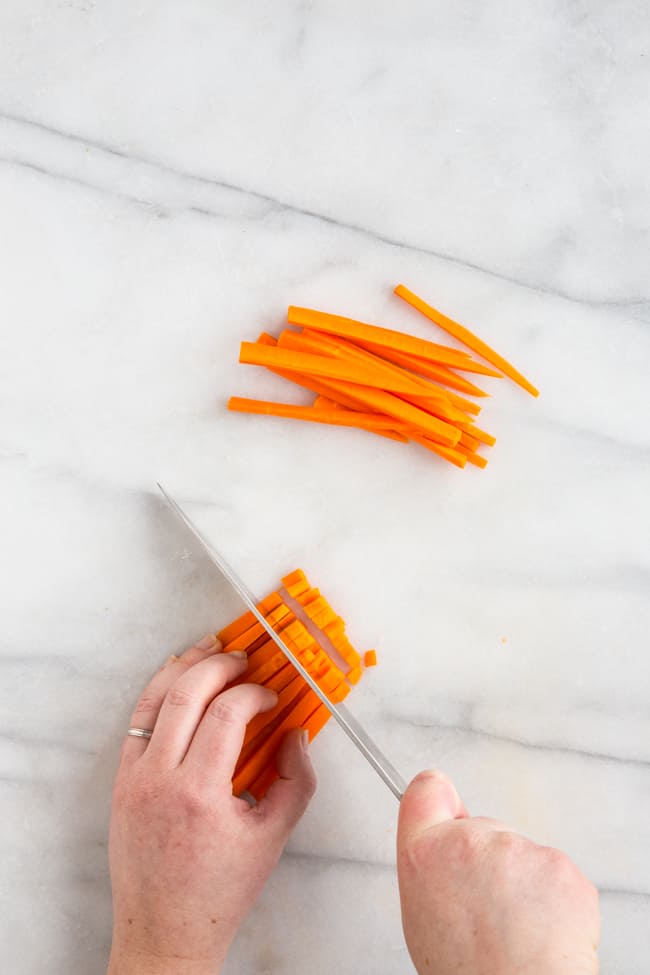
For diced carrots, cut the carrots into 4-inch lengths. Make slices lengthwise down the carrots, creating flat sheets that are about ⅛ - ¼ inch thick.
Lay the carrot sheets flat down on cutting board and repeat the lengthwise cuts creating skinny square carrot sticks. Cut the square carrot sticks perpendicularly to create small cubes.
For a mince, create thinner sheets and sticks to chop into smaller cubes.
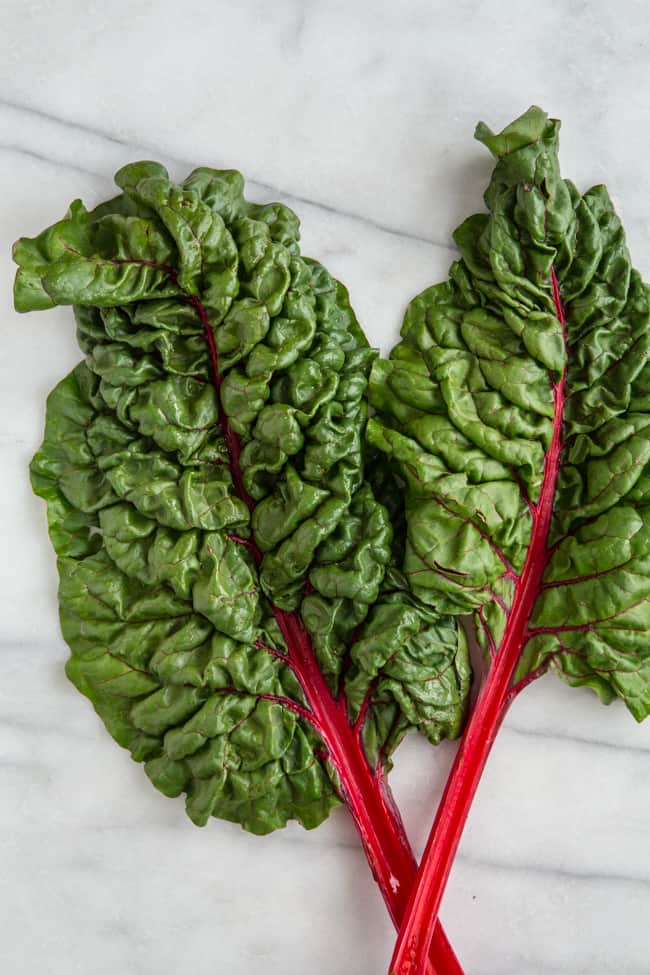
How to Cut Leafy Greens (Swiss Chard)
This method works with many leafy greens but may need to be adjusted based on the thickness of the stems.
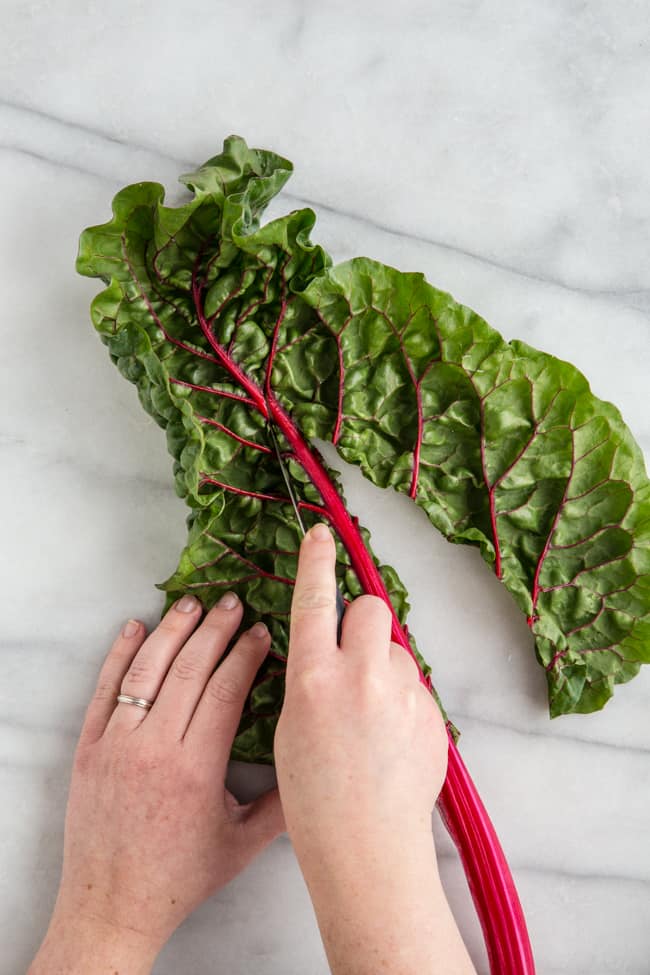
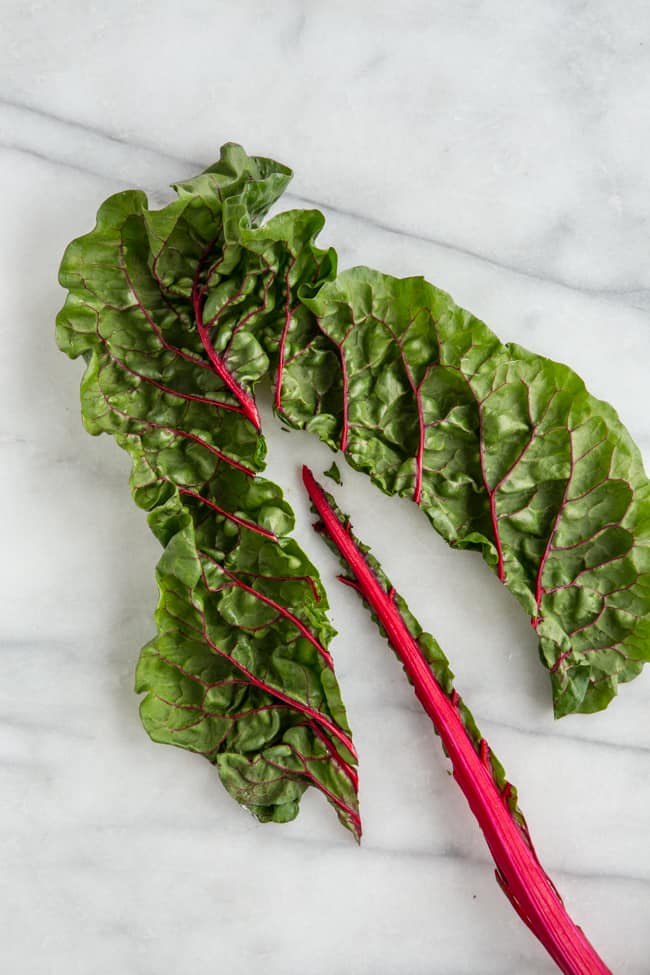
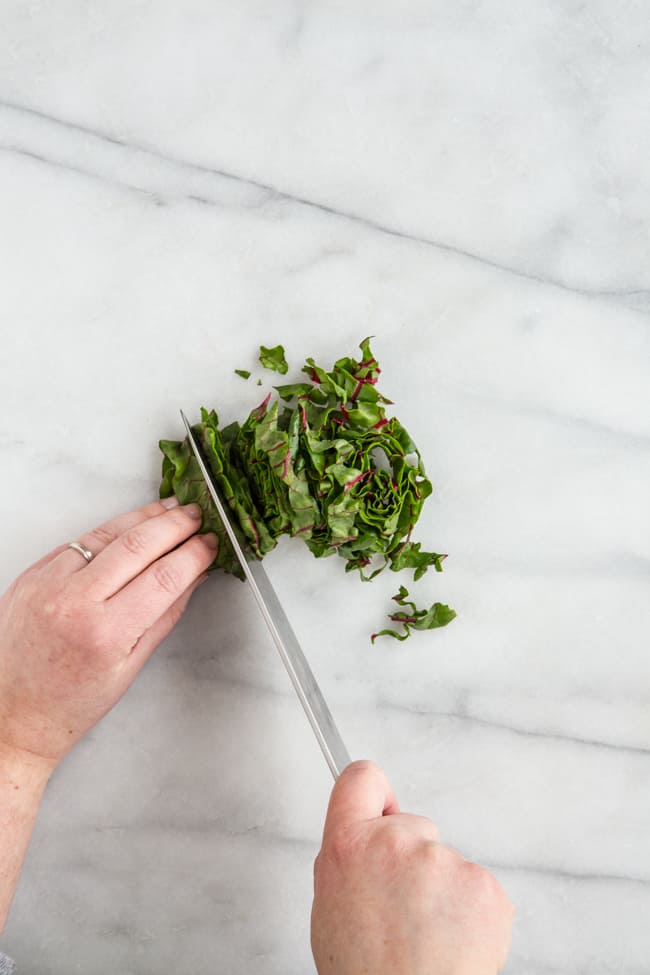
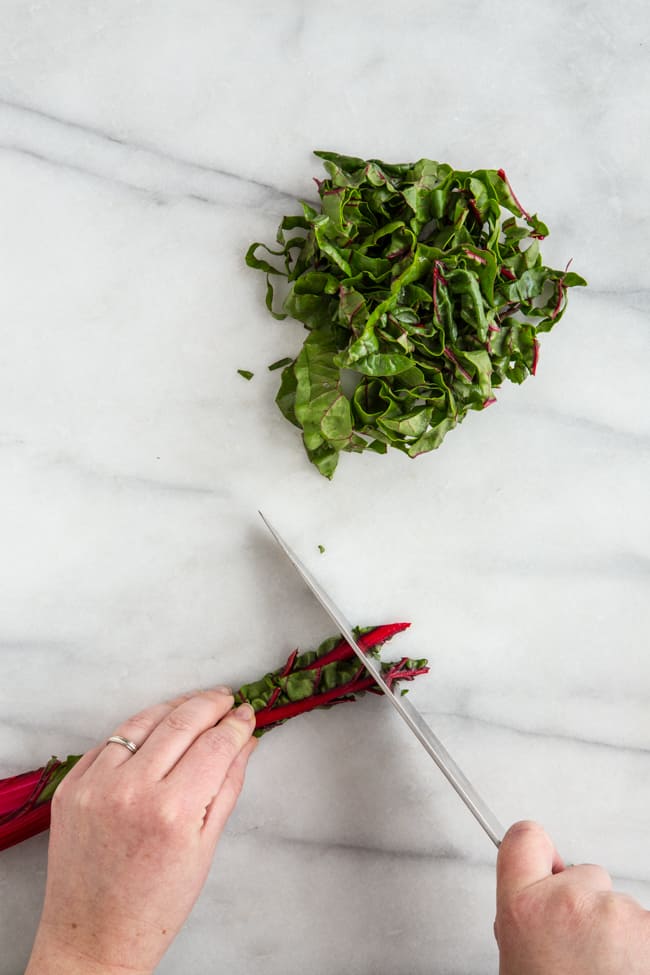
Lay the leaf flat on a cutting board. Use a knife to remove leaves from the stem.
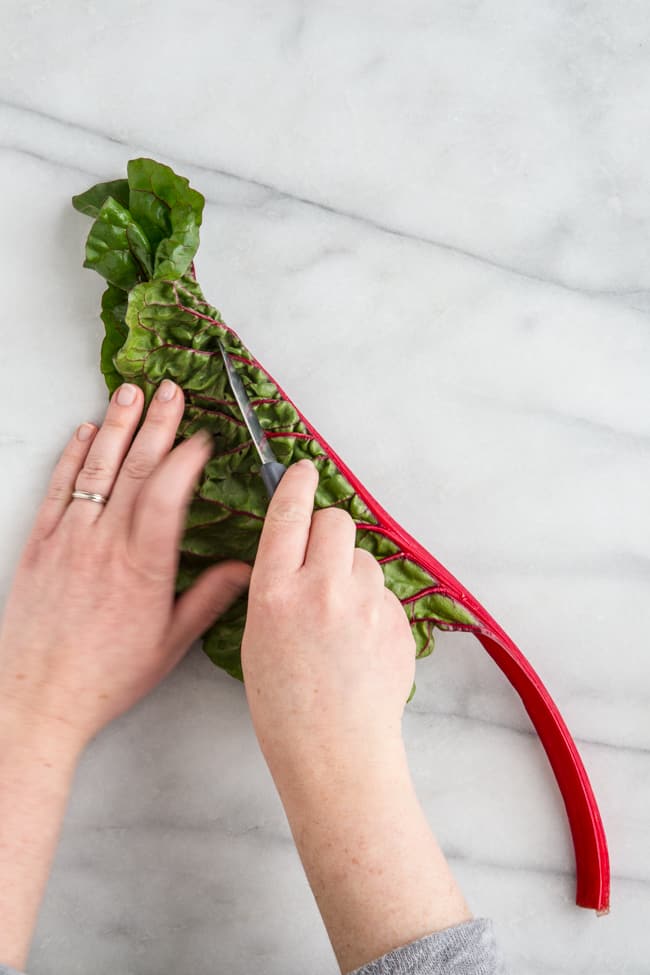
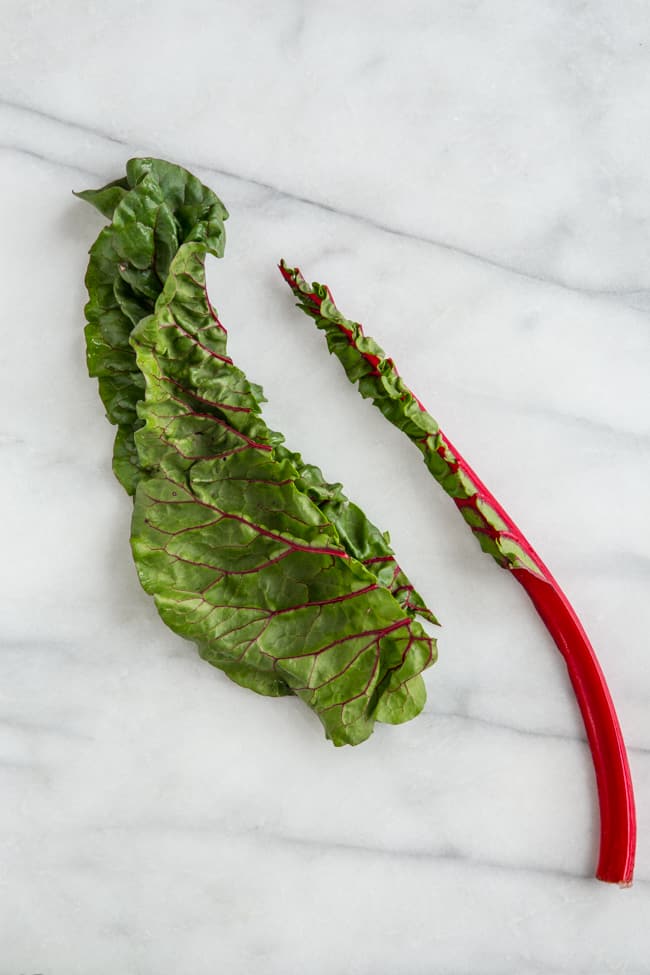
You can alternatively fold the leaf in half and cut along the stem to remove the rib and stem.
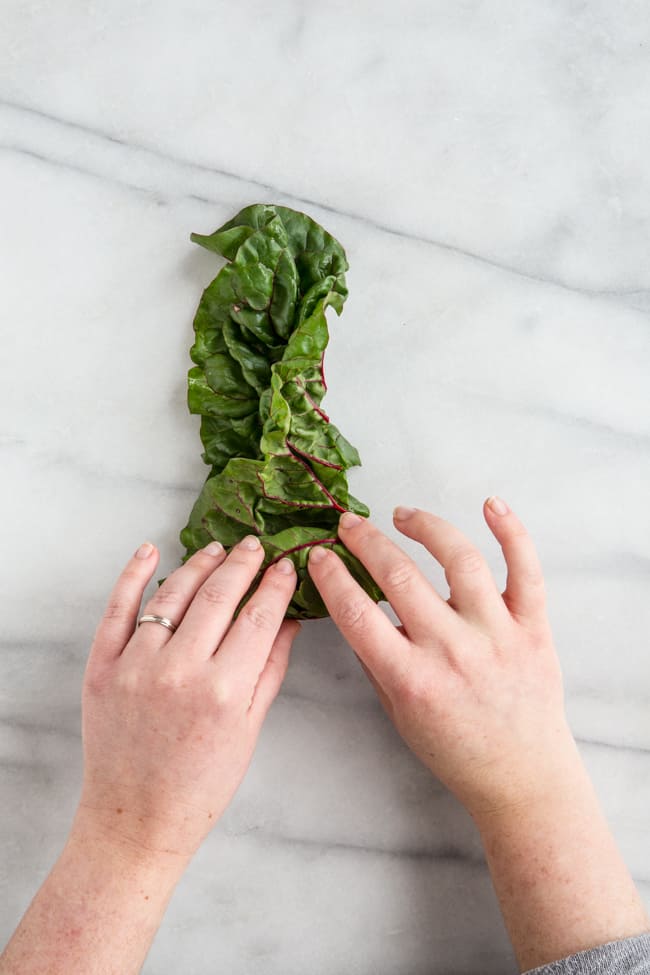
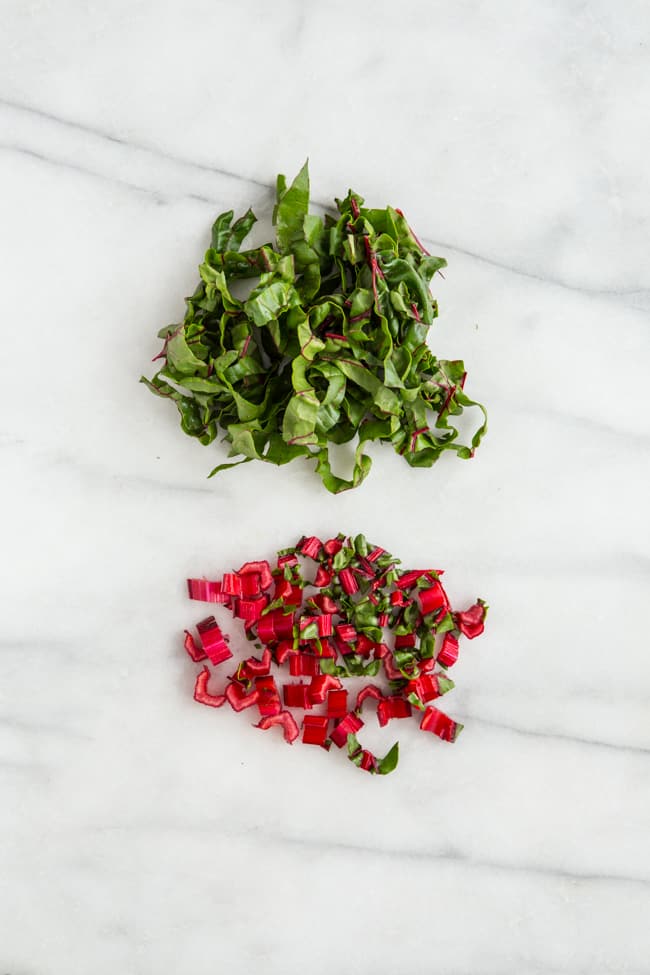
Fold or roll the leaves up and slice them, creating leafy ribbons that are great for salads and sautéing.
Stems of certain greens like Swiss Chard can be chopped and used in recipes.
Looking for something to do with your veggie scraps after all of that chopping? Check out our list of vegetables you can grow at home from kitchen scraps!
Cutting Vegetables FAQ
What kinds of knives should I keep on hand to cut vegetables?
Both a sharp paring knife (for cutting veggies like cauliflower) and a good chef's knife (great for chopping bell pepper) come in handy when cutting vegetables. Keep them sharpened to ensure they're always at the ready so you won't have to pause your prep process.
What is the best way to clean vegetables before cutting them?
DIY produce spray is a great way to clean any veggie that has a skin or peel on it, such as tomatoes, cucumbers and bell peppers. For leafy greens, a good cleaning soak is ideal.
To make a veggie soak, pour water in a large bowl and add 4 tablespoons of salt and the juice of half a lemon. Mix together, add greens and soak for a few minutes, then give the greens a good rinse.
Should I wash all of my produce and vegetables as soon as I bring them home from the market?
While you certainly can wash all of your produce up front, keep in mind that you don’t want to wash more delicate leafy greens and veggies until you’re ready to eat them. Extra moisture can cause them to spoil faster.
You can wash some leafy greens as soon as you get home if you're prepared to use them over the next two or three days. If you do choose to wash everything right away, be sure to let produce dry completely before putting away and line produce drawers with a cloth or paper towel to absorb extra moisture. Follow these storage rules to make your product last longer!
60



Leave a Comment