Applying self tanner can be extremely intimidating if you’ve never tried it before. But there are ways to ease this daunting task!
We’ve put together a nice guide of tips and tricks for self tanning, along with a fantastic pre-tan scrub and our favorite natural tanners. Spring is here, and summer is on the horizon, so let's bring on the healthy sun-kissed skin—without the sun damage.
How To Fake a Tan in 10 Simple Steps
1. Plan Ahead
Self tanning is never something you want to do spur of the moment. This is one area of life where spontaneity will not be your friend.
Dry brushing is a great step to prep the skin. You will want to dry brush two days prior to your self tanner application—so plan ahead! Dry brush from the soles of your feet to the top of your torso.
2. Exfoliate
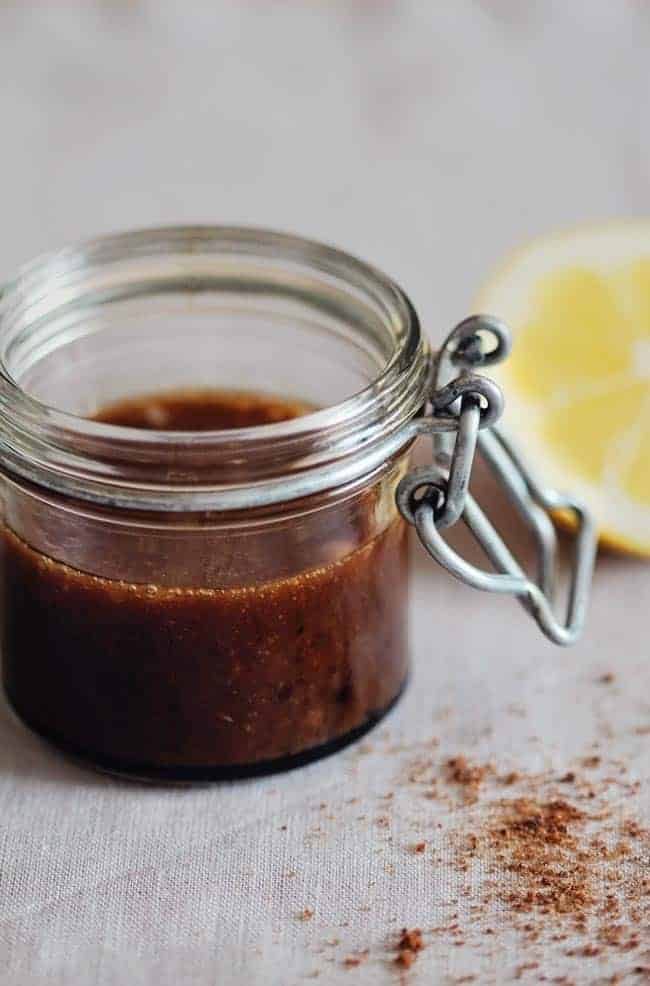
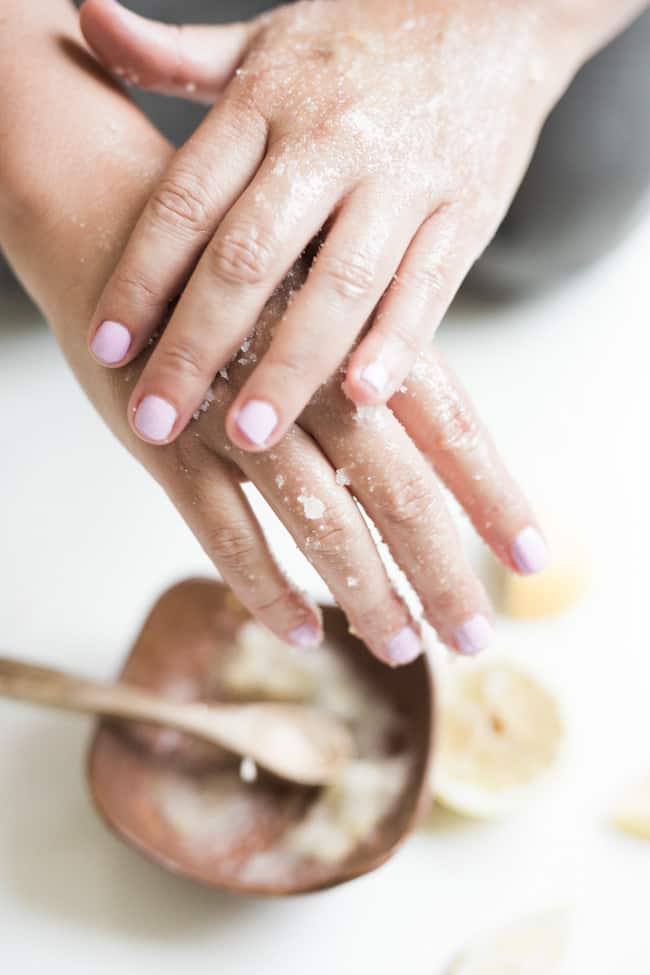
The day before, use this scrub to remove dry, flaky dead skin cells. If you fail to exfoliate properly, then you will end up with streaks and dark patches wherever there is a buildup of dead skin cells.
You can add a handful of sugar to your body wash, or you can try this homemade pre-tan scrub recipe:
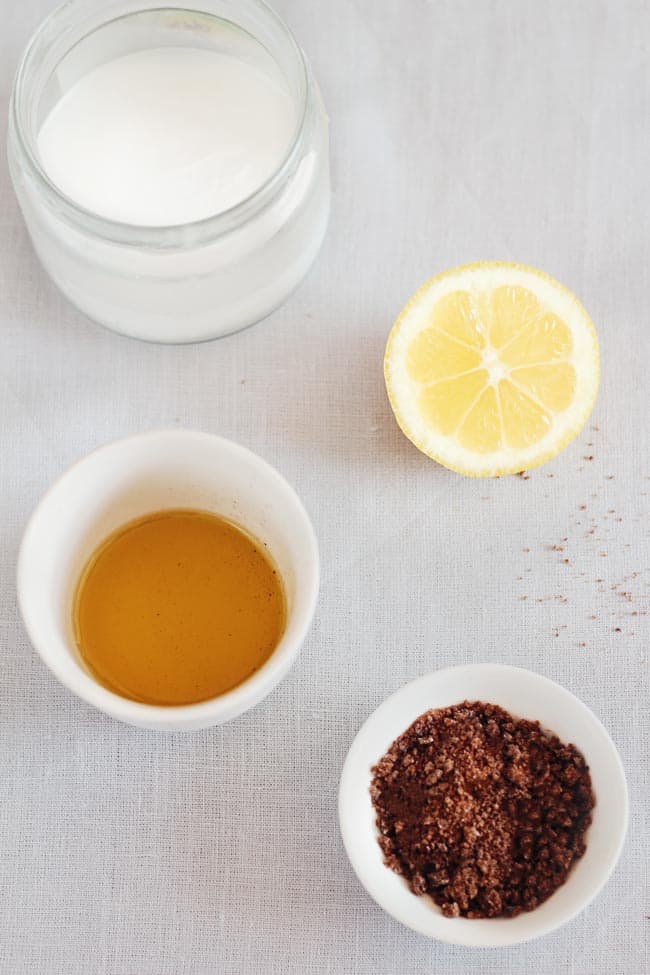
Pre Tan Scrub
—1 cup brown sugar
—juice of half a lemon
—½ cup coconut oil
Take your time to scrub your entire body well, spending extra time on your knees, elbows, ankles, and any other areas with dry patches.
3. Moisturize
Before applying self tanner, you’ll want to shower, towel dry, and apply a light moisturizer or a non-greasy lotion to your elbows and knees since they tend to grab more color than other areas. Avoid applying lotion all over the body as the oils don’t mix well with self tanner.
4. Gloves!
Gloves are crucial, so you don’t end up with orange palms. You can find latex or vinyl gloves that end at the wrist.
5. Have Ample Time
Give yourself plenty of time. Applying self tanner is never something you want to rush. Be sure you apply it during the daytime, in natural light, and with a full-length mirror if possible.
6. Use Circular Motions
Apply small amounts of the self tanner in circular motions. Do not jump around to different areas of the body but work slowly and gradually down one leg, on to the next, up one arm, and so on.
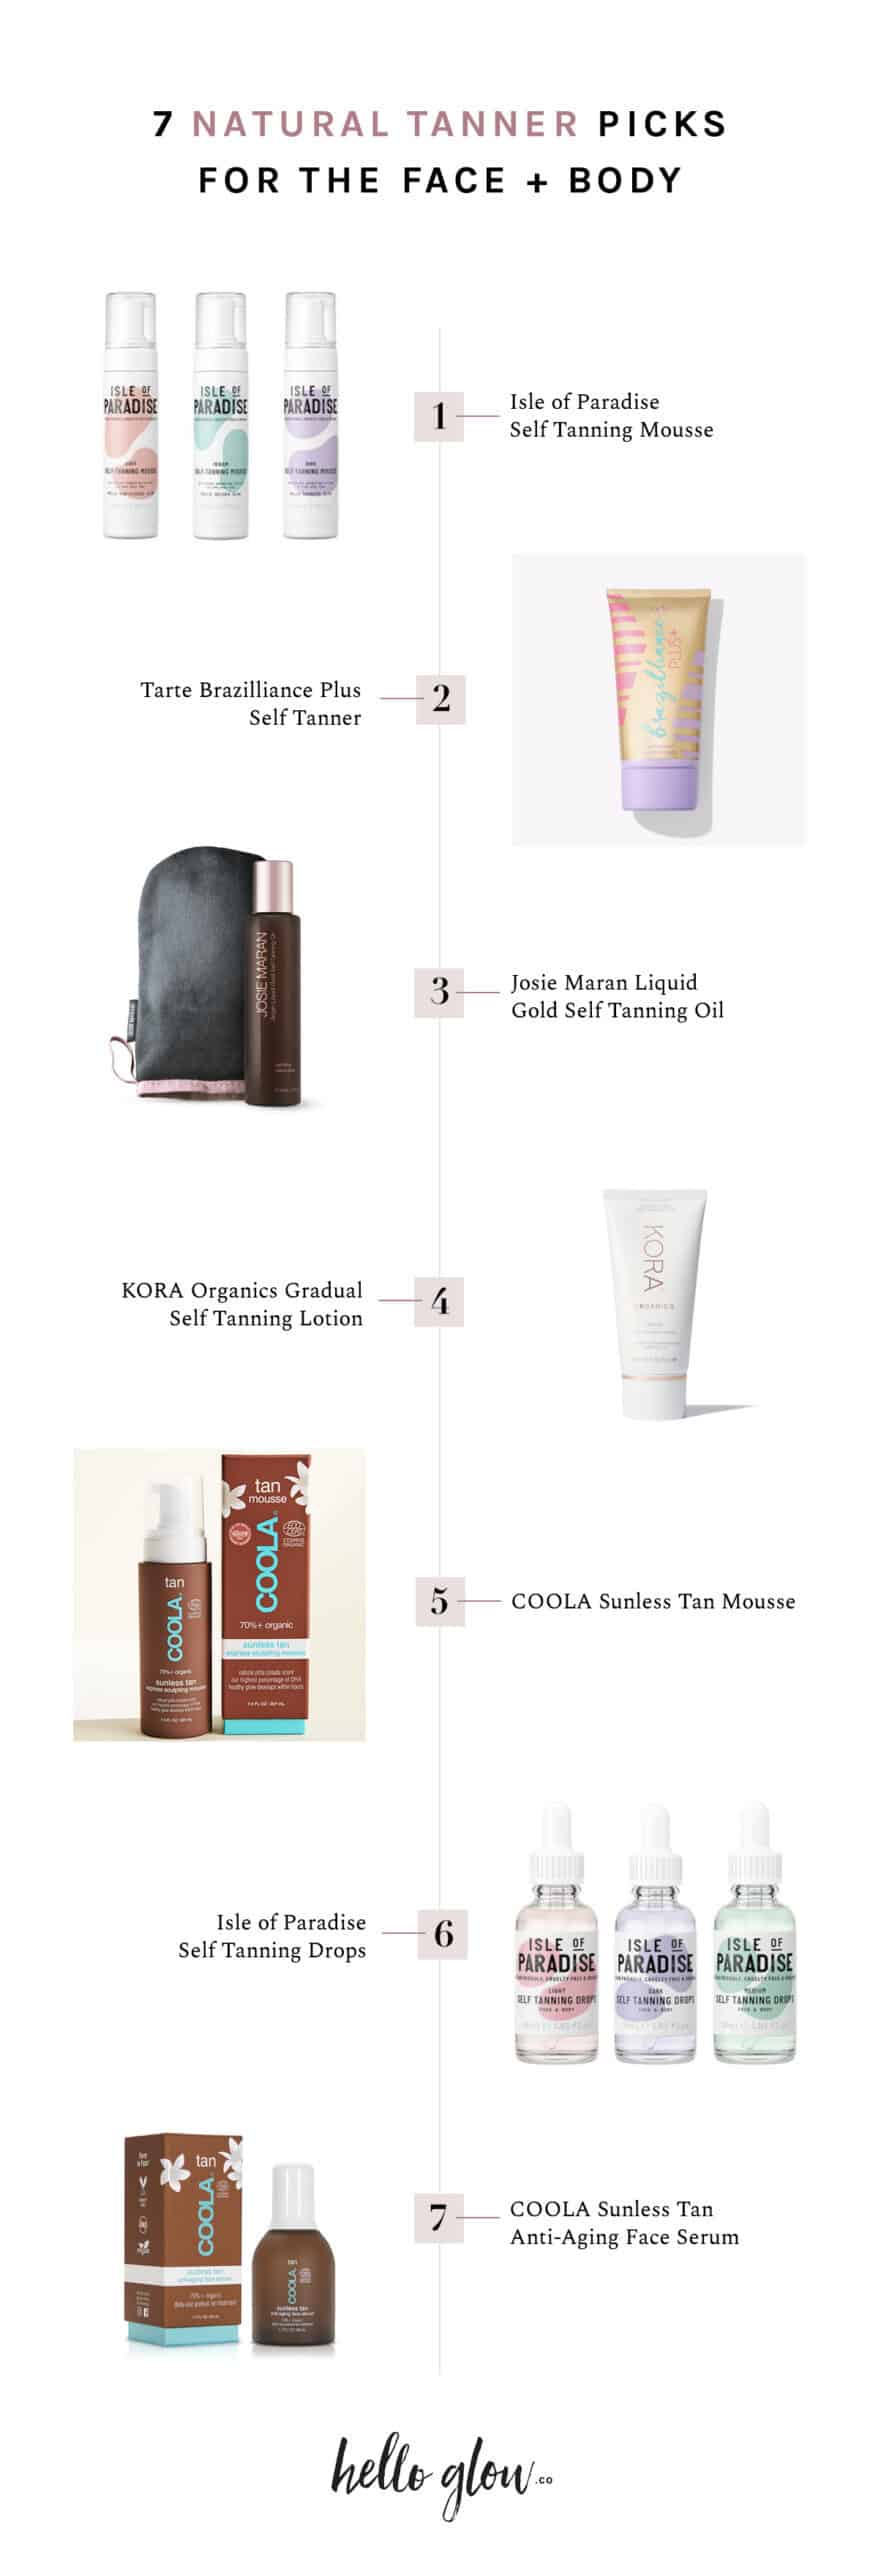
FOR THE BODY: Isle of Paradise Self Tanning Mousse // Tarte Brazilliance Plus Self Tanner and Mitt Kit // Josie Maran Liquid Gold Self Tanning Oil // KORA Organics Gradual Self Tanning Lotion // COOLA Sunless Tan Mousse
FOR THE FACE: Isle of Paradise Self Tanning Drops // COOLA Sunless Tan Anti-Aging Face Serum
7. Avoid!
Avoid applying self tanner to your palms and the bottoms of your feet. It’ll never end well. Mix tanner with a little bit of lotion to apply on the tops of your hands once the rest of your body is finished and you remove your gloves.
8. Less is More
If you are using a gradual tanner, then you won’t see results for hours. You can always apply more two to three days later instead of going overboard all at once.
9. Blend
If you need to remove any self tanner, use a non-oil-based scrub. Gently blend the scrub on the area you’d like to lighten and then remove with a damp washcloth.
10. Wait
Try not to shower for at least 10 hours. Wear loose fitting clothes and avoid exercising/sweating. By the next day, you should have a beautiful sun-kissed glow without the damaging effects of the sun!
This post was medically reviewed by Dr. Jennifer Haley, a board-certified dermatologist with extensive experience in medical, cosmetic, and surgical dermatology. Learn more about Hello Glow’s medical reviewers here. As always, this is not personal medical advice, and we recommend that you talk with your doctor.
735
