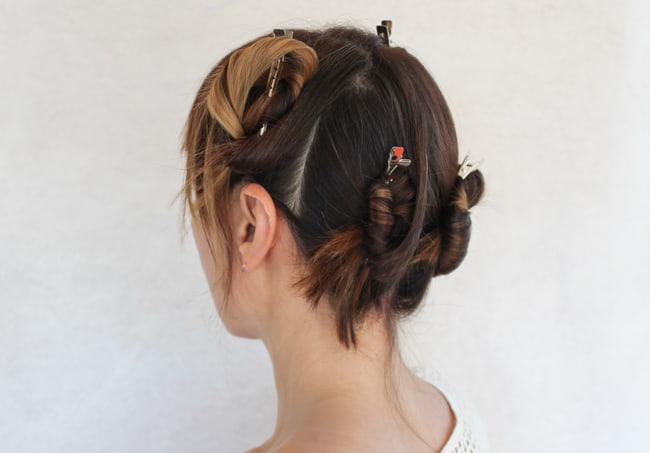
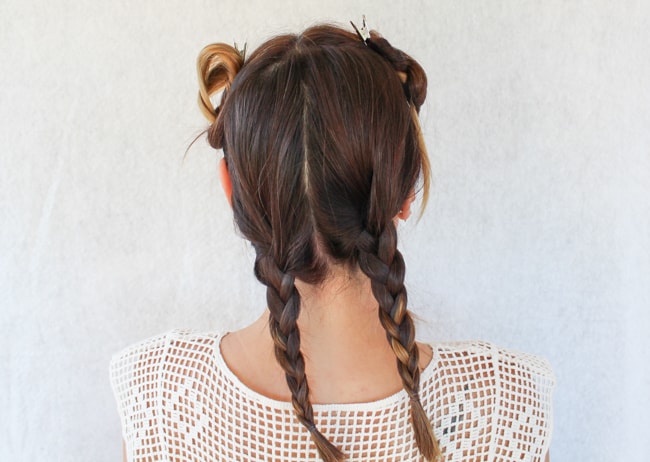
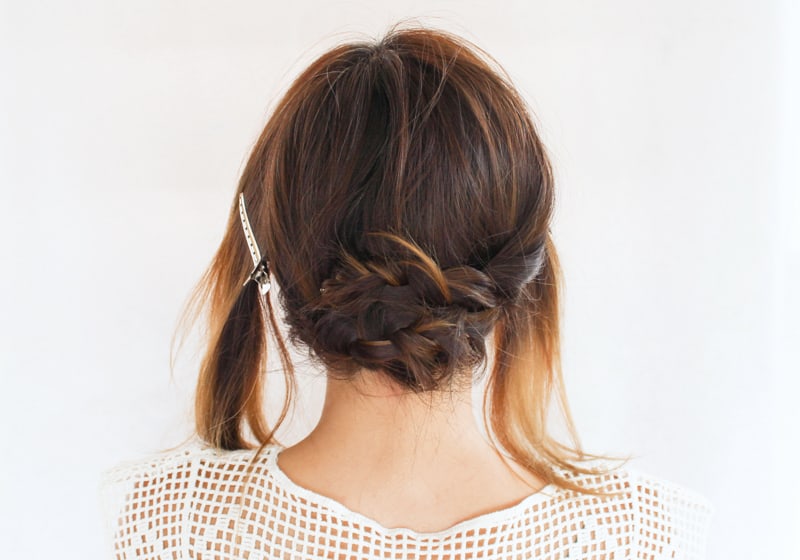
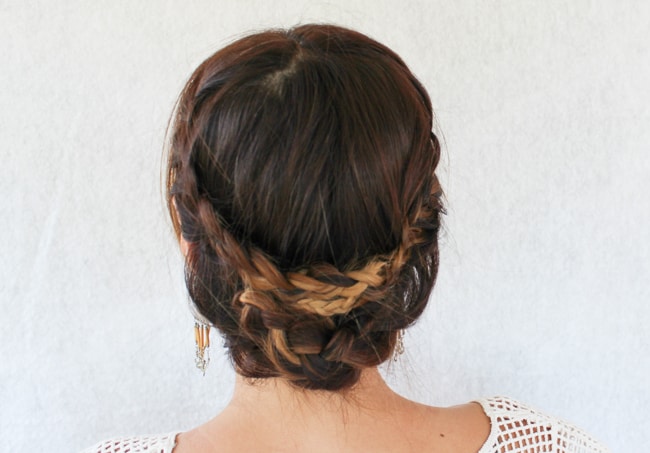
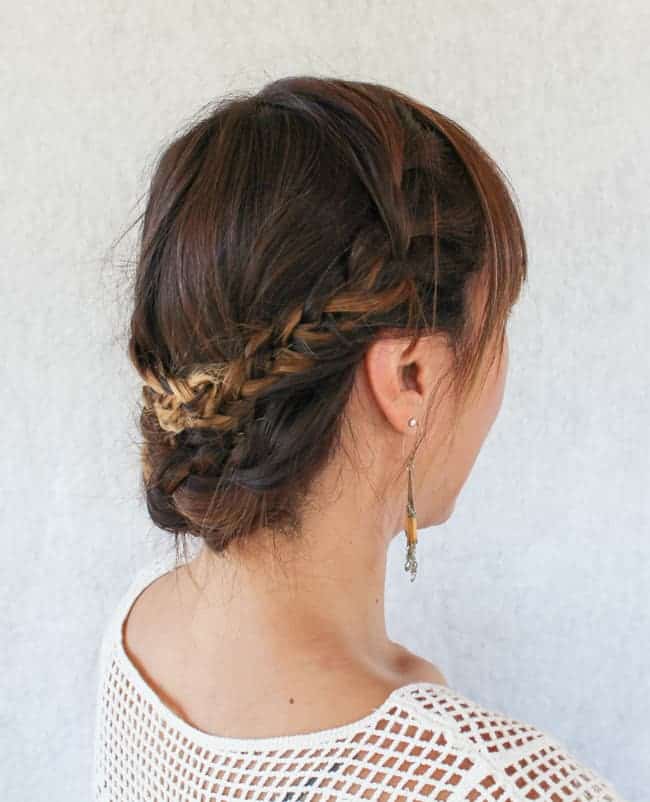
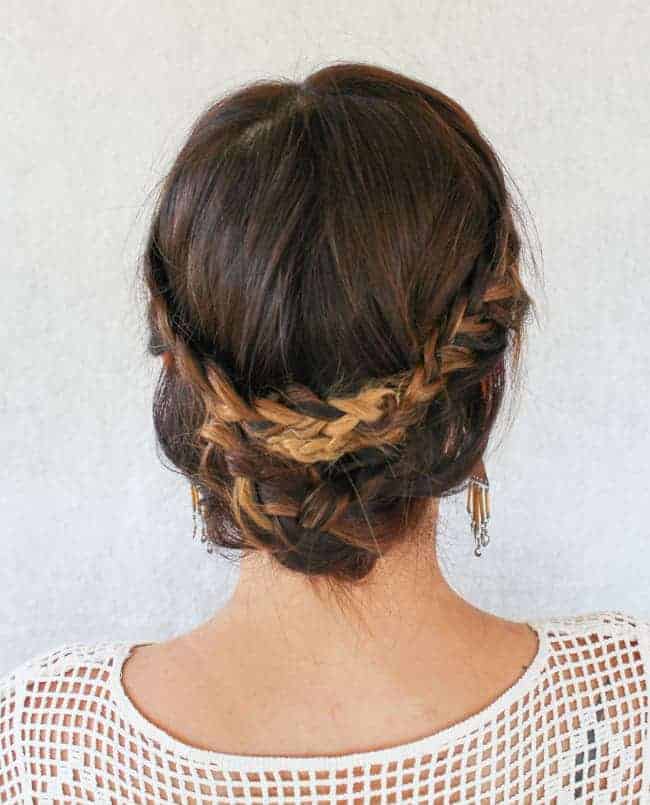
Whether you're attending a wedding or heading out for a date night sometimes the mood is right for a soft and romantic hairstyle. This pretty braided updo fits the bill and it’s very easy to create – with a few tips, of course.
Here are a few tips:
Product is mandatory. Clean hair is slippery and difficult to work with unless you have a very curly hair. Always start by applying a texturizing product that has a bit of stickiness and grip to it.
Leave out a few strands. If you prefer an undone finished look, go ahead and section away a few strands around your hairline and clip them out of the way.
Loosen up. Once you have tied off a braid, don’t be afraid to pull it looser and wider. Do this by tugging on both sides down the length of the braid until you have the desired effect.
Cross your bobby pins. This is very important for a secure hold. Weave one pin in then insert a second pin crossing the first in an “X” pattern.
Hairspray is your friend! Finish with a good coat to help it all stay in place and provide humidity resistance.
Don’t overthink it. Get it up, securely pin it, and remember to let it be messy. It’s hard to override the natural instinct to smooth a messy patch or tuck in a loose end.
Romantic Braided Updo Tutorial
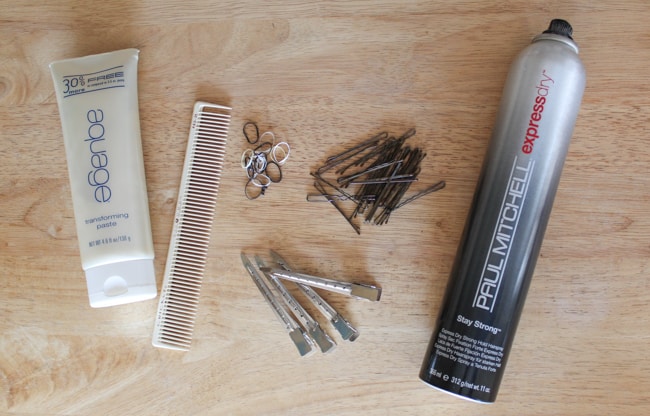
 Supplies needed
- Texturizing product (I used Aquage Transforming Paste)
- Comb (optional)
- Small braiding elastic bands
- Bobby pins
- Hairspray (I used Paul Mitchell Express Dry Stay Strong Hairspray)
Instructions
Step 1
Section your hair into 4 sections by parting your hair down the center in the back, then from the top of your head to just behind your ear. You can do this with a comb or just your fingers. Clip each section to keep them separated.
Step 2
Braid the two sections in the back into simple 3-strand braids.
Step 3
Pull on the sides of each braid to loosen and widen it.
Step 4
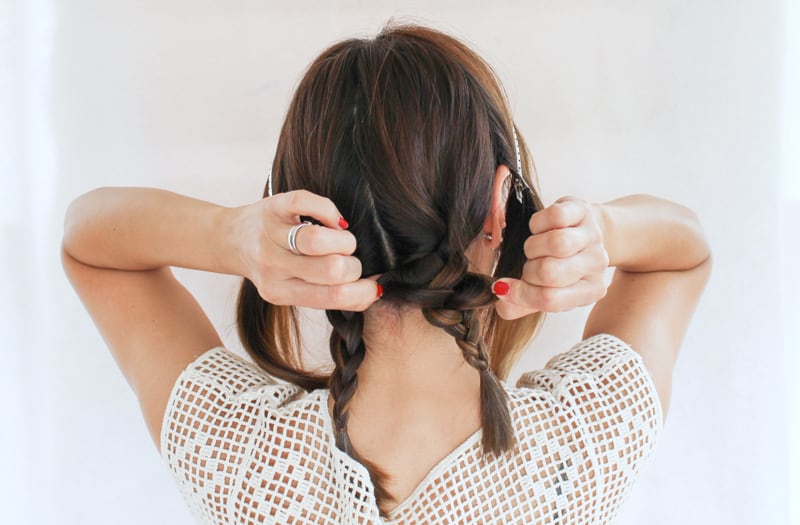
Fold the braid over to the opposite side, tucking the end under and pin in place.
Step 5
Repeat with the second braid.
Step 6
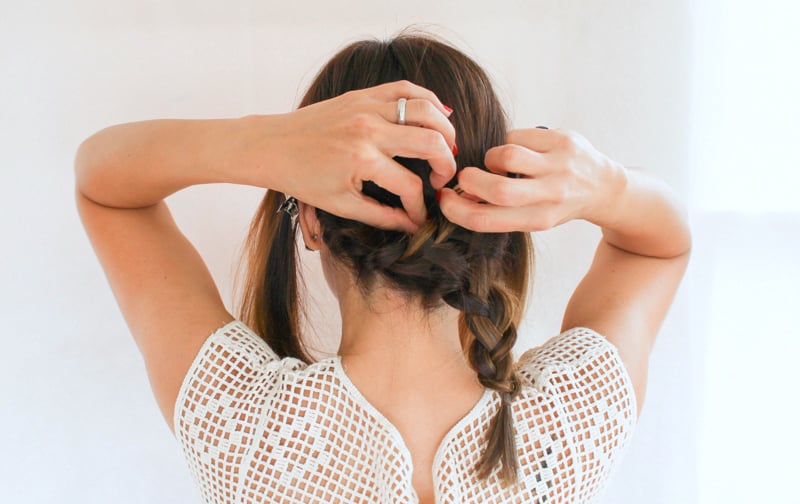
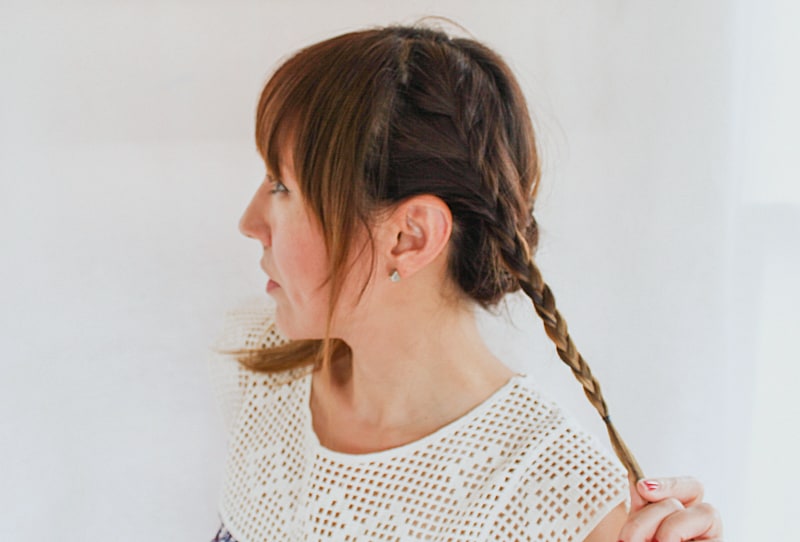
French braid on front side section, working back toward the nape. If you don’t know how to French braid, visit this tutorial. Again, pull this braids a little looser and wider.
Step 7
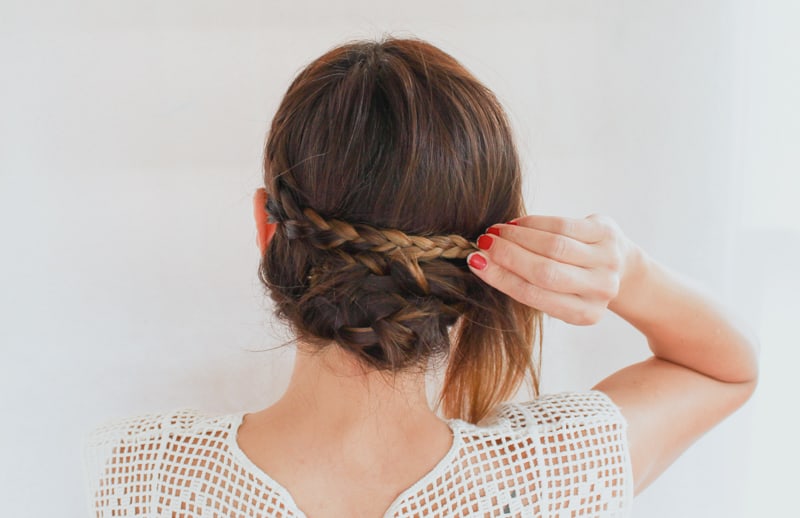
Wrap the braid around to the back, placing it on top of the pinned braids. Tuck the end under and pin in place.
Step 8
Repeat steps 6 & 7 on the other side. Give the whole updo a coat of hairspray to extra hold.

 Supplies needed