Your little one has probably already picked school supplies and an outfit for the first day of school, but let's not forget the hair. After all, the first day of school is one of our favorite photo ops! If you have a daughter, you have plenty of options including these three adorably easy back to school hairstyles!
As much as your children may dread the end of summer break, there is something undeniably magical about the first day of school. Every year is like a new beginning so it’s no wonder most kids like to spiff up a bit to kick off the year. While we have all year to “pick our battles,” this is a day to fight through the tangles and do something special with your kid’s hair.
All of these fun looks are easy to create when you follow the steps below but I’ve started with a super simple how-to with beginners in mind.
Tools
Starting with the right styling tools makes thing so much easier with squirming kids! Here are my favorites:
- I start with a styling product like So Cozy Behave Styling Gel to add texture and tame frizz and flyways.
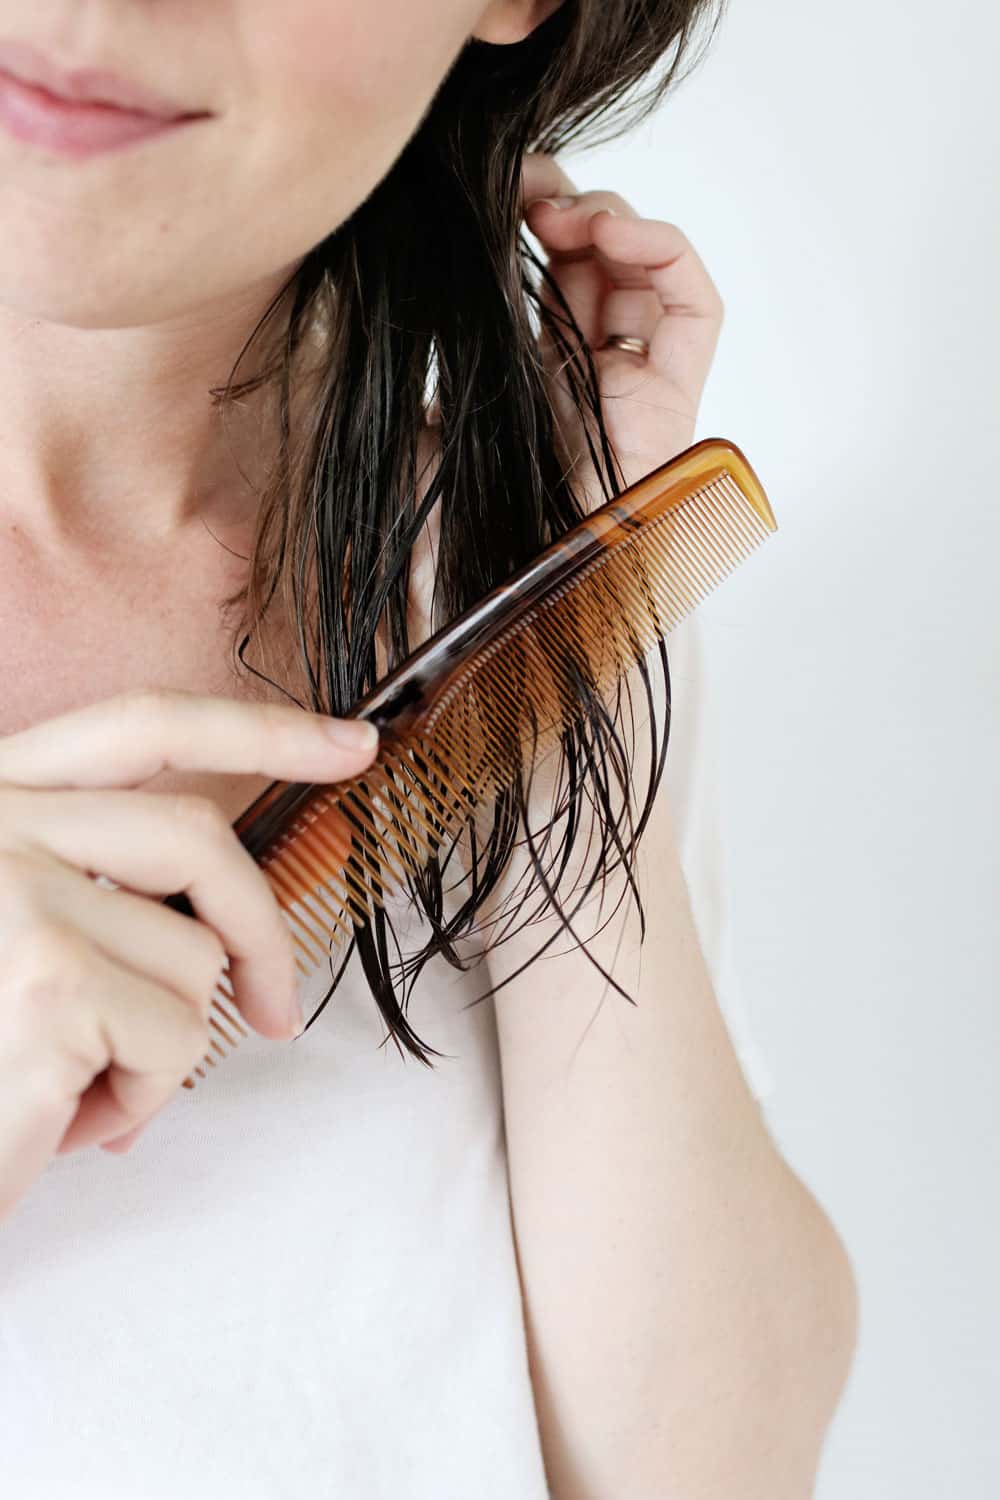
- A great detangling brush like The Wet Brush is well worth the investment.
- I prefer small, clear braiding elastics like these from Gold Magic.
1. Asymmetric Ponytails
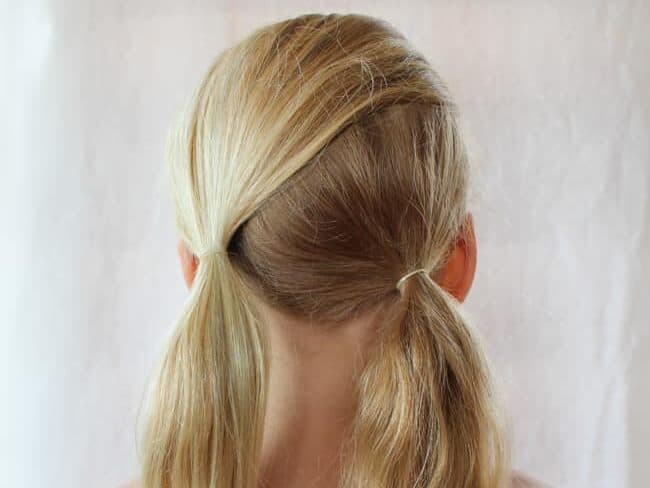
First off, we have this modern take on classic pigtails.
Supplies
Instructions
Apply product to hair and then part into two equal sized sections diagonally from the front top corner to the opposite side nape.
Smooth each section with a brush, then tie them into low ponytails for a simple but unique take on a classic style.
Start by tying the section that is on the bottom (the right side in this picture.) Then allow the top section to slightly cross over center as you gather the second ponytail to hide the part.
If desired, dress up the look with some pretty hair ties or ribbons.
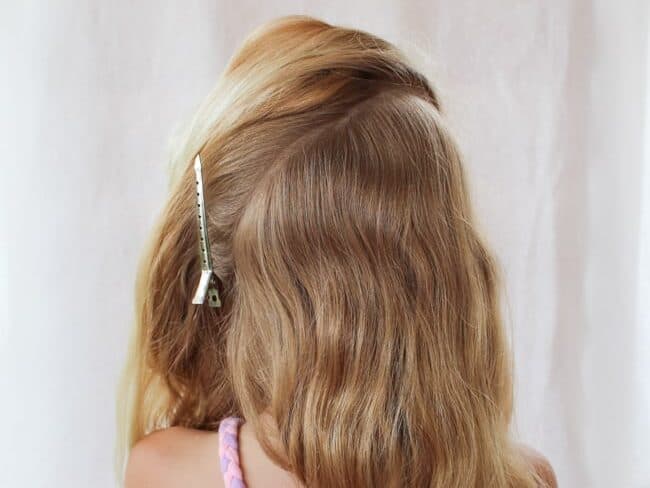
2. Braid Rose

For a half up-half down hairdo, combine a plain braid with a couple of bobby pins into a cute, if slightly elevated, style.
Supplies
- Styling gel
- Brush
- Small hair elastics
- Bobby pins
Instructions
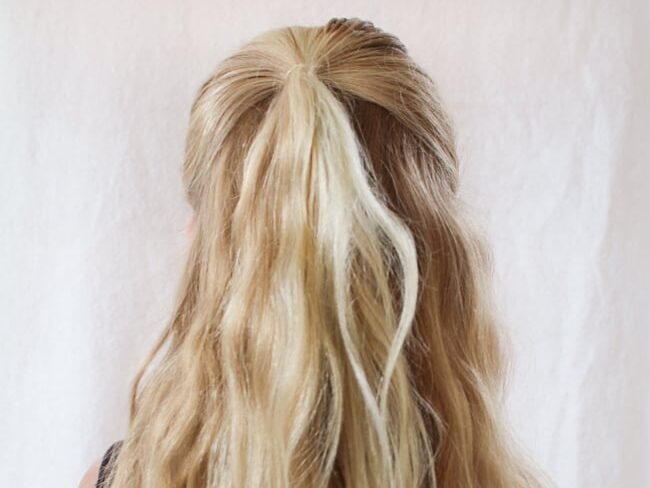
Add product to hair and use your brush to smooth the top front section back into a half up. Tie this section into a ponytail with a small hair elastic band.
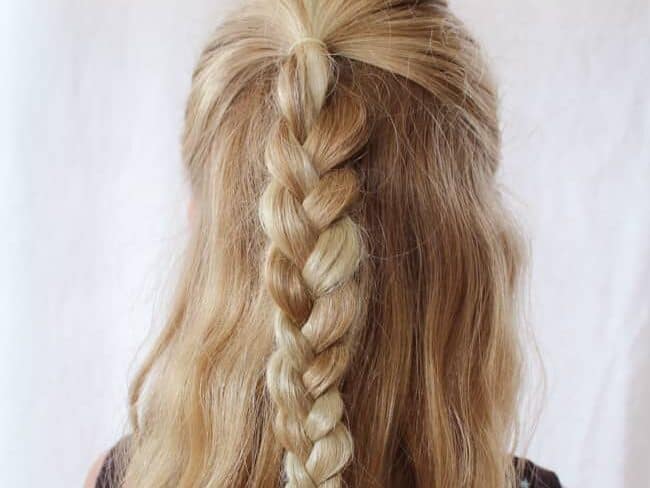
Divide the ponytail into three equal sections and braid the entire length of the hair. Secure at the ends with a second small elastic band. Gently tug on both sides of the braid to loosen and widen it.
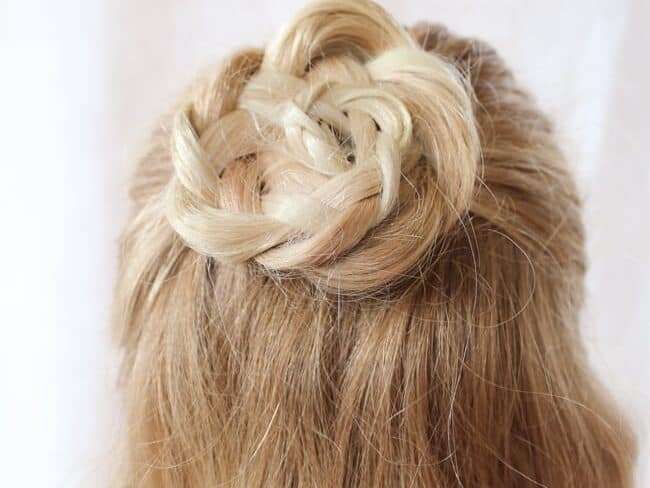
Roll the braid up from starting at the end up to the base barely overlapping the edges to form a rose shape.
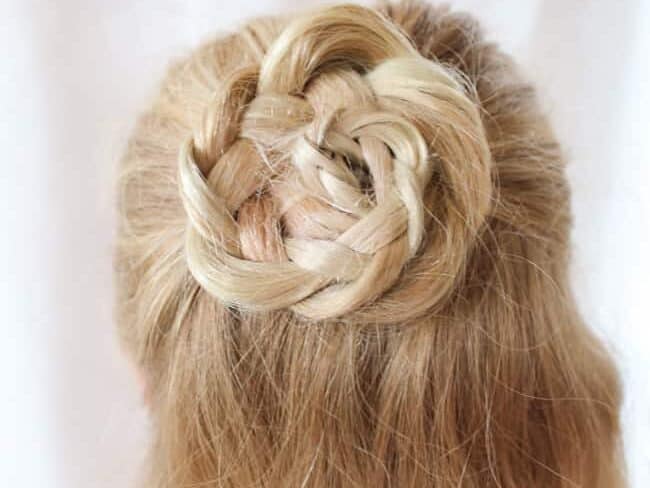
Use bobby pins to secure the rose by weaving the pins between scalp and the underside of the rose. “Sewing” the pins in this way will help to catch all the “petals” and keep your flower in place.
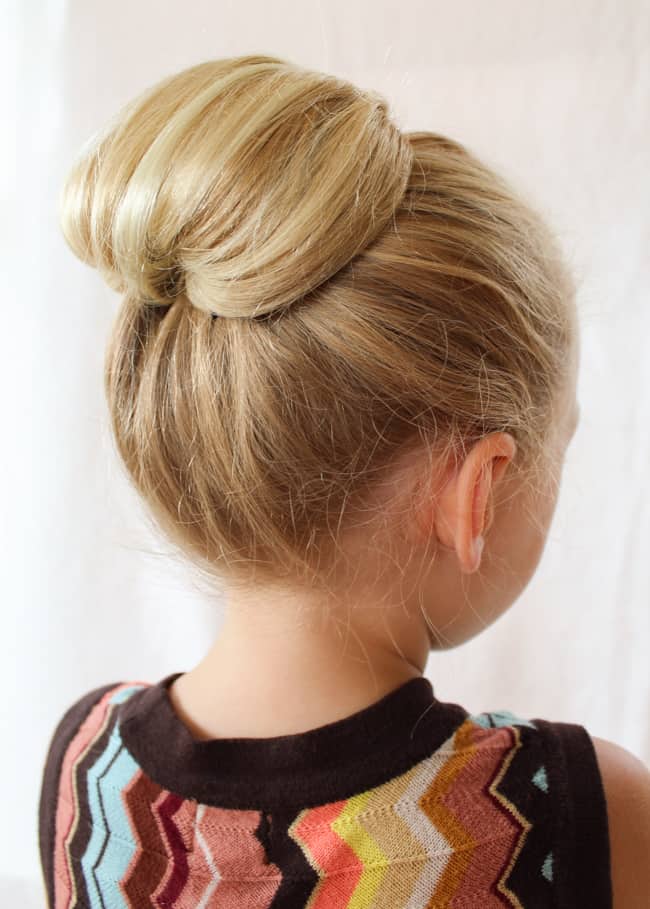
3. Princess Bun
If your little one is into princesses… we need not say more. This is the perfect updo for back-to-school royalty.
Supplies
- Styling gel
- Brush
- Small hair elastics
- Bobby pins
- Hair lasso tool (optional)
Instructions
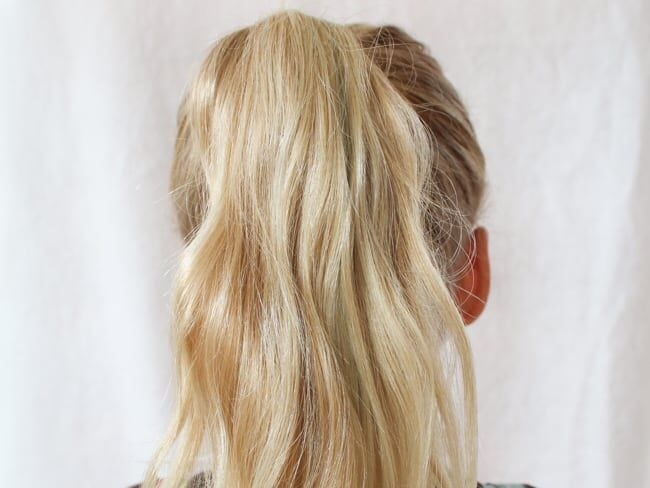
Apply product to hair and use a brush to gather hair into a smooth, high ponytail. Secure with a hair elastic.
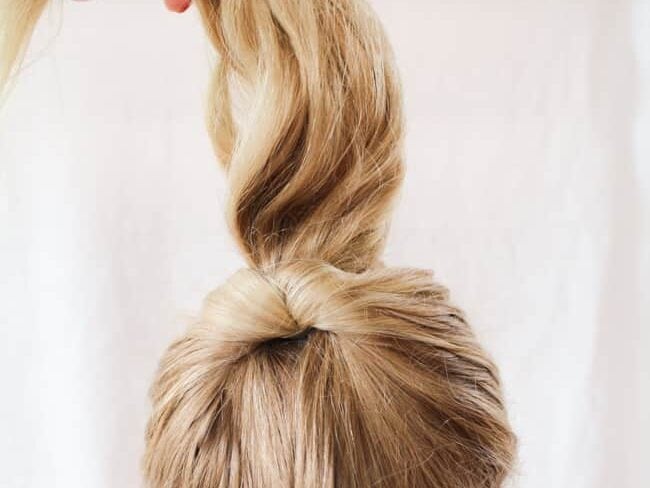
Use a hair lasso tool to flip the ponytail up through its base between the scalp and hair elastic from the bottom out through the top. Or loosen the ponytail a bit and use your fingers to divide the hair in the space between the scalp and hair elastic, creating a hole. Flip the ponytail up through the hole from the bottom and pull to tighten.
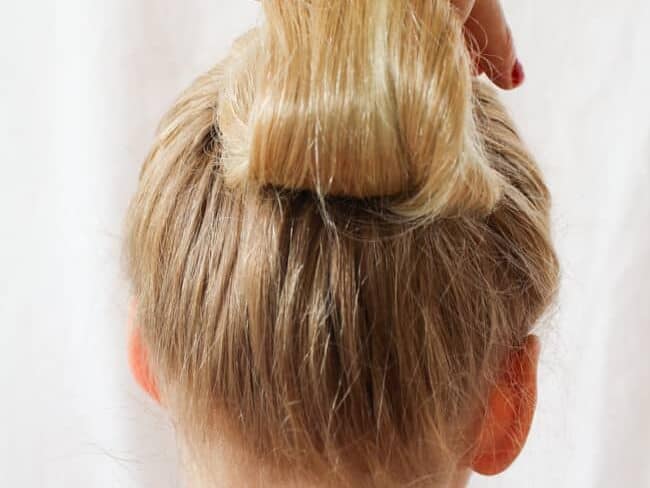
Wrap the ponytail around your fingers to form a loop.
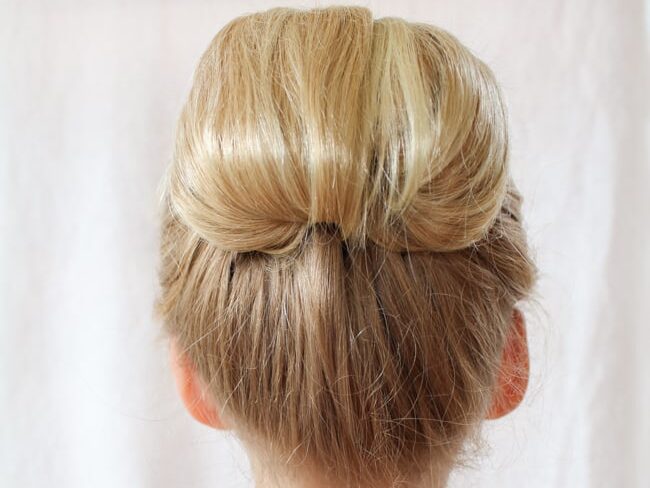
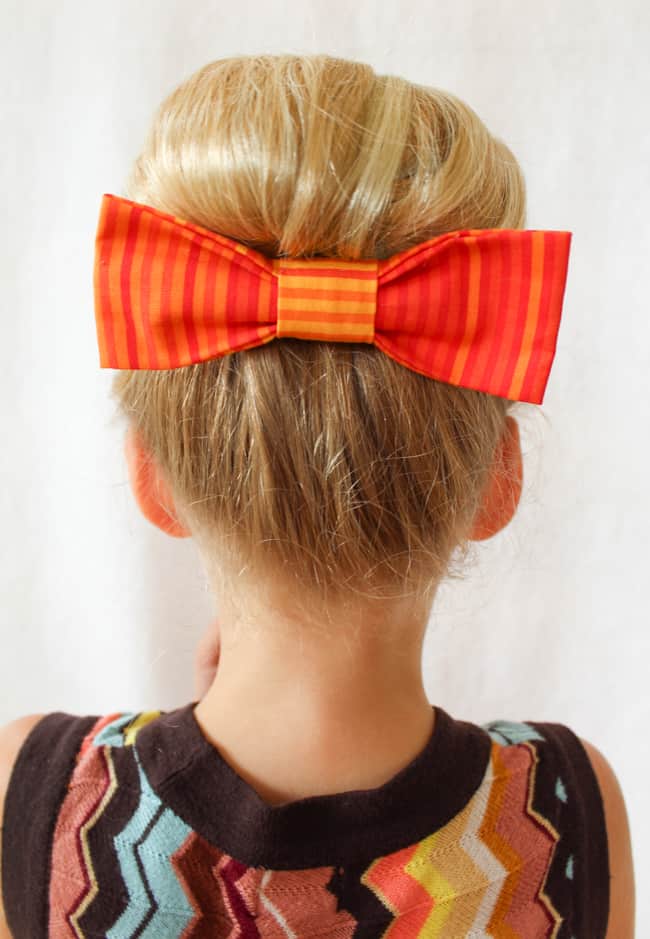
Use bobby pins to secure the bun to the head. Be sure to cross your pins for a secure hold.
Hint: You can add a pretty hair accessory at the base. Bows, flower clips, and decorative combs all work well.
76