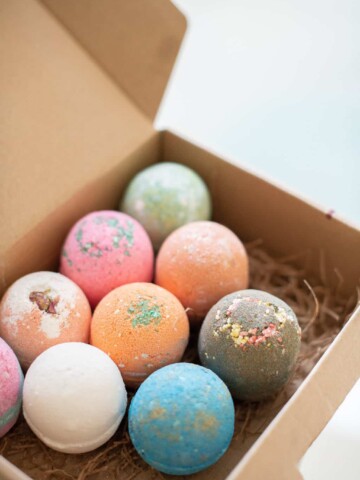
Baths are the ultimate cure-all. Had a bad day? Didn’t sleep a wink last night? Just plain stressed? A hot soak is pretty much all you need to start feeling better immediately.
In the past, I used to turn to a glass of wine after a rough day. But I find these days that taking a bath is even better for decompressing and turning my mood around quickly—especially when I can kick things up a notch with an aromatherapy bath bomb.
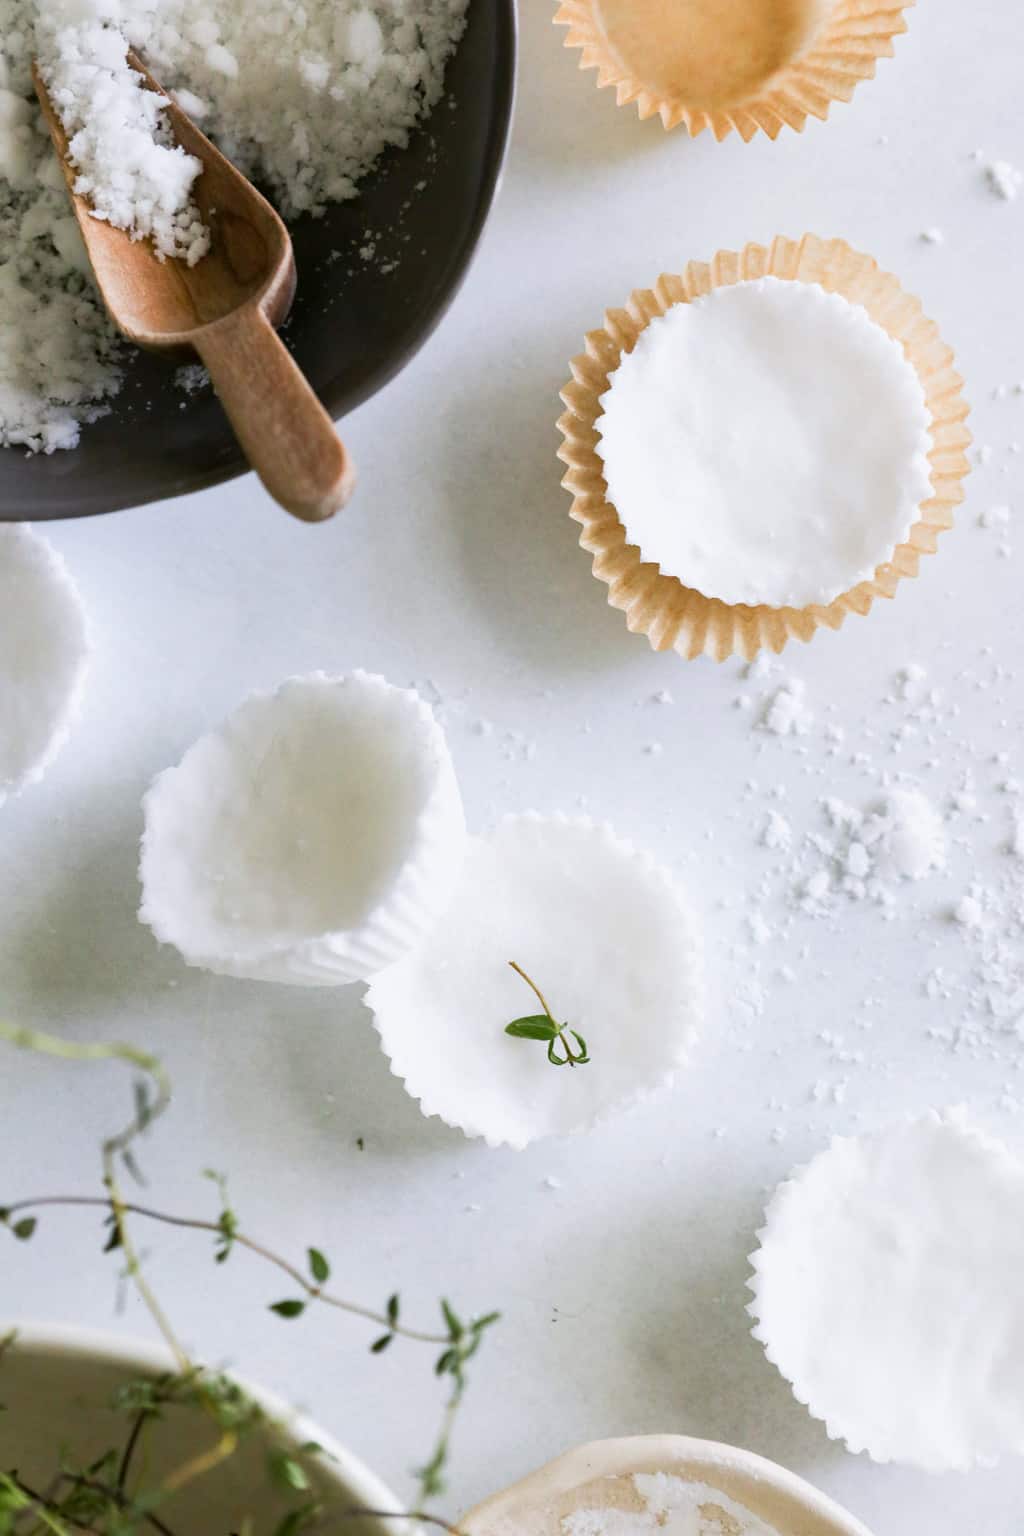
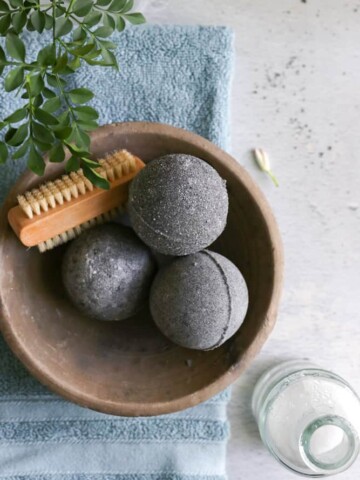
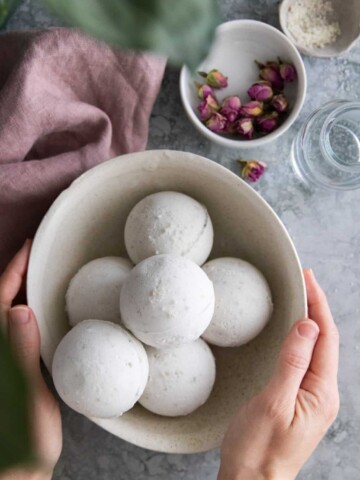
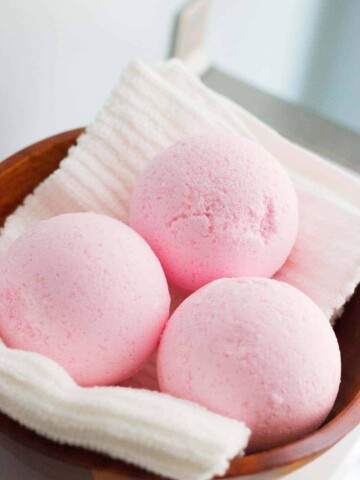
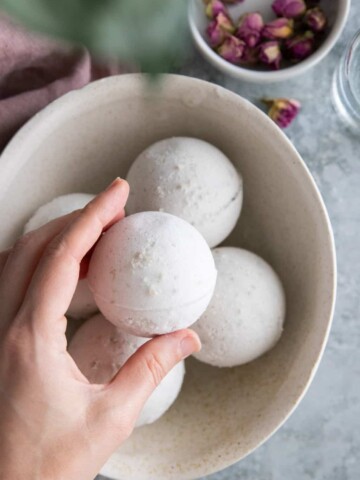
These bath bombs are the perfect mixture of relaxing essential oils, cleansing baking soda, and soothing Epsom salts to help you soak away the stress. But that's not really what makes them special.
The real kicker is that these bath bombs don't contain citric acid, so you can whip them up in a pinch, even if your citric acid stash has run dry.
Jump to:
How to Make Bath Bombs Without Citric Acid
Most of the recipes I found called for citric acid to get the effervescent action that makes bath bombs so much fun. But since I couldn’t find it at any of the stores I went to, I was forced to improvise!
Luckily, fizzy essential oil bath bombs can be made with some simple ingredients most of us already have lying around the kitchen.
Ingredients
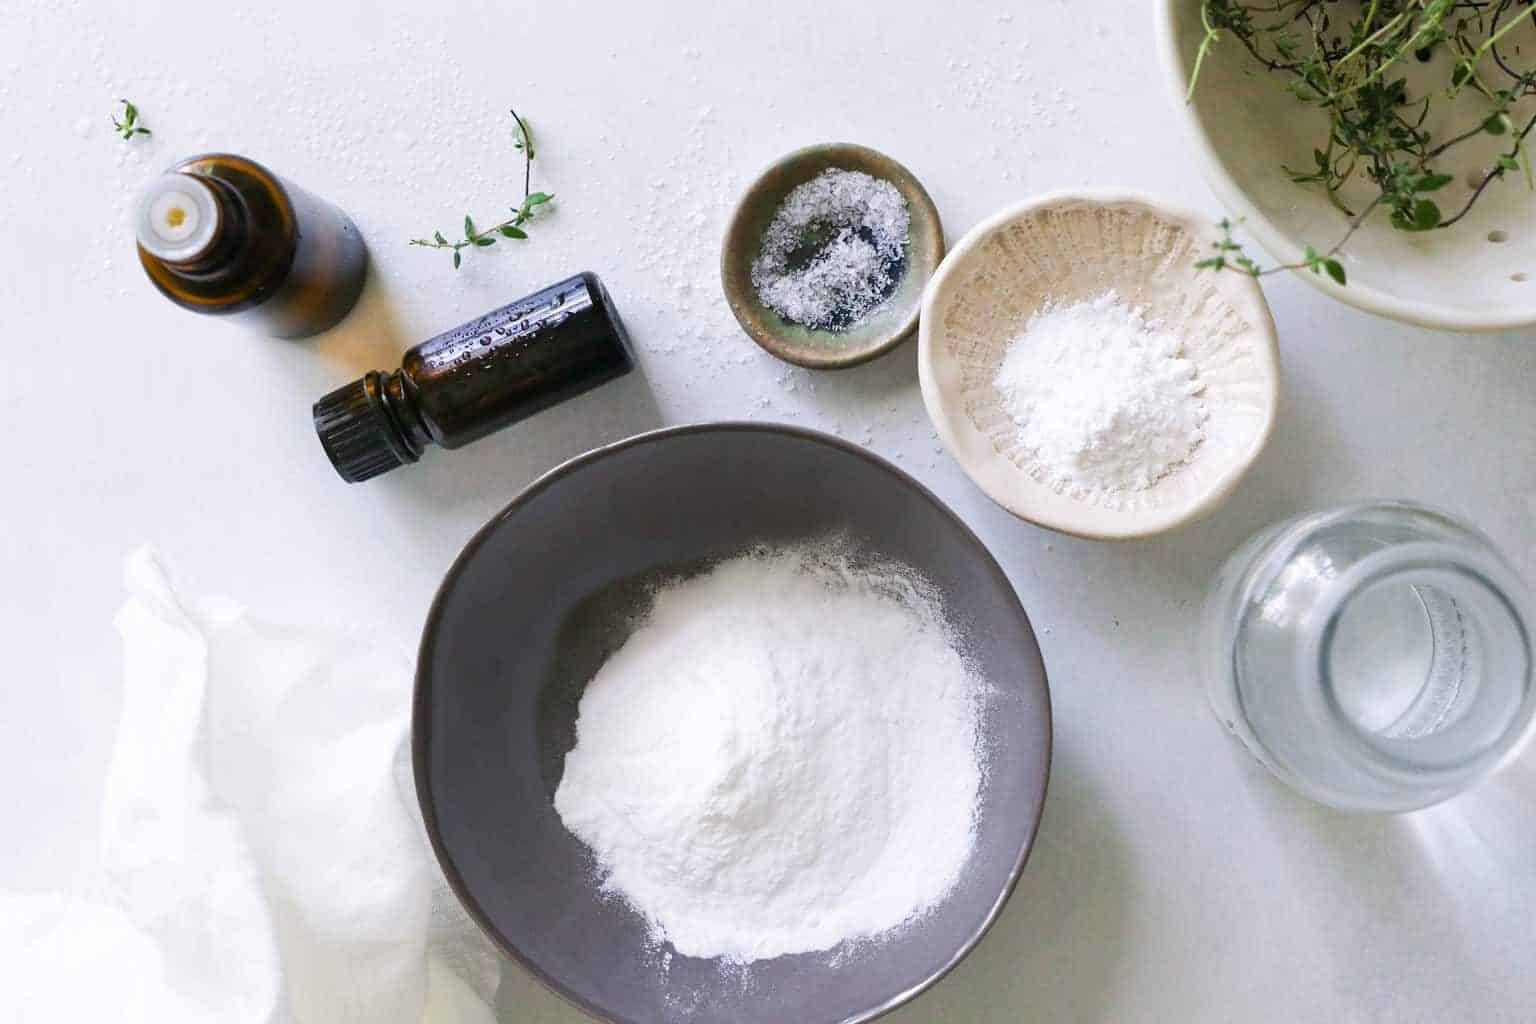
The key is finding a replacement to citric acid to kick off the fizzy effect. You can't just leave it out entirely, or it won’t be a bath bomb.
Cream of tartar is my favorite alternative to citric acid, because it's a dry acid, much like citric acid, so it doesn't prematurely kick off the fizzing reaction.
Once you've selected your fizzing agent, all you need is some baking soda, salt, cornstarch, and bath bomb essential oils, and you're in business.
See recipe card for exact quantities.
Other Alternatives To Citric Acid
- Cream of tartar
- Apple cider vinegar
- Lemon juice
- Distilled white vinegar
- Ascorbic acid (vitamin C powder)
If you would like to use vinegar, lemon juice, or ascorbic acid, go right ahead! Just make sure to consult Google for measurements or play around with the ratios to create your own recipe.
Instructions
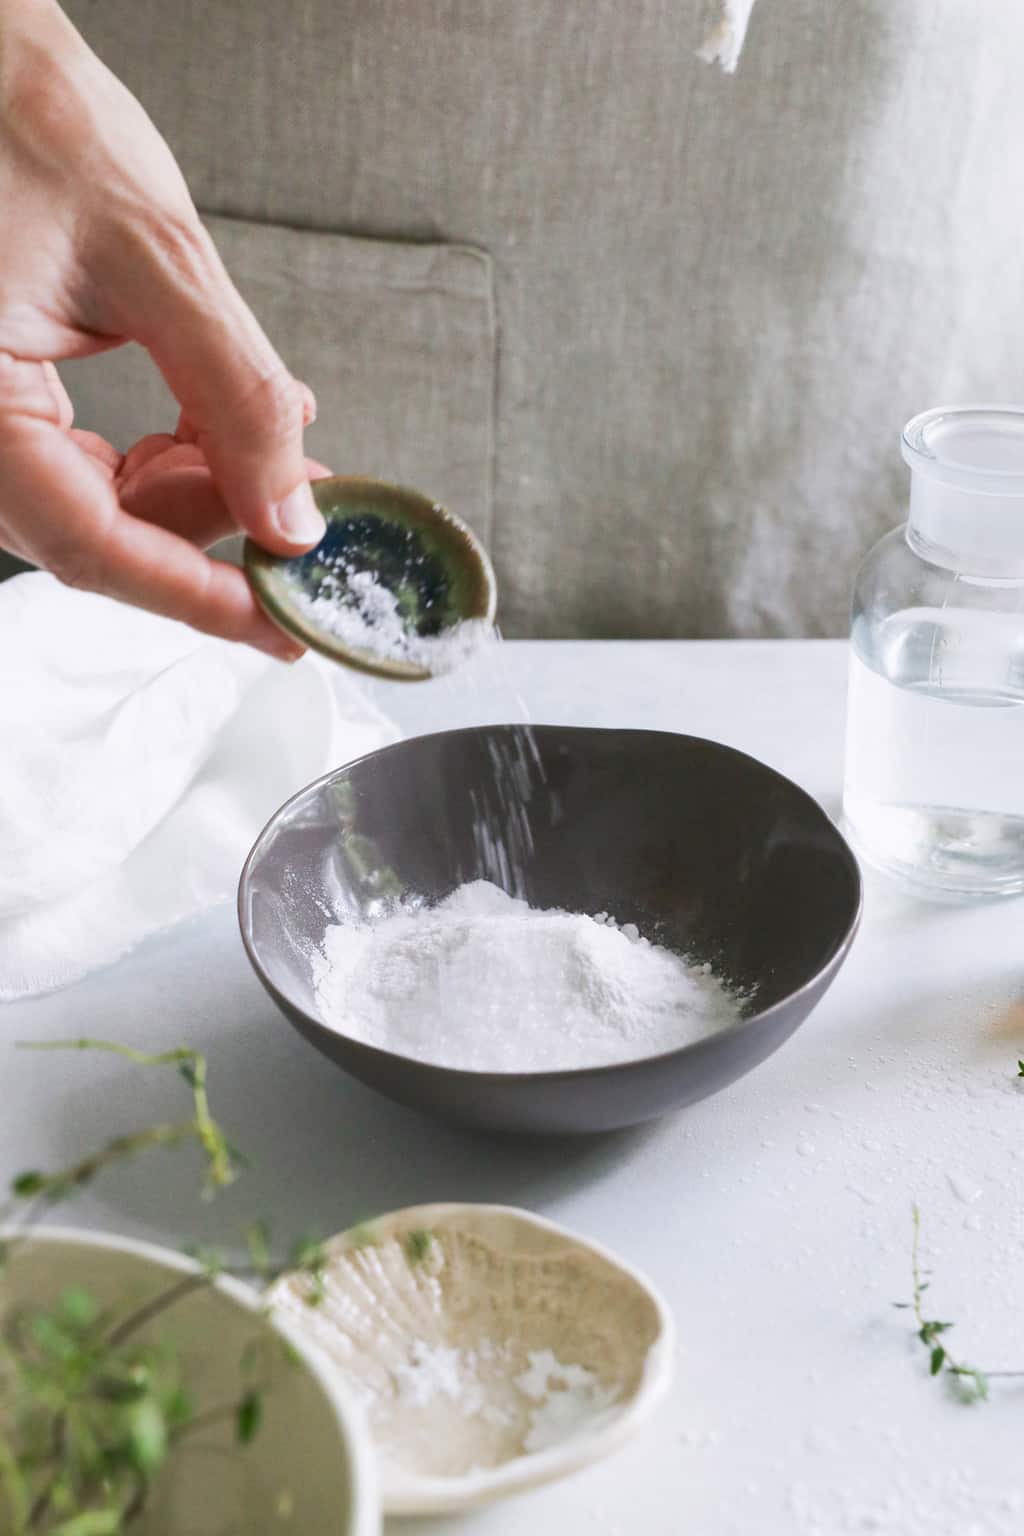
Step 1: Combine dry ingredients
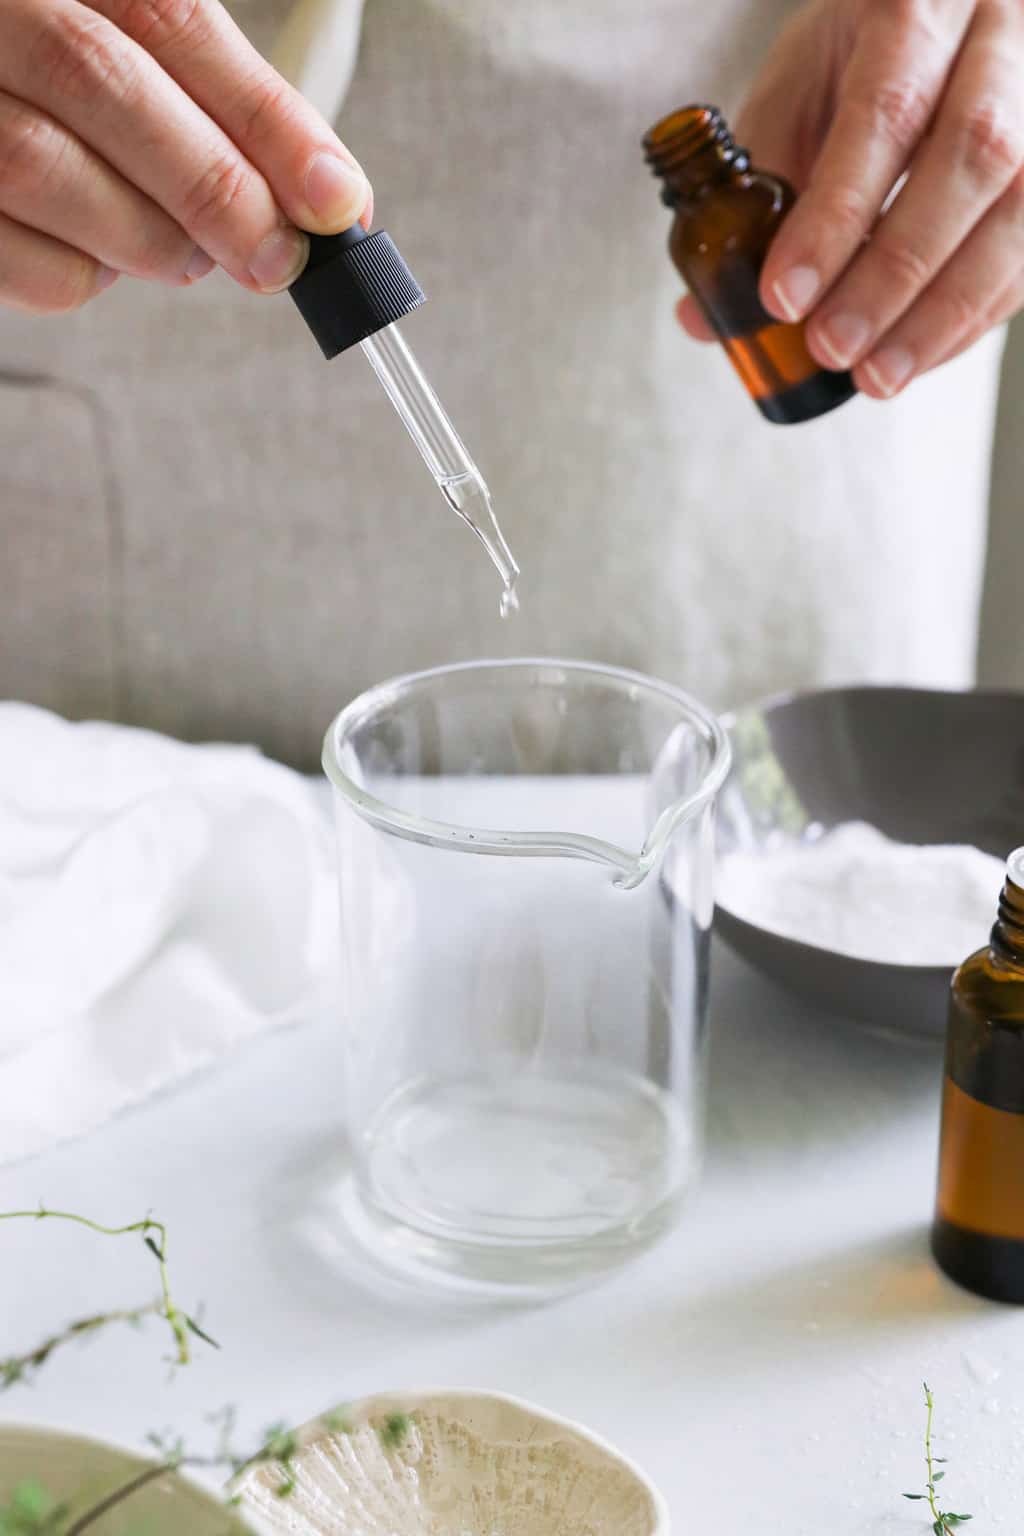
Combine the dry ingredients in a small bowl and whisk well to remove any clumps.
Step 2: Combine wet ingredients
In a separate bowl, stir together the wet ingredients (make sure the coconut oil is completely melted before combining it with the wet ingredients).
Step 3: Slowly add wet to dry
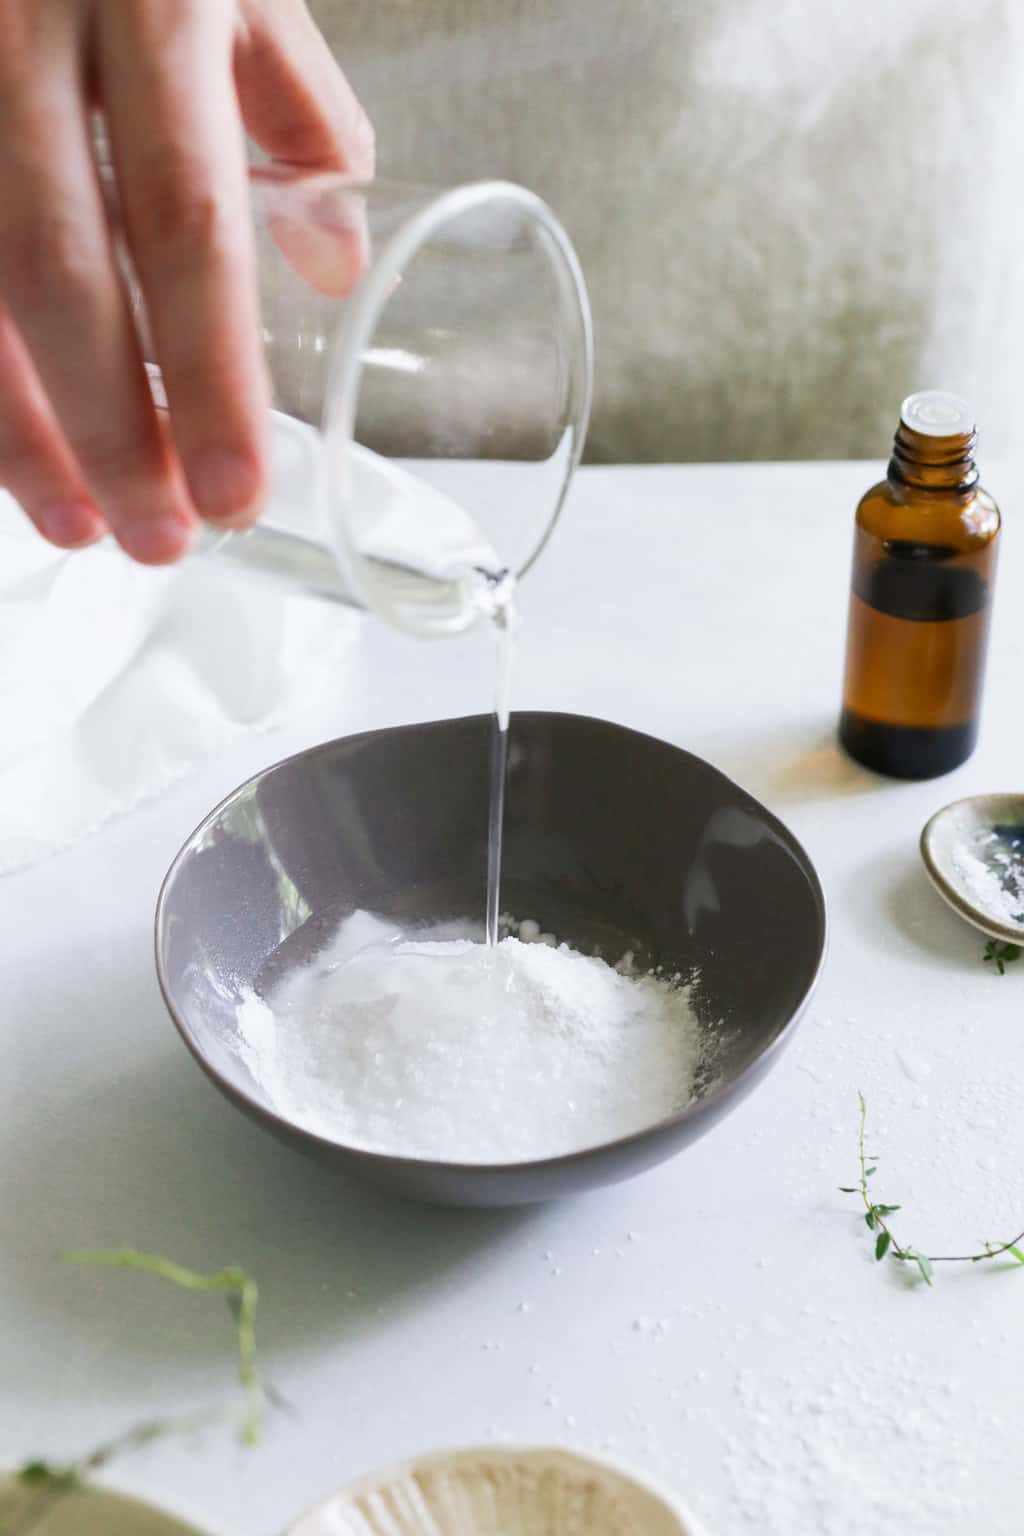
Slowly pour the liquid mixture into the dry mixture, whisking as you go. There might be some fizzing, but it should stick together in one or two big chunks. If it's still too powdery to hold together, add a tiny bit more water.
Step 4: Press into molds + let dry
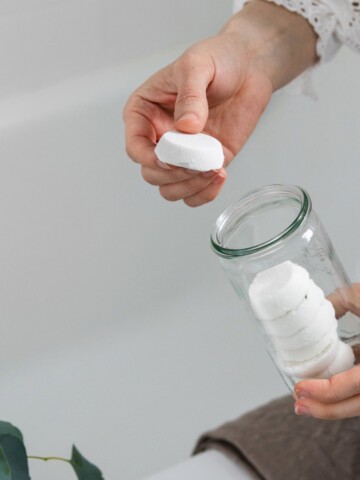
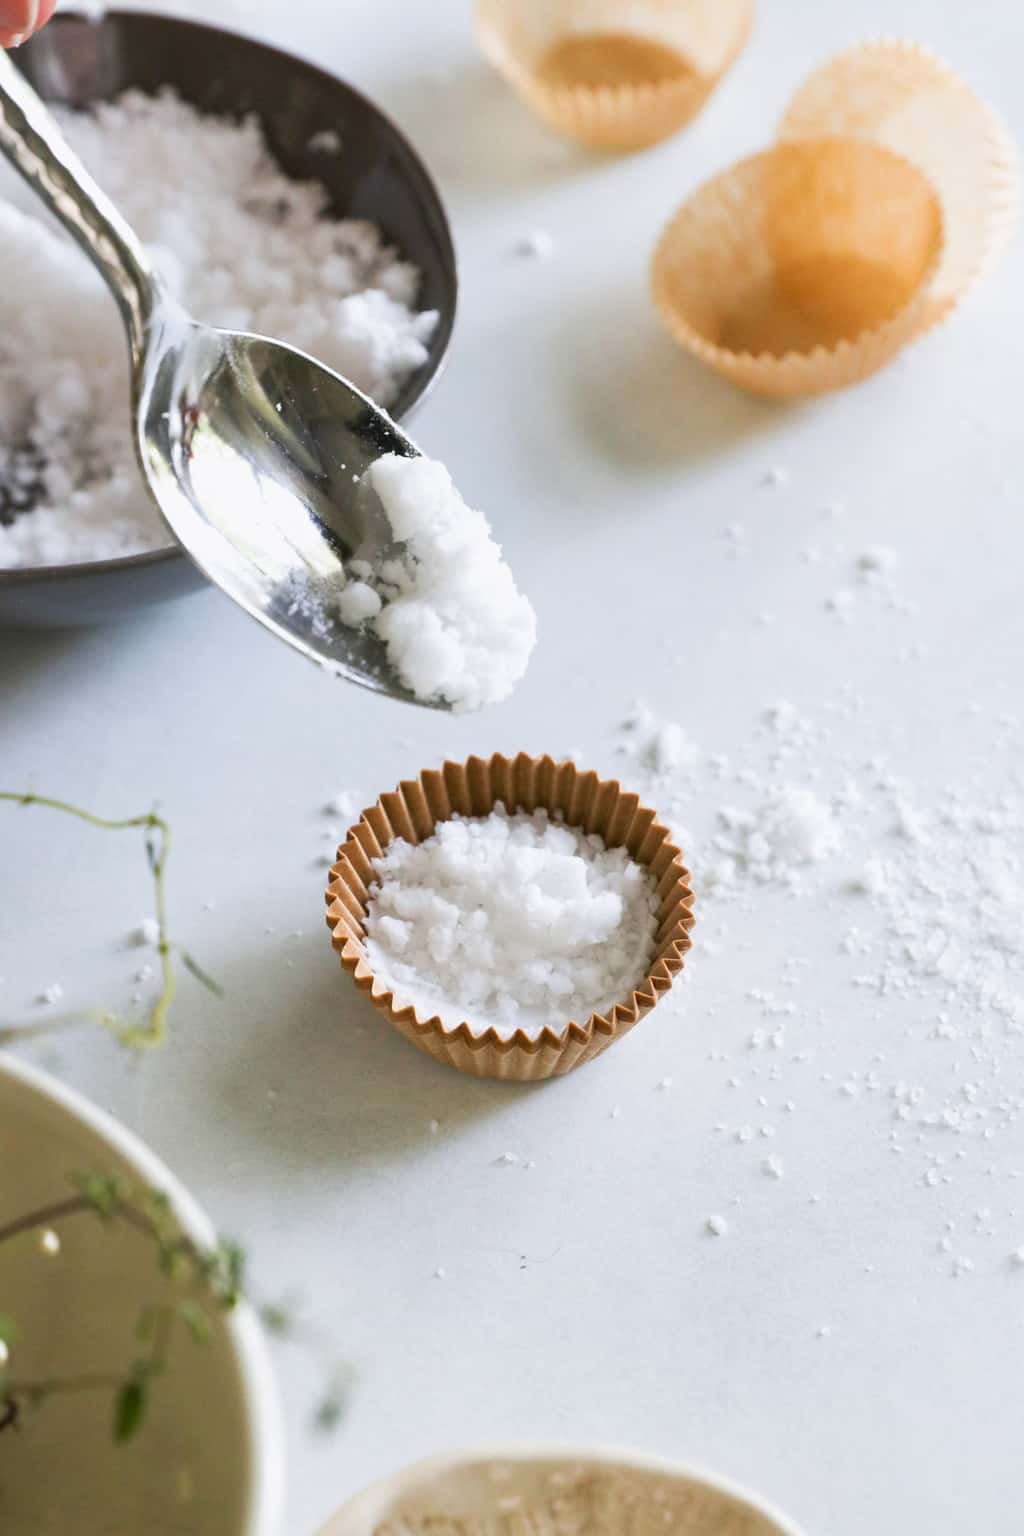
Spoon the mixture into your molds and press firmly. Let dry for a few hours, or better yet overnight, before removing from the molds.
Storage
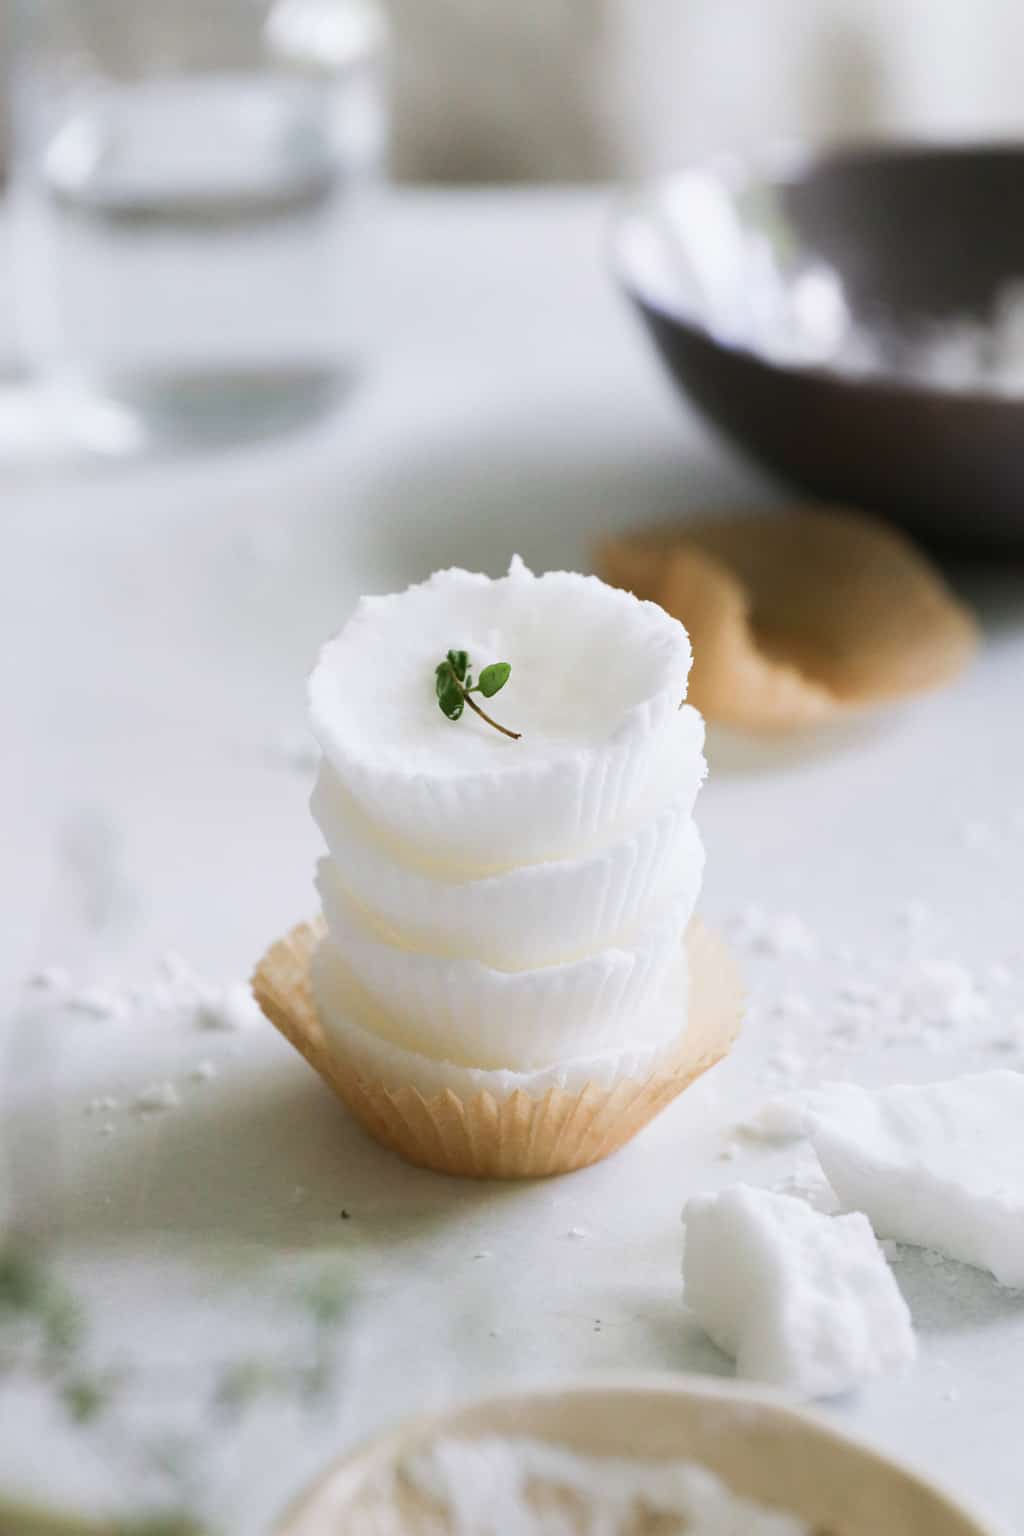
Store bath bombs tightly wrapped in plastic wrap (or an airtight container) in the refrigerator for up to 4 weeks.
Because they are made without citric acid, these bath bombs will be softer and crumblier and might not hold up as well as store-bought bath bombs.
FAQ
Citric acid has a lower pH than cream of tartar, which means it's a stronger acid and will produce more fizz. If you find that your bath bombs aren't fizzy enough, use more cream of tartar and a little less baking soda.
Bath bombs without citric acid tend to be softer and crumblier than those made with citric acid. So, these might not hold up well enough to give as gifts or sell.
Because these bath bombs crumble easily, I recommend using coconut oil to help hold them together. You can leave it out if you like, but you might run into issues getting your bath bombs to stick together once they're completely dry.
Other Bath Bombs You Might Like
Cream of Tartar Bath Bombs without Citric Acid
Equipment
- Mixing bowls
- Bath bomb molds
Materials
- ½ cup baking soda
- ¼ cup corn starch
- ¼ cup cream of tartar
- ¼ cup Epsom salt
- 1 teaspoon water
- 1 teaspoon essential oil
- 1-¼ teaspoon coconut oil
Instructions
- Combine the dry ingredients in a small bowl and whisk to remove any clumps.
- In a separate bowl, combine the wet ingredients (make sure the coconut oil is completely melted first).
- Slowly pour the liquid mixture into the dry mixture, whisking as you go. The dry ingredients might fizz a little as you pour. If this happens, try adding the wet ingredients more slowly. It should stick together fairly well in one or two big chunks. If it's still too powdery to hold together, try adding a tiny bit more water.
- Spoon the mixture into your molds and press firmly. Let dry for a few hours, or better yet overnight, before removing from the molds.
Video
Notes
This article was medically reviewed by Dr. Gina Jansheski, a licensed, board-certified physician who has been practicing for more than 20 years. Learn more about Hello Glow's medical reviewers here. As always, this is not personal medical advice and we recommend that you talk with your doctor.
73
