
Ever walked into a salon, pointed at those stunning chrome nails, and walked right back out after seeing the price tag? I get it.
You can create these gorgeous nails right in your living room, and they'll look just as good as the salon version. Here's the 4-step guide to nailing the chrome nails at home.

Jump to:
Getting Started: What You'll Need
Before jumping into the process, gather these items:
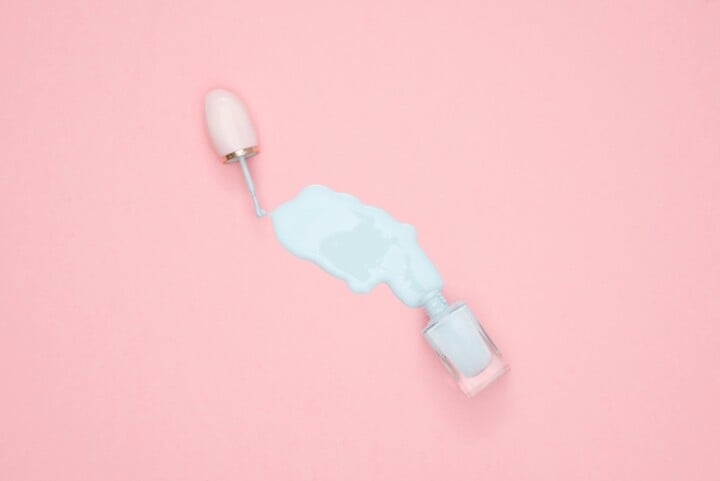
- A good quality base coat and top coat: the foundation of long-lasting chrome nails
- Regular nail polish in your chosen base color (black works amazingly well)
- Chrome powder in your preferred shade (silver is classic, but rose gold and blue are stunning options)
- A small eyeshadow applicator or silicone brush
- A clear top coat specifically for chrome powder
- Cotton swabs for cleanup
Prep Work for Perfect Chrome Nails
The secret to stunning chrome nails starts with proper preparation. Clean nails are your foundation for a flawless finish. Every bit of oil or residue can affect how well your chrome powder adheres.
- Remove all traces of old polish with acetone-based remover and wash your hands thoroughly
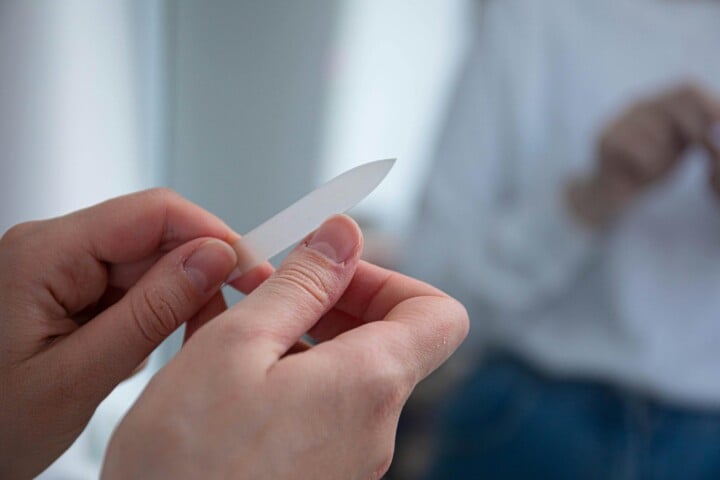
- Use a buffer to gently smooth the surface of each nail, focusing on any ridges or uneven spots
- Push back your cuticles carefully with an orange stick or cuticle pusher
- Wipe each nail with alcohol or acetone on a lint-free pad to remove any oils
- Give your nails a final check to ensure they're completely clean and smooth
This prep work takes just a few extra minutes but makes all the difference in your final look. Now that your nails are properly prepped, let's get started with the actual process.
The Ultimate 4-Step Guide to DIY Chrome Nails
Ready for that metallic masterpiece? While chrome nails look complex, creating them at home just takes four simple steps and a bit of patience.
Step 1: Base Coat and Color
Apply your base coat thinly and evenly, making sure to cap the free edge of your nail to prevent chipping.
Once it's completely dry (about 2-3 minutes), add two thin coats of your chosen base color, waiting about 5 minutes between each coat - dark colors work best for a true chrome effect, but feel free to experiment.
Wait until each layer is completely dry before moving on, as any tacky polish will ruin the chrome effect. About 10-15 minutes total will do the job.
Step 2: The Chrome Magic
Here's where things get exciting. Once your base color is dry, take your chrome powder and eyeshadow applicator. Make sure both are completely clean and dry.
Dip the applicator into a small amount of powder and gently rub it onto your nail using small, circular motions, applying light pressure to create an even finish.
The transformation happens instantly as you'll see that gorgeous metallic shine emerge. So work on one nail at a time and keep rubbing until you achieve full coverage.
Step 3: Sealing the Deal
After applying chrome powder to all nails, it's time to seal in that shine with your special chrome-friendly top coat. Regular top coat won't work here as it can dull the effect.
Apply the top coat in thin, even strokes from base to tip, using the lightest pressure possible to prevent the brush from disturbing the chrome powder underneath.
Wait a full 3-5 minutes between coats to ensure everything sets properly and won't smudge.
Step 4: Clean and Perfect
Once your top coat is completely dry (give it at least 15 minutes), use a small brush dipped in acetone to clean up any stray powder around your nails and cuticles.
For extra shine and protection that will help your manicure last up to two weeks. Then add one more thin layer of top coat after the cleanup, making sure to cap the free edges again.
Common Problems and Quick Fixes
Here are the typical issues you may run into while creating chrome nails. But don't worry, they're all easy to solve.
Problem 1: Streaky Finish
If you notice streaks in your chrome finish, it's usually because the base color wasn't completely dry. Give each layer plenty of time to dry, and use thin coats rather than thick ones. Patience really pays off here.
Problem 2: Patchy Areas
Sometimes the chrome effect looks patchy or uneven. The fix is simple: make sure you're using enough powder and applying it with consistent pressure.
Too little pressure won't transfer the powder properly, while too much can create an uneven surface.
Problem 3: Powder Clumping
Noticing little bumps or clumps in your chrome finish? This usually happens when the powder gets damp or when too much is applied at once.
Keep your powder in a dry place and tap off excess powder from your applicator before touching the nail.
How to Make Your Chrome Nails Last Longer
With a few simple care tips, you can keep your chrome nails looking fresh and shiny for up to two weeks.
1. Protect Your Hands
Wear gloves when doing dishes, cleaning, or working with water for extended periods. Hot water and harsh chemicals are the biggest enemies of your chrome finish.
2. Daily Maintenance
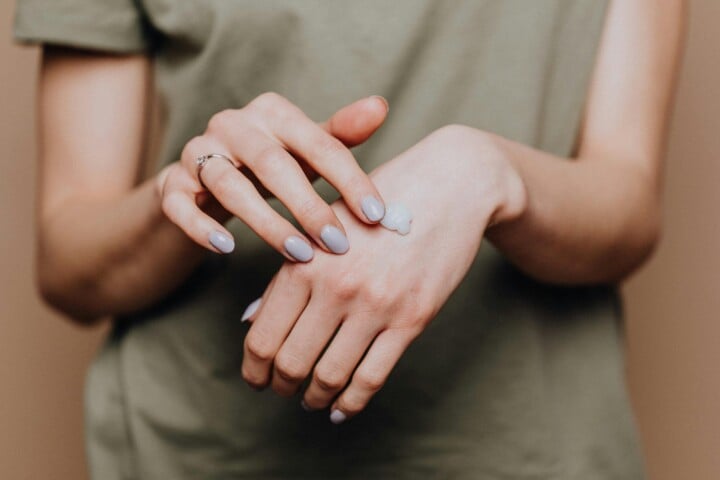
Apply cuticle oil every day to keep your nails and the surrounding skin hydrated, which helps prevent the polish from lifting and chipping at the edges.
3. Regular Top Coat Touch-ups
Add a thin layer of your chrome-friendly top coat every 2-3 days to refresh the shine and seal any minor wear spots before they become noticeable chips.
4. Gentle Typing
Be mindful when typing or texting - use the pads of your fingers rather than your nails to prevent unnecessary wear and tear on your chrome finish.
If you frequently type, try keeping your nails at a slightly shorter length to reduce impact.
5. Avoid Heat Exposure
Keep your hands away from very hot water and avoid long exposure to heat sources. Extreme temperatures can cause the chrome finish to dull or lift.
Also, when washing your hands or showering, use lukewarm water instead of hot water to help maintain the chrome's reflective quality.
Your DIY Chrome Nail Journey
Creating chrome nails at home saves money and allows you to experiment with different colors and effects. Your first attempt may not be perfect but it gets better on each try.
The best part is you can change up the look whenever you want, right from your couch. Now, who's ready to give their nails that gorgeous metallic makeover?


Leave a Comment