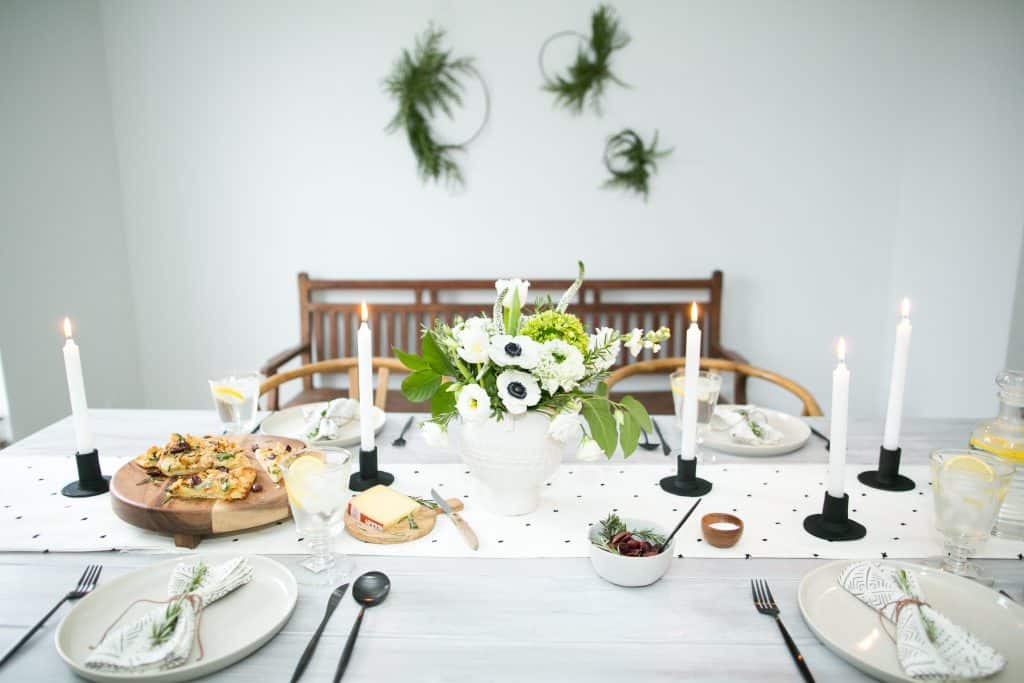
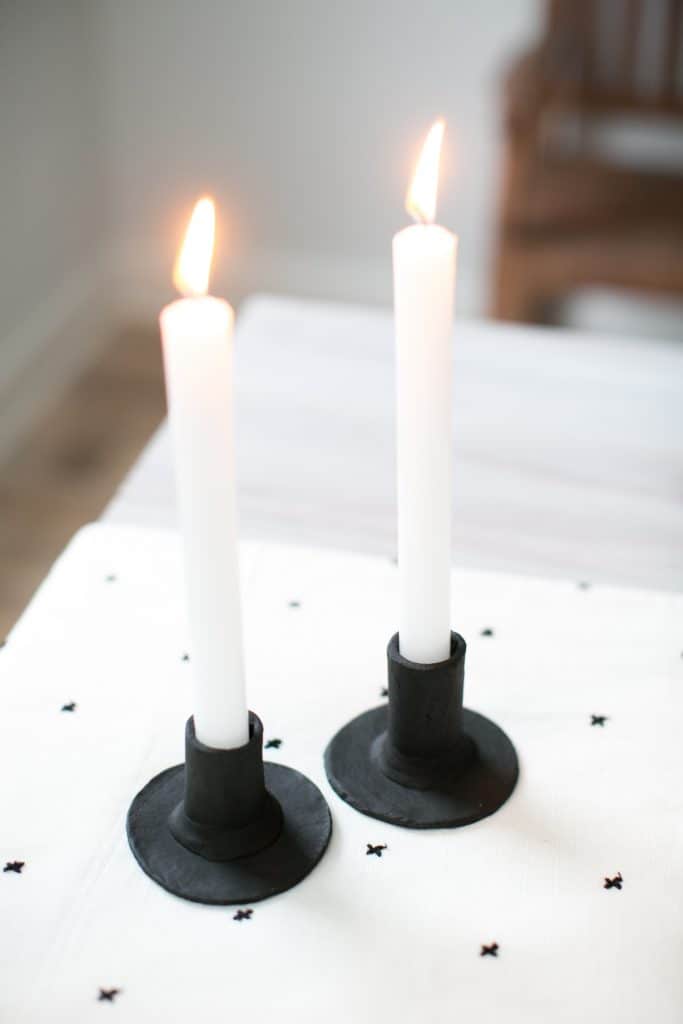
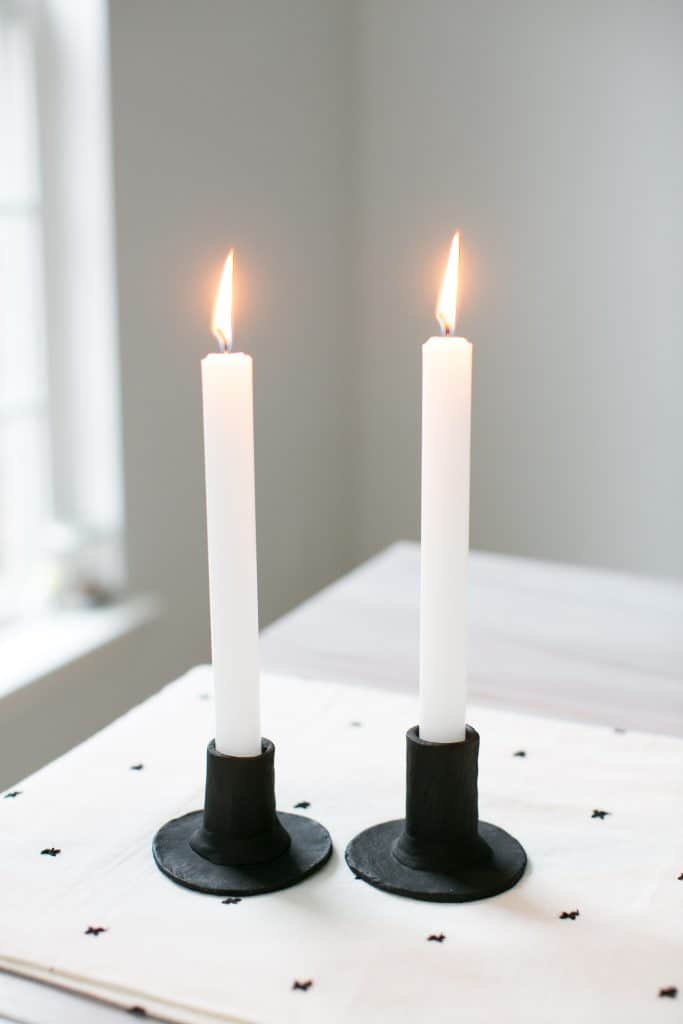
Modern stoneware or ceramic candlesticks with a Scandinavian vibe are hard to find — and when you do, they can go for more than $80 a piece. After years of thinking it took a pottery wheel, a kiln and tons of experience to make our own version at home, stylist Elizabeth Ulrich happened upon this air dry clay at the craft store and tried creating her own. She made these matte black versions at home for less than $20 - and with clay left over for future projects.
How to make clay candlesticks
The minimalist simplicity of the candlesticks pairs nicely with a modern flower arrangement for a table setting. Here's what you need to make your own:
- DAS Air Dry Clay
- Rolling Pin
- Wax Paper
- Paintbrush
- X-Acto Knife (Craft Knife)
- Cardboard or Paper
- Matte Craft Paint (optional)
- Taper Candles
- Glass of Water
Step 1 - Make your templates.
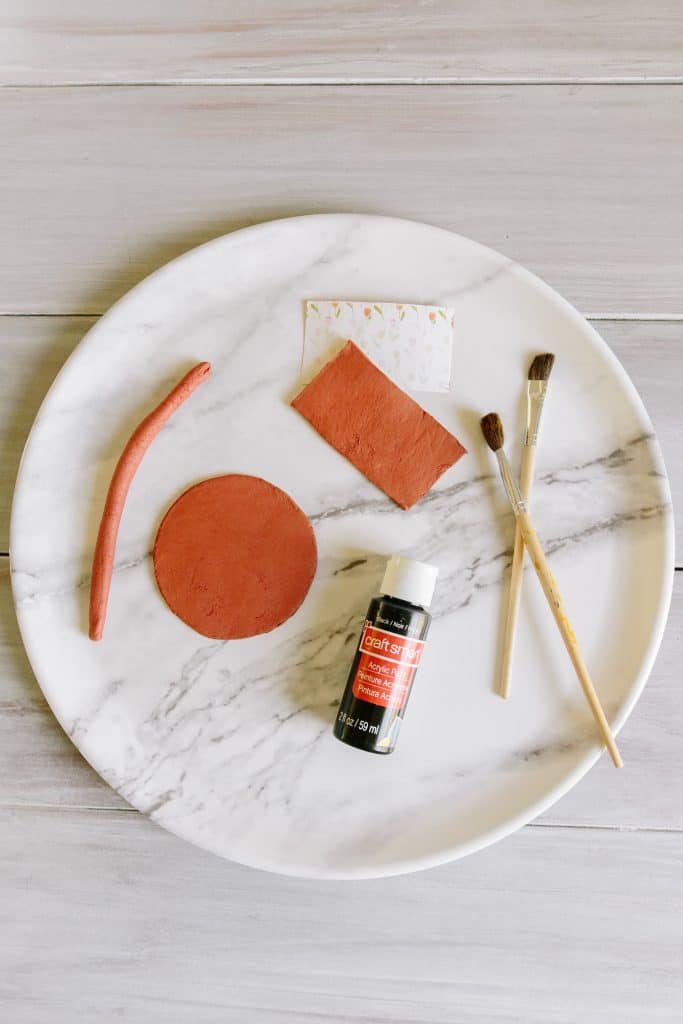
Pull a box out of recycling and use it to cut a template. Or use any thin cardboard or stiff paper (like card stock). These templates will serve as your guide when you cut the clay. You will need to cut out two templates — one circle for the base of your candlestick and one rectangle, which will serve as the top portion that holds the candle in place.
You can use a small bowl or glass as your guide to cut out the circle template, which should measure about 3.5 inches in diameter. The length of the rectangle should be 3.25 inches and the height should be about 2 inches. You can adjust the height based on how tall you prefer the candlestick to be. We made our candlesticks different heights to create a nice variation when they are used in a vignette or along a dinner table.
Step 2 - Prep your air dry clay.
Knead the clay to soften it and then separate it into two pieces. Pro tip: You can use a sheet of wax paper to cover your work area for easy cleanup.
Step 3 - Get rolling.
Roll out each piece of clay on a sheet of wax paper using a rolling pin. Each sheet of clay should be about 4 millimeters thick. Make sure each piece of clay is large enough to accommodate your paper templates.
 Step 4 - Cut the templates.
Lay each template on top of the clay and use a craft knife to cut around it. Your cut will be cleaner (and your shapes will be more consistent) if you cut each side in one long movement. Set aside your circle piece of clay for now. You’ll want to keep any leftover clay, as you’ll need it down the road.
Step 5 - Form the candlestick.
Take the clay rectangle and loosely wrap it around one of your taper candles. This will help the candlestick start to take the shape of the cylinder and will help you gauge where to overlap the clay on each end of the rectangle. Gently press the overlap together along the seam to hold the shape in place. You should be able to remove the taper candle slowly now, wiggling a bit as you remove in case it sticks a little.
Step 6 - Adhere the seam.
Using your paintbrush and fingers, begin to add water along the outside seam where the two clay ends overlap. Pressing lightly with your fingers, make the two ends become one piece. You can place a finger inside the roll of clay to help it keep its shape as you mold the two ends together.
Step 7 - Finish your edges.
Again using a wet paintbrush or dipping your fingertips into water, lightly moisten the edges on the top of the cylinder by softly running your fingers along them. This will give you a nice rounded edge. You can do the same with the edges of the circle base.
Step 8 - Add the base.
Cut a square of wax paper, place the circle base flat on it and lightly spread water over the surface of the circle. Now add the cylinder on top of the center of the circle. The wet clay will create a slightly sticky surface for the cylinder, but you’ll need additional clay to adhere them fully.
 Step 9 - Cut another piece of clay.
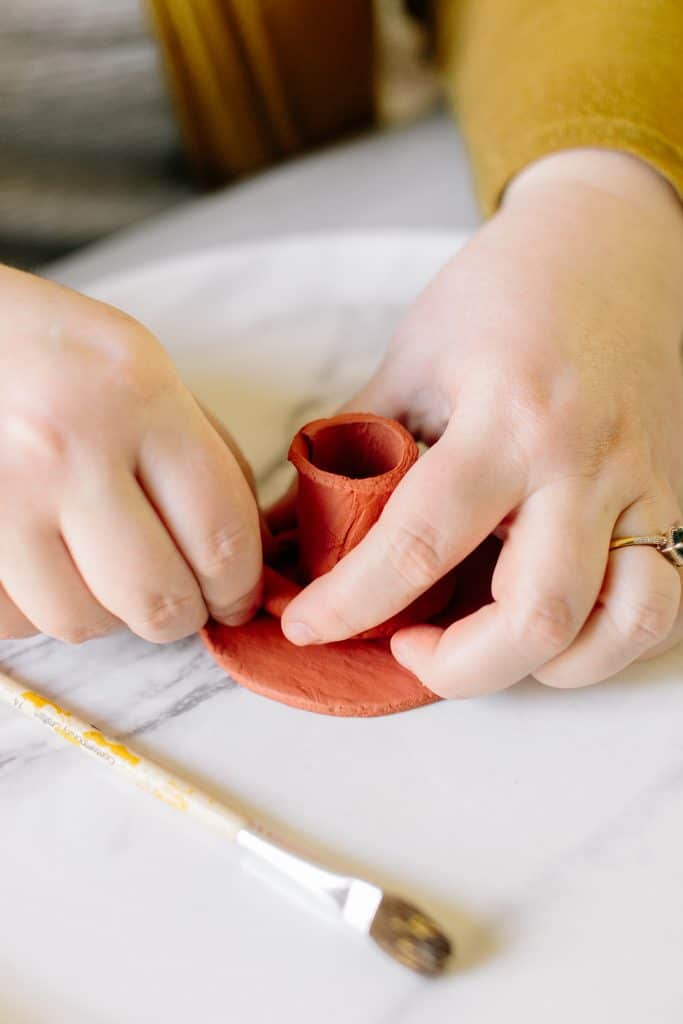
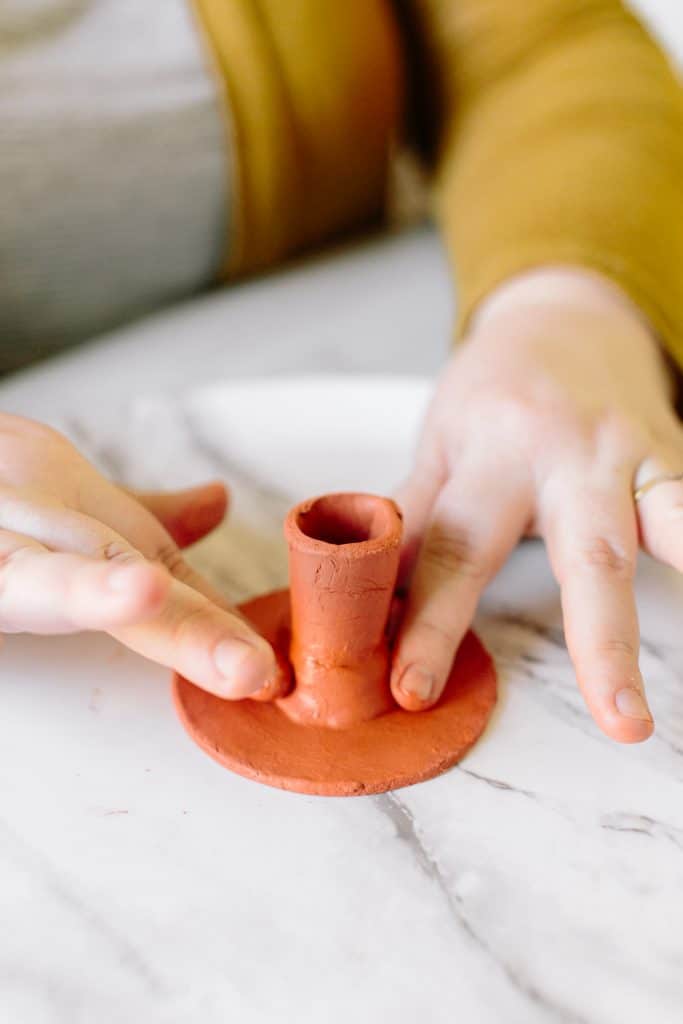
Knead and roll the clay leftover pieces into a snake or tube shape until it is a little thicker than a pencil. Measure the length of your tube to about 5 inches and use your fingers to pinch off the excess. Lightly spread water over the area where your cylinder meets the circle base and place the 5-inch tube around the base. Once it’s wrapped all the way around, use your fingers or craft knife to cut off any excess.
Step 10 - Mold the pieces together.
With one finger inside the cylinder tube to preserve its shape and keep it from moving from the center point, start to gently smooth out the tube shape with your fingers. The goal is to create a nice, gentle slope transition from the circle base to the cylinder — like an inverted C-shape that connects the two pieces smoothly and without seams. Work around the cylinder base, adding pressure and water as needed and smoothing until you get a uniform slope all the way around.
 Step 11 - Let it dry.
Leave your candlestick on the sheet of wax paper and allow it to dry 24 hours (or the length of time directed on your clay instructions).
 Step 12 - Add finishing touches.
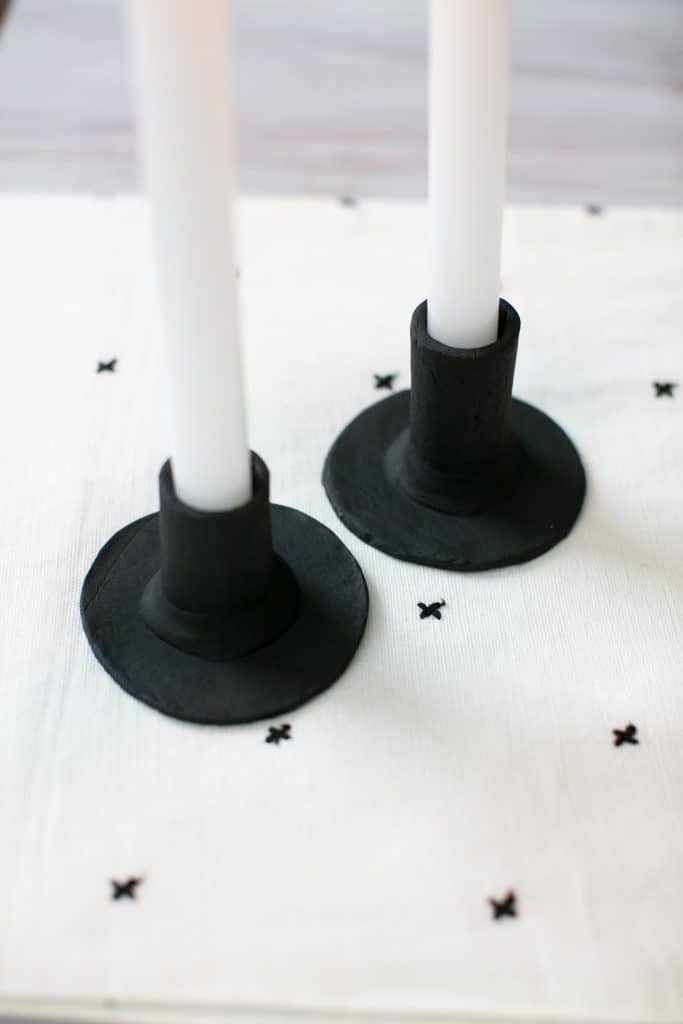
Once the clay is dry, you can paint it if you’d like. We opted to paint ours in a matte black acrylic paint like this one, but the original terra cotta hue of the clay we purchased would have been lovely as well. If you opt to paint, we recommend a matte finish for a more modern look.
Tutorial by Elizabeth Ulrich, Photos by Susan Hudson and Abby Coyle
65
 Step 4 - Cut the templates.
 Step 9 - Cut another piece of clay.
 Step 11 - Let it dry.
 Step 12 - Add finishing touches.
Leave a Comment