One of the first businesses I ever had was a candle-making business. I remember standing over a hot plate in my childhood bedroom melting paraffin wax and pouring it into old yogurt containers since I couldn’t afford fancy molds—realllll safe.
Somehow, I didn’t burn the house down, but I didn’t earn any money either. Maybe it was the whole candles-shaped-like-yogurt-containers thing, but who knows? Flash forward twenty years and hundreds of candles later, and just when I thought I couldn’t up my DIY candle game any further, I discovered wood wick candles.
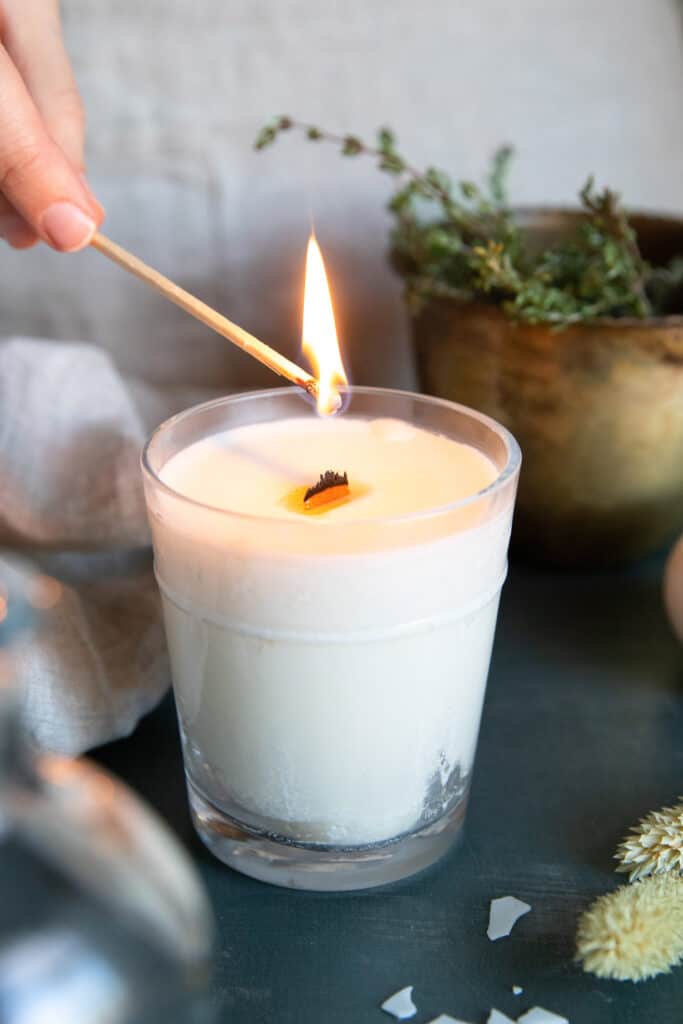
Traditional candle metal-core wicks contain all sorts of petroleum and other chemical byproducts [source] and heavy metals [source] that get released into the air when burned. But wooden wicks are biodegradable and sustainable. And let’s be honest, they’re way more romantic—thanks to a soft, wispy glow and that pretty crackling sound they make.
But there’s also a bit of a learning curve that comes with wooden wicks. Despite what the wick people want you to think, they take a little planning and a dash of trial and error to get ’em just right.
Here’s how to use them successfully without wasting time or pulling your hair out.
4 Benefits of Wooden Wicks
Sturdy and easier to use
Unlike cotton wicks, wood wicks don’t require a wick stand, chopsticks, clothespins, or anything else to keep the wick standing upright. Most wood wicks come with wick clips and sticker tabs to hold them in place, but even without those, a little wax can work just fine. From there, just fill the vessel with wax and let cool.
Longer burn time
Wood wicks burn more slowly than traditional wicks, which means your candle will last longer.
Clean burning
Since they don’t contain paraffin, heavy metals, or carcinogenic chemicals, wood wicks won’t release toxins into the air as they burn.
Sustainable
Wood wicks are said to be more sustainable than their cotton counterparts. Not only can several thousand wicks be obtained from a single tree, but they’re also nontoxic and biodegradable, so they don’t clog up the landfills.
How to Make Wood Wick Candles
Step 1: Choose your wicks
When it comes to choosing a wick, there’s only one rule of thumb: wider and thicker wicks burn hotter, so you only want to use them in larger containers. If you’re just getting started with wood wicks, I recommend mastering single ply before moving on to fancier wicks.
Single-Ply Wick - The single-ply wick is the de facto wooden wick most people think of. It’s usually 0.02" thick and throws a decent amount of heat and scent.
Booster Wick - These are similar to single-ply wicks, except they have an added strip of wood down the middle. The extra wood gives you a hotter flame and more crackle. You can make your own pseudo-booster wick by placing two wicks back-to-back in a single wick clip.
Spiral Wick - This is a core-less cotton wick made from wood (think of it like a wooden straw).
How do you know which size wick to get?
Well, it varies depending on your vessel size, wax type, and fragrance additives. So you have to test them.
Wicks range in thickness from .02" (thinnest) to .04" (thickest), with the thicker wicks being ideal for larger containers. If you’re using a small container, such as an 8-ounce vessel that’s about 3" in diameter, start with a .02" single-ply wick. And for larger vessels, try thicker/wider wicks.
Then make a test candle.
You have found your ideal wick when the surface of your candle melts all the way across within 2 to 3 hours, and you have an approximately ½-inch deep wax pool with a ½-inch flame.
Step 2: Prepare your wicks
Some online tutorials say you don’t need to soak wooden wicks before use. But, honestly, I have never gotten my wood wicks to burn properly without soaking them first.
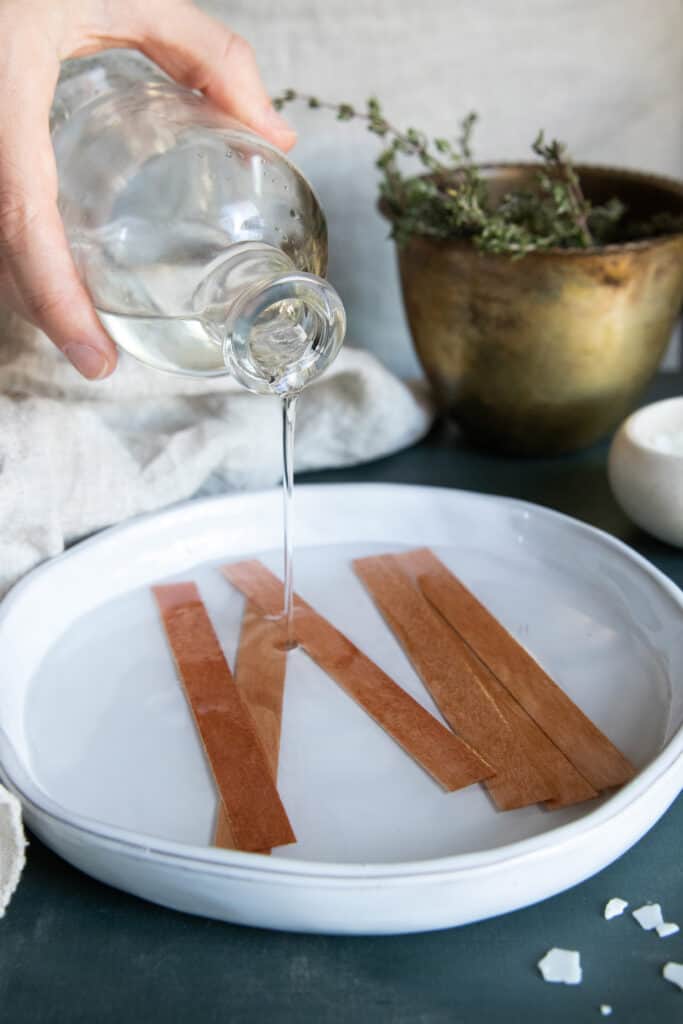
What you soak them in is up to you. Olive oil, sweet almond oil, or even melted soy wax are okay. But personally, I’m a fan of fractionated coconut oil. It’s odorless and doesn’t go rancid very quickly, so you won’t have to worry about it making a strange odor. But don’t be afraid to experiment with whatever you’ve got at home.
Simply place the wicks on a plate or shallow bowl and cover with oil. You might want to toss the wicks a bit to coat them evenly, then let them soak for several hours or overnight. The next day, wipe the excess oil off, and you’re ready to go.
If using wax, melt a small amount of plain soy wax in a deep measuring cup. Dip the wooden wicks into the molten wax one by one, ensuring that both sides are fully covered. Let any excess wax drip off, and place the wicks somewhere where they can cool.
Step 3: Make Your Candles
Supplies
- Wooden wicks
- Wick base clips
- Soy wax
- Vessel
- Essential oils or fragrance oils
- Fractionated coconut oil (almond or olive oil also work)
- Microwave-safe measuring cup, double boiler, or wax pitcher and a small saucepan
Wood Wick Candle Instructions
Prepare your wicks ahead of time by soaking them overnight in oil or wax. Like I mentioned earlier, I prefer fractionated coconut oil, but you can use any oil you have on hand.
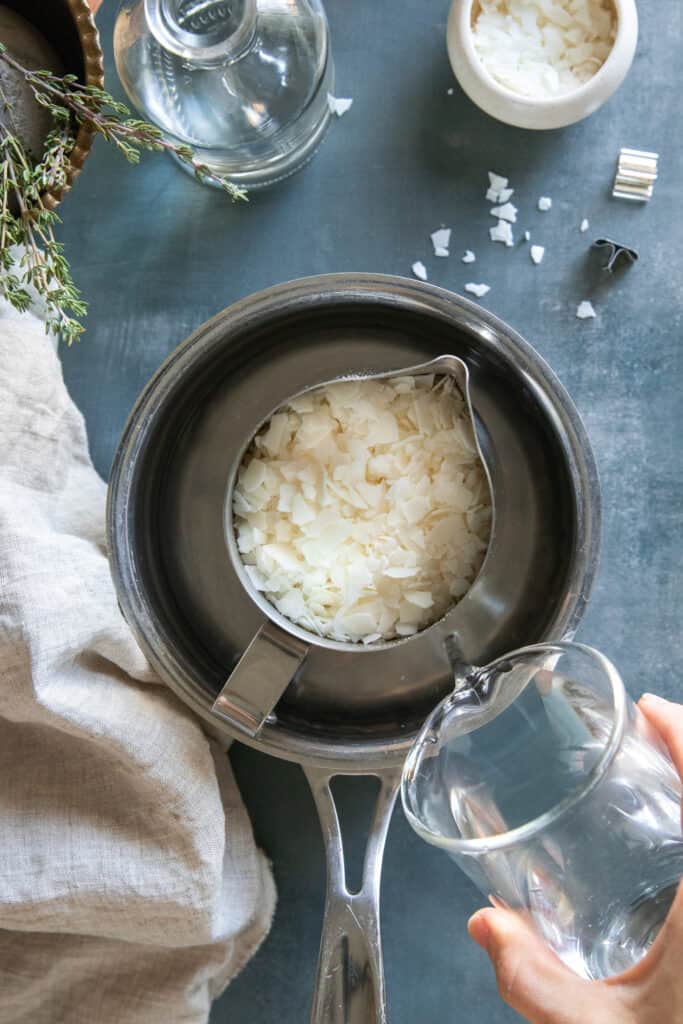
To make your candles, start by melting the wax. Add 1–2 cups of soy wax flakes into a metal wax pitcher, and place the pitcher in a small saucepan with an inch of water.
Then melt the wax over low heat. You can also use a double boiler or microwave-safe measuring cup instead and microwave in 30-second increments.
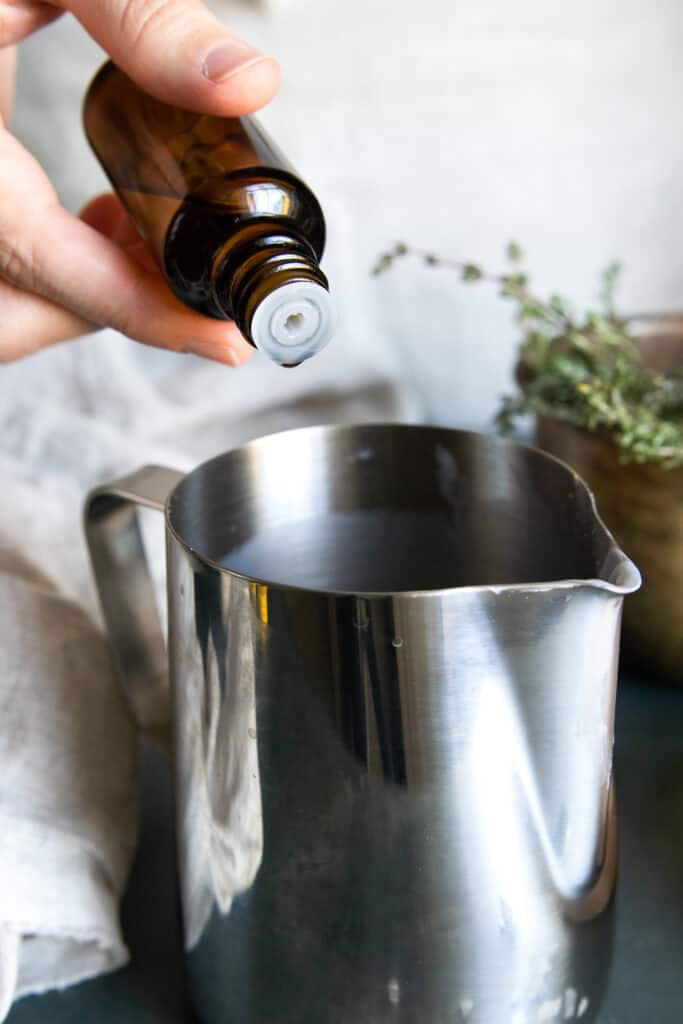
Add essential oils or fragrance oils and mix well. Essential oils don’t provide as much scent as commercial fragrance oils, but they are more nontoxic. If you choose to go with essential oils, here’s a guide to help you out. The choice is up to you!
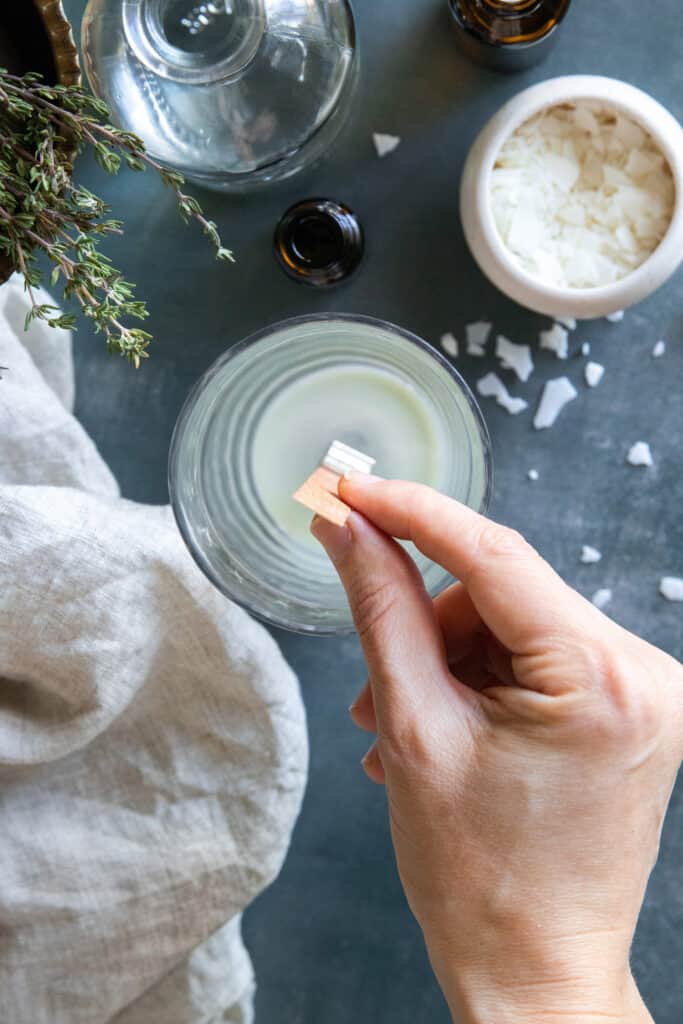
Wipe any oily residue from the wick and slide the wick into a wick clip. If your wicks came with sticker tabs, place a single sticker onto the bottom of the wick clip and press the wick firmly to the bottom of the vessel. (My wicks didn’t come with stickers, so I poured a ⅛-inch of wax into the vessel and held the wick in place for several seconds until it hardened.)
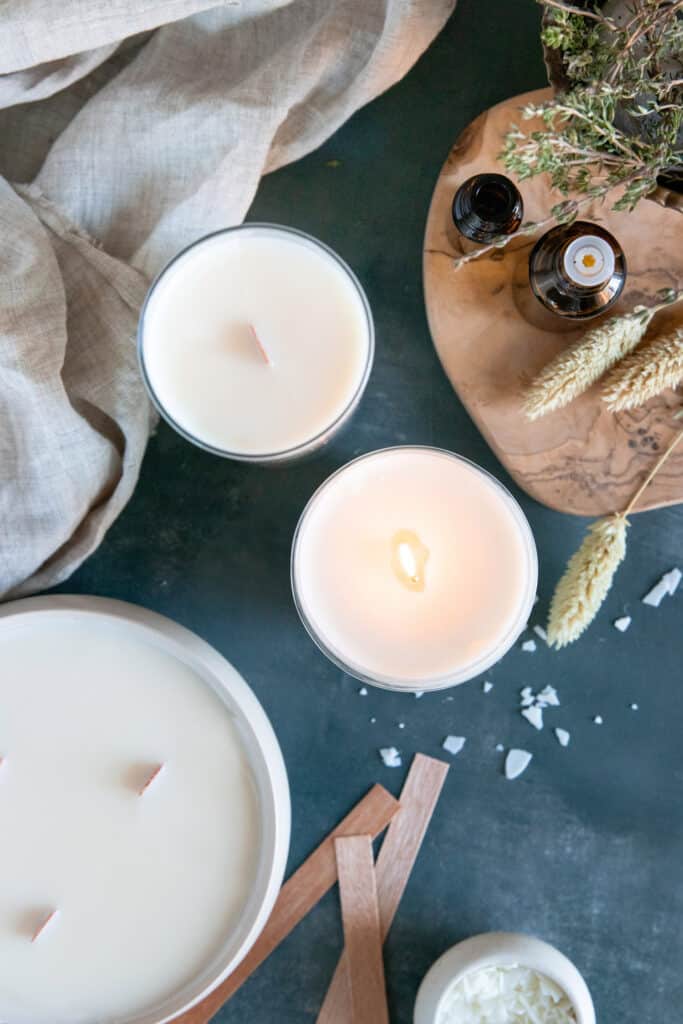
With the wick firmly in place, fill the vessel the rest of the way, leaving about ½-inch of breathing room at the top. Let it cool overnight.
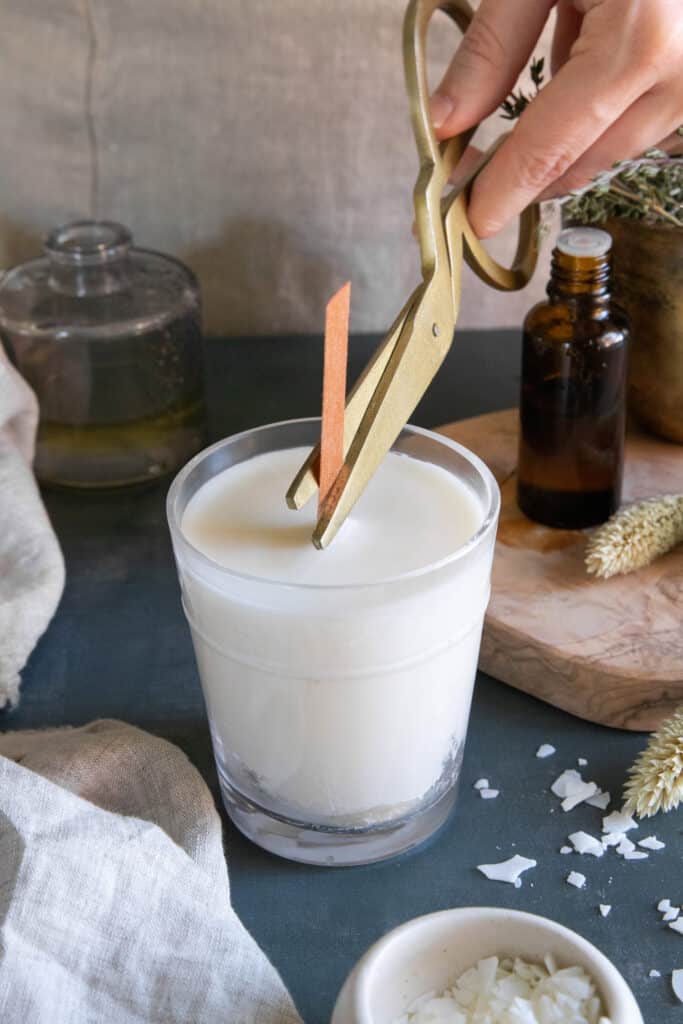
Trim the wick. You can use a wood wick trimmer, if you have one, or regular scissors. To get a clean, flat cut, a wick trimmer is helpful.
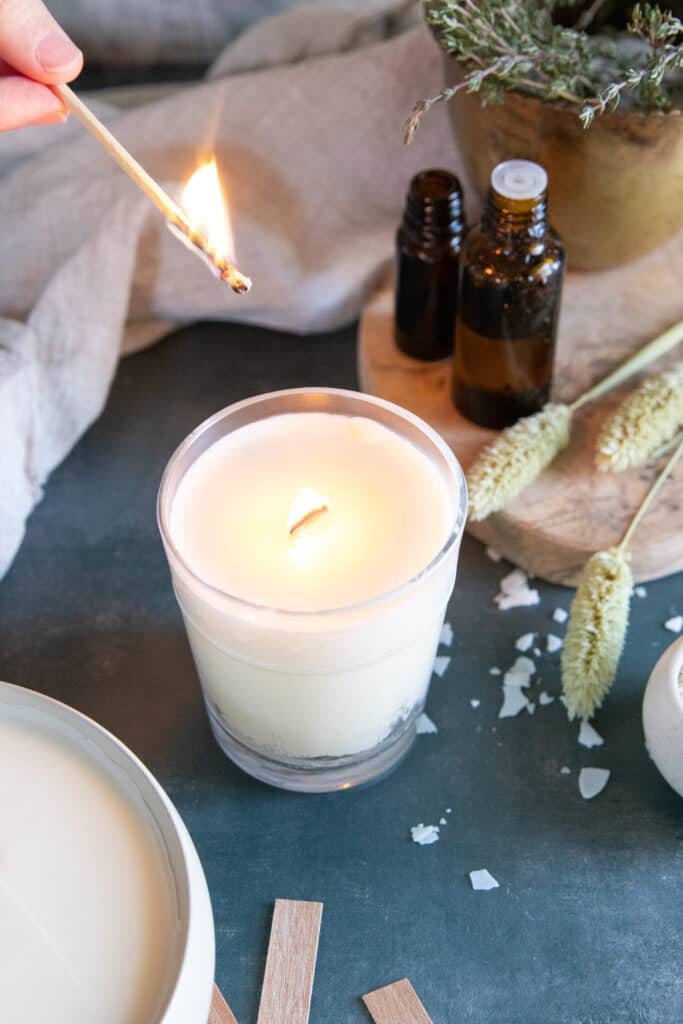
For the best scent throw, let your candle cure at least 2–3 days before lighting.
Wood Wick Candle FAQs
Are wood wicks safe to burn?
Yes, wood wicks aren’t coated in harsh chemicals, and they produce a small, slow-burning flame, which makes them much safer than the traditional cotton wicks.
How do you cut a wood wick candle?
To trim fresh wicks that haven’t been lit yet, I simply use kitchen scissors. You could also use a wick trimmer if you prefer.
To trim wicks that have previously been lit, I sometimes use my fingers to break off any charred bits of wood. A wick trimmer or scissors can also be used.
Make sure to trim your wick prior to each burn.
Why isn’t my wick staying lit?
If you soaked your wicks ahead of time and are still having problems getting the wick to stay lit, it may have to do with its size. A larger wick may be necessary.
It might also have to do with how long you let your candle burn previously. Ideally, you want to let it burn long enough to melt the wax evenly across the entire surface of the candle. This prevents tunneling and can help ensure a more even wax dispersal.
If your wick can’t burn for more than a few seconds before extinguishing itself, you may need to remove any blackened and splintered wood at the top and try again.
Black smoke is coming out of my candle—what do I do?
All candles will produce black smoke if you burn them for long enough. To keep smoke to a minimum, make sure to trim the wick to ⅛" before each burn.
Can I make wooden wicks from any kind of wood?
No, wooden wicks should only be made from untreated wood made especially for candles. Please do not try and make your own wicks using balsa wood, dowels, craft sticks, or any other untested wooden materials.



Leave a Comment