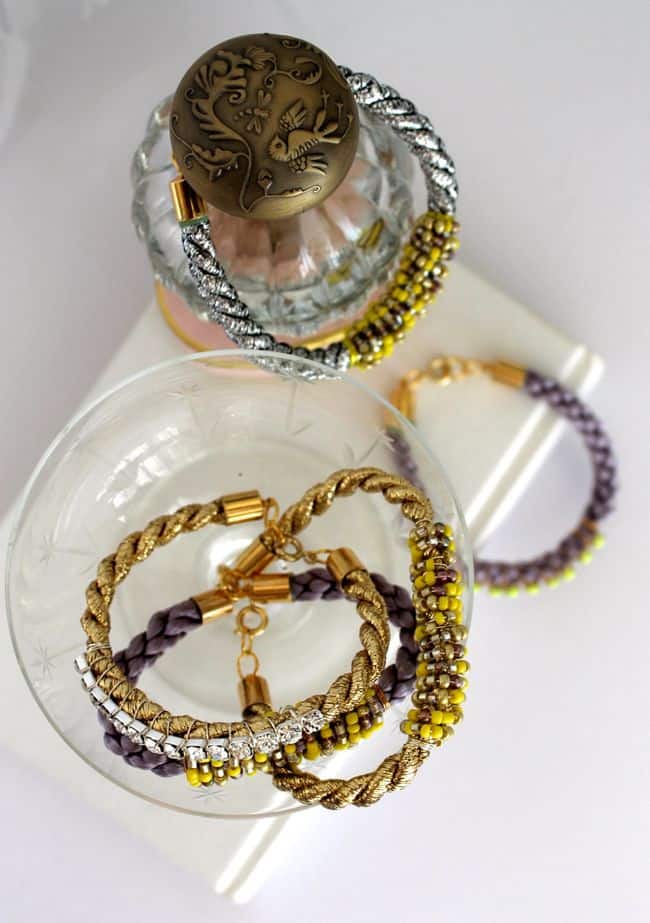
It’s been a while but I'm back with another fab bracelet tutorial for you all - just in time for the holiday season. If you're looking for an idea to make your loved one or just for yourself, I seriously recommend giving these a go. They are perfect for beginners, as they are really simple to put together, but also perfect for your purse, as the materials are inexpensive - you should be able to pick up everything at your local craft store.

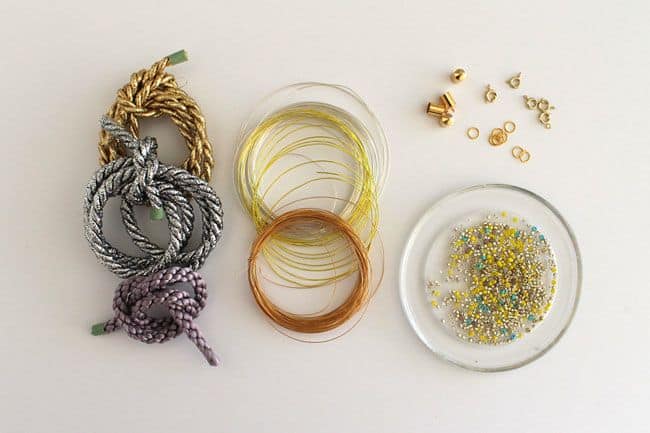
 Supplies needed
- Cord - I went for a mix of gold, silver and mauve
- Cord ends
- 7mm Jump rings
- Bolt clasps
- Fine wire
- Seed beads
- Strong glue
- Tape (optional)
 Instructions
Step 1
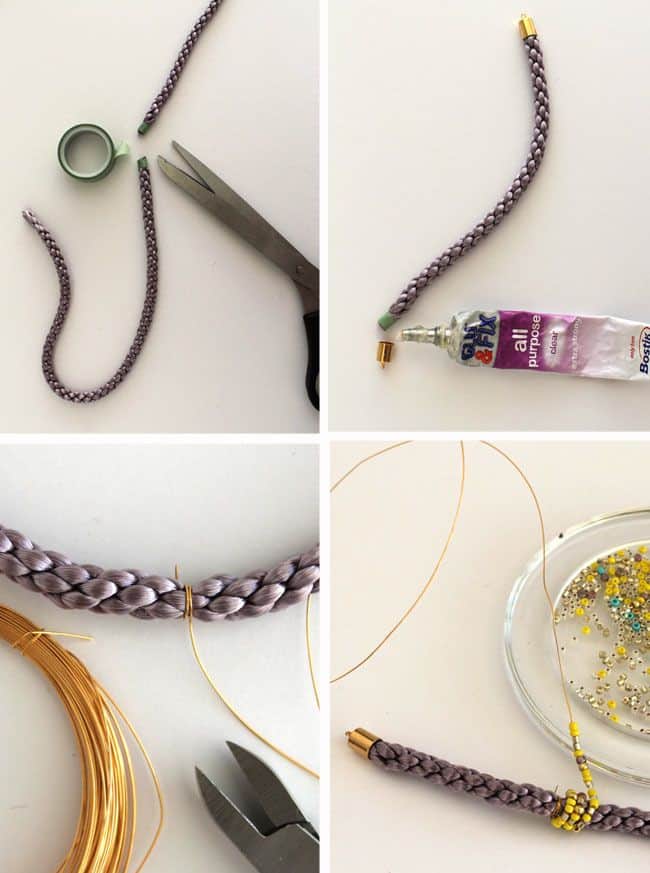
Cut a length of cord the same width as your wrist. I found it easier to wrap a piece of tape around my cord to stop the ends from fraying.
Step 2
Apply a dab of glue to the inside of your cord end, leave to dry for a few minutes and then insert your cord. Repeat on the other side and then leave to dry.
Step 3
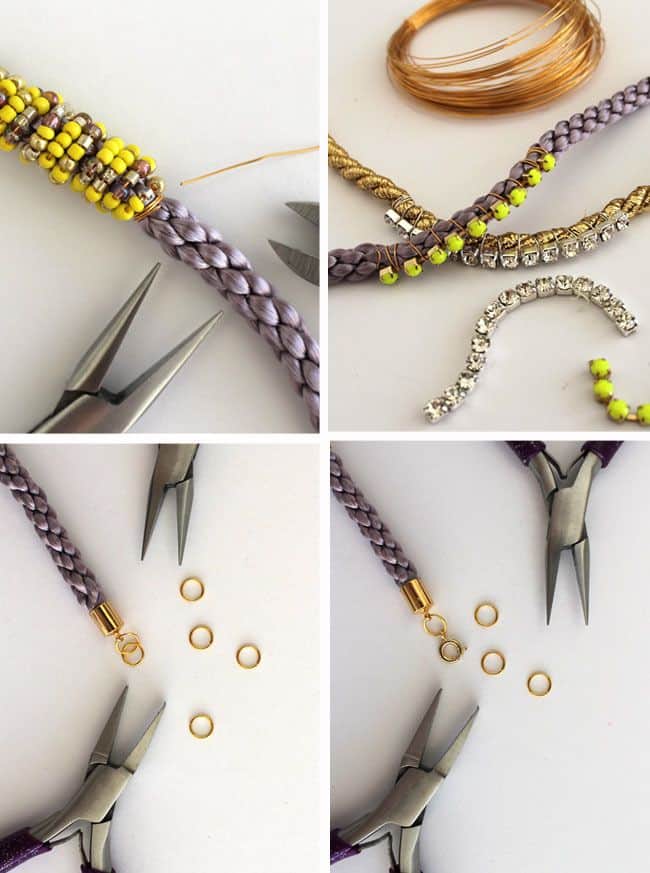
Cut a length of wire 40 - 50cm long about 10cm from the end wrap tightly around the cord a few times. The beaded section on these bracelets is 5cm long so I started to wrap 2.5cm from the centre of the bracelet.
Step 4
Start to add your beads, thread on about 7cm worth of beads at a time and then wrap the beads around the cord.
Step 5
When you get to the end of your beaded section, wrap the end of the wire tightly around the cord and snip off any excess wire. I tucked the sharp end of the wire into the cord to so it wouldn't catch.
Step 6
As an alternative you could wrap diamante chain onto your cord: apply in exactly the same way as your seed beads. This version is even easier!
Step 7
Add a jump ring to one end of the bracelet and a bolt clasp to the other end of the bracelet.
That's it simple and beautiful, just what we all need at this time of year!


 Supplies needed
 Instructions