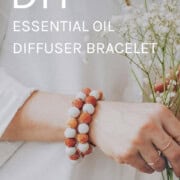
An essential oil diffuser bracelet is a stylish, portable way to benefit from aromatherapy throughout your day. You’ve probably seen them for sale on Etsy and at wellness shops, but they’re a cinch to make yourself too—not to mention, a lot cheaper! And they make a great DIY gift!
Jump to:
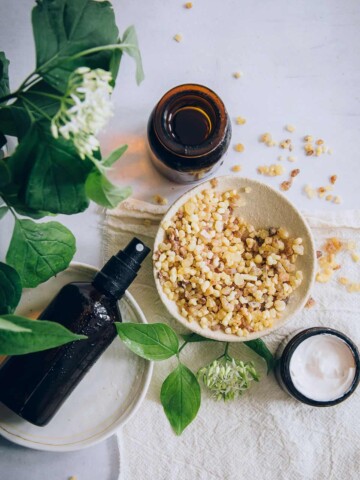
Essential oils are associated with mood- and health-enhancing properties. Their scents are said to invigorate, relax, or uplift and are used to treat minor ailments like headaches.
Why You Should Make a Diffuser Bracelet
We generally love making our own jewelry, but one that doubles as a functional item is even better! Here are just some of the reasons for making your own diffuser bracelet:
Aromatherapy on the go: Help manage stress, enhance mood, boost energy, and promote relaxation throughout the day wherever you are.
Portable: You simply wear it on your wrist, making it easy to refresh the scent as needed.
Stylish: You can choose from different materials and styles to match your personal aesthetic.
Personalized scent: You can customize the scent according to your preferences or needs by adding a few drops of your favorite essential oils.
Discreet: Unlike applying oils directly to your skin, which can sometimes be too strong or irritate sensitive skin, diffuser bracelets offer a more subtle and consistent release of the scent, which is less likely to overwhelm you or those around you.
Supplies
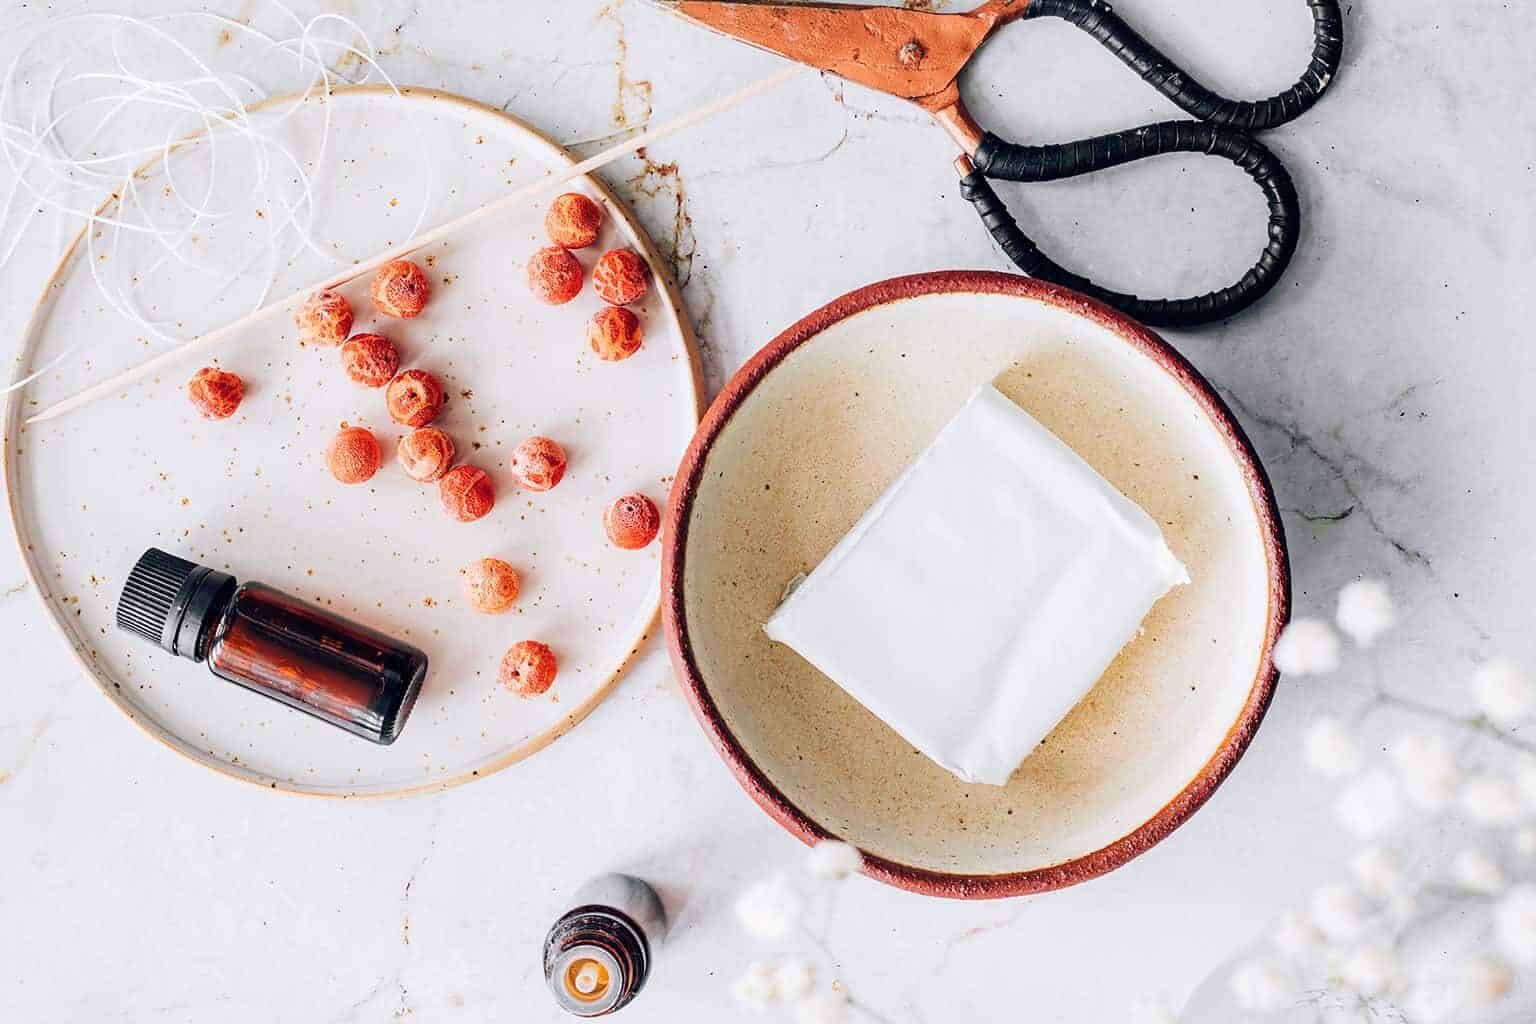
You won’t need many supplies to make your DIY diffuser bracelet:
- air-dry clay
- a wooden skewer
- Stretch Magic (or other jewelry-making stretch cord)
- beads of your choice - you can use semi-precious gemstone beads for your bracelet, your birthstone, or whatever you like. Another option would be a gemstone associated with healing properties to complement the healing nature of essential oils.
How to Make a DIY Essential Oil Diffuser Bracelet
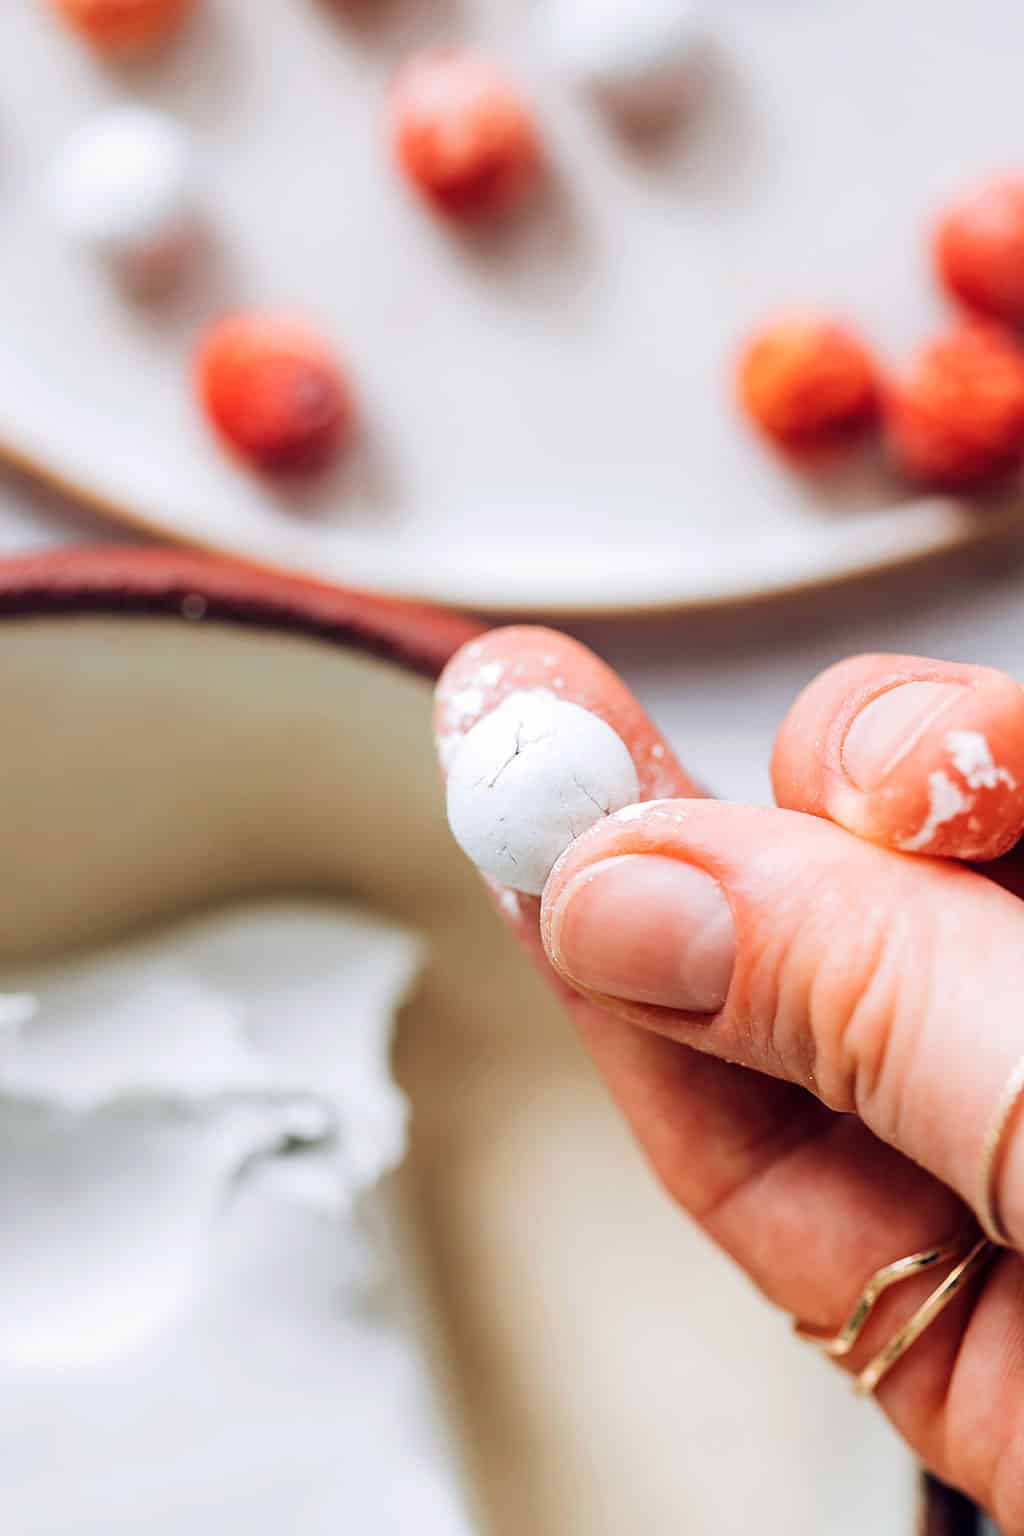
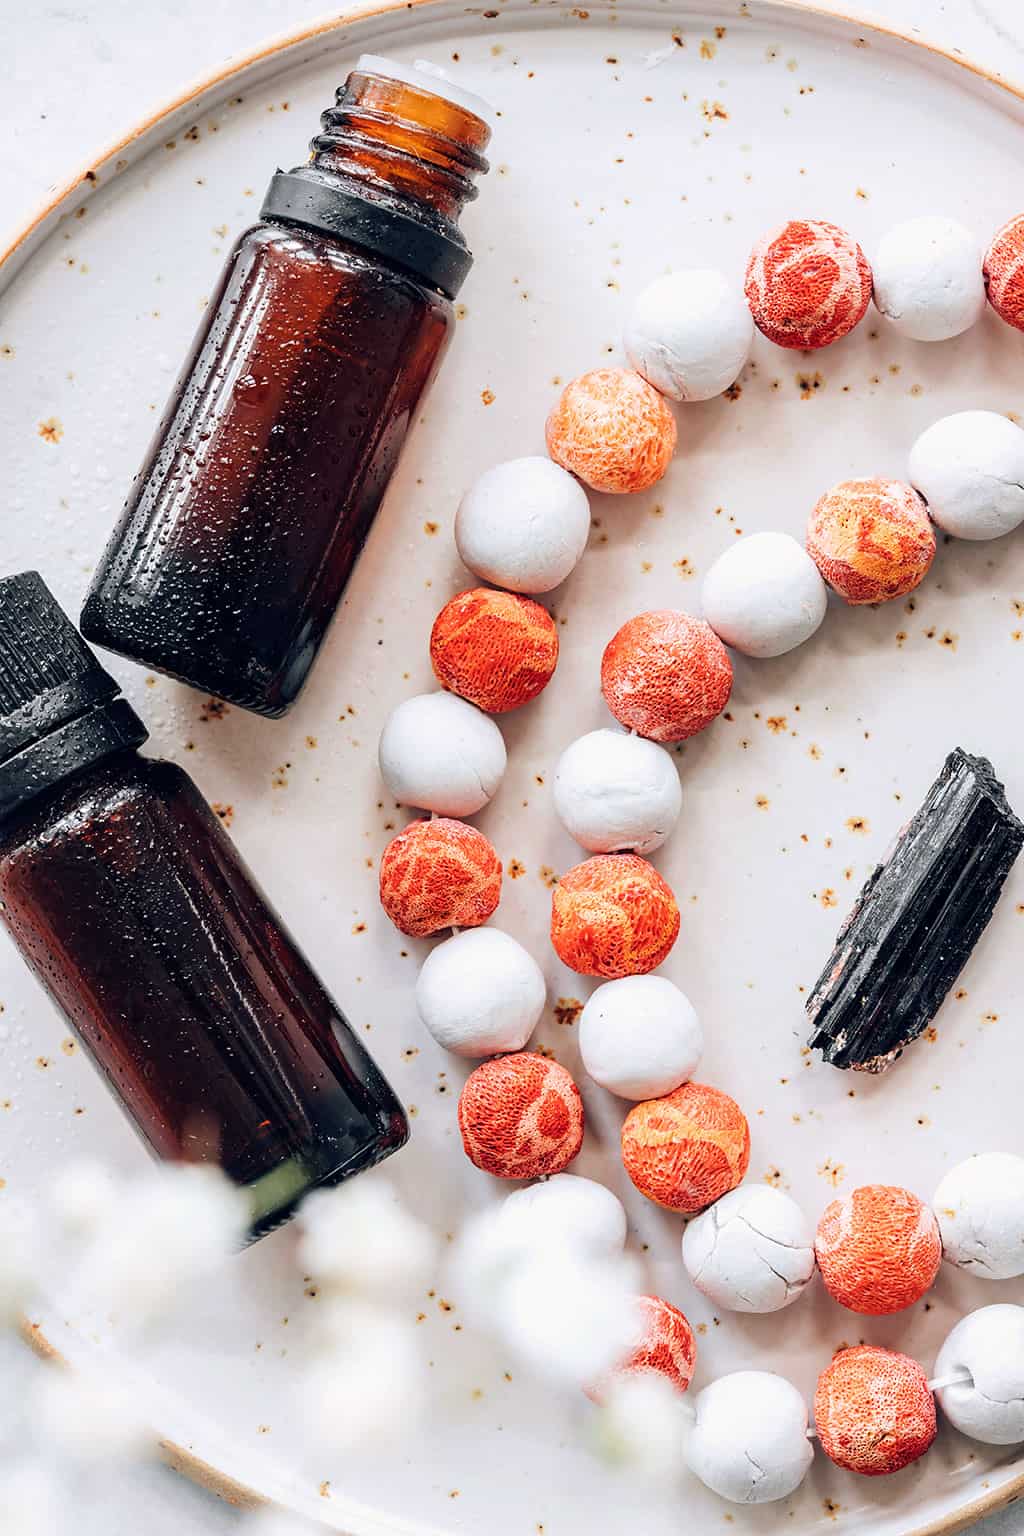
Pinch some of the air-dry clay and roll it until it is ball-shaped and a similar size to your beads. Repeat this process until you have as many clay beads as you would like for your bracelet.
These clay beads will absorb and diffuse your essential oils. You may want to emboss the beads or create an extra pattern by using additional clay.
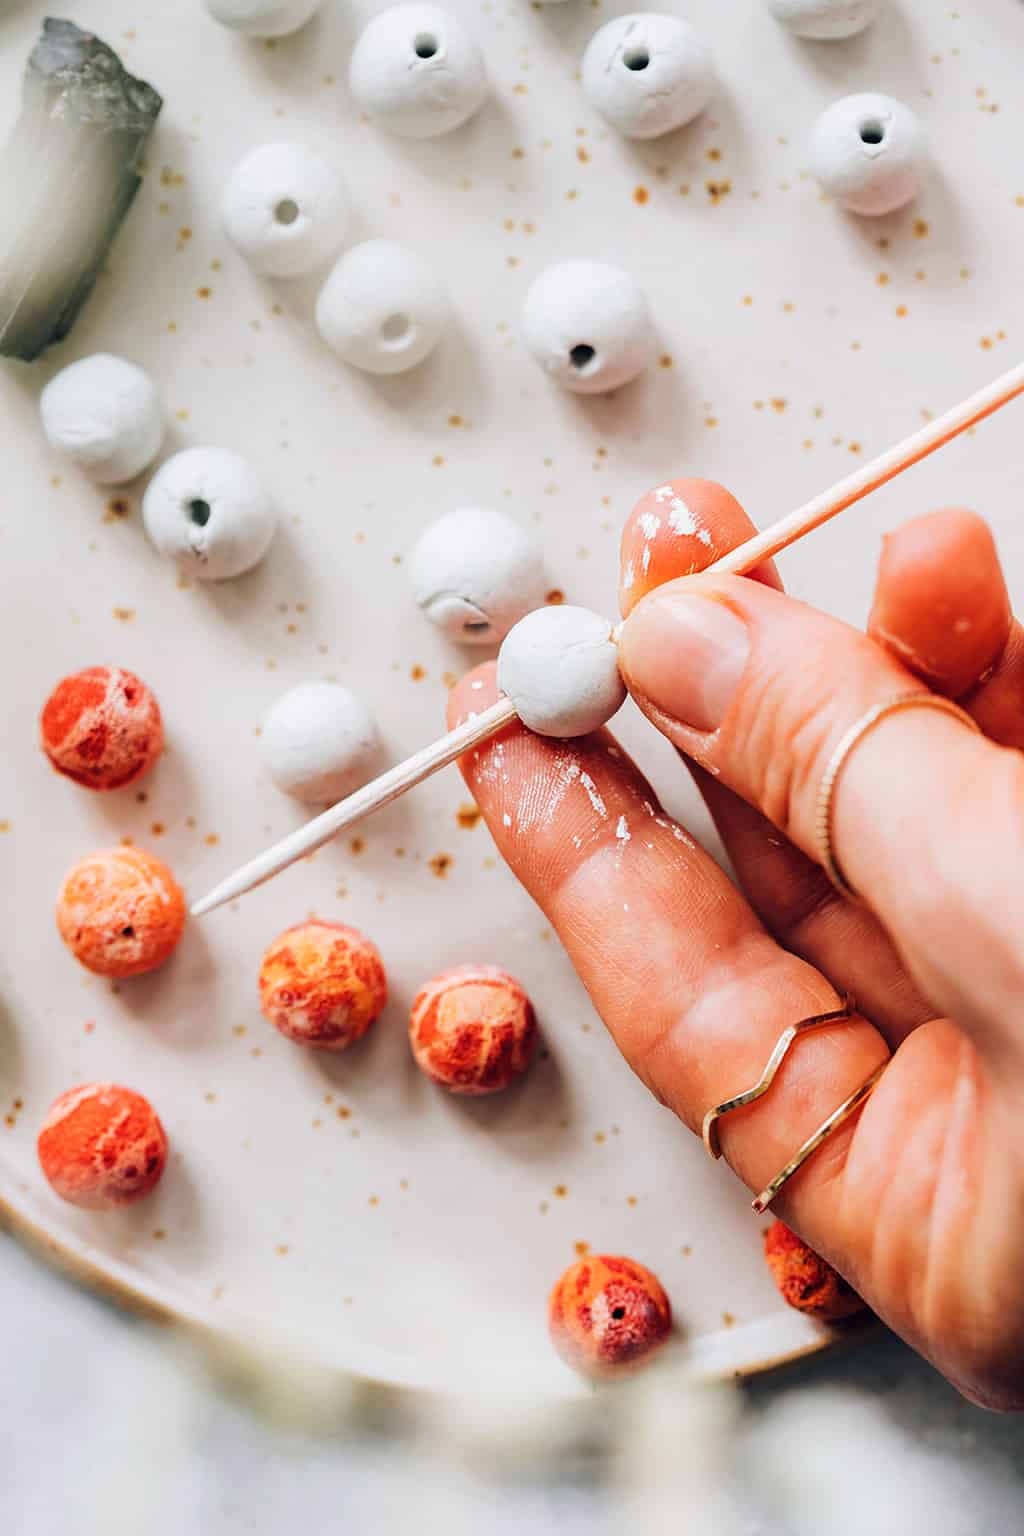
Gently make a hole in the center of the clay balls using your wooden skewer. Set aside the clay beads to dry. This should take approximately 24 hours.
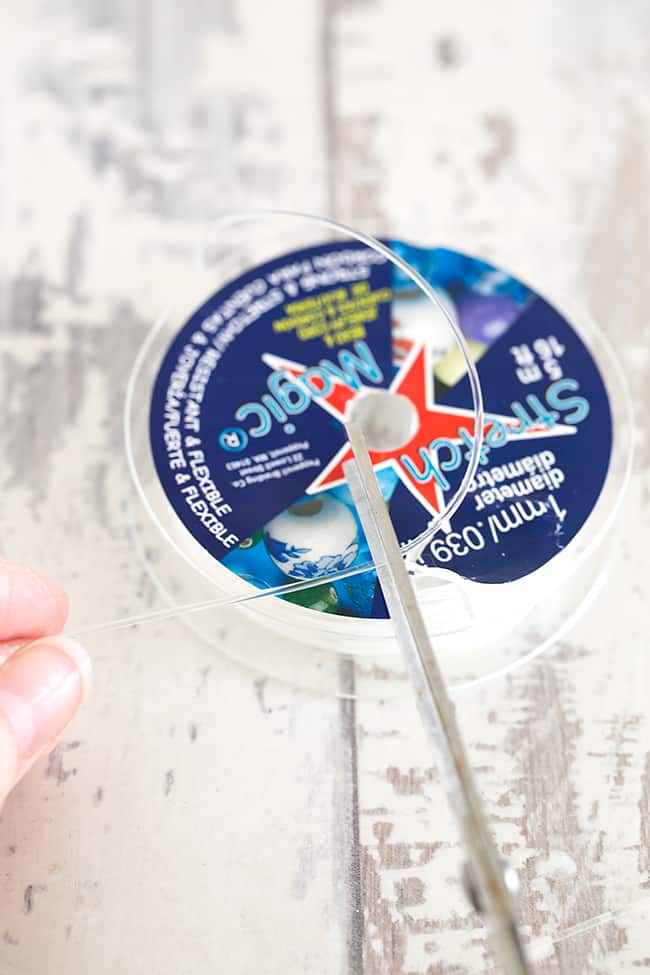
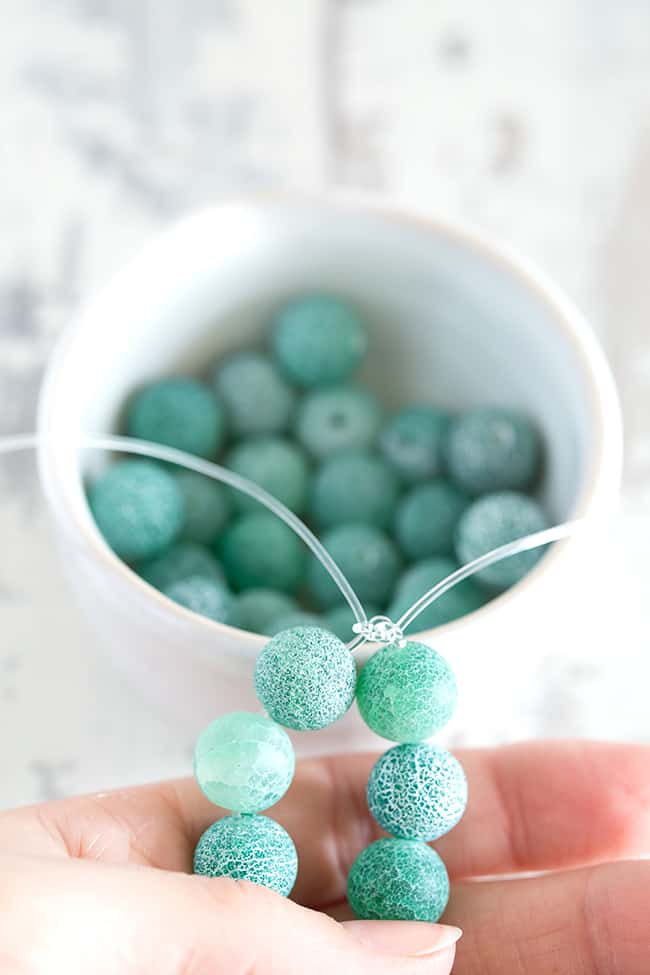
Cut a length of the Stretch Magic that is about twice the circumference of your wrist. This will allow you to have enough stretchy cord to string the beads without difficulties and also to tie the knots that fasten the DIY diffuser bracelet.
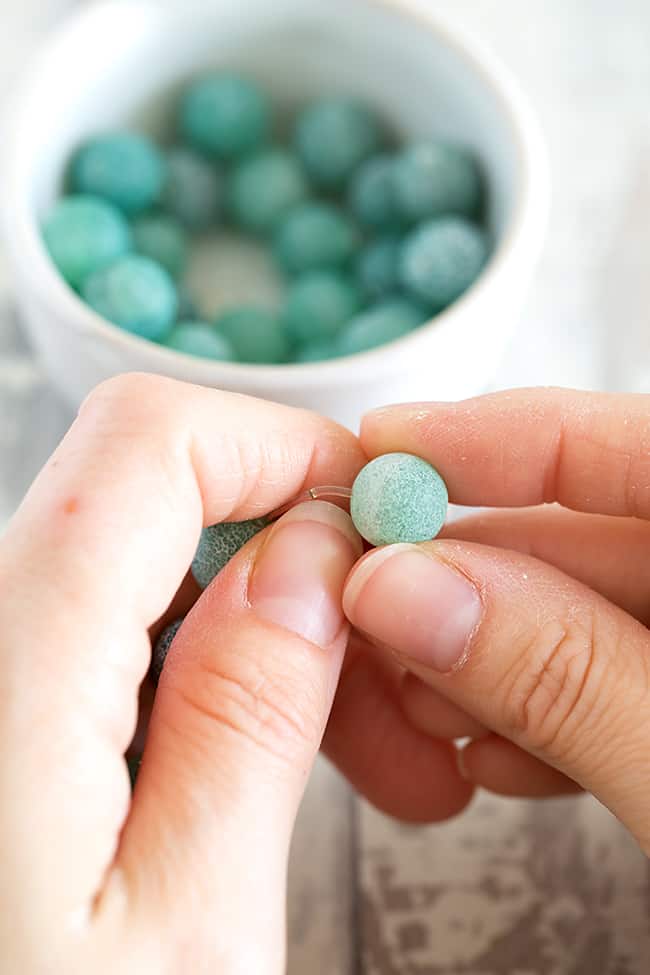
Add your gemstone and clay beads onto the cord.
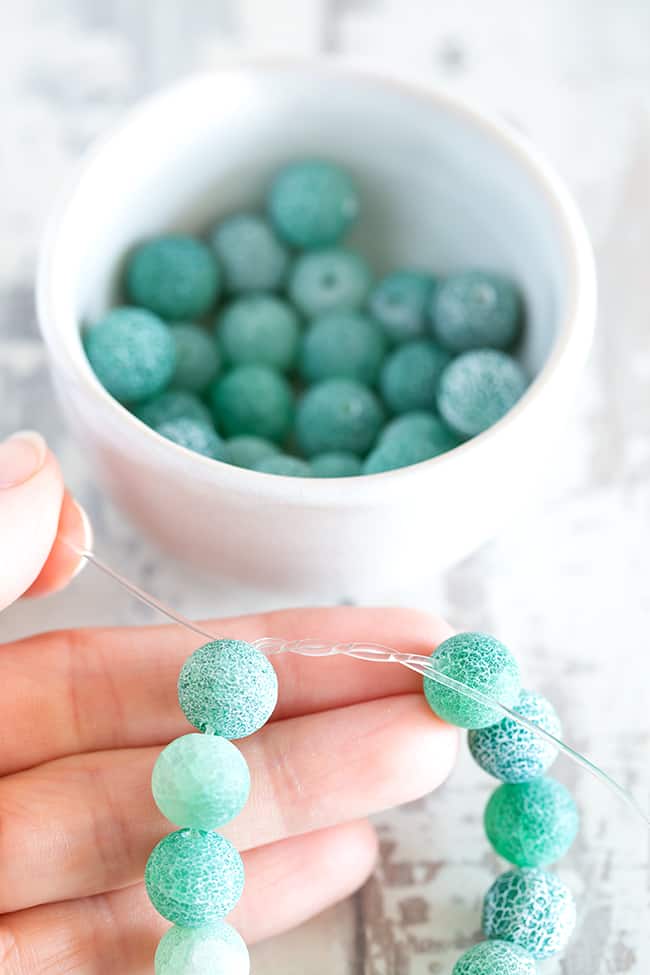
When you have enough beads to cover the circumference of your wrist, you can use a surgeon’s knot to tie the two ends of the stretch cord together. Cross over the two ends, and then wrap the right-hand piece of cord over two times.
Pull the ends tight, so the beads are together. Keep this first knot tight and then repeat the process to finish off the knot, making sure to keep the knot tight. Trim the loose ends. You may like to add a little bit of glue for extra security.
Variations
An alternative way to finish off the bracelet is to use a jewelry crimp. Insert one end of the stretch cord through the crimp bead. Next, thread the other end of the stretch cord the opposite way through the crimp bead.
Pull the ends until the beads join together. Keeping the cord tight, squeeze the crimp bead with a pair of pliers. Trim the ends a little, and then allow the beads to cover the crimp bead join.
Adding Essential Oils to Your Diffuser Bracelet

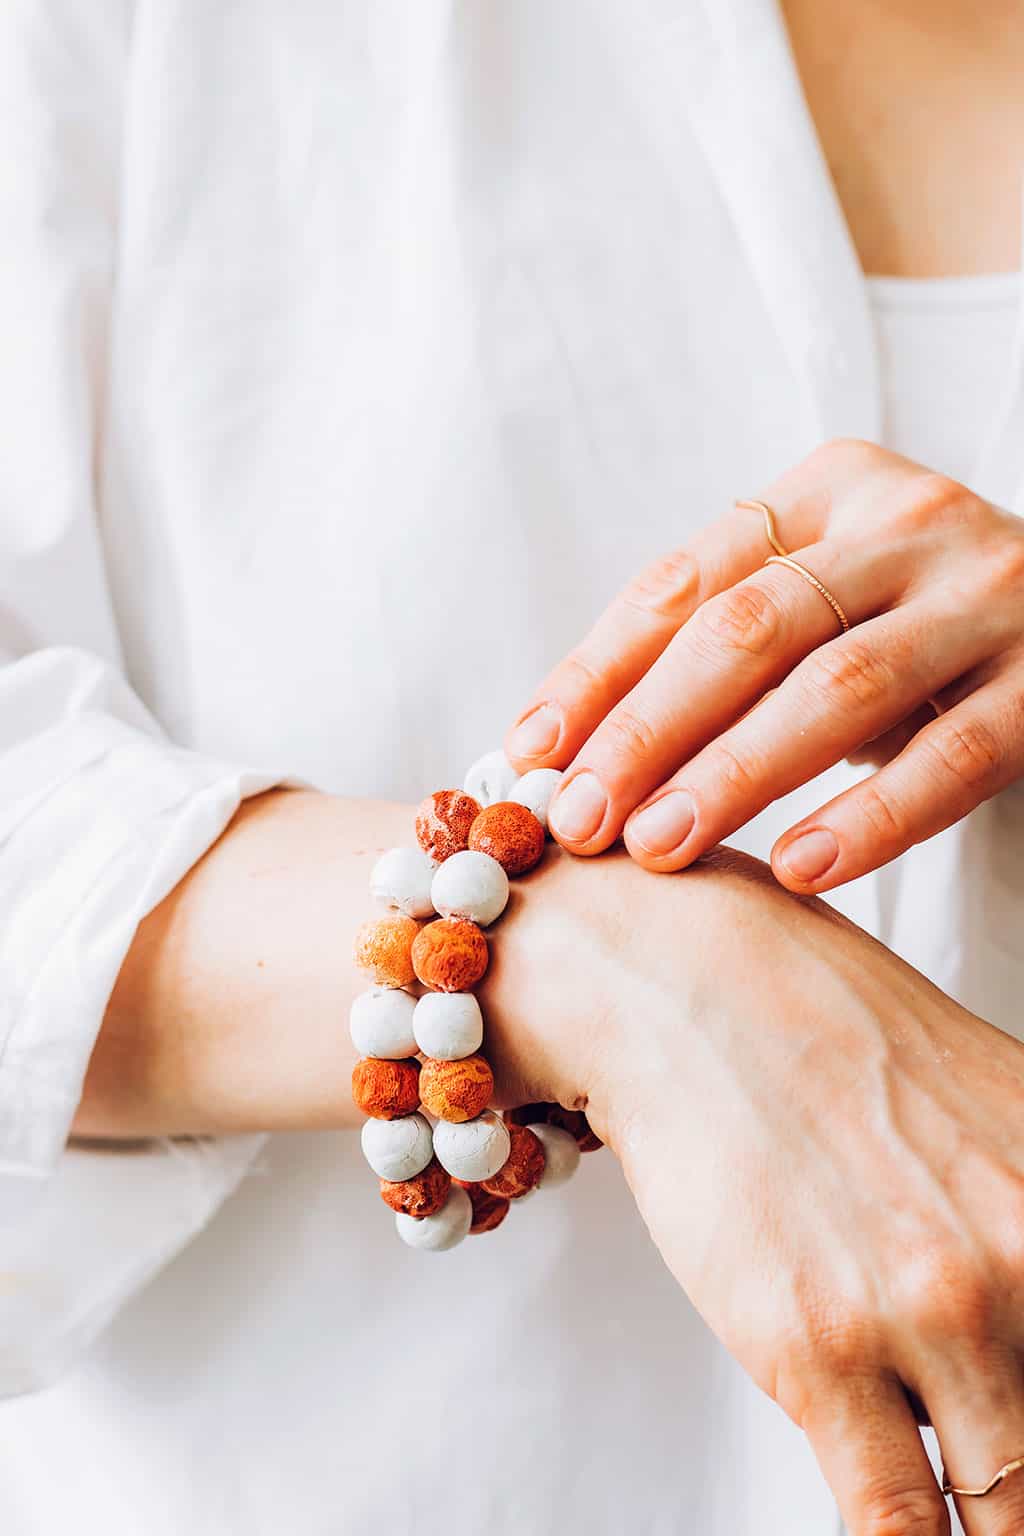
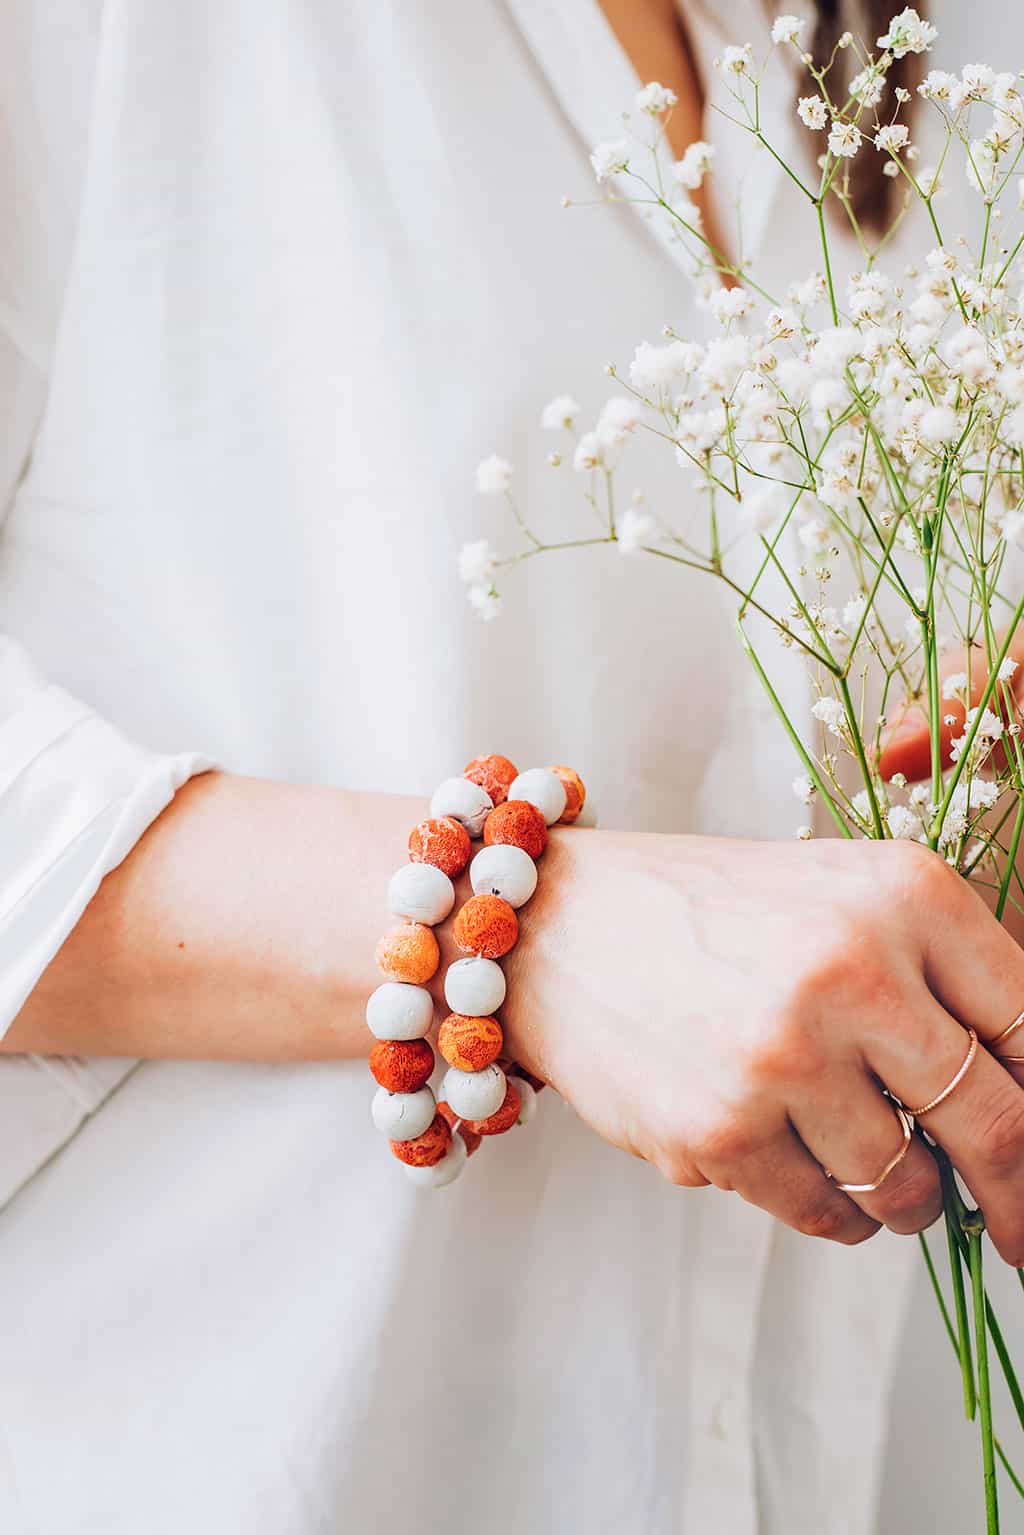
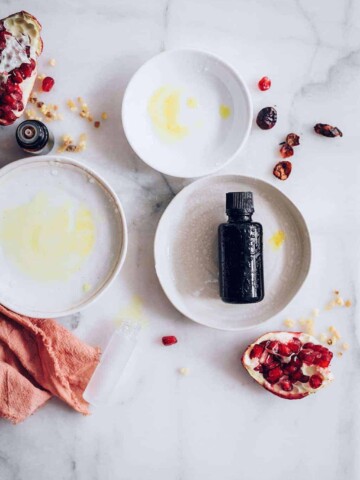
You can wear the bracelet as it is or add your favorite essential oil blend to the clay beads. Add a few drops to the outside of the clay bead. Since many essential oils shouldn’t be applied directly to the skin undiluted, you can dilute the oil in a carrier oil and apply to the part of the bead that is away from your skin.
When the scent wears off, you can reapply the essential oil or choose a new blend to try. This DIY diffuser bracelet would be great for outside parties in warmer weather - you can use it with essential oil blends that act as bug repellents!
FAQ
This will vary based on the type of essential oil used. Typically, the fragrance can last from a few hours to a few days. You can reapply oils as needed.
Making a custom essential oil blend is one of the benefits of DIY diffuser bracelets. However, we recommend blending the oils in a separate container beforehand to ensure a balanced mix.
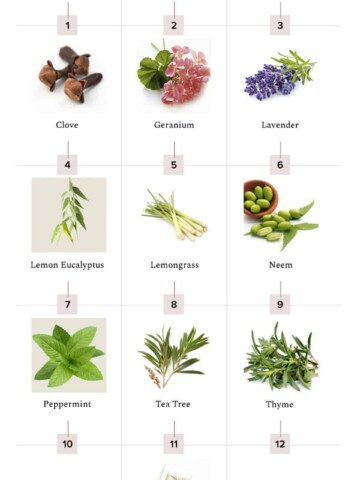
Some essential oils (cinnamon, clove, oregano) may cause skin irritation or allergies. It’s best to do a patch test with any new oil and consult with a healthcare professional if you have concerns.
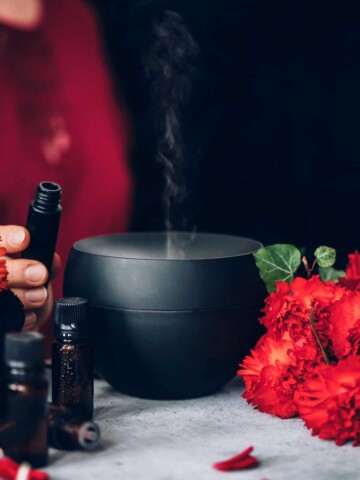
Essential Oil Blends to Try
This article was medically reviewed by Dr. Gina Jansheski, a licensed, board-certified pediatrician with over 20 years of experience in practice. Learn more about Hello Glow’s medical reviewers here. As always, this is not personal medical advice, and we recommend that you talk with your doctor before using this recipe to determine what’s best for you.
459