
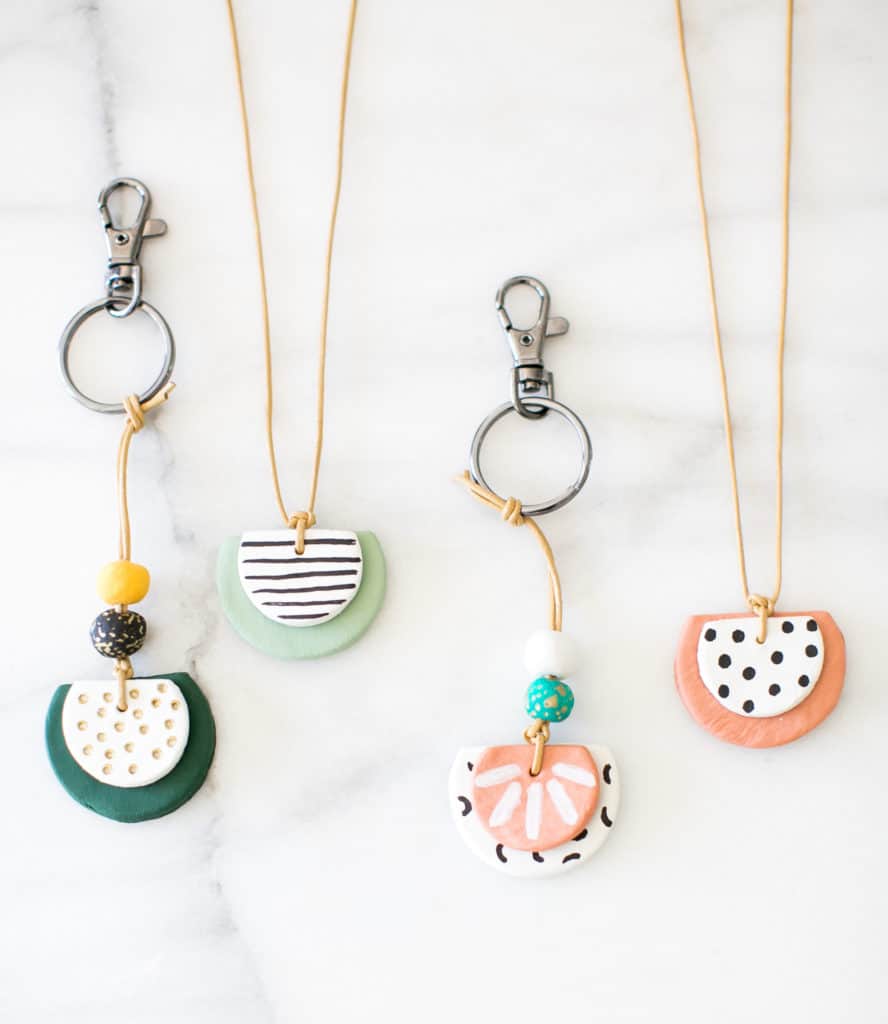
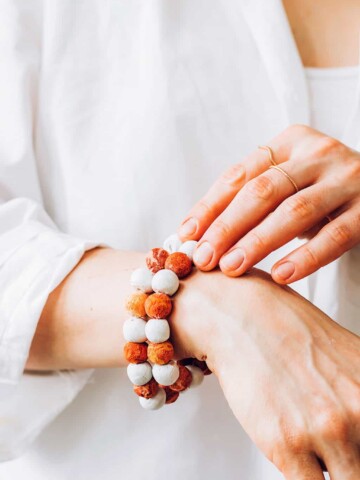
While I love the aromatherapy benefits of wearing essential oil jewelry, it’s not easy to find modern designs that match my style when shopping on Etsy or in wellness shops. I’ve recently fallen in love with how fun and easy it is to make things with air dry clay because there’s no kiln or baking required.
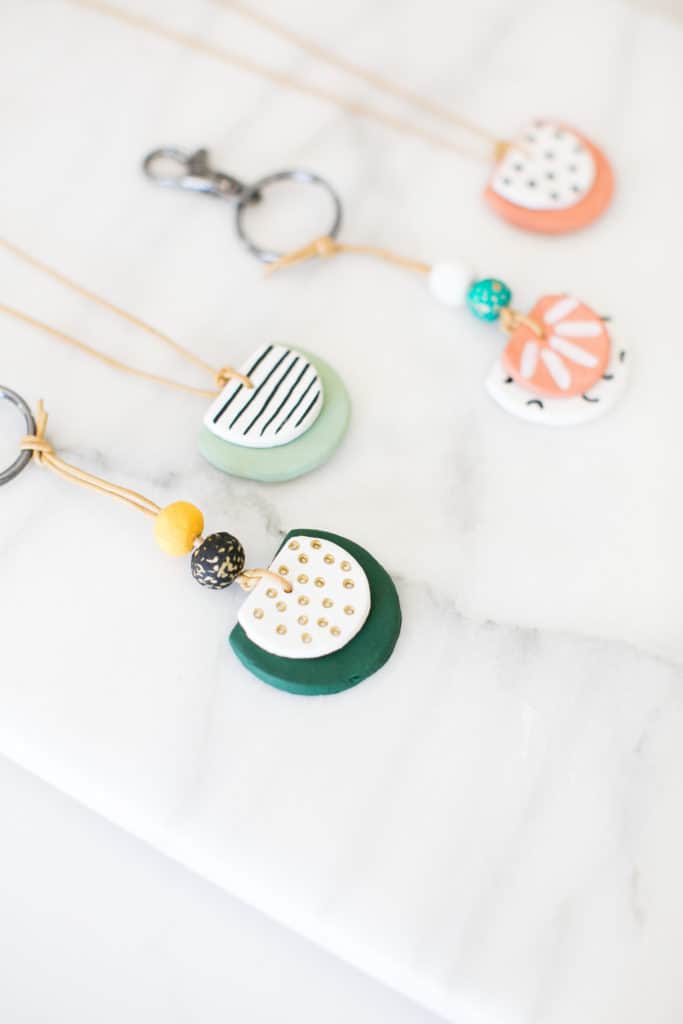
I thought I’d try my hand at making an essential oil diffuser necklace that featured a simple and modern clay pendant. And the results were so pleasing that I decided to make some key chains with my pendants as well! If you’re like me and love diffusing oils while driving, you’ll definitely want to give this easy DIY a whirl.
How to Make an Essential Oil Necklace
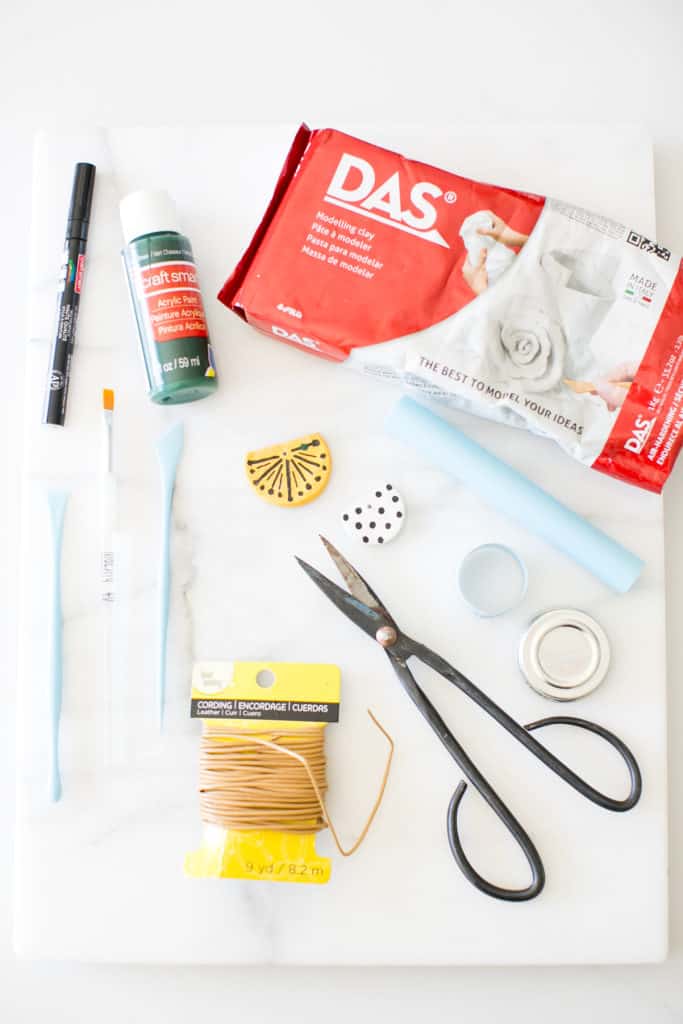
Here is the list of supplies you’ll need:
-DAS Air Dry Clay
-Clay hole cutting tool (or wooden skewer)
-Clay slicing knife (or butter knife)
-Round clay cutting molds (or 2 different sized round lids for cutting)
-Rolling pin
-Cording
-Acrylic craft paint
-Paint brush
-Paint marker
-Scissors
-Water
-Craft paper or wax paper (optional to cover work surface)
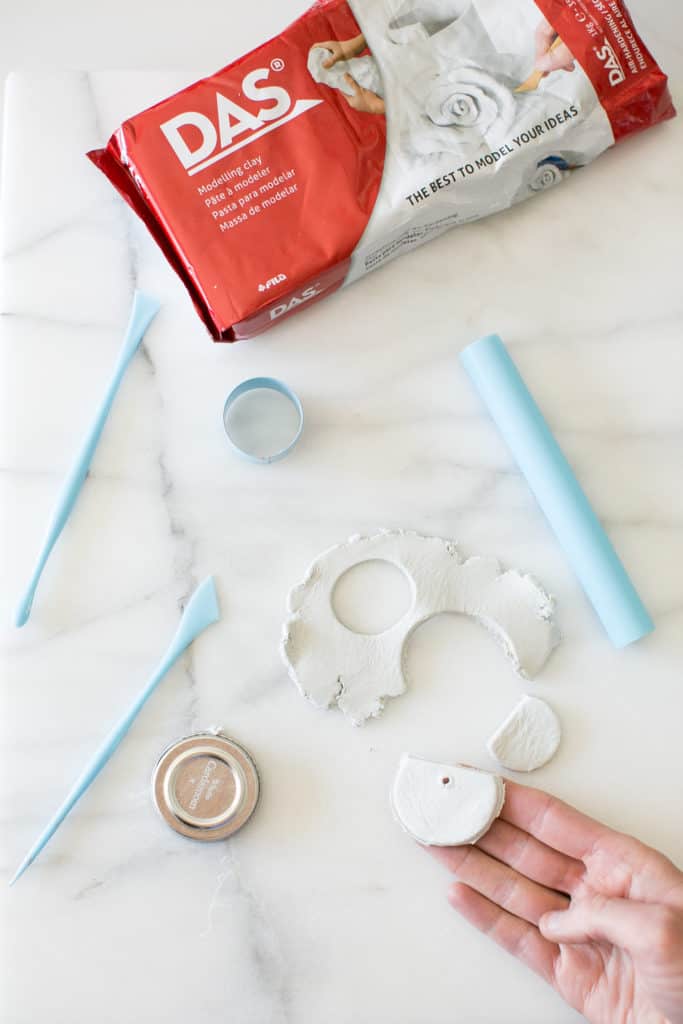
Step 1 — Prep your work space and roll out the clay.
Cover your work surface with craft paper or wax paper. Cut or break off a handful of air dry clay. Add a few drops of water to the clay to soften and knead with your hands to incorporate water.
Using a rolling pin, roll out the clay to the desired thickness. Mine was about ⅛-inch thick. While you can use a standard rolling pin, I’ve found that the plastic rolling pins you can find in the clay section of craft stores are the easiest for clay work and clean-up.
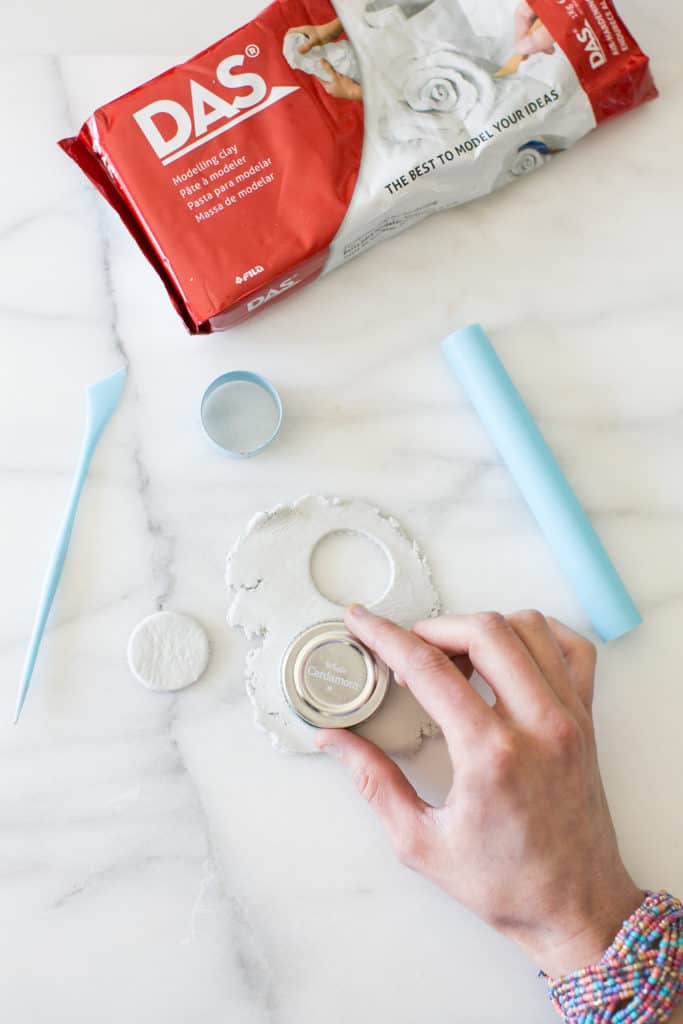
Step 2 — Cut pendant shapes.
Using clay cutting molds, cooking cutters, or the round lids of spice jars, cut 2 circle shapes from the clay. One circle should be about ⅓ smaller than the other. Take your clay slicing knife and cut off the top ¼ of the larger circle in a straight line. Repeat with the smaller circle. These two pieces will now become your pendant charms.
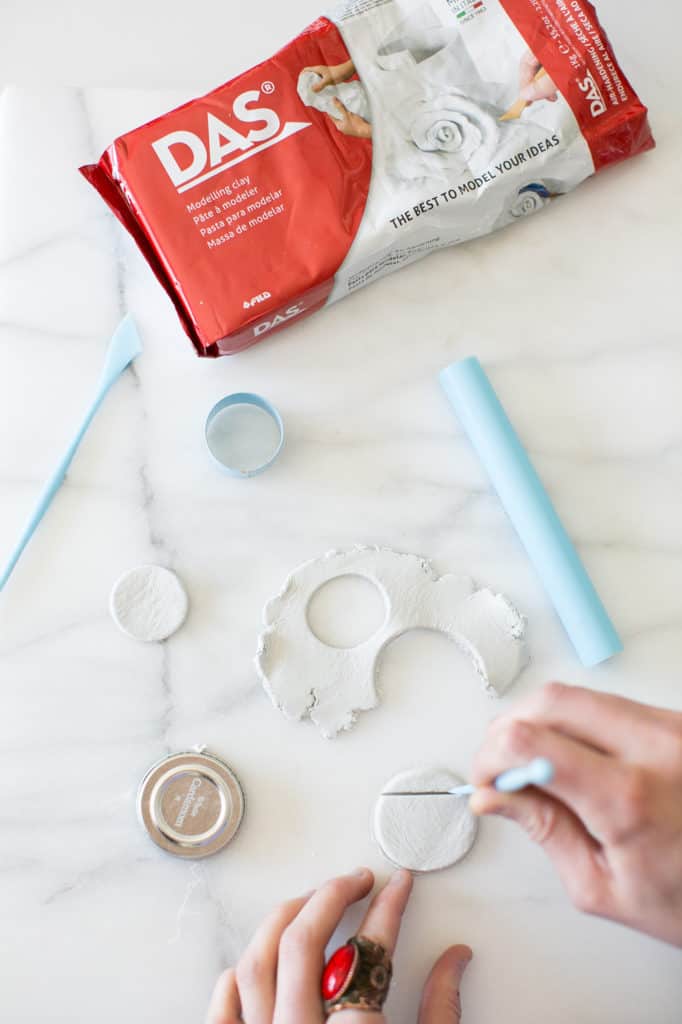
Step 3 — Punch holes in your pendants.
Using your hole cutting tool, make a hole in the center top of each circle several millimeters below the line you just cut. Make sure the hole has fully pierced both sides of the charms.
Step 4 — Dry them.
Set the charms aside on wax paper or craft paper to dry according to DAS package instructions. Ours dried completely overnight.
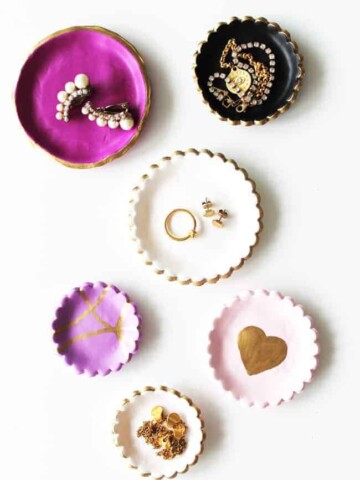
Step 5 — Paint the pendants.
Once dry, use acrylic craft paint to paint your pendant charms. Paint one side and allow it to dry before repeating with the other side. A medium- or fine-tipped paint marker also comes in handy to create easy patterns on your pendants. I used mine to make polka dots, stripes, and other fun designs.
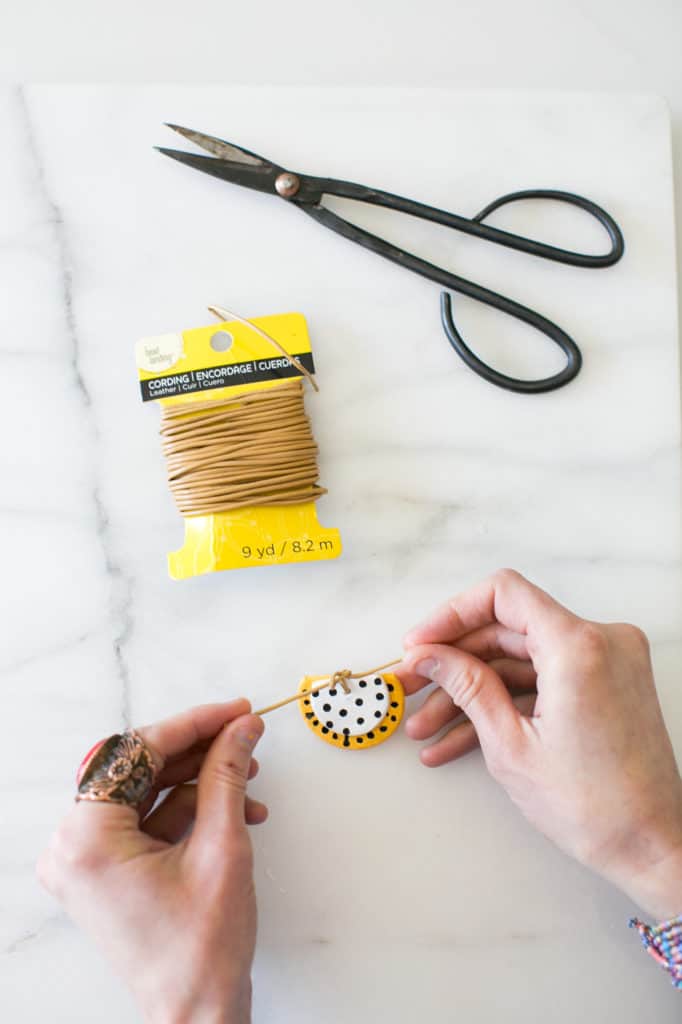
Step 6 — Assemble the pendant layers.
After the paint has dried fully, stack the smaller charm on top of the larger charm and thread cording through each hole. To keep the charms in place before attaching to the necklace, start by tying a square knot with your cording.
To make this knot, you’ll tie two overhand knots—first right over left and then twist. Then go left over right and twist. Make sure both parts of the cord exit the knot together.
Pull the knot tightly closed but make sure to leave a small amount of space between the knot itself and the top of the 2 charms. That space is where you’ll slide the cording that will form your necklace in the next step. Trim any excess cord close to the knot.
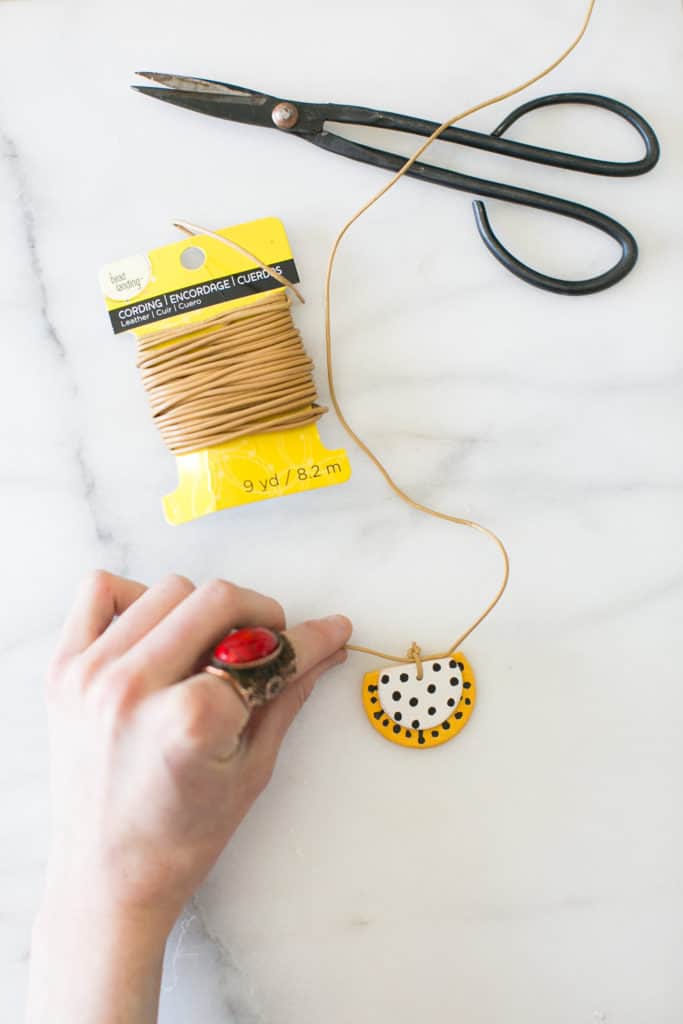
Step 7 — Measure the length of the necklace.
Cut another length of cording. The length here will depend on how long you like your necklace, with a few extra inches added for tying. I like my necklaces long, so I wanted my finished necklace to be about 24 inches. To allow room for tying the ends, I cut my cord to 28 inches.
Step 8 — Assemble the complete necklace.
Slide the cord through the small space you left between the square knot and your charms. Tie another square knot at the back of your necklace and trim the excess cord.
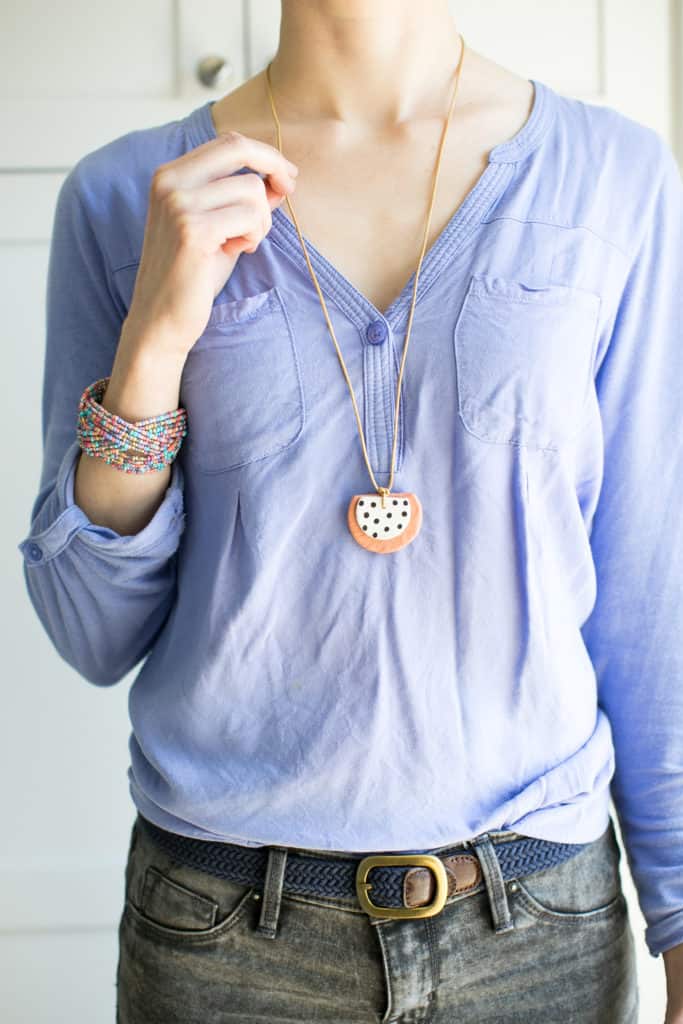
Now it’s time to apply your essential oils. You’ll want to apply a few drops to the top charm and allow them to soak in. You can use your favorite essential oil or create a custom mix to suit your needs and mood.
Just keep in mind that undiluted essential oils shouldn’t be applied directly to your skin, so you’ll want to place the necklace on a flat surface to apply the oils, allowing time for them to soak into the clay before wearing the necklace. Once the scent wears off, you can reapply your oils as often as you’d like.
Once you’ve mastered this necklace DIY, I would suggest making a few extra pendants to create an essential oil key chain diffuser as well. These make great gifts for friends who have long work commutes.
How to Make a DIY Key Chain Diffuser Necklace
Step 1 — Make use of the steps you learned for your DIY necklace.
Follow steps 1 through 6 for our essential oil diffuser necklace.
Step 2 — Measure the length of your key chain.
This time, instead of cutting a necklace-sized length of cording, cut 11 inches of cording to make your key chain. Then slide the cord through the small space you left between the square knot and your charms.
Step 3 — Accessorize with clay beads.
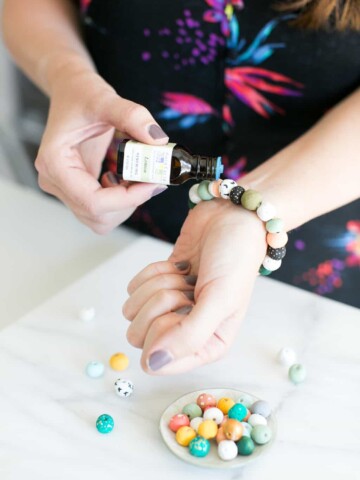
Slide two beads onto the cording, making sure you pull both sides of the cording through the holes of each bead. If you’d like to make your own clay beads, follow our tutorial for creating DIY essential oil diffuser beads with air dry clay.
Step 4 — Tie a knot to complete.
To attach the key chain to a key ring, tie an overhand knot toward the end of the cording. Trim the excess cord.
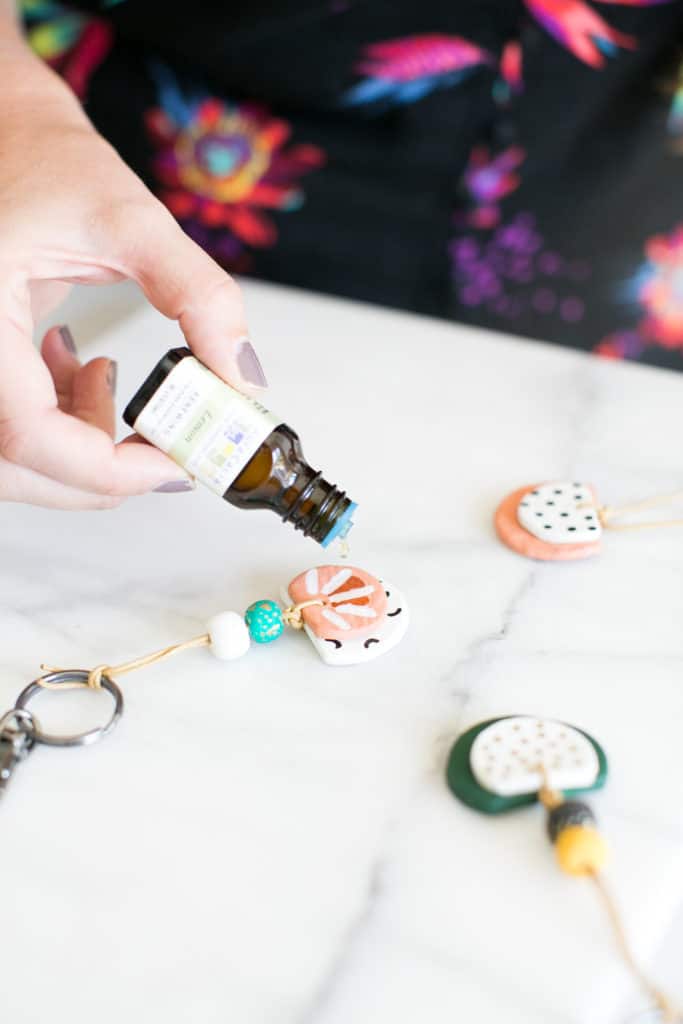
You’ll apply essential oils to your key chain much in the same way as you would for your essential oil necklace: Place your key chain on a flat surface, add your favorite essential oil to the clay pendant, and allow it to soak in. I prefer lavender to help me keep my cool in traffic, but if you’re road-tripping this summer, opt for rosemary, grapefruit, or peppermint to help you stay alert on your drive.
This article was medically reviewed by Dr. Gina Jansheski, a licensed, board-certified physician with over 20 years of experience in practice. Learn more about Hello Glow’s medical reviewers here. As always, this is not personal medical advice, and we recommend that you talk with your doctor before using this recipe to determine what’s best for you.
312
Vina says
Thank you, this is a lovely idea. I was wondering whether the paint affects how the clay absorbs the oil? Does it not seal the clay?
Crazy Desi says
Easy to make
Pradeep Kumar says
Looking awesome.
Susanne says
This looks so fantastic!
But it is very easy to make. I love it!
Thanks for this great DIY idea.
Natasha says
I love how cute and modern your necklaces and keychains are!