A good enzyme cleaner is a total godsend. I'm sure anyone with small children or pets knows exactly what I mean! When we first brought our 8-week old puppy home, my husband and I went through a gallon of the stuff a week. Okay, it probably wasn’t that much – but it was darn close.
Touted as the only solution for protein-based stains (think grass, urine, blood – the fun ones), enzyme cleaners actually break down the stain as opposed to just washing it away. But with all that fancy cleaning power also comes a steep price tag.
That’s why I started making my own. This enzyme cleaner is green, nontoxic and biodegradable. And it’s made from food scraps.
How’s that for saving the planet and your hard-earned money at the same time?
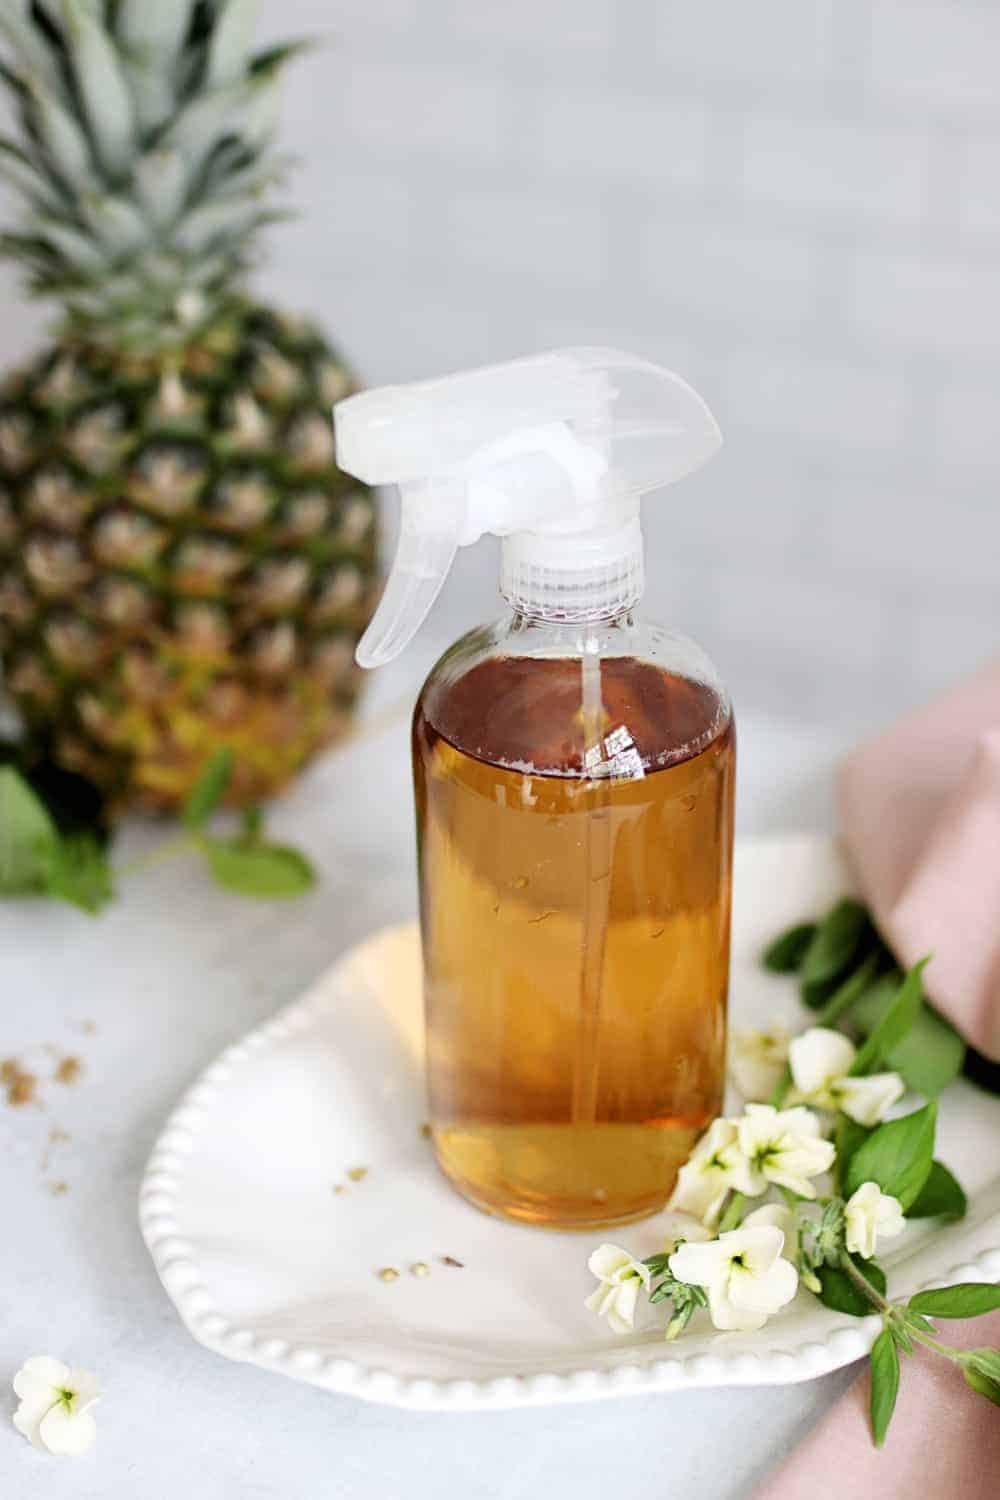
DIY Enzyme Cleaner
In case you’ve forgotten 6th grade science class, enzymes are compounds that drastically speed up the rate at which a particle breaks down. This makes them a great addition to household cleaners, because rather than just treating the stain, they actually get rid of it entirely.
But I know what you’re thinking: Make my own enzyme cleaner from scratch? Last I checked I also forgot my Bunsen burner and centrifuge in that same 6th grade science class.
Yep, me too. But it turns out that with a little time on your hands (and some patience), enzymatic cleaners are actually easy to make.
I chose to make my cleaner with pineapples because they contain protease, the same protein enzyme used in most commercial cleaners. Papaya and kiwi skins will also work here since they, too, contain protein enzymes.
But if you have a bunch of citrus fruit lying around, feel free to use those instead. Just note that you’ll be left with slightly different enzymes, and that might affect the cleaning power in the end.
Many of the foods we eat on a regular basis contain enzymes, like:
- oranges
- lemons
- papayas
- bananas
- passionfruit
- guavas
By soaking the leftover skins in a sugar water mixture for a few weeks, fermentation eventually kicks in and you’re left with alcohol and enzymes. AKA the building blocks of the perfect everyday cleaner.
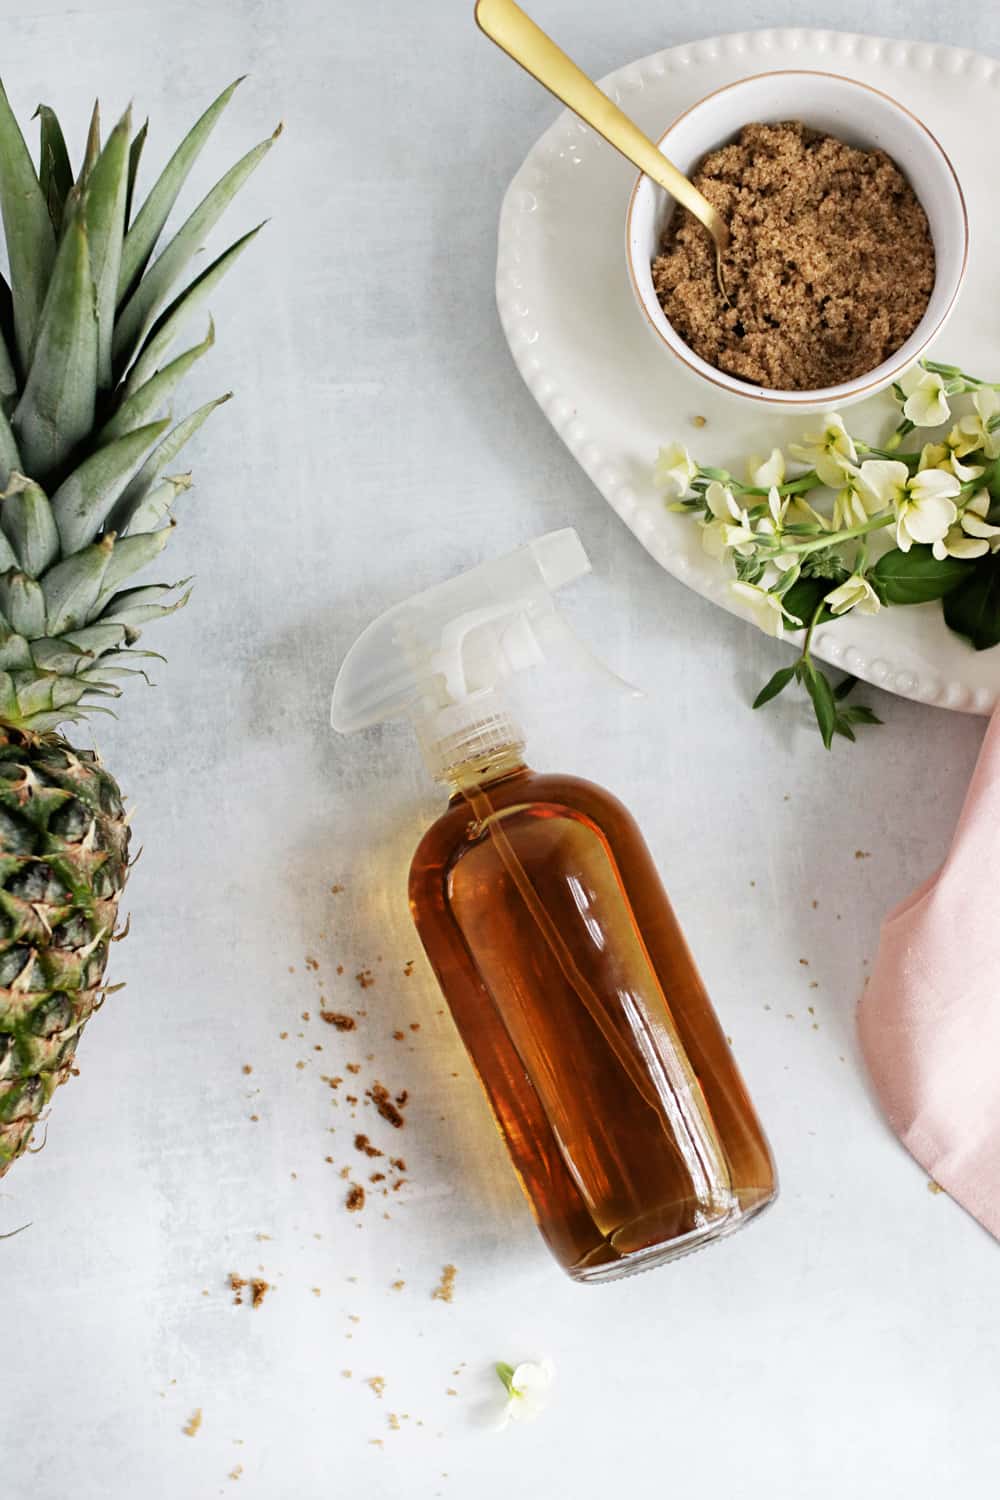
Because the resulting cleaner is a brown color, I would stick to spraying it on hard surfaces as opposed to fabric. But if you’re feeling adventurous, feel free to test it out on some old fabric and let me know how it goes.
Here’s how to make your own.
Enzyme Cleaner FAQ
Does this cleaner continue growing bacteria?
Once fermented, this mixture shouldn't continue growing bacteria, either as it sits in the bottle or when it's sprayed on surfaces. That's because, ideally, the yeast has consumed all of the sugar and you're left with alcohol, which kills bacteria.
But since we're making this enzyme cleaner at home as opposed to in a lab, if you accidentally cut fermentation short, there might be enough sugar left to feed bacteria. To be safe, ferment your cleaner for the full 4 weeks and don't spray it on anything the should be sanitized, such as dinnerware, pet dishes, or the like.
How long does this cleaner keep once it's bottled? Does it need to be refrigerated?
According to the internet, homemade enzyme cleaner should last about 6 months without refrigeration. Refrigeration will make it last longer, but isn't necessary.
Will this cleaner work on pet stains on the carpet?
Since it's a light brown color, I don't recommend using it on light-colored carpets, upholstery or fabrics. But you're free to try it on dark fabrics, if you like.
Does the water have to be filtered?
Yes, filtered or distilled water is preferred because treated tap water can kill yeast.
Can I add this cleaner to my laundry to get rid of stains on clothes?
This cleaner isn't strong enough to act as a laundry booster. You're best sticking with a store-bought enzymatic stain remover for clothing.
P.S. If you want to put enzymes to use in your beauty routine, checkout this tropical enzyme face mask.
All-Purpose Enzyme Cleaner
Equipment
- Blender
- 1-gallon glass jar or plastic bottle
Materials
- 1 pineapple
- 4 cups filtered water
- ½ cup brown sugar
- 1 teaspoon bakers' yeast
Instructions
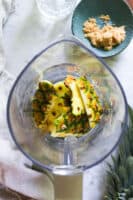
- Remove the skin from the pineapple and set aside the fruit to eat later.
- In a blender, combine the pineapple skin and water. Blend on medium until the pineapple is finely chopped.
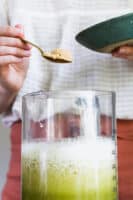
- Add the yeast and brown sugar and pulse until just mixed.
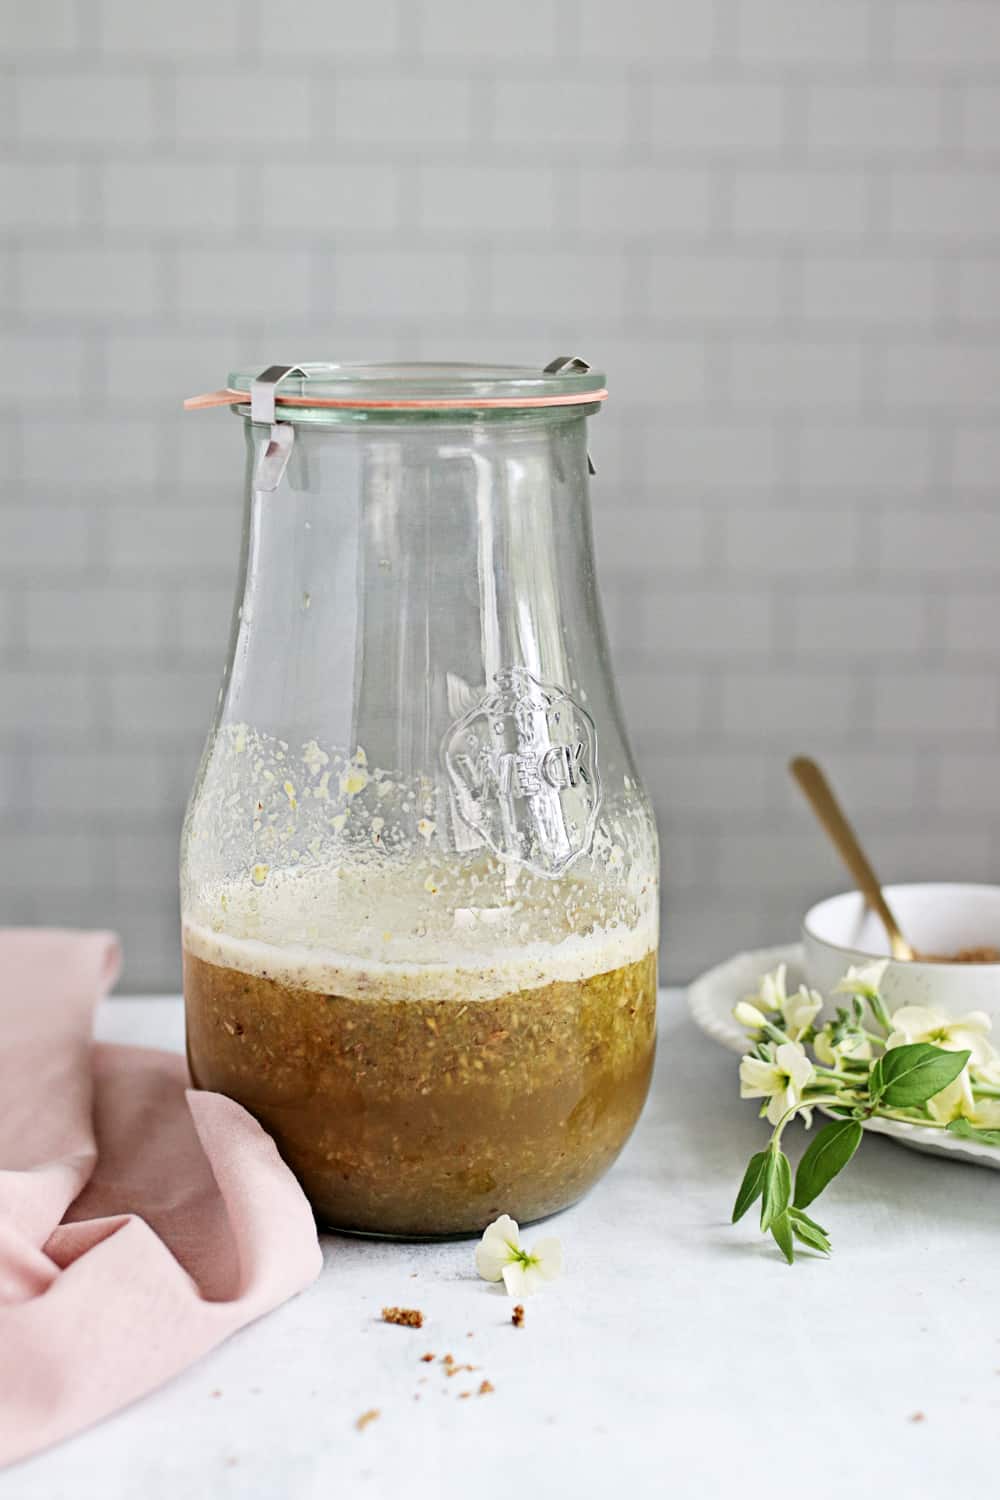
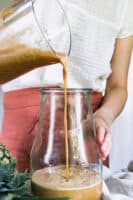
- Pour the mixture into a large glass jar. Screw on the lid and place in a warm, dark cabinet to ferment.
- Once a day, shake the mixture and unscrew the lid to release any built-up pressure inside the jar. If you don't, eventually your jar could explode so it's best to keep an eye on things.
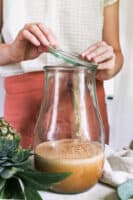
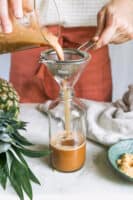
- After 4 weeks, strain the mixture into a glass spray bottle. Wrap the pineapple skin in a piece of cheesecloth and squeeze it to get any lingering enzymes.

