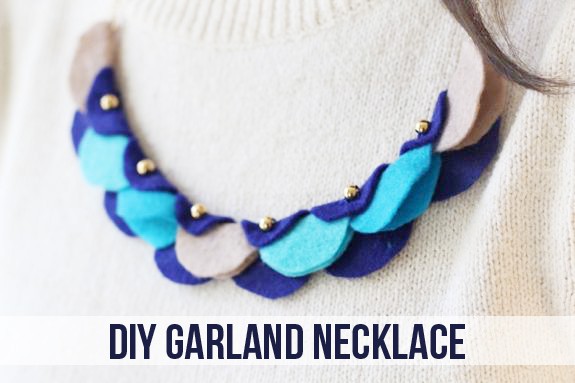
 Bloggers are a funny group. We all seem to be addicted to a few of the same things - wearing striped shirts, stealing paint chips, wasting time on Pinterest and celebrating every holiday with a garland.
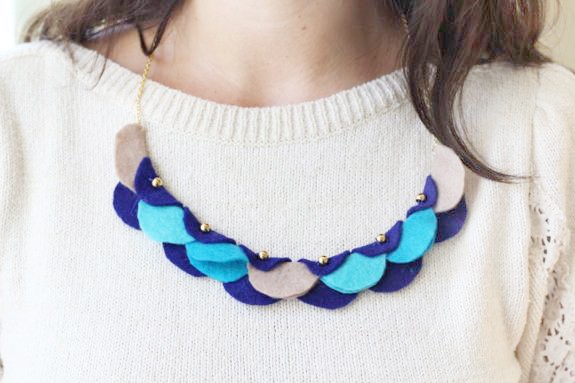
I've seen so many amazing garlands (bonus point for making it out of paint chips!) but never really had the desire to make one. Until I decided that I could WEAR a garland. Why should a fireplace have all the fun? So I made a garland necklace. Way more my style.
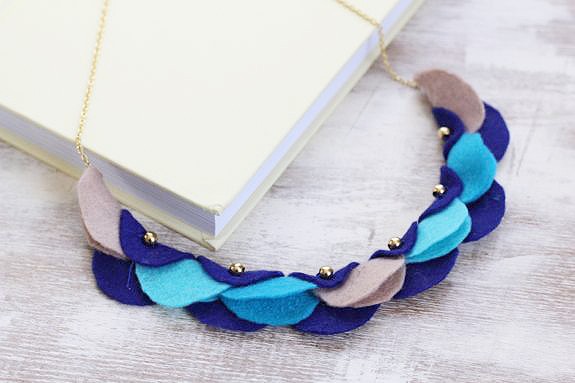 And I have to admit, I kinda love it. Yep, you're probably going to see more garland necklaces. It instantly makes things more festive! Read on to learn how to make your own necklace!
DIY Felt Garland Necklace
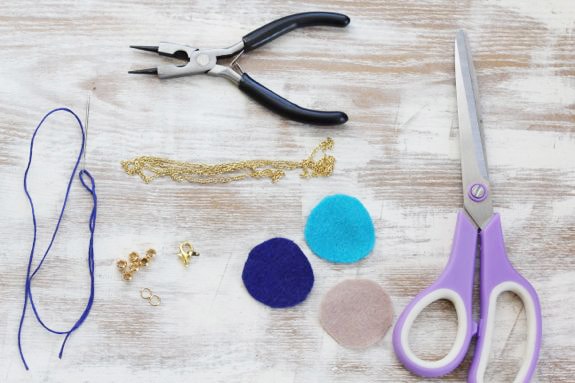
- 13 felt circles - I used 6 dark blue, 3 tan, 2 aqua and 2 teal
- 6 gold beads
- embroidery floss and needle
- length of chain
- two small jump rings
- lobster clasp
- scissors
- needle nose pliers also helpful
Step 1: Cut your circles. I used the base of a small glass for the shape. And I've discovered that it's impossible to cut a perfect circle with scissors. Fortunately, when you fold them over, it nicely hides the imperfections. So don't stress.
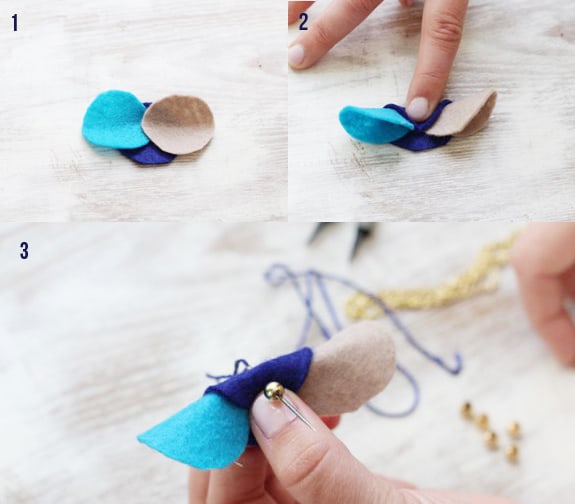
Step 2: Put the 3 circles together and fold them over. Make sure the dark blue circle covers part of both of the other circles.
Step 3: Knot the embroidery floss at the end and thread the needle. Bring the needle through the felt from the back and put the gold bead on.

Step 5: Poke a small hole in the corner of the last circle with your needle and attach a small jump ring. Repeat on the other side. Measure the length of chain you want and cut with scissors. If the chain is not long enough to go over your head, cut it in the middle and attach a lobster clasp.
