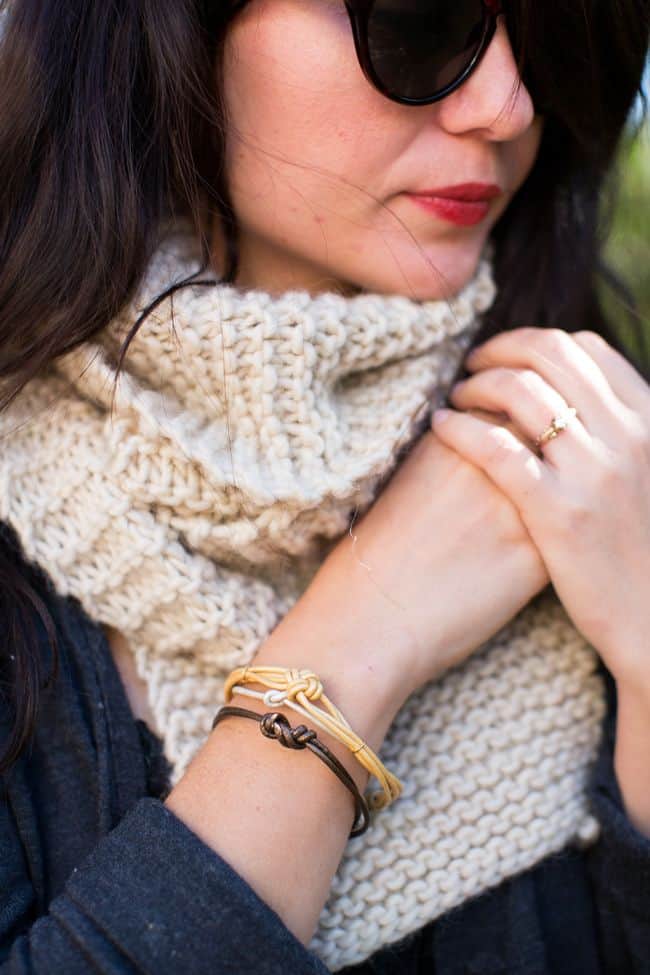
A few weeks ago I hosted a baby shower for my sister, and instead of tedious baby games, we made bracelets! The girls got crafty with metallic leather cord while the baby mama got pampered and had her hair and make-up done. It was a hoot!
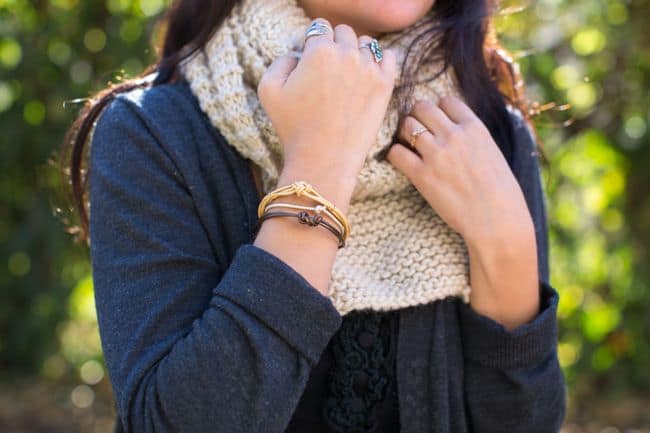
And my inner DIYer was thrilled to see all the variations the ladies created. After showing them how to make a simple 1-knot bracelet all kinds are crazy cool designs started pouring out. I picked a couple of my favorites to share with you.
 Supplies needed
- Metallic leather cord. I love the package that has 3 colors - gold, cream and brown. And depending on the type of bracelet you make you might need different supplies.
- For a one strand bracelet, you can knot the ends around a simple button piece.
- For 2 strands, you'll need a ribbon clamp, 2 jump rings and a lobster clasp.
- For 3 or more leather strands, you'll need 2 end cap pieces, 4 jump rings, a lobster clasp and E-6000 glue.

Step 1
Decide how many strands you want and cut the desired length of cord.
Step 2
Make a knot in the center. You can make a simple pretzel knot or something more fancy like the square knot. Make several knots if you like!
Step 3
Slide a jump ring onto each side of the bracelet if you have more than 3 strands. We found that kept things together nicely and made a neater look.
Step 4
Measure it around your wrist, cut any excess length and make the closure. For the one-strand bracelet, knot a loop on one side of the cord. Feed the other end through the button holes and knot. For 2 strands, simply clamp the ends and attach the lobster clasp. For 3+ strands, glue the ends into the end cap with E-6000 glue. After the glue has dried then attach the lobster clasp.

 Supplies needed