I know the stick-thin brows of the 90’s are long gone—thank goodness—but that’s not much help for those of us who have naturally sparse brows to begin with. What are we thin-browed ladies to do? Well, for starters, I recently tried tinting my eyebrows with henna to see if it could help. While my eyebrows didn’t go from patchy to Groucho Marx in one pass, they did get a little fuller and darker, which I’ll consider a win.
Luckily, the journey to fuller brows doesn’t have to be scary or expensive. If you’re looking to ditch the brow pencils and powders in favor of something more permanent, tinting your eyebrows with henna might be the best of both worlds. It’s more natural than those caustic dyes you see at the salon. And it’s semi-permanent, so you’re not stuck if you hate it.
Read on for everything you need to know about eyebrow tinting at home.
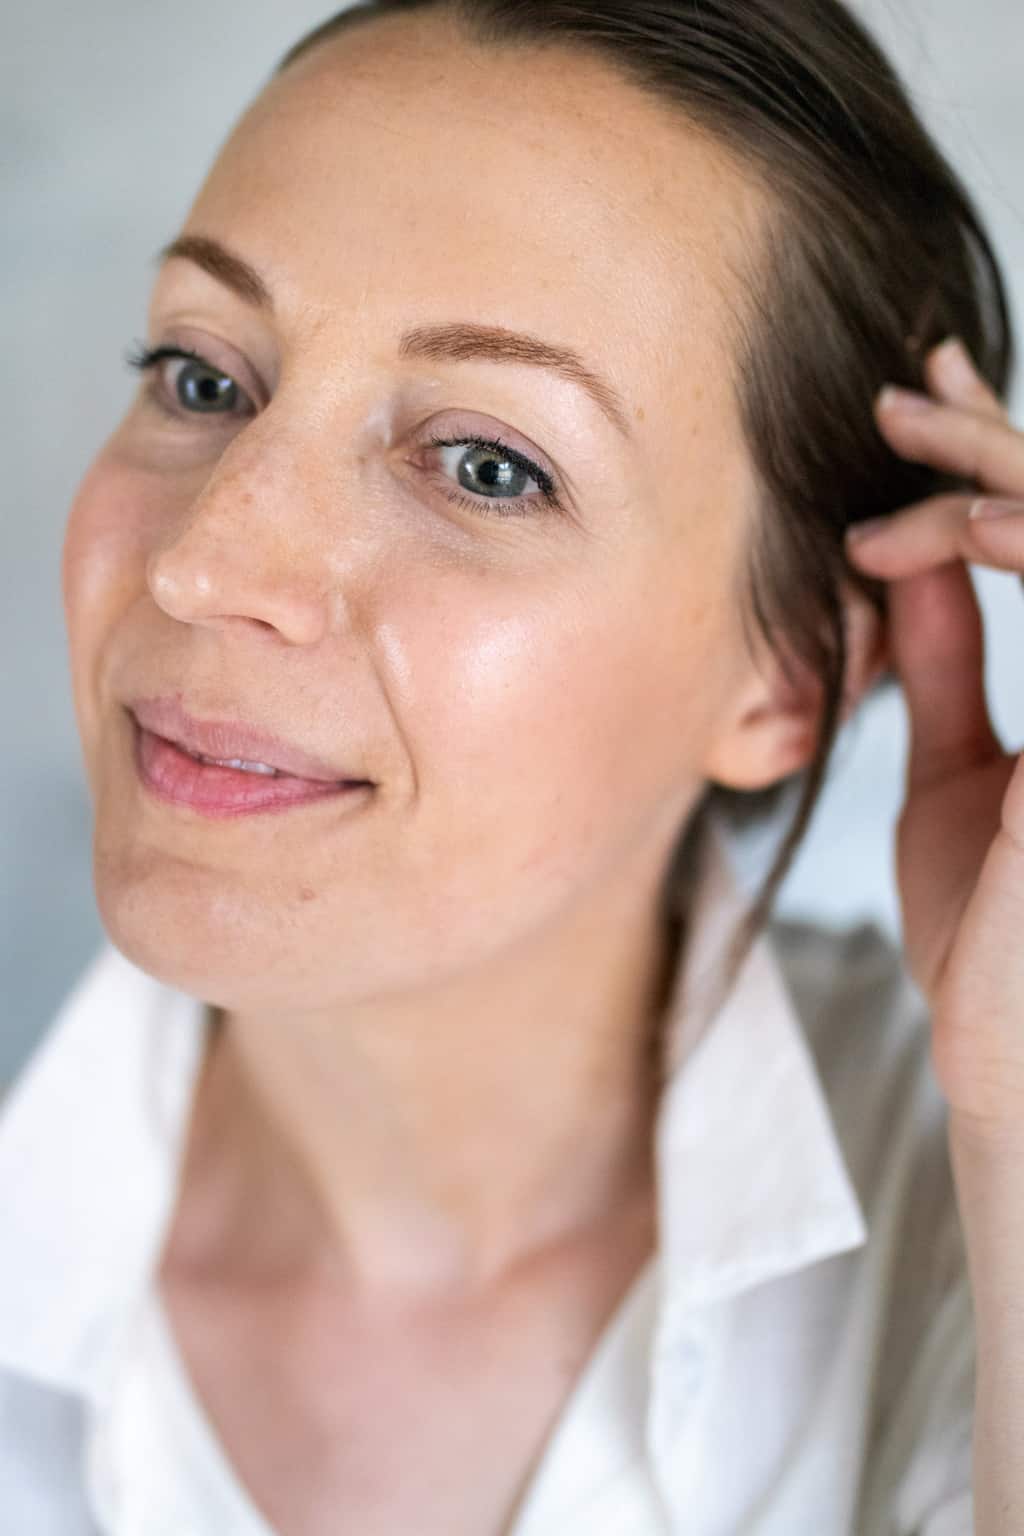
How to Tint Your Eyebrows with Henna
Eyebrow tinting has caught on in recent years because dying your brows doesn’t just darken them, but it helps increase the appearance of volume as well. That’s because the dye sinks into skin, helping to fill in bare spots and expand the brow line. It also brings out the fine hairs along the perimeter of the brow that may not have been noticeable before.
Because it’s relatively cheap and painless, tinting brows with henna is a great option if you’re not ready to commit to more permanent solutions, like microblading.
Eyebrow Tinting Tips
Use eyebrow henna
Traditional henna only comes in one shade, and it has a ton of red in it. Eyebrow henna, on the other hand, is formulated in several shades, many of which don’t have much in the way of red undertones.
It’s also made to be used near the eyes, which is incredibly important. Getting dye or chemicals in your eyes can cause blindness, so you want to make sure and only use products made specifically for the eyebrows.
Choose the right shade
Contrary to popular belief, you don’t want to make brows darker. You just want to enhance their natural color. While my hair is medium brown, my eyebrows are considerably lighter and redder, so I chose a light brown henna and was happy with the subtle results. If you’re trying to decide between two colors, then opt for the lighter shade. You can always make the color darker by leaving the dye on longer.
Do a patch test ahead of time
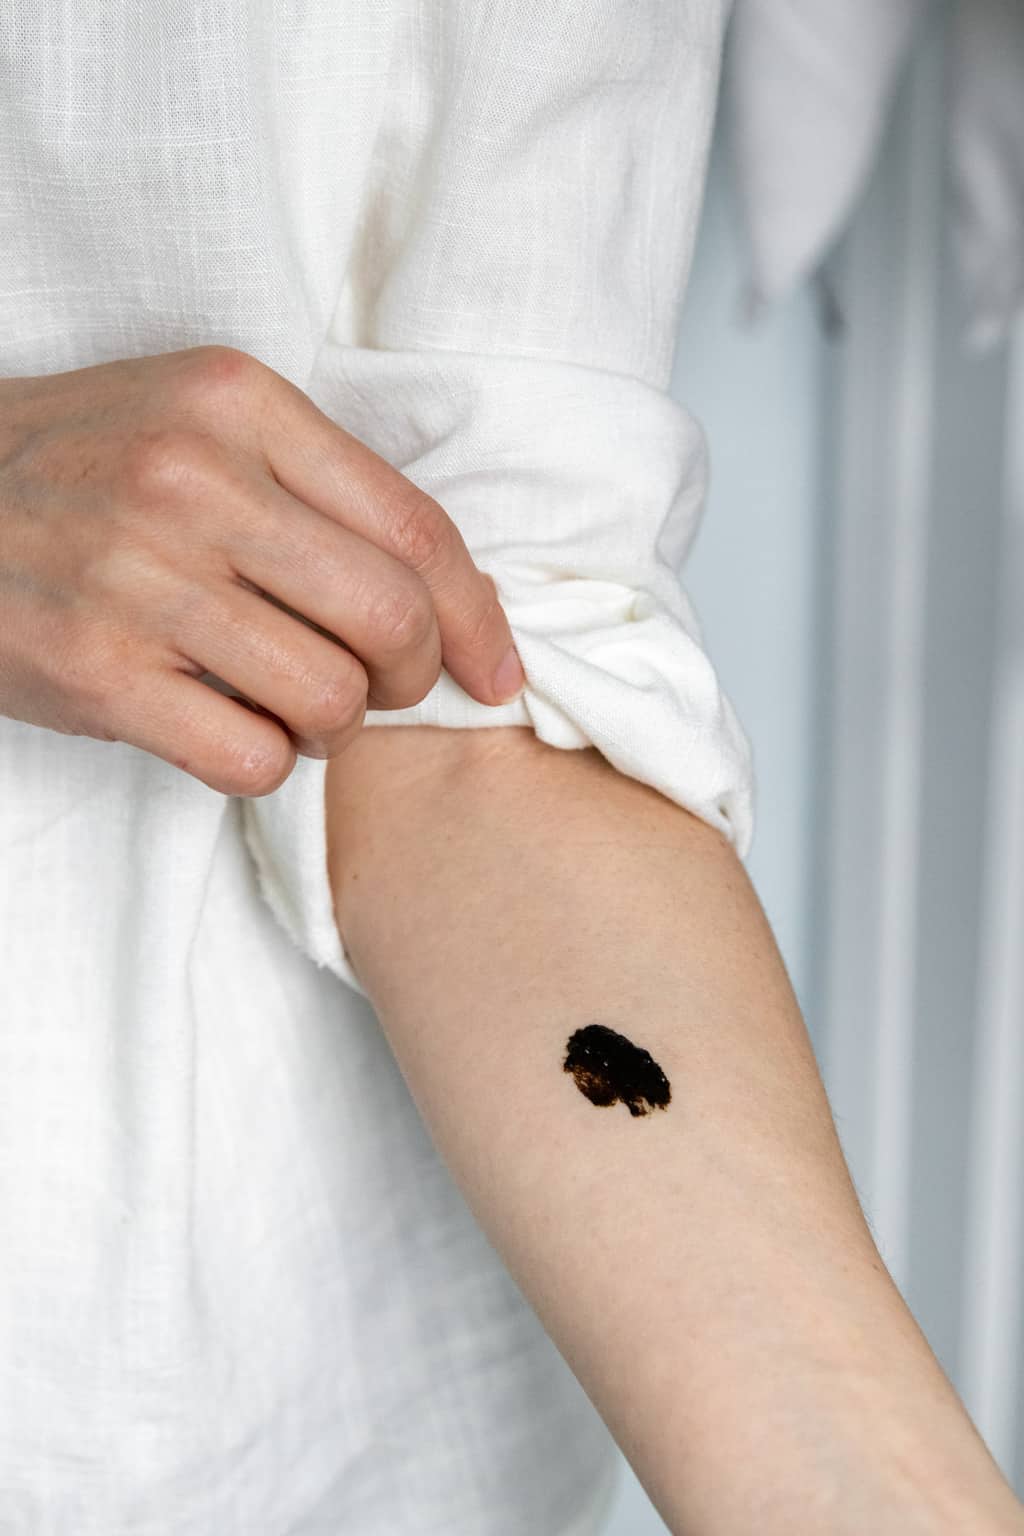
Horror stories abound when it comes to at-home eyebrow tinting and allergic reactions, so it’s best not to take any chances. About 48 hours before tinting your brows, test the dye on the inside of your arm to make sure you’re not allergic to any of the ingredients. If you don’t notice any redness, itching, or swelling over the next 48 hours, then it should be safe to use on your face.
Stick to your natural brow shape
A lot of professional salons use brow tinting to expand and accentuate the natural eyebrow area. But since you’re doing this at home by yourself, I recommend sticking to your natural shape and just darkening the hairs themselves, not the skin around your brows. If needed, clean up your brows ahead of time by plucking stray hairs and giving your arches more shape.
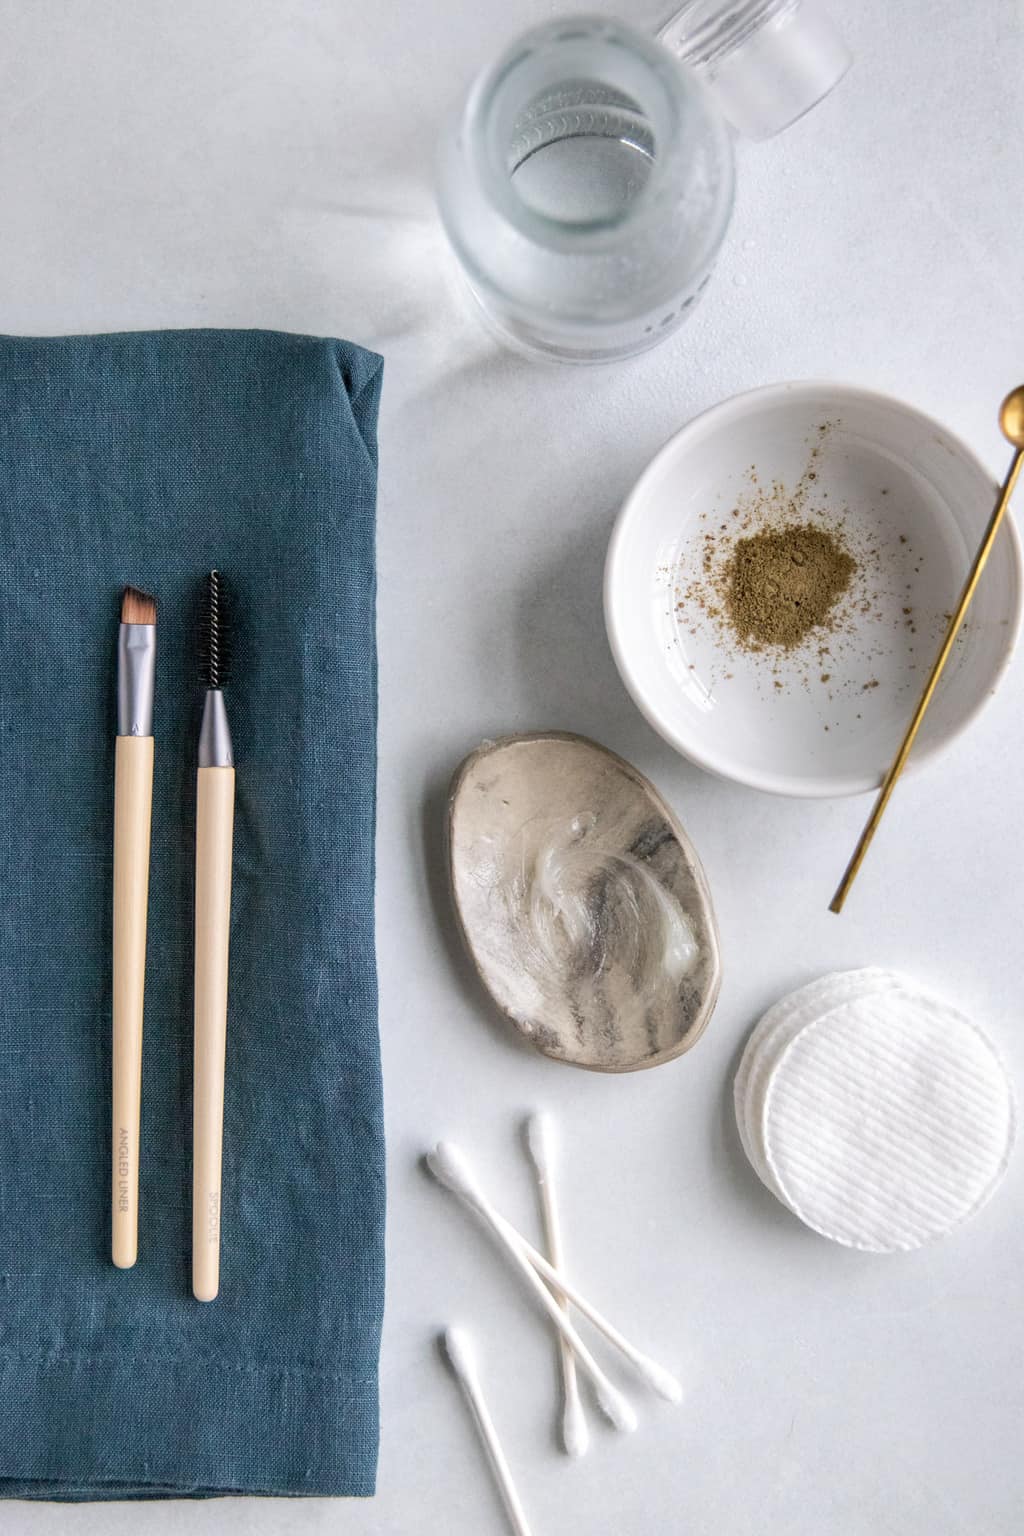
What you'll need:
-Un-petroleum jelly (or petroleum jelly)
-Cotton swabs (for removing stray dye)
-Water
-Small bowl
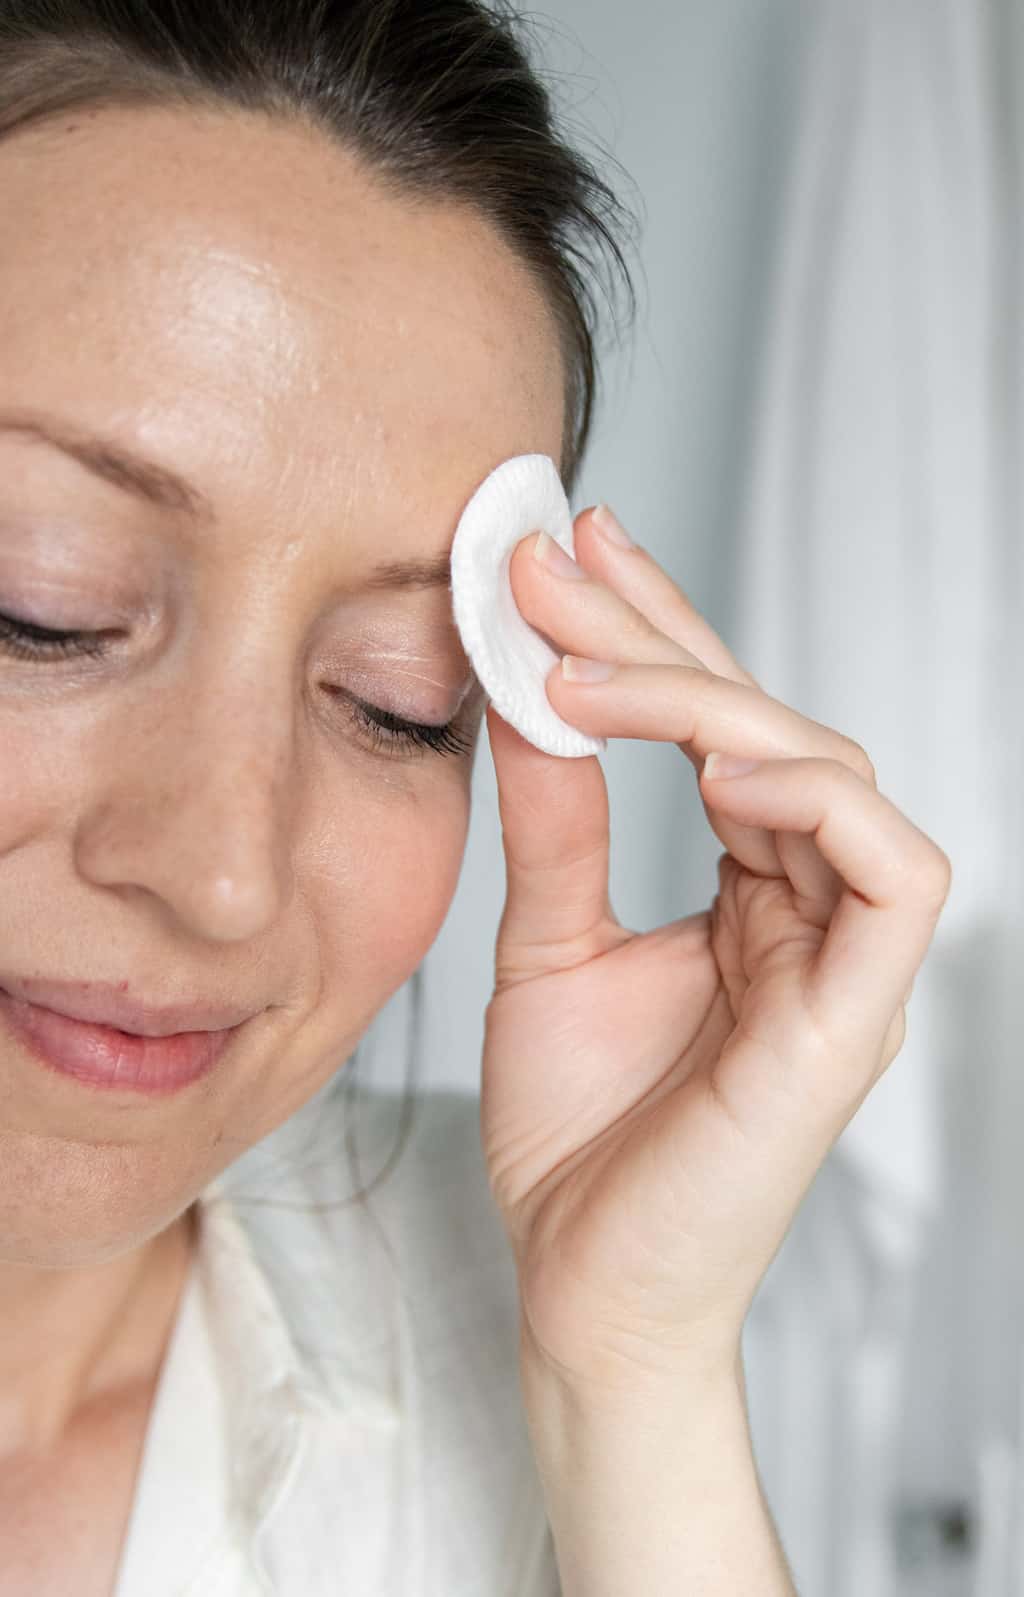
Step 1 | Clean brows
Using a cotton round and some witch hazel, swipe your brows several times to prep the skin and clean any dirt and makeup off the brows.
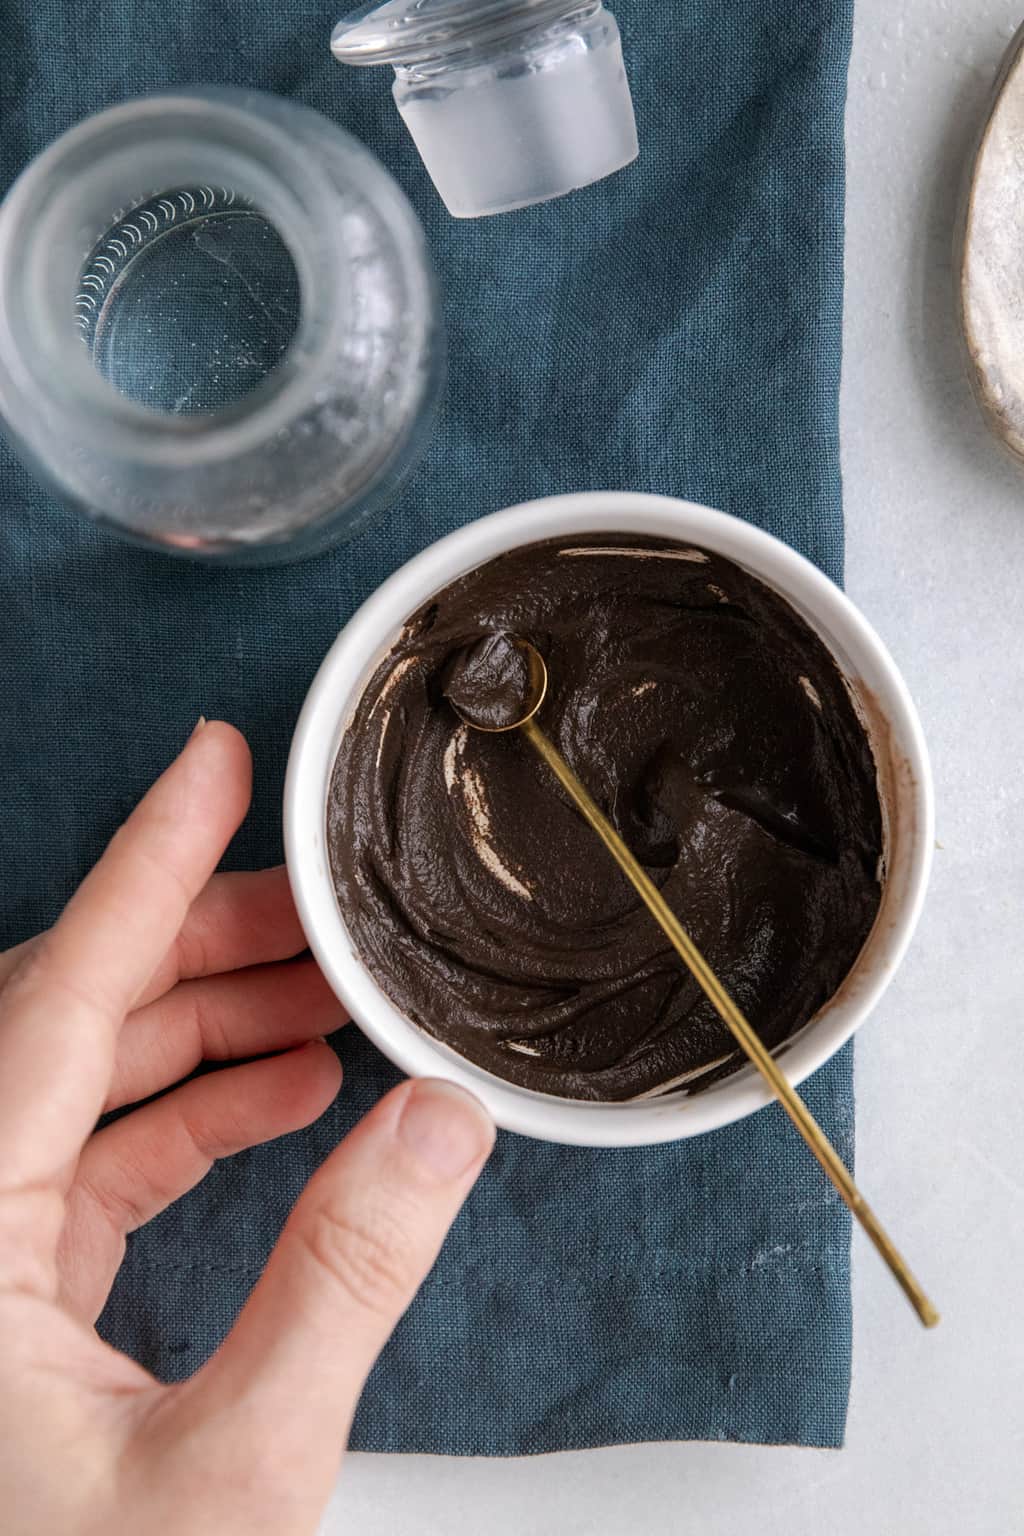
Step 2 | Mix henna
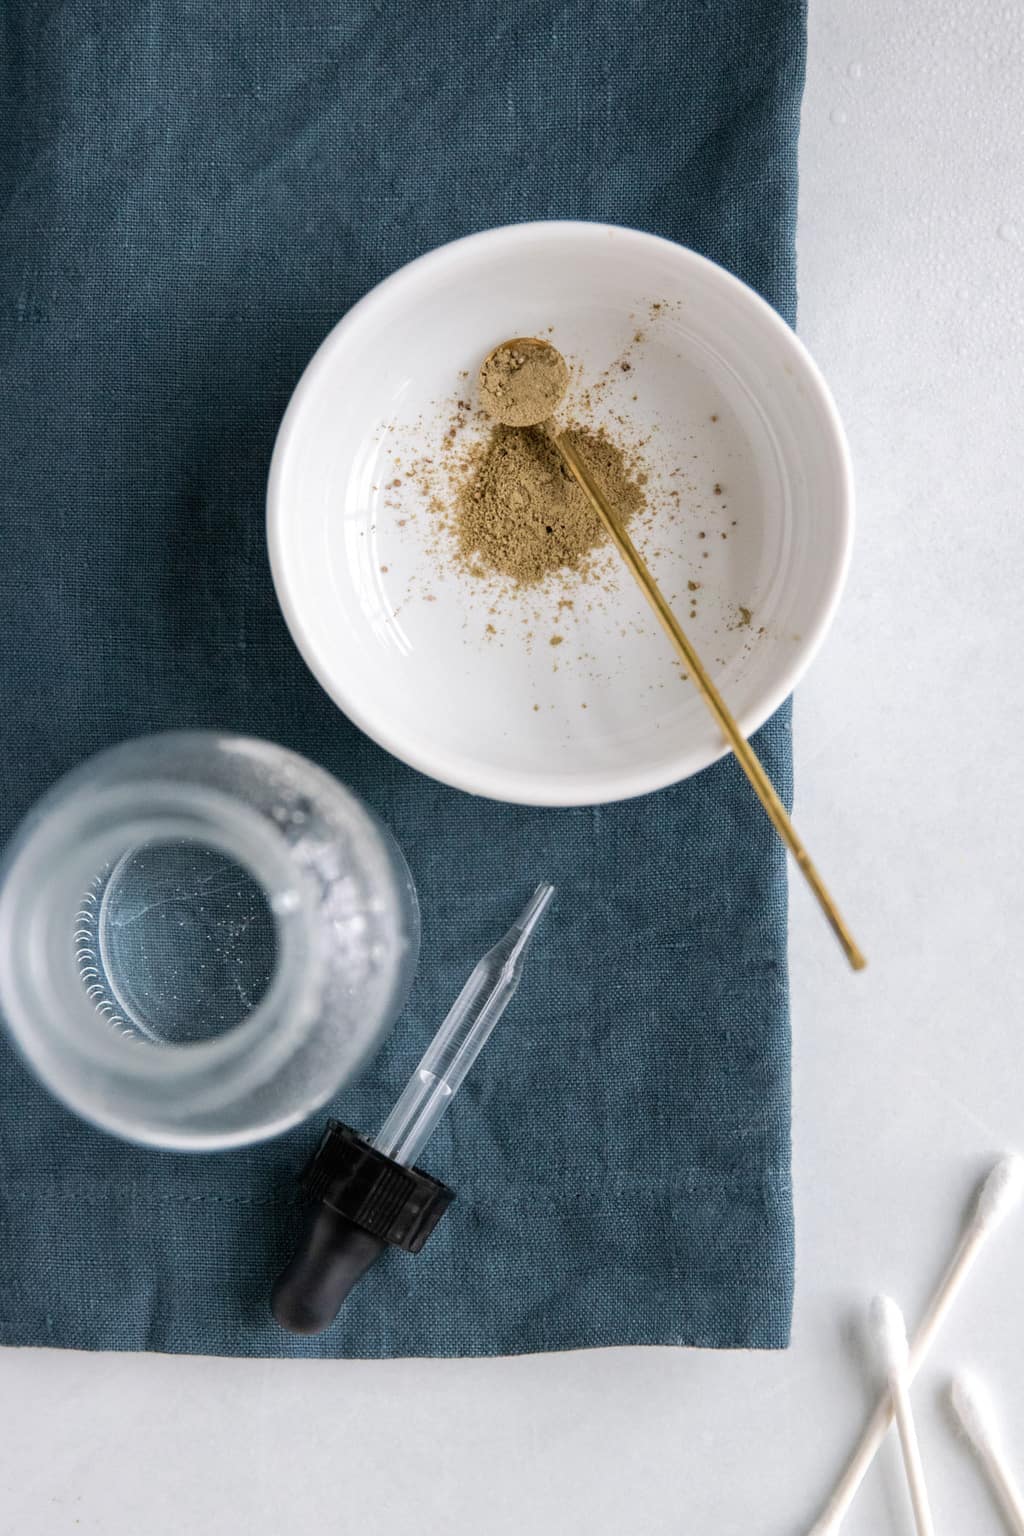
Mix the henna with a few drops of water in a small bowl. Add more water or henna as needed until you get a paste.
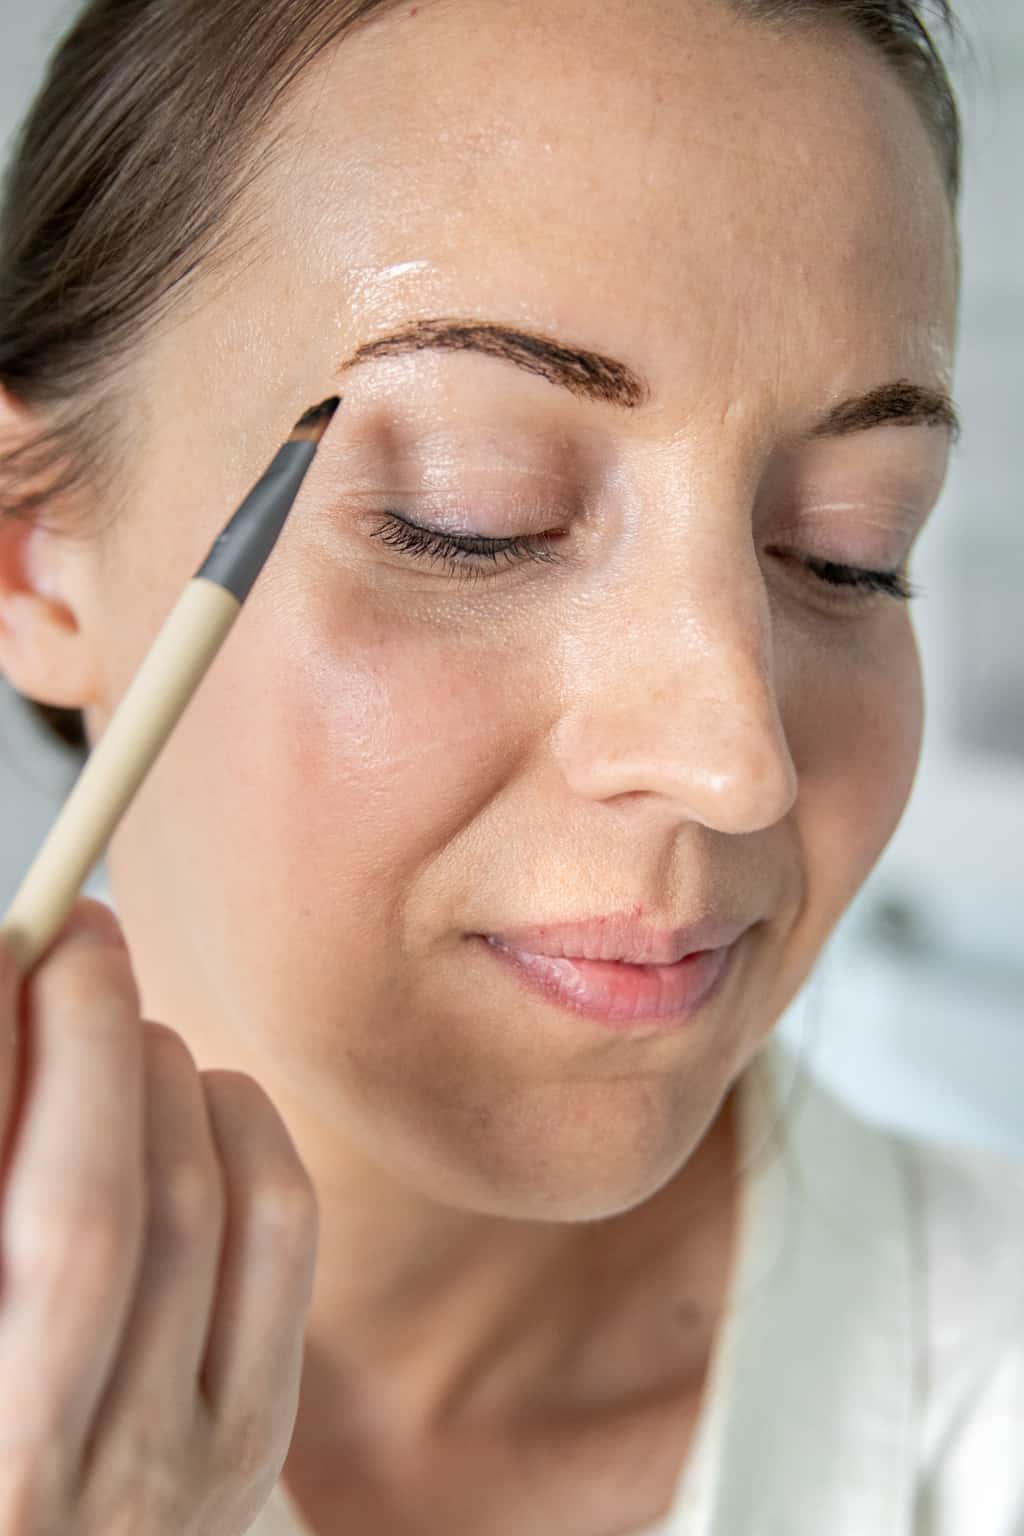
Step 3 | Apply henna
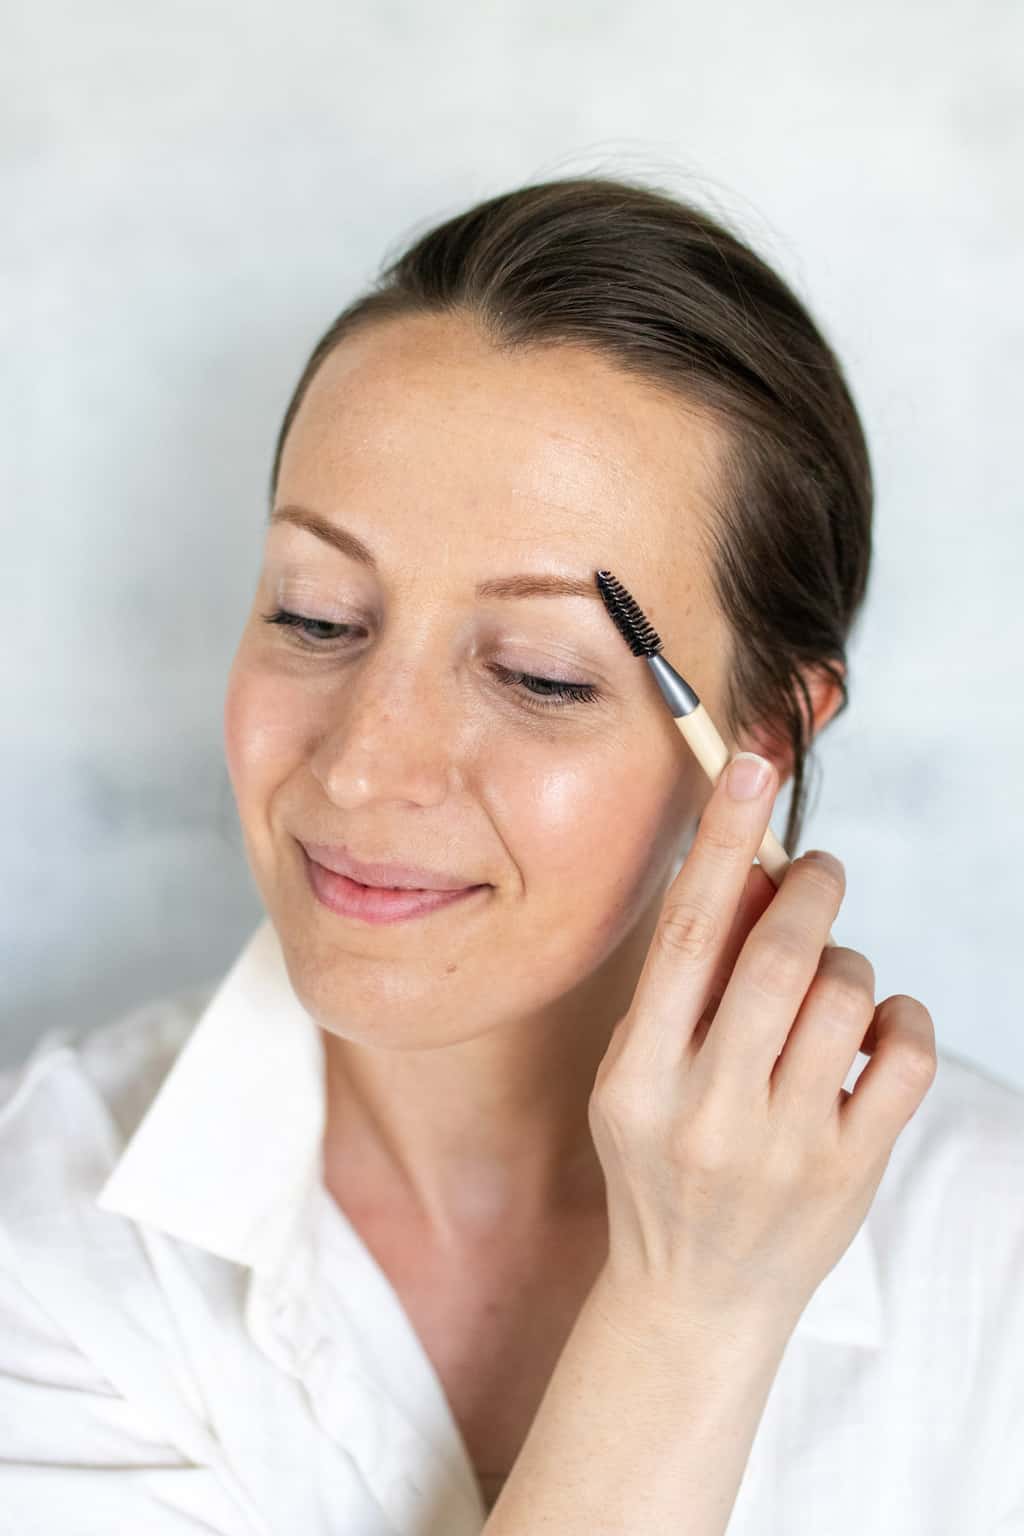
To protect the skin around the brows, apply a thin layer of petroleum jelly just outside the brow area. Fluff up the hairs slightly with a spoolie brush, then apply the henna with an angled eyeliner brush, first in the same direction the hairs grow and then again in the opposite direction.
Step 4 | Wipe off dye
Let the dye sit for about 10 minutes. The longer it sits, the darker your brows will get. After 10 minutes, wipe off the dye with a damp cotton round.
How to Care for Tinted Brows
For starters, keep your brows completely dry for at least 24 hours after tinting. Don’t apply skincare products or makeup near your eyebrows, and try to avoid any excessive rubbing in the brow area as that can fade the color.
After 48 hours, you’re free to apply brow gel or other products to keep the hairs in place, but you still want to avoid harsh cleansers or excessive sun exposure, which may strip the color.
If cared for properly, the color should last for at least a month before you need to re-tint.
147


Leave a Comment