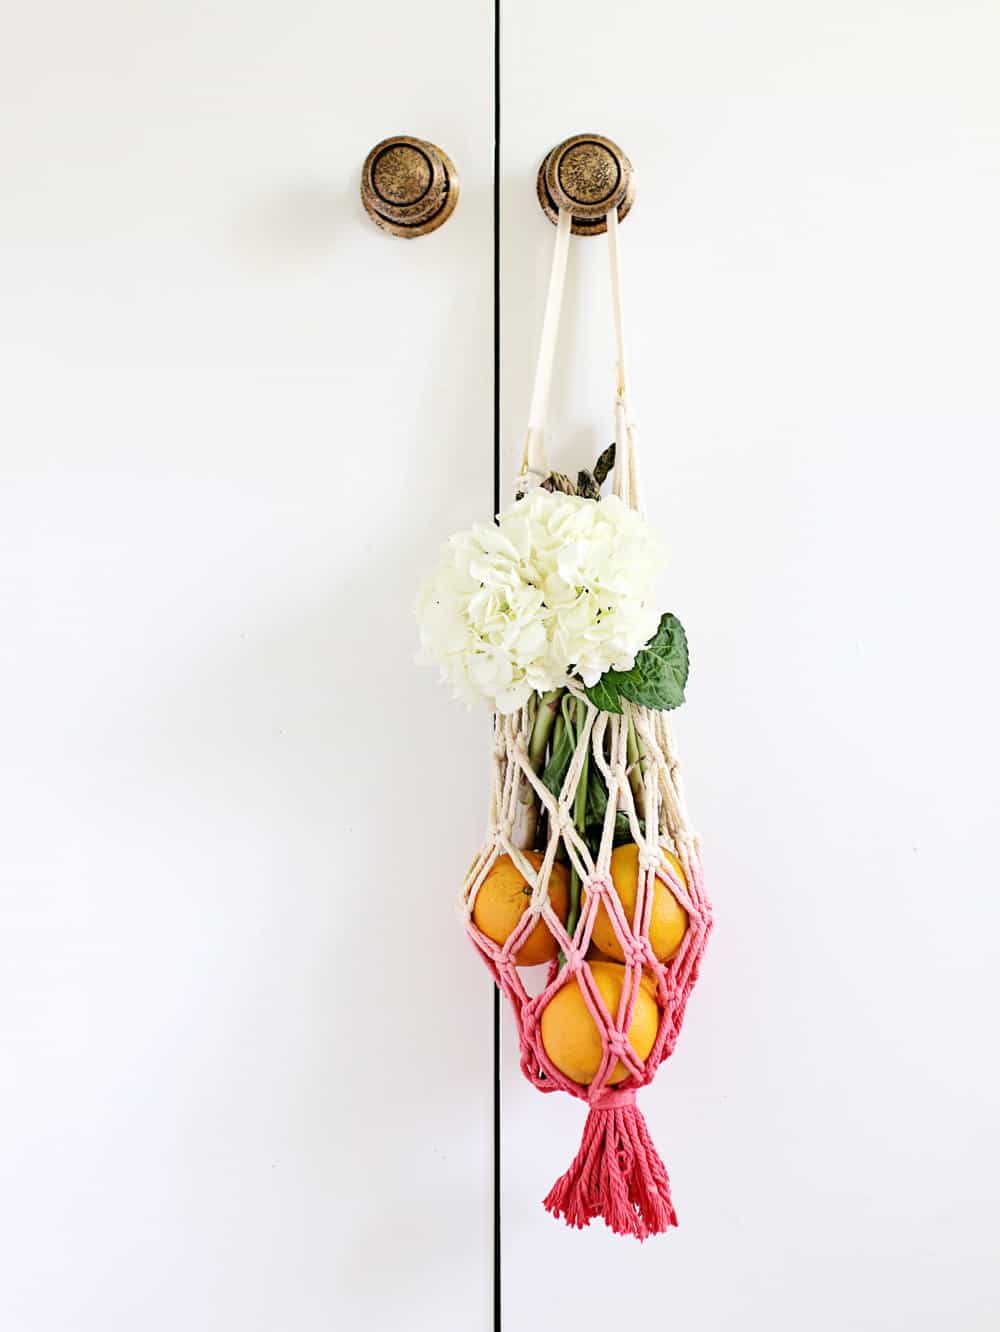
I know the weather still feels cool in a lot of places, but mentally, I’m already in summer mode. I can’t wait for the farmers' markets, fresh produce, tank tops and poolside lounging. So, to make summer come a little bit faster (or at least entertain me until it does) I whipped up a few of these no-sew macramé produce bags.
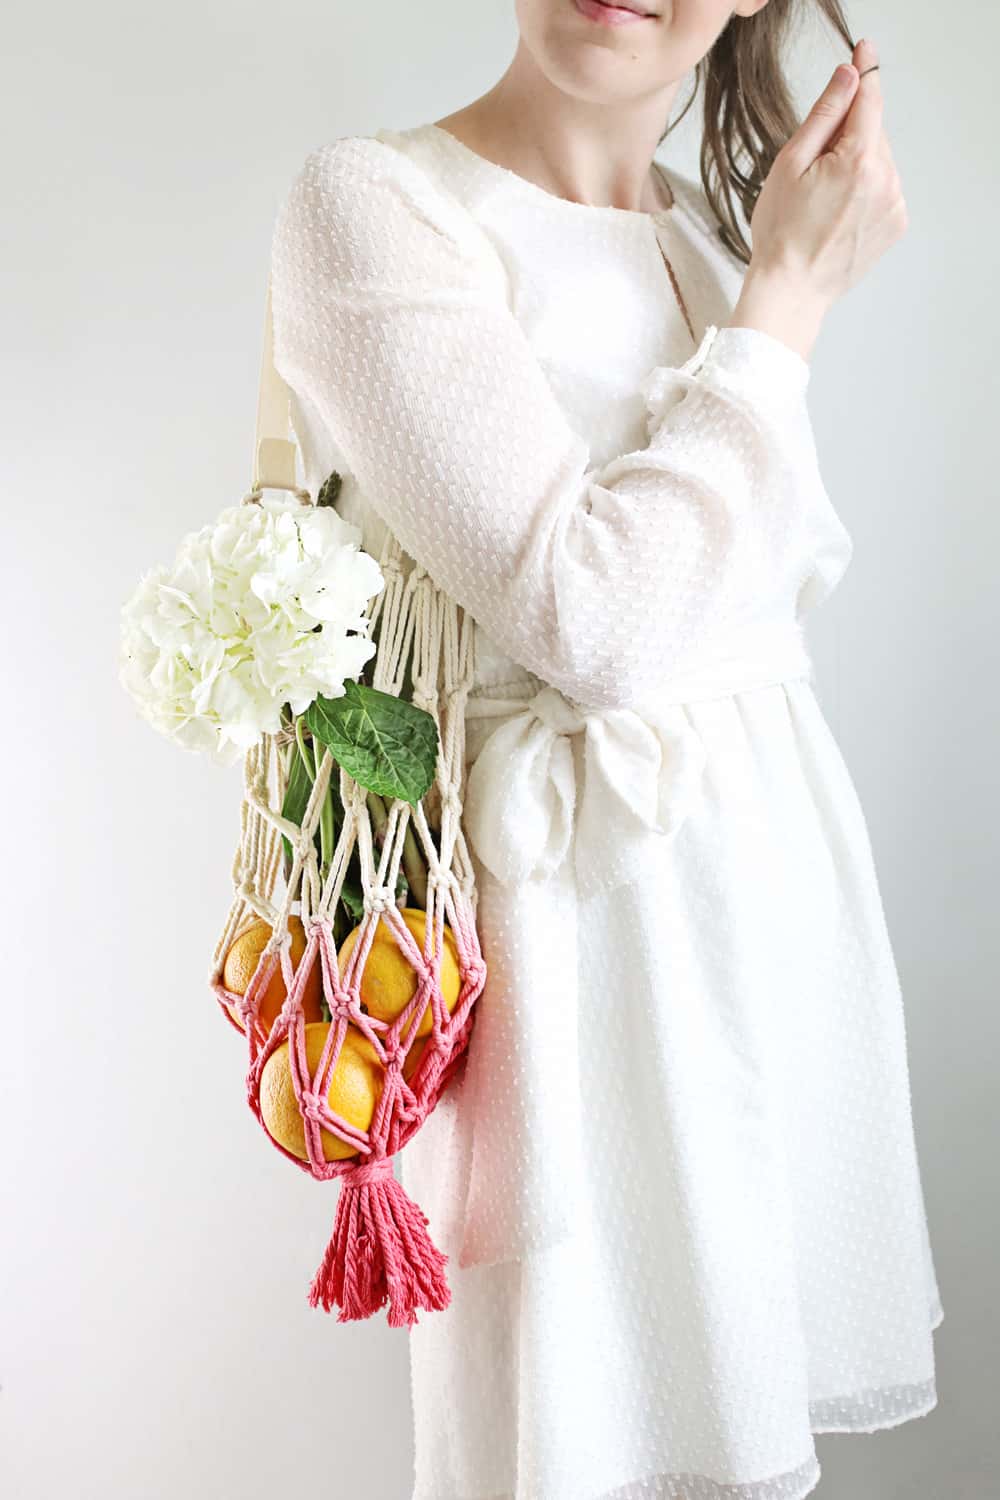
They’re perfect for carrying your produce haul home from the farmers' market. Or you can simply toss one over your shoulder and use it as a pool bag or an airy tote for carrying all your summer essentials.
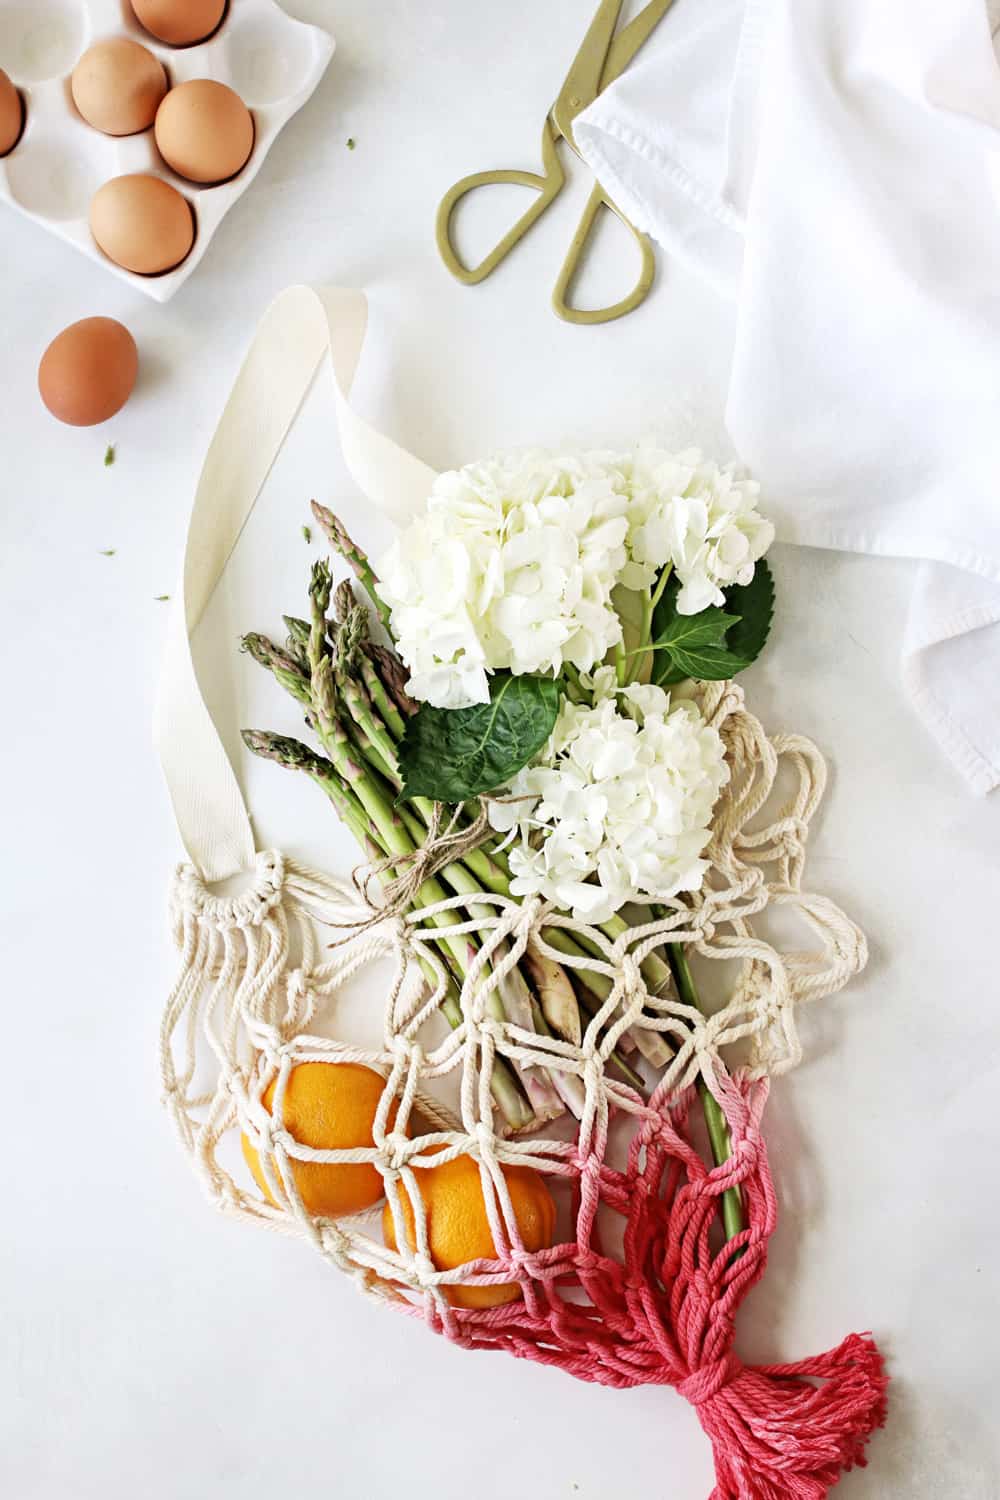 How to Make a Macramé Produce Bag
Don’t let all the knots fool you. Once you get rolling, you can whip up this baby in less than an hour (the process is even quite zen, if you ask me.) Simply grab some macramé cord at your local craft store, along with some cotton strapping and a couple d-rings.
Then add a dab of glue and a few hand-tied knots to magically transform it into an airy tote. Once you’re done, dip-dye your macramé produce bag for a little color, or leave it plain. It’s totally up to you!
Since Knot Tying 101 wasn’t something most of us learned growing up, I created a quick video showing you exactly how to make your bag. Just know that it might take a while to get the knots just right. Even with practice, I still had a hard time getting my knot pattern small enough to create a tight mesh.
If the knots are too far apart, your stuff falls out. Too close together and you'll spend forever making your bag. It's fine balance, so go easy on yourself and don't aim for perfection.
The good news is that these materials go a long way, so you can make a bunch of bags for next to nothing. One roll of macramé rope and a couple yards of strapping should make about 5 or 6 bags. Just stock up on a few extra d-rings ahead of time and have your hot glue gun ready to go.
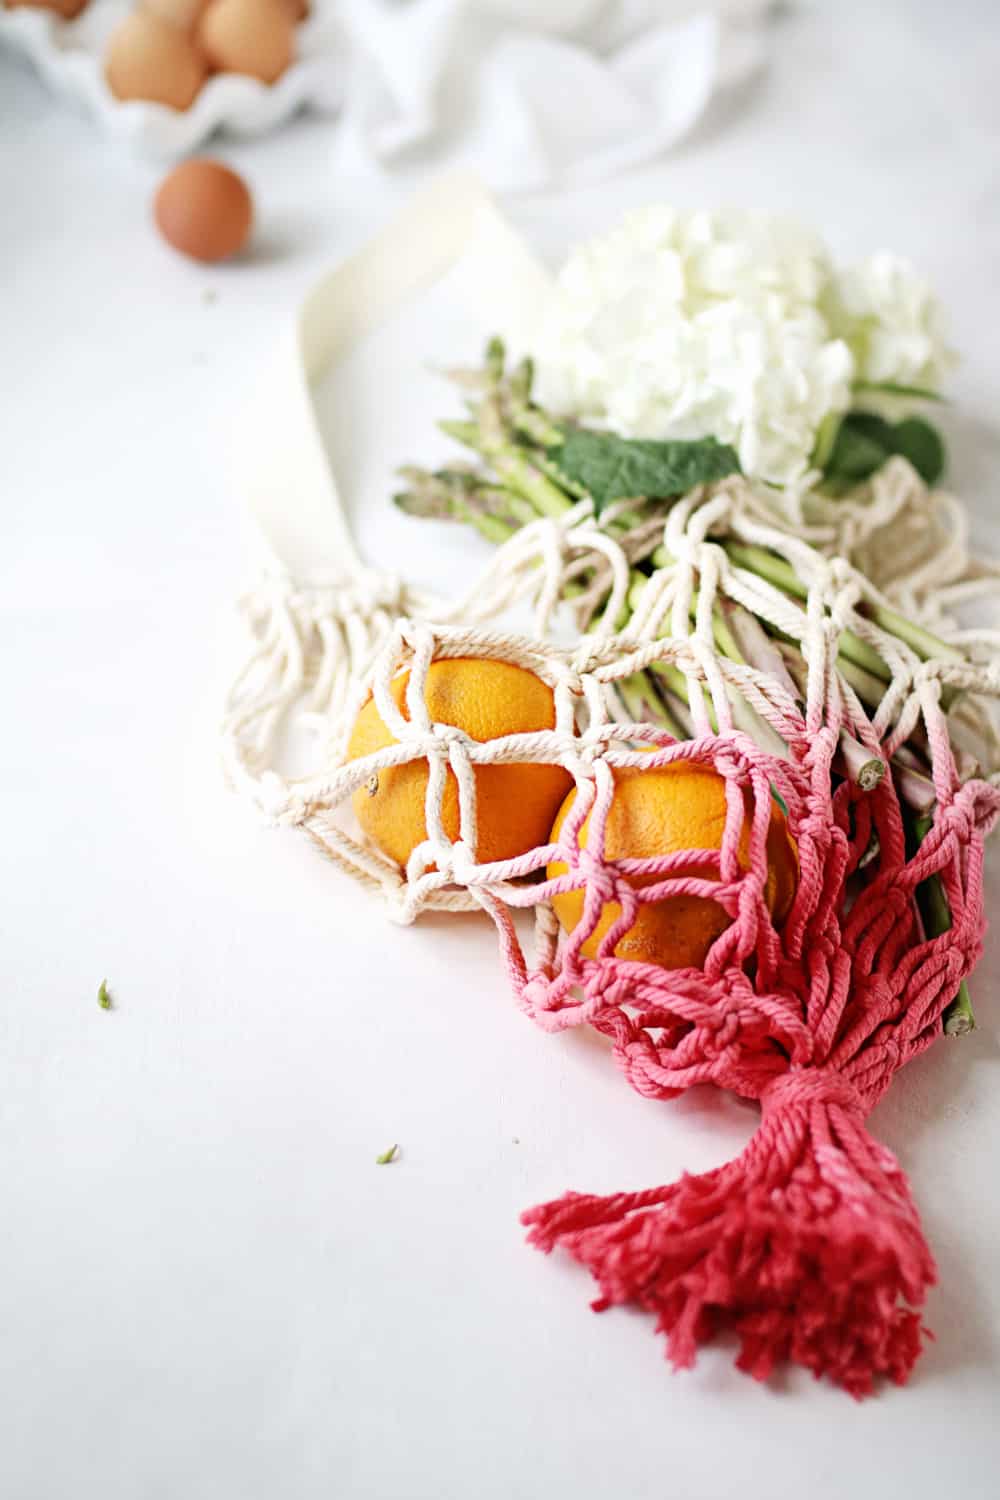
Because these are made with 100% cotton, they’re washable and should last forever. I recommend hand-washing them in warm water, but you can always toss them in your washing machine on gentle. If you dye your bags, be careful not to wash them with any other light-colored items because the dye might fade the first few washes.
Then let them air dry to prevent the cord from knotting in unwanted places. Over time you might notice a few of the knots coming undone. When this happens I like to tighten the loose knots by hand and use a dot of glue to permanently secure them.
If you're ready to get started, make sure to watch the video below for the step-by-step. Then, if you have questions about any of the steps, refer to the written instructions below.
Supplies
- 2-inch wide cotton strapping
- 3 millimeter cotton macramé cord
- Two 1.5-inch d-rings
- Scissors
- Hot glue gun and glue
- Masking tape
- Dye (optional) - I used Rit dye in Scarlet
Instructions
Step 1: Cut your cotton strapping into one 18-inch piece (this makes one strap). Then cut your macramé cord into 20 60-inch pieces. My finished bag came out to about 30 inches long, but you might need to adjust these measurements if you would like a different size bag.
Step 2: Begin by making the strap of the bag. Take one end of your cotton strapping and feed it through your d-ring. Fold a small section of strap over the flat side of the d-ring and secure with hot glue. Do the same for the other end of the strap.
Step 3: Lay your strap flat on a table and secure with tape. Fold one piece of macramé cord in half to make a loop, then feed it through the d-ring. Take the two loose ends end of the cord and feed it through the folded loop at the top. Pull tight to make a knot around the d-ring. Do this for 9 more pieces of cord, so you have 10 total on one d-ring. Do this for the other d-ring as well.
Step 4: To make the body of your macramé produce bag, we’ll use box knots to form a loose mesh. Starting on the far right side, take the four pieces of string and separate them so you have one string on the left, two in the middle, and one on the right. Starting about 3-inches down from the d-ring, loop the left string under the two strings in the middle and overtop the string on the right. Take the string on the right and loop it over the two middle strings and through the loop made by the string on the left. Repeat the knot a second time using the same four strings and pull it tight. That makes one box knot.
Step 5: Do this for the remaining strands on both of the d-rings.
Step 6: Move 2 inches down, and make a second row of box knots, except this time, set aside the two pieces of string on the far end, and use the strings one strand over.
Step 7: Bring the two sides of the bag together, so they lie side by side. This time move 1 inch down and, starting in the center, knot the sides of the bag together using the four strings left out in step 6. Moving out from the center, knot all the way across the left side, then go back and do the right side.
Step 8: You should have two strings on each side left over. Fold the bag in half so those four strings are next to each other and tie one final knot.
Step 9: Continue making rows of box knots (1 inch apart) until the bag reaches the desired length.
Step 10: To finish the bag, gather the strings at the bottom and wrap them a few times with a piece of cord. Cinch it tightly and either tie a knot or use glue to hold cord in place.
Step 11: Follow the instructions on your box of dye to create a dye bath for your macramé produce bag. Wet the bottom of the bag and dip it into the dye to create an ombre effect. Rinse out the dye and let you bag dry thoroughly before using.
And don't forget to wash those fruits and veggies when you get home with a homemade produce wash. Enjoy!
Macramé Bag FAQ
What's the name of this macramé pattern called?
I'm not a macramé expert, so I'm not sure if this pattern has a name, but it's made by simply alternating box knots.
Can I use a different pattern so that the bag can hold smaller items?
Go ahead and use any macramé pattern you like! The beauty of this one is that it's perfect for beginners and it's fast so you can whip these babies up quickly. But if you'd prefer a tighter weave (so it can hold smaller items), simply use more macramé cord and tie your knots closer together. Easy peasy.
Will the dye rub off on my clothes?
It depends on the kind of dye you use and whether or not you follow the package instructions. I didn't have an issue with the dye rubbing off on my clothes, but it does lighten when washed. So be sure not to wash your produce bags with other light fabrics.
How should I clean my macramé produce bag?
The cotton rope might get dirty over time, so I recommend spot treating stains and gently washing your bag by hand in cool water. Be careful not to loosen the knots as you wash it and lay the bag flat to dry. If the knots come loose, try to tighten them by hand as best you can without messing up the mesh pattern.
