Since we’re all friends here, I want to let you in on a little secret: I haven’t been to the hairdresser in, oh, about 8 years. It first started when my fine hair began thinning a decade ago. I couldn’t stomach spending $30 to trim a few wisps of hair every month, so I took matters into my own hands.
And even though my hair has since thickened up a smidge and I don’t throw it in a bun all the time, I still cut it at home using the ponytail method. For us gals (and guys!) with long or curly hair, it’s a foolproof way to get rid of split ends and take some length off the bottom without visiting a hairdresser.
Jump to:
Who Should Use the Ponytail Haircut Method
This haircut will only give you one result: long, shaggy layers. And the more hair you cut off, the longer the layers will be when you’re done.
Needless to say, this style isn’t for everyone, but if you’ve got the right hair type and are willing to hone your skills with a little practice, it’s an amazingly easy way to cut your own hair.
Give the ponytail method a try if you have:
- Long layers you’d like to clean up
- To get rid of a few split ends
- Straight hair with a bit of volume
- Curly or wavy hair that can easily disguise long layers
- Thin hair that you wear up most of the time
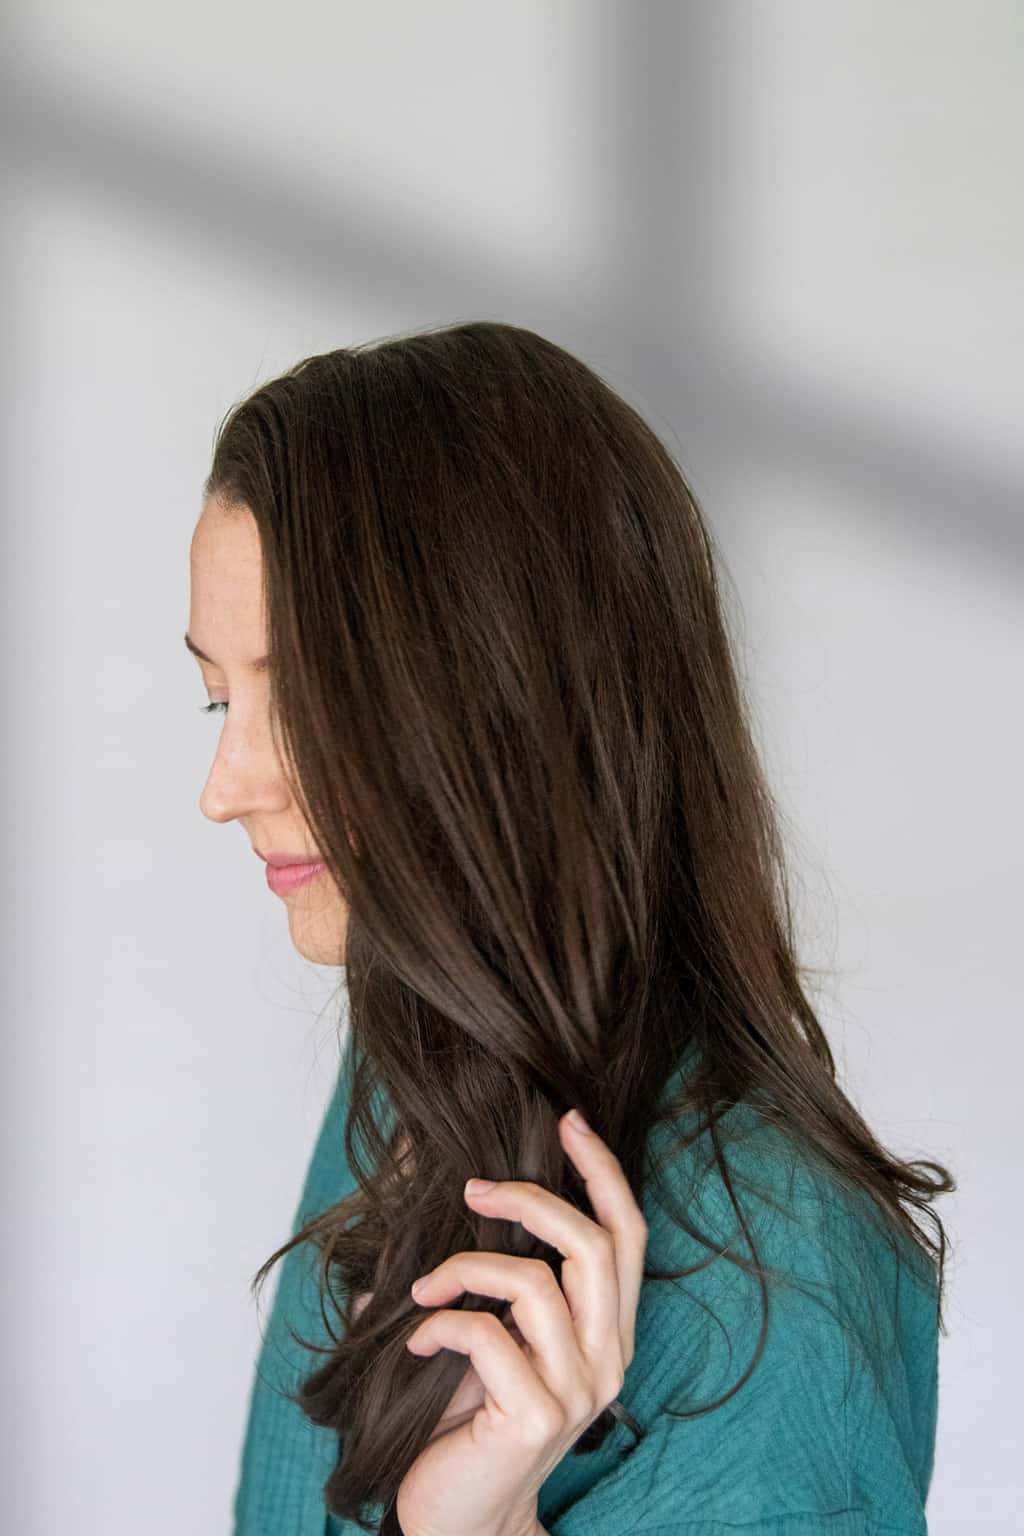
Results will differ based on your hair type, thickness, and length. When it comes to my straight hair, any mistakes aren't really that noticeable since it’s long and the ends are wispy.
But this technique won’t work for everyone, and I highly suggest only doing it if you have long and/or curly hair due to its dramatically layered results.
Because this method results in long layers, it’s not great for those with short hair or who don’t like a shaggy look.
How to Cut Hair at Home with the Ponytail Method
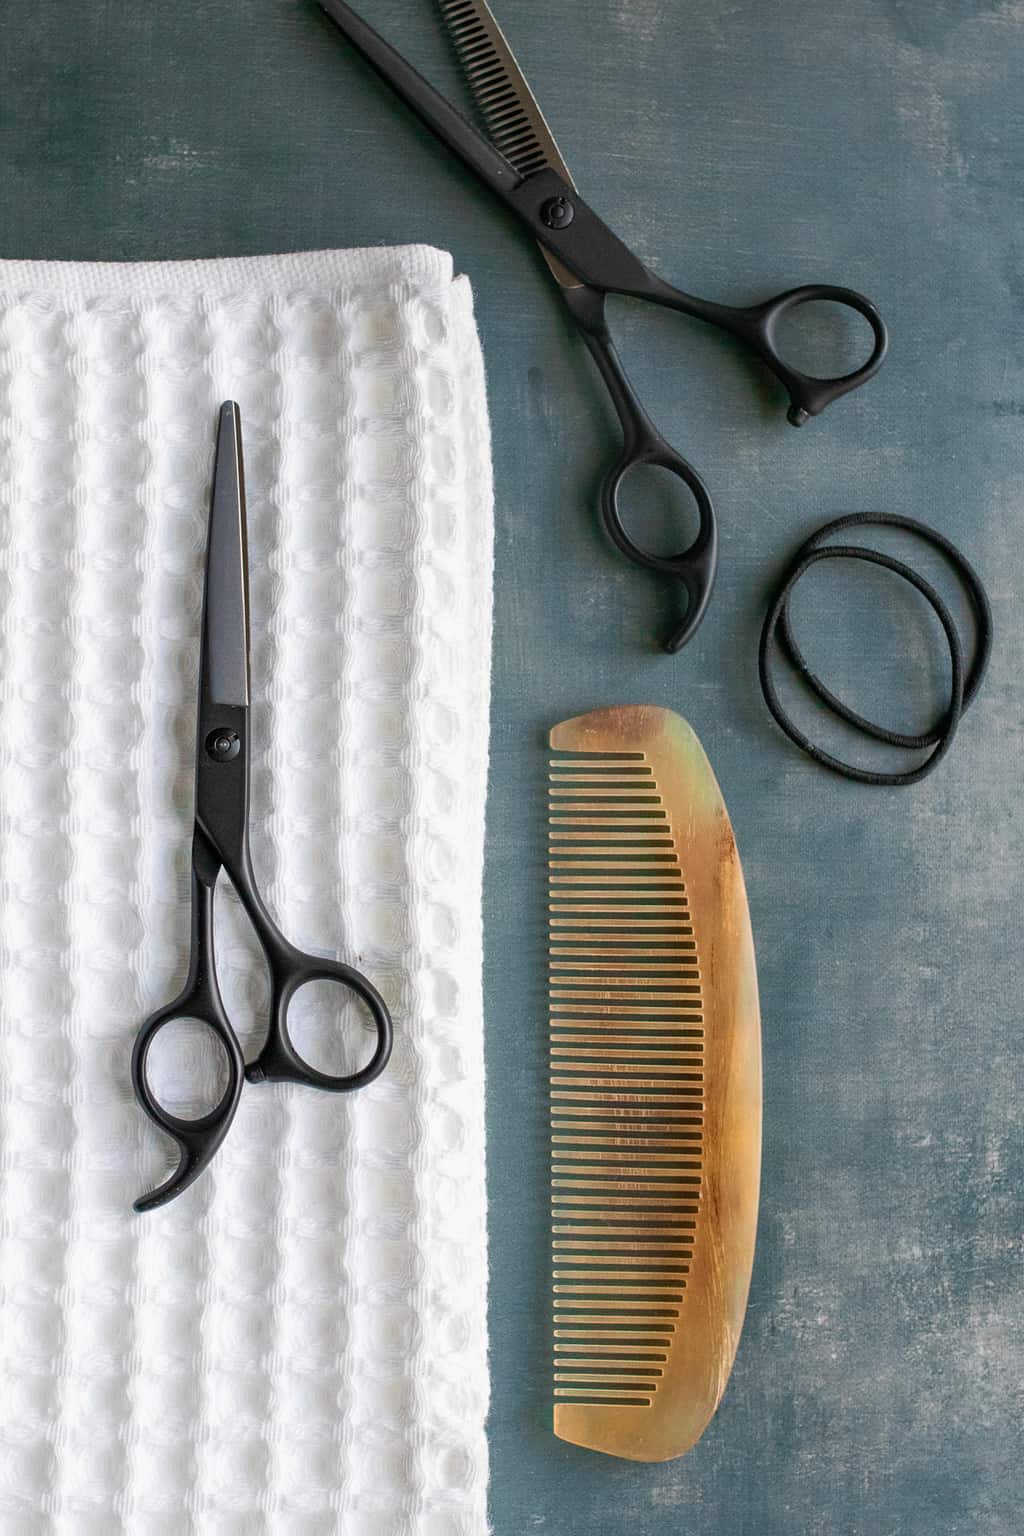
Supplies
- 2 hair ties
- Hairbrush or comb
- Sharp hair scissors
- Optional: thinning shears
- Mirror
Only do this if you have the right tools. You need actual hair-cutting scissors—not kitchen, sewing, crafting, or any other scissors. Otherwise, you won’t be able to cut through the bulk of the ponytail, and it’ll look messy.
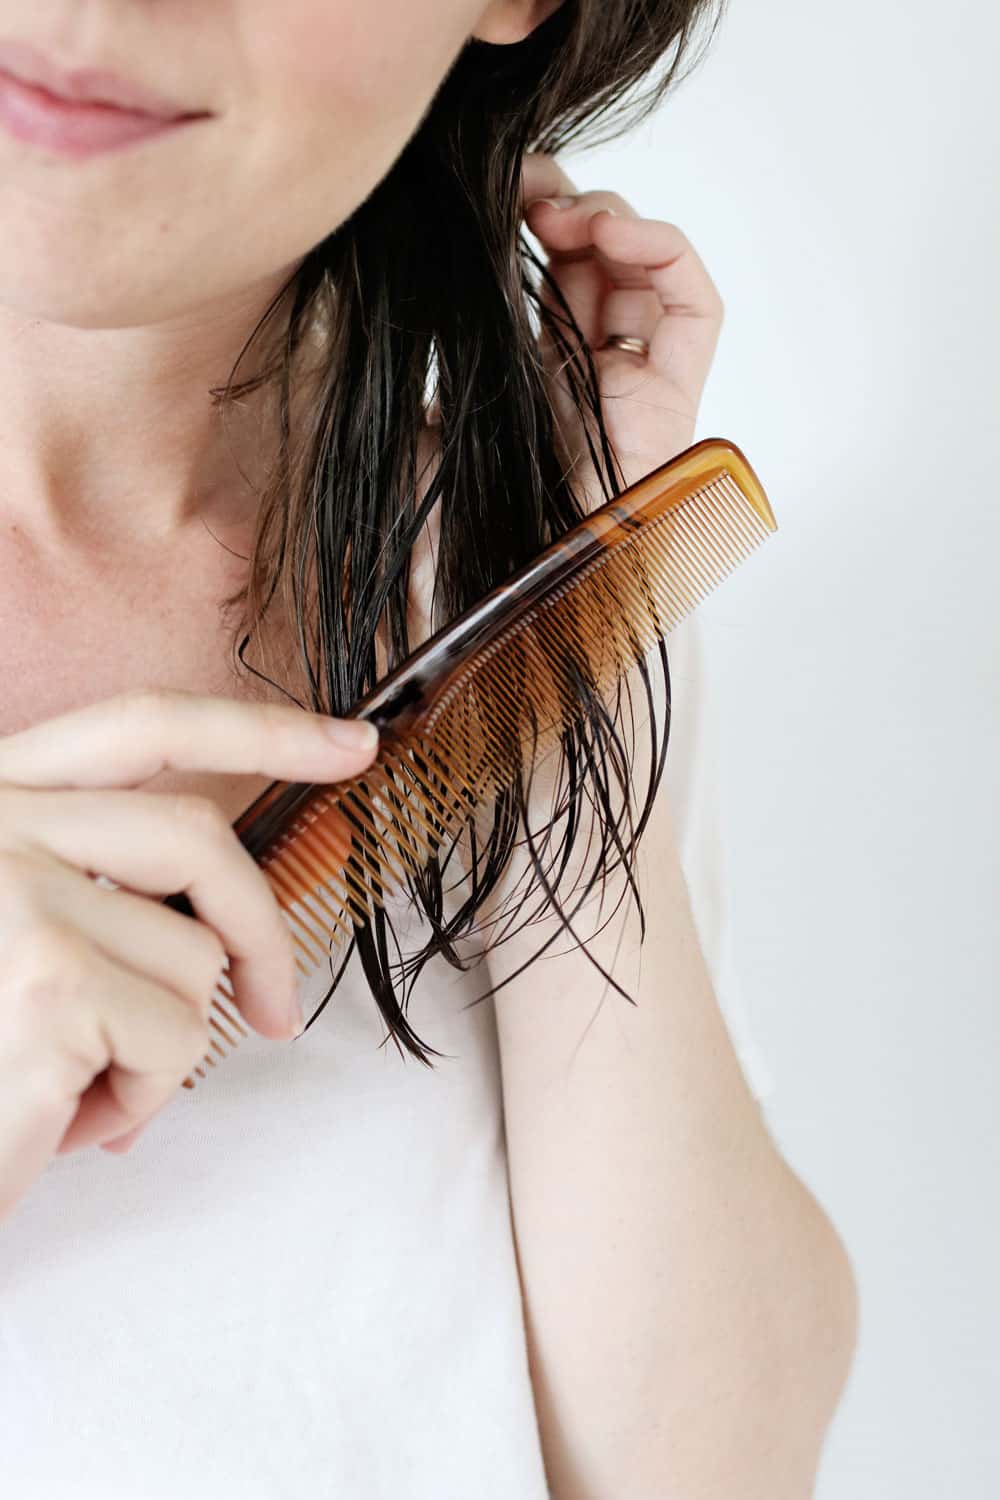
Step 1 | Wash, dry & comb hair
Before you get started, make sure to wash, dry, and brush your hair. I find that clean, freshly brushed hair is easier to smooth down, so you’ll end up with better results.
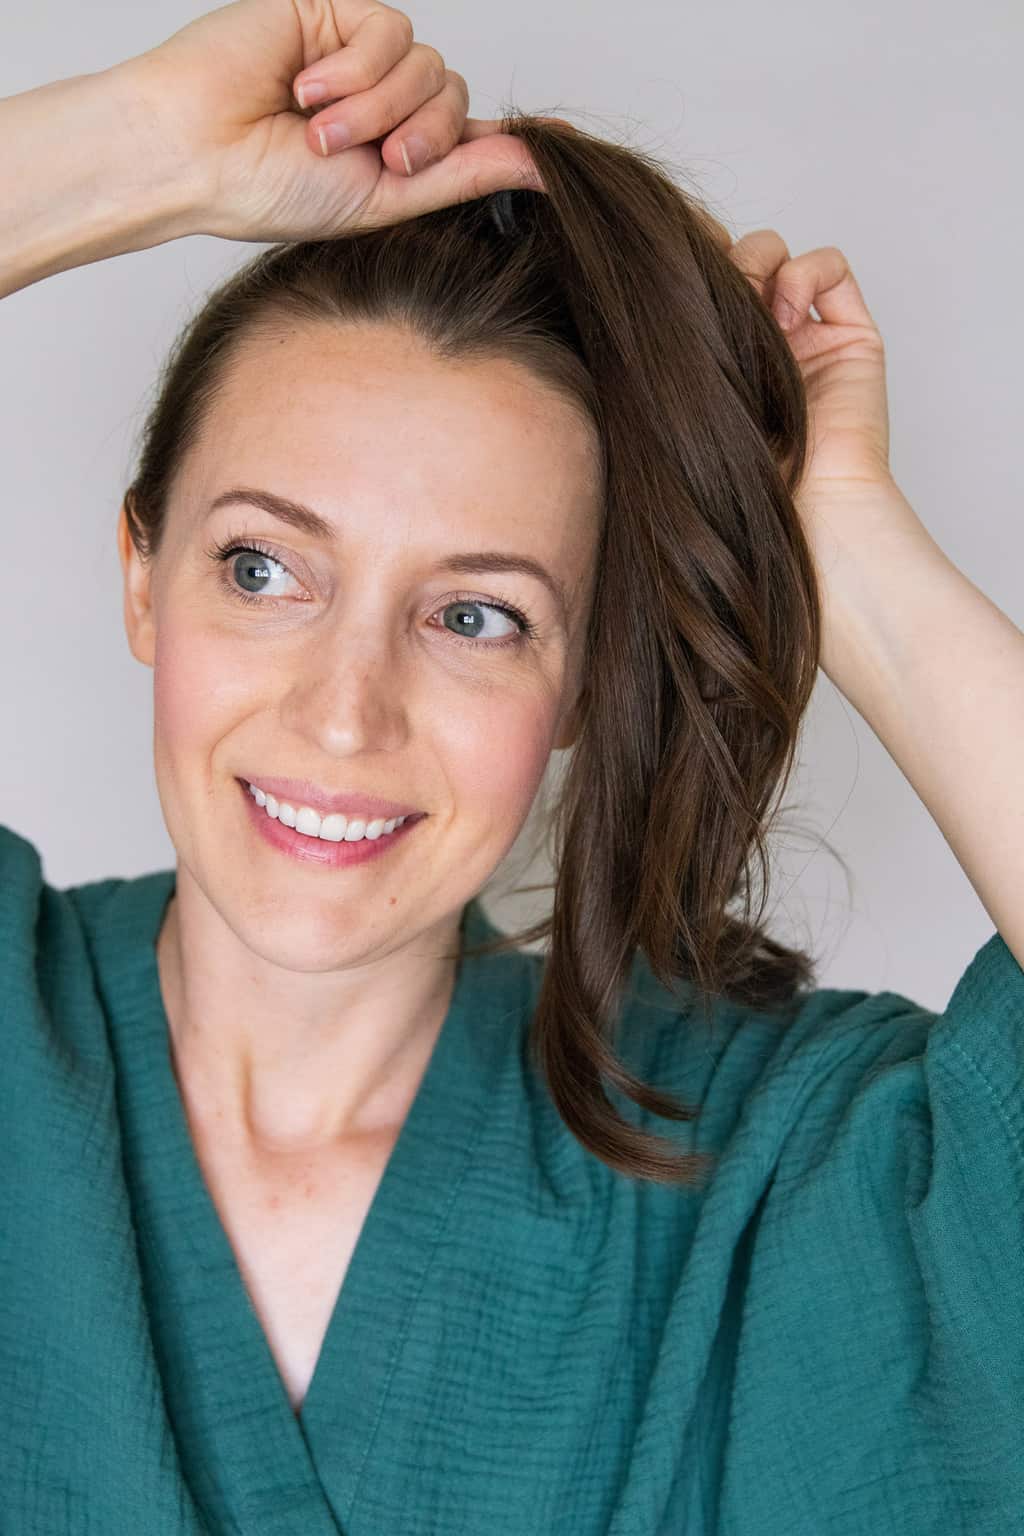
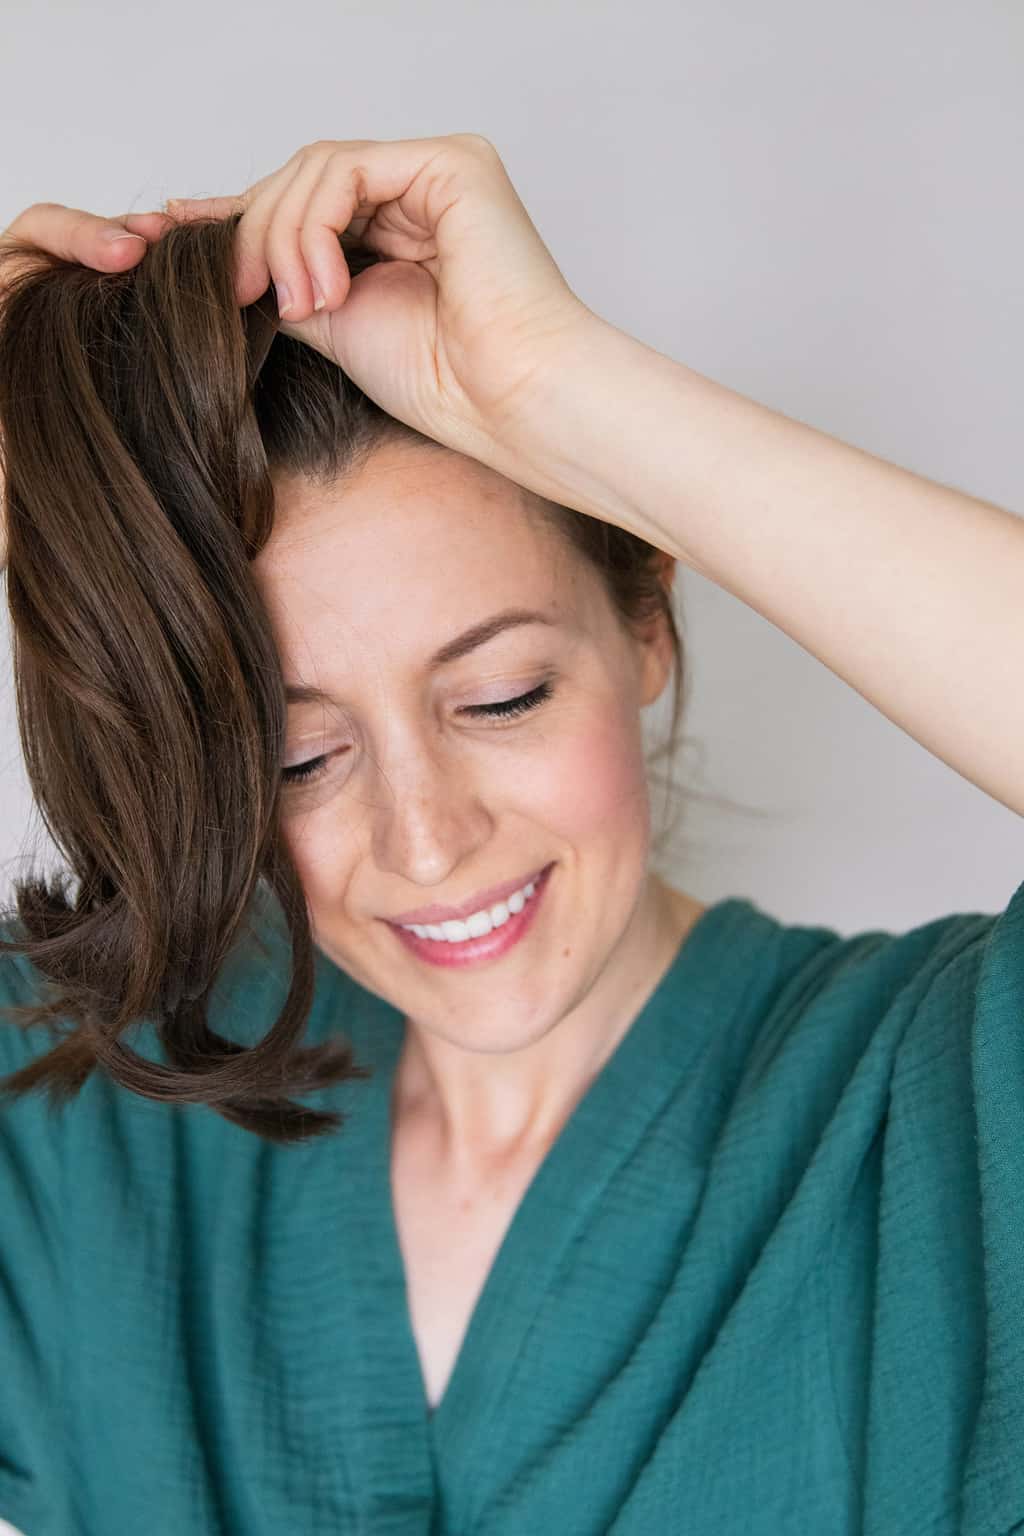
Step 2 | Flip your head and make a smooth ponytail
Flip your head over and pull your hair into a ponytail at the top of your head. Do your best to smooth out stray hairs and make sure there aren’t any bumps or cowlicks; otherwise, it could affect your layers. Honestly, I don’t work too hard to get my hair to lie perfectly flat here since I plan to just clean it up later.
Since I want subtle layers, I tie my ponytail slightly in front of the crown of my head instead of along my hairline.
I saw some tutorials online where the person tied the ponytail along their front hairline. While it still works, there will be a dramatic difference between the layers at the front and the back of your head (the hairs along your hairline will be much closer to the trim line than the hairs at the base of your neck).
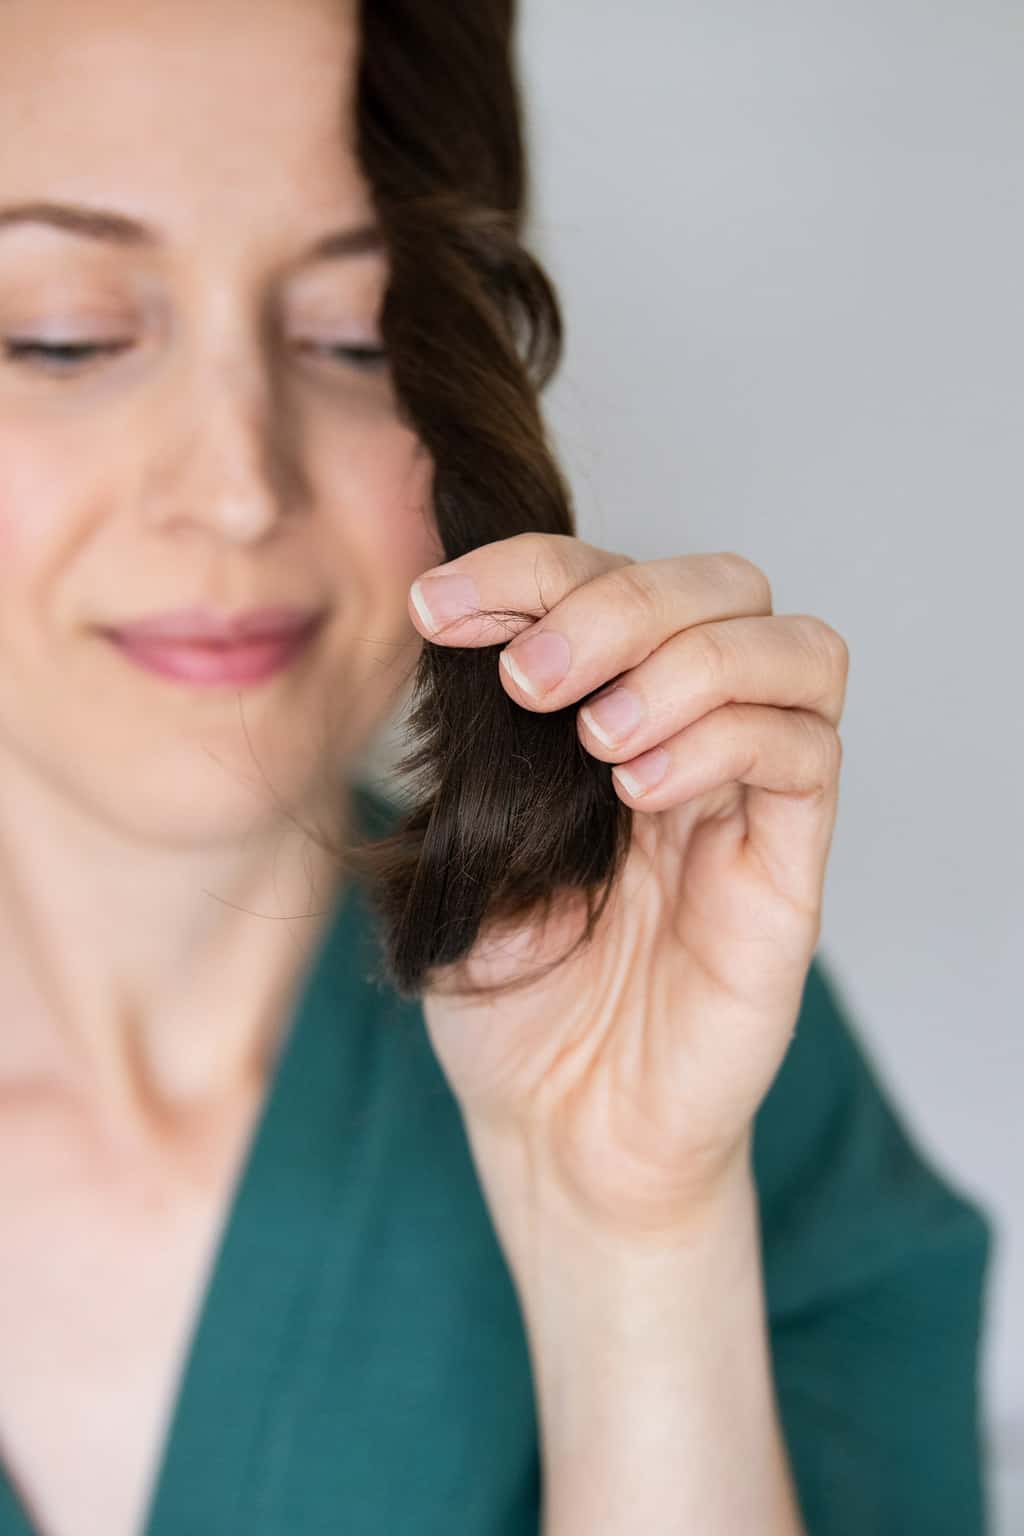
Step 3 | Bring ends forward and decide where to cut
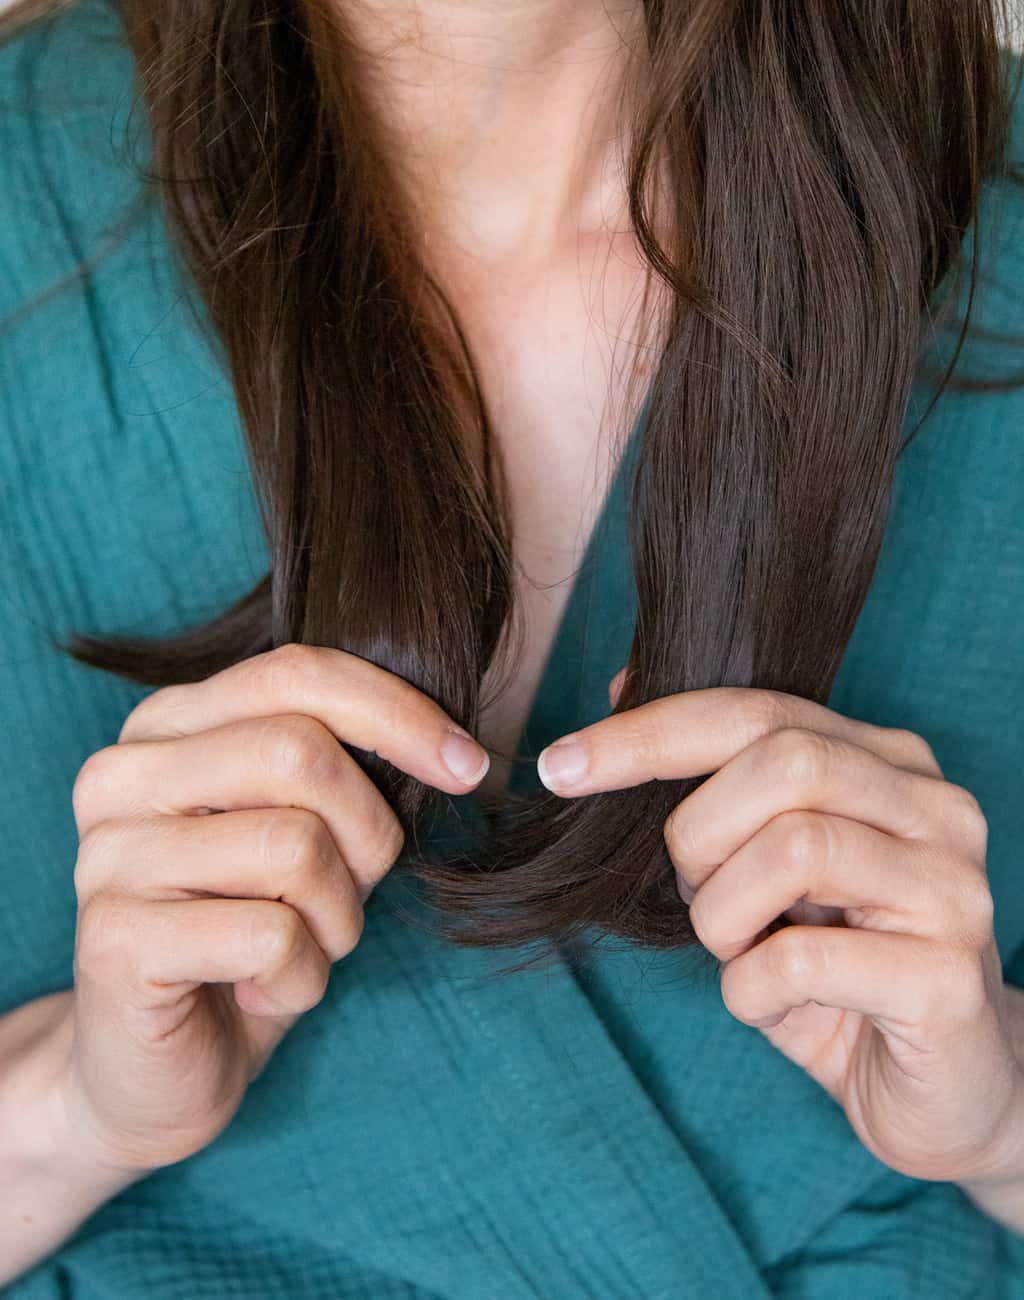
Bring the end of the ponytail forward so you can see the ends when you trim them. I like to twist the hair into a tight little bundle.
Take note of any split ends or damaged areas that may need to be trimmed. Cutting off damaged ends can help improve the overall health and appearance of your hair.
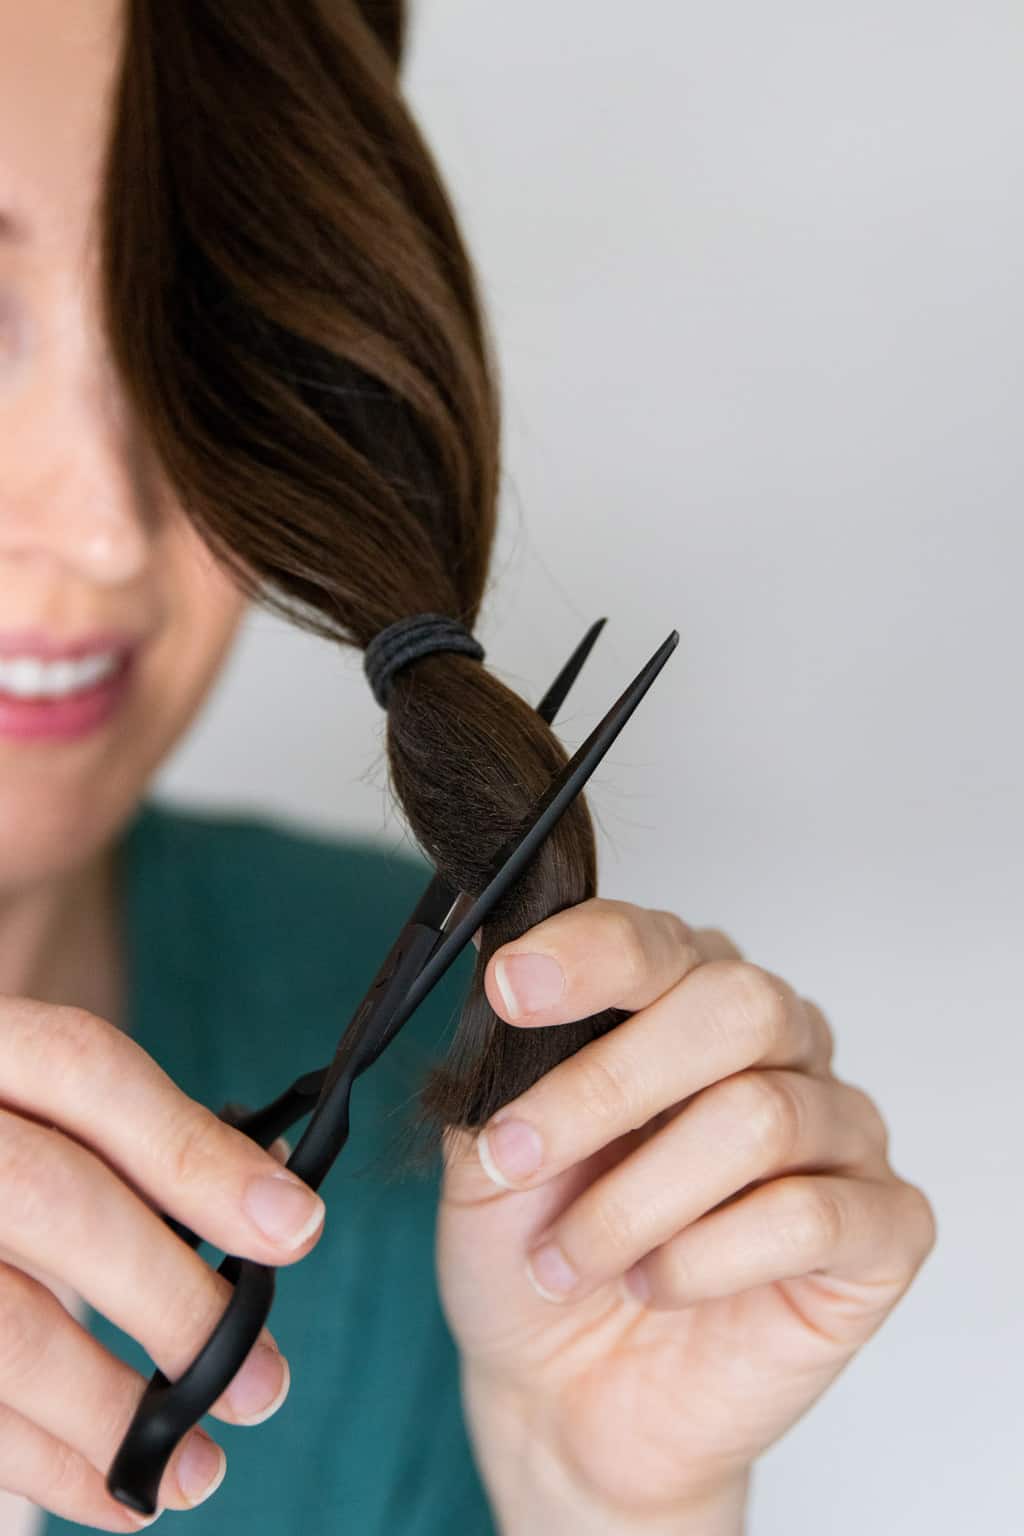
Tie a second hair tie at the bottom to hold the ends together and determine how much you’d like to take off. Then slide the hair tie to the point where you want to cut.
How much length should I cut?
First, determine the desired length for your hair. Are you aiming for a significant change or just a slight trim to maintain your current style?
You don’t have to cut much to get dramatic layers, so I recommend starting with a ¼ or ½-inch.
Only after you've assessed your hair and determined the kind of change you're going for do I recommend breaking out the scissors and making a cut. If you decide you want to cut more, you can always repeat the process.
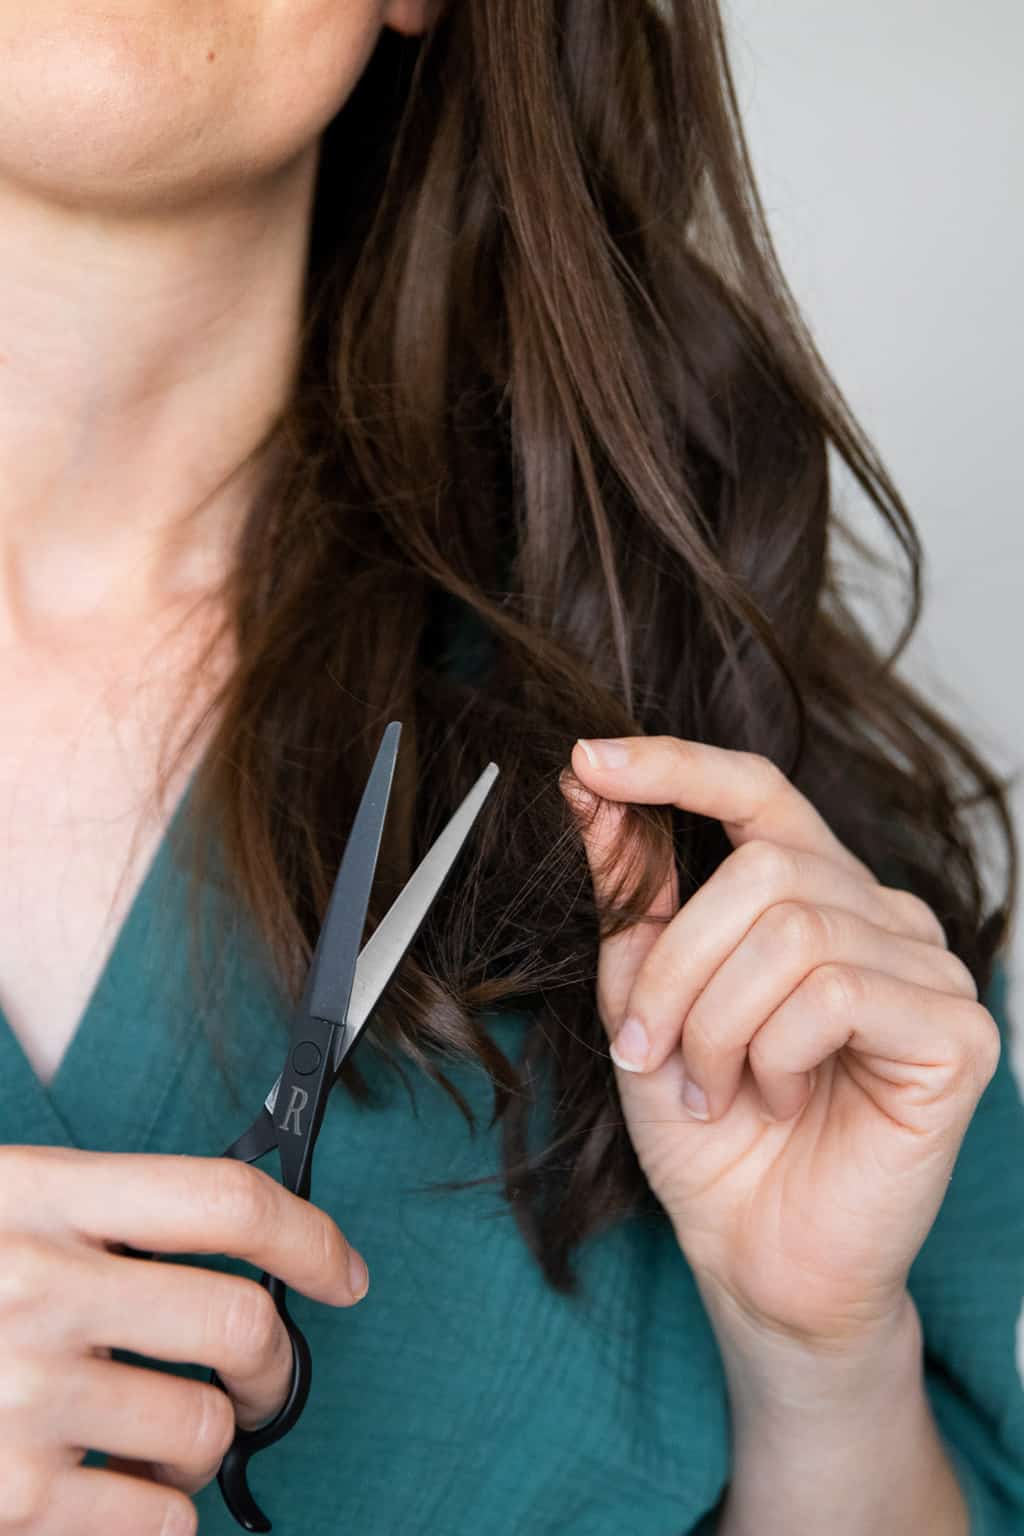
Step 4 | Cut with sharp scissors
Grab a sharp pair of scissors and cut in a straight line across your hair for a clean cut.
For thick or curly hair, you may want to cut using thinning shears. This will soften the trim line and make sure the ends aren’t so harsh.
Take your hair down and check to see how you like it. Do you want it shorter? More layers?
If so, put it back up in a ponytail and cut a little more off. Keep going until you're happy with the final cut.
What if I mess up?
The beauty of this haircut is that it's pretty tough to mess up - usually. If you're unhappy with your ponytail haircut, don't panic.
Depending on the severity of the mistake, you may be able to adjust the haircut by trimming small sections (have a friend or significant other help even things out if you're having trouble doing it yourself).
And don't be afraid to seek professional help if needed. Remember, hair grows back, so even if the result isn't perfect, it's temporary and can be fixed over time.
Step 5 | Snip stray hairs
Take your hair down and tidy things up. I like to look around for any stray hairs or chunks of hair that look longer than the others. Don’t be afraid to give any outliers a quick, imperfect trim.
Don’t expect perfection. You’re guaranteed to end up with a few mistakes and stray hairs with this method.
When you take your hair out of the ponytail, a little clean-up will always be in order. If that sort of thing freaks you out, then this may not be the best method for you!
Step 6 | Check for evenness
I also like to part my hair down the middle from the forehead to the nape of the neck, then bring both sides together in the front and make sure they look even. If any pieces look longer than the others, I trim them.
Step 7 | Soften layers with thinning shears
If your layers look too straight and harsh, toss your hair back into a high ponytail and use thinning shears or the tip of your hair scissors to cut straight up into the ends. This will soften the ends and help blend the layers.
Troubleshooting
How do I maintain the cut?
To maintain your ponytail haircut at home, regularly trim any split ends or damaged areas to keep your hair healthy and looking its best. I like to use thinning sheers to trim up the ends without affecting the rest of my cut.
How do I trim my bangs?
While I'm all for DIY'ing practically anything and everything, creating bangs is one of the few things I don't think you should DIY. Having a professional hair stylist cut fresh bangs is important because they have the expertise and training to create a flattering shape that complements your face structure and works with your hair bugaboos like cowlicks, part placement, etc.
But if you'd like to trim bangs that already exist, then go to town.
To trim your own bangs:
Comb down: Start by combing bangs straight down and removing any stray hairs that you don't want to cut.
Cut across the forehead: Hold the hair between your fingers, then use sharp hair-cutting scissors to cut small amounts at a time, moving horizontally across your forehead. Cut slowly and cautiously, following the original cut line so you end up with an even, flattering cut.
Start small: Remember to trim less than you think you need to cut since you can always go back and trim more if necessary.
How do I dust split ends?
"Dusting" is when you make split ends more visible so you can trim off just the damaged portion of hair without affecting the length.
To dust split ends:
Wrap 1-inch sections: Start by gripping a 1-inch section of hair near the end of the strands and wrapping it around your finger.
Fan the ends: Twist the section tightly. Hold it up so that the ends point upward and fan outward.
Snip split ends: Any split ends that protrude can be snipped off with sharp scissors.
Repeat: Work methodically section by section, trimming only the damaged ends to maintain the overall length of your hair.
How do I cut even layers at the back of my head?
This part can be tricky!
Use mirrors: You may need to use two mirrors, one placed in front of you and one behind you, to check your layers from different angles.
Match sections: Section your hair into manageable sections and carefully match each section to the corresponding layer on the opposite side of your head.
Small cuts: Take your time and trim small amounts gradually, frequently checking for symmetry and balance until you achieve the desired result.
Ask a friend: You may need to ask a friend or family member to help cut sections that are hard to reach.
FAQ
If this is your first time trimming your own hair, it's always safer to start with less rather than more. You can always trim off additional length if needed, but you can't undo a cut that's too short.
Don't panic! You can adjust the haircut by trimming small sections. If you've made a major error, it might be time to see a stylist.
Yes, you can give yourself a ponytail haircut when your hair is wet. I actually do it all the time. Wet hair is often easier to manage so you may find it easier to create a smooth, bump-free ponytail for cutting. Just keep in mind that wet hair appears longer than dry hair, so be careful not to cut off too much length.
If you notice any unevenness or if you need minor adjustments over time, you can easily do touch-ups. Just throw your hair into a ponytail at about the same position as last time, and trim a few centimeters off the end.