Okay, I know what you’re thinking: Seriously? An herb drying rack?? But hear me out. I wasn’t totally sold either until I started dipping my toes in the world of herbal remedies (as you know, we love them around here). I toss dried herbs into everything from candles to teas to beauty recipes because they can help soothe, soften and heal just about anything.
But at upwards of $5 a jar for organic, they’re not exactly cheap. Thankfully spring and summer bring an abundance of fresh herbs, and what better way to preserve the bounty (and your paycheck) than by drying your own.
Why Should Herbs Be Hung to Dry?
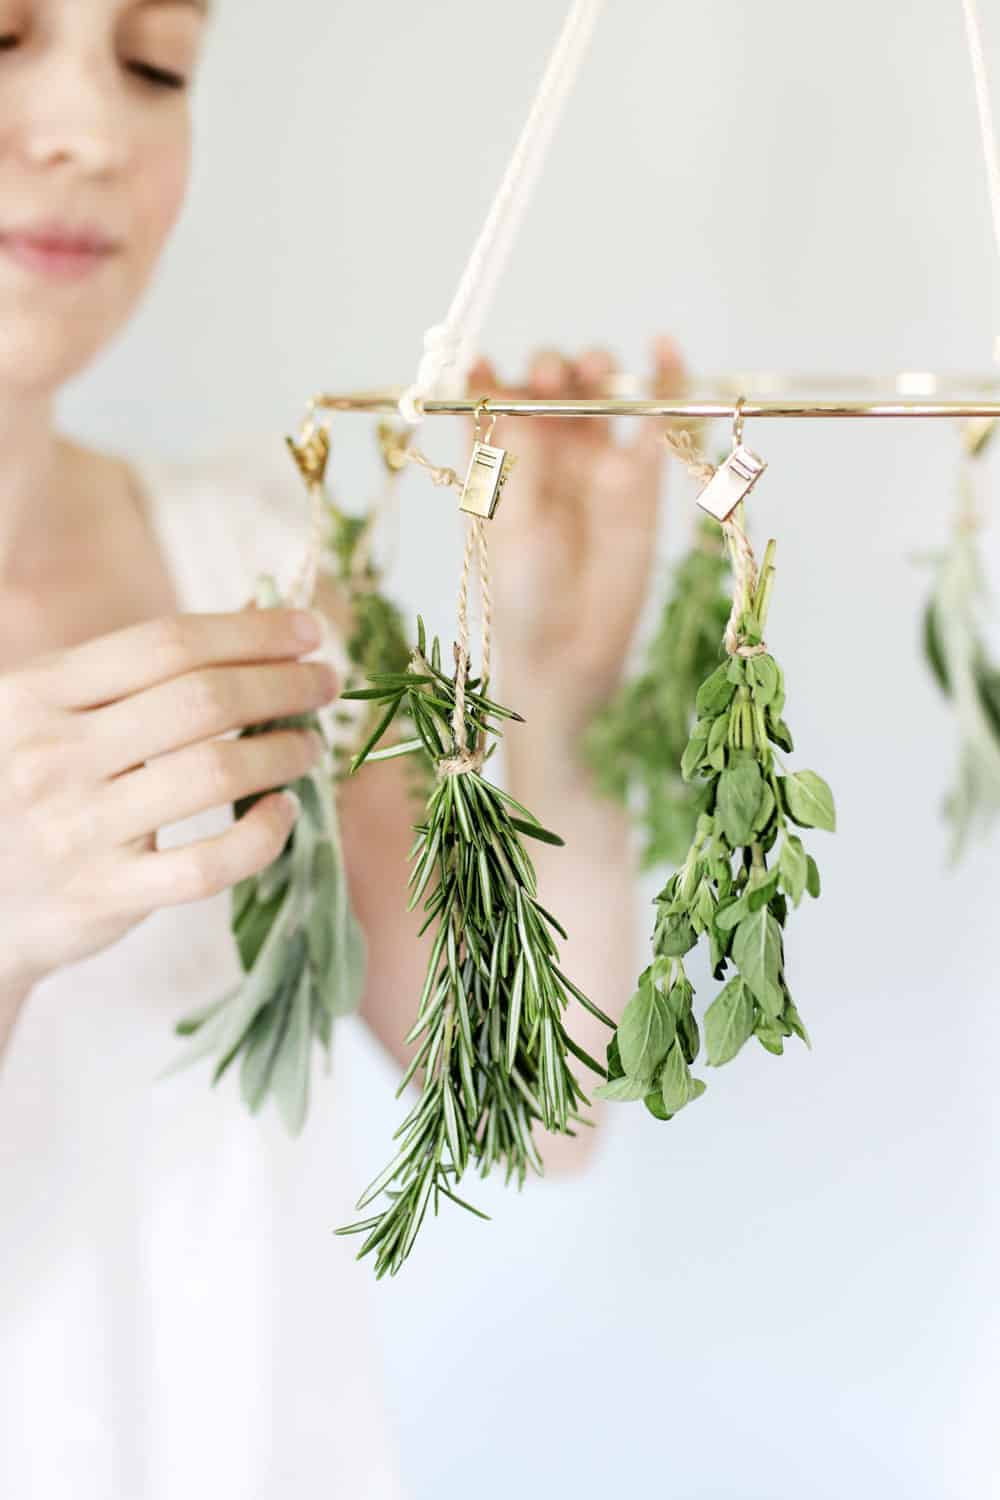
Unfortunately it’s not as easy as simply laying fresh herbs out to dry. To keep them from molding or turning brown, it’s best to hang ‘em upside down and let air circulate through the leaves.
Not only does it preserve the flavor but it also helps protect the essential oils so they don’t lose their medicinal benefits. Once they’ve dried out completely, you can store them for months in glass jars or add them to homemade cleaning, beauty and wellness recipes.
So go ahead and file this baby under ‘kitchen gadgets you didn’t know you needed – but totally do’. And feel free to thank me later.
How to Make an Herb Drying Rack
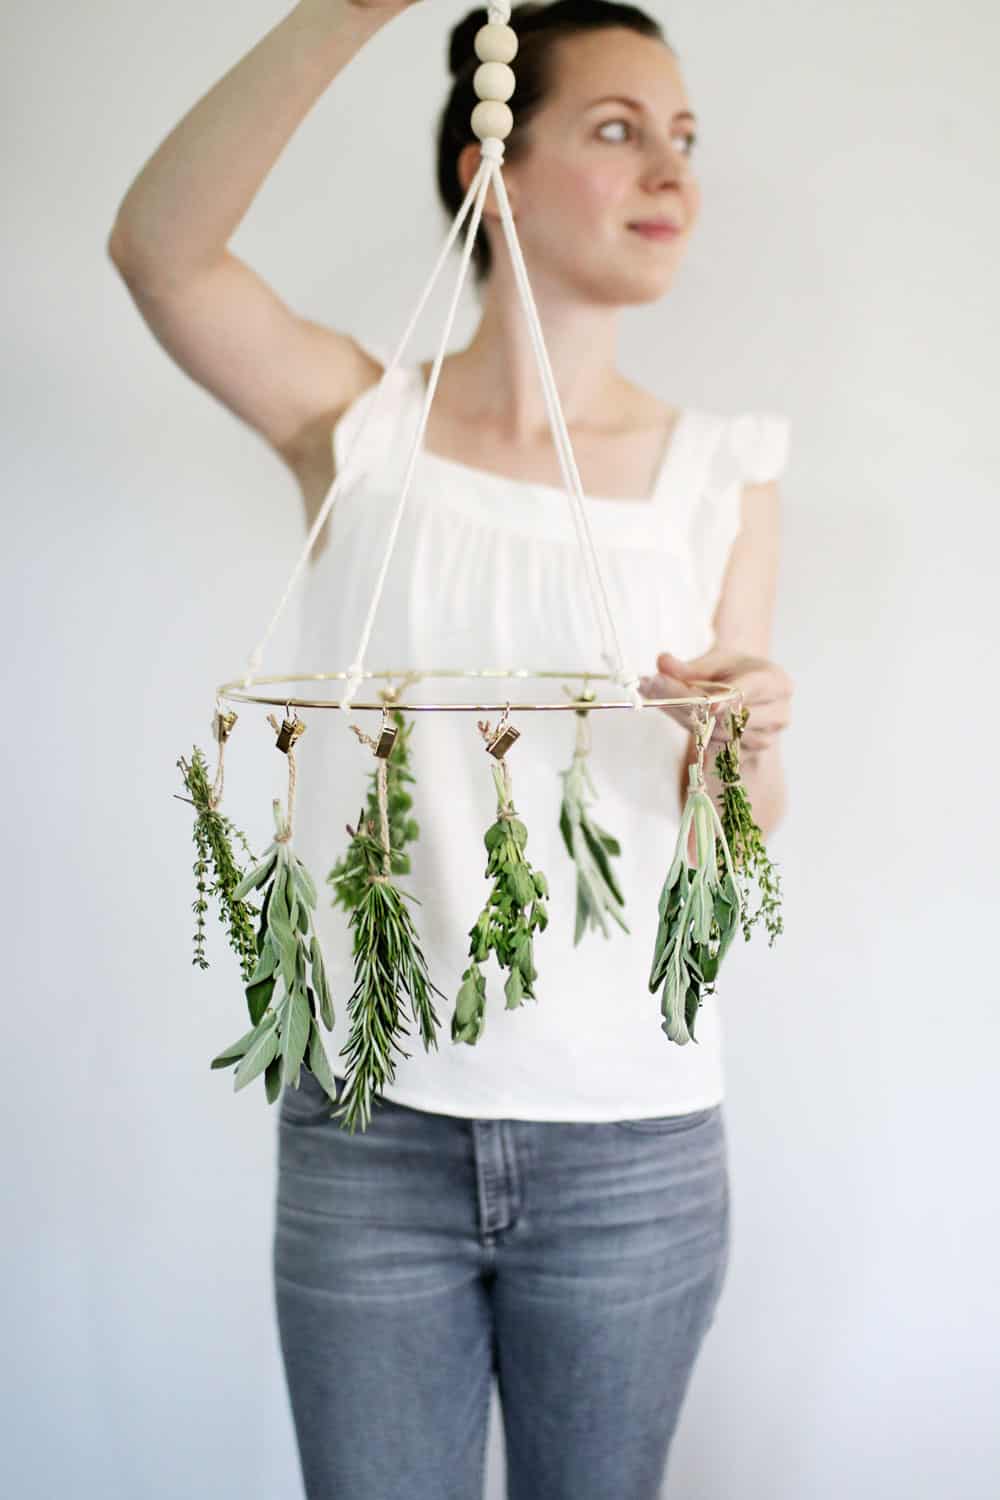
The purpose of an herb drying rack is simply to allow air to circulate around herbs so they can dry slowly and evenly. They’re perfect for stringing up all sorts of low-moisture herbs, like dill, marjoram, rosemary, thyme and oregano.
Because these hearty, woody herbs aren’t likely to wilt or mold, you don’t have to worry about them going bad while they dry. That being said, I have also dried herbs like basil and sage in my drying rack without any issues.
Don’t be afraid to experiment with different herbs and see what happens. If you notice any brown spots or mold, just toss them out and stick to herbs that dry well in your environment.
I’ve seen drying racks made from wooden embroidery hoops and clothespins, coat hangers, even old windows and wire mesh. They serve the same function but can look very, very different.
Since I plan to keep mine hanging in the kitchen most of the year, I didn’t want it to look too hokey. I also didn’t want it to break easily or be hard to clean.
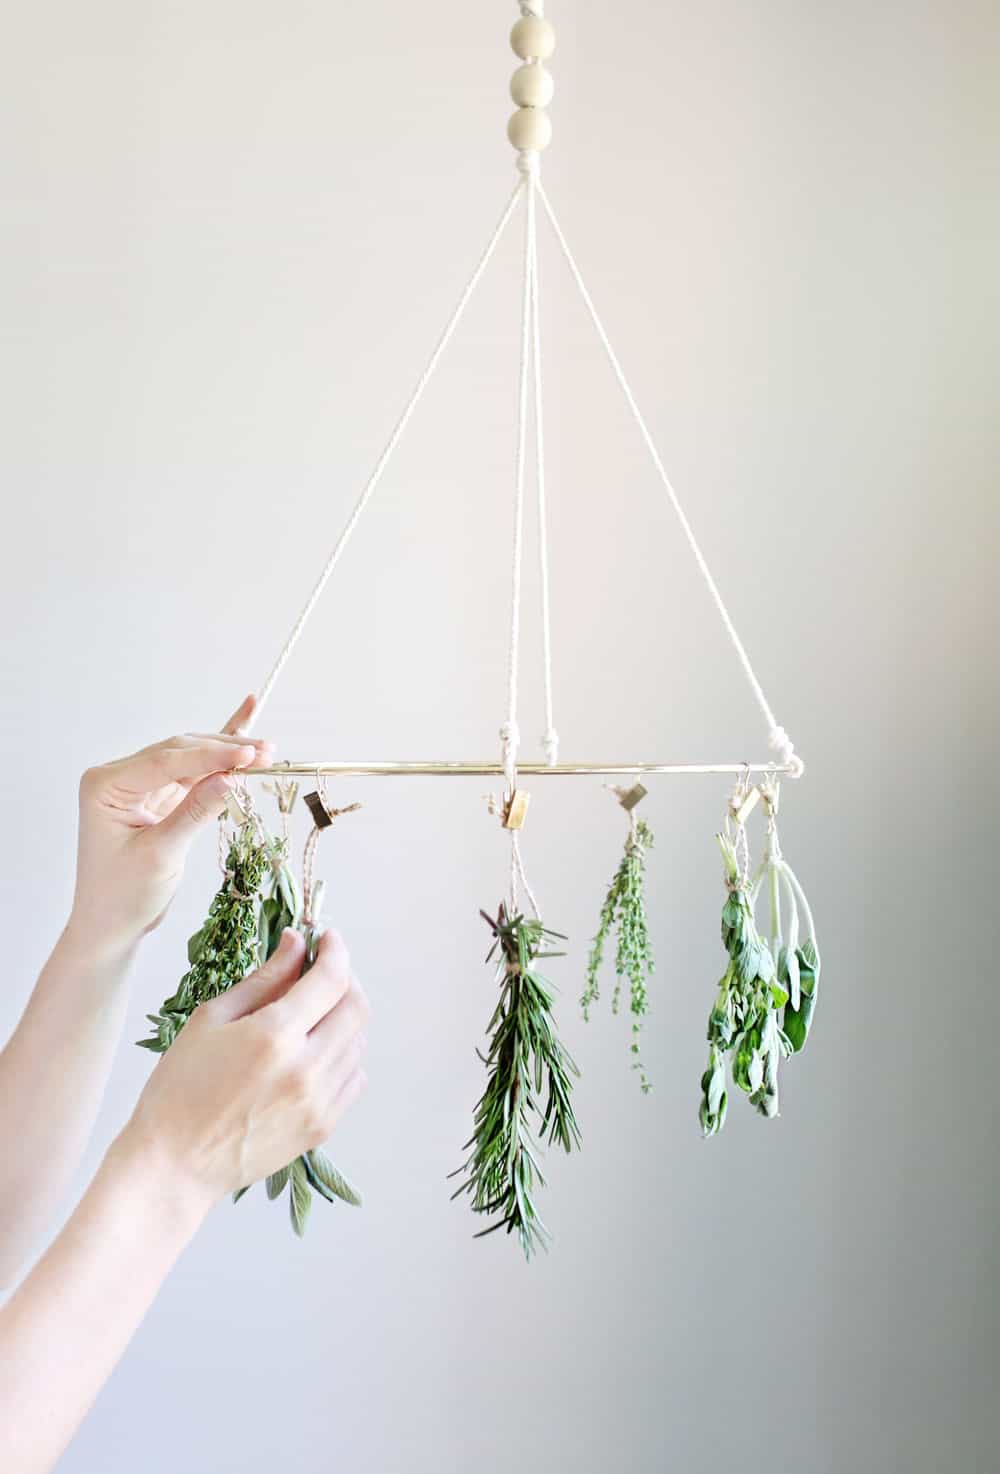
So, in the end I went with a 12-inch macramé ring, metal curtain clips and macramé cord to give it a clean, modern look. And with just a handful of supplies, putting the whole thing together takes less than half an hour.
Supplies
- 12-inch gold macramé hoop
- 8 gold curtain ring clips
- 3 millimeter macramé cord
- 3 large wooden beads
- Pliers
- Scissors
Instructions
Step 1: Use a pair of pliers to separate the curtain clips from the rings. I used eight clips for my drying rack but you can use as many clips as you would like.
Step 2: Attach your clips to your macramé hoop and use the pliers to secure them.
Step 3: Lay the hoop on a table. Separate the clips into groups of two with plenty of space in between each group.
Step 4: Cut your macramé cord into four 24-inch pieces. Take one end of a piece of cord and tie it to the hoop. Space the remaining three pieces of cord at equal distances around the hoop, with two clips in between each cord. Tie them to the hoop and tidy up the knot with a pair of scissors.
Step 5: Gather the loose ends of cord together. Place a knot about 12 inches away from the hoop. String your 3 beads and place another knot on top to hold them in place.
Step 6: Take two pieces of cord in one hand and two pieces in the other hand. Tie them in a knot about 3 inches above the previous knot so that you have a large loop from which to hang your drying rack. Trim any excess cord above the knot.
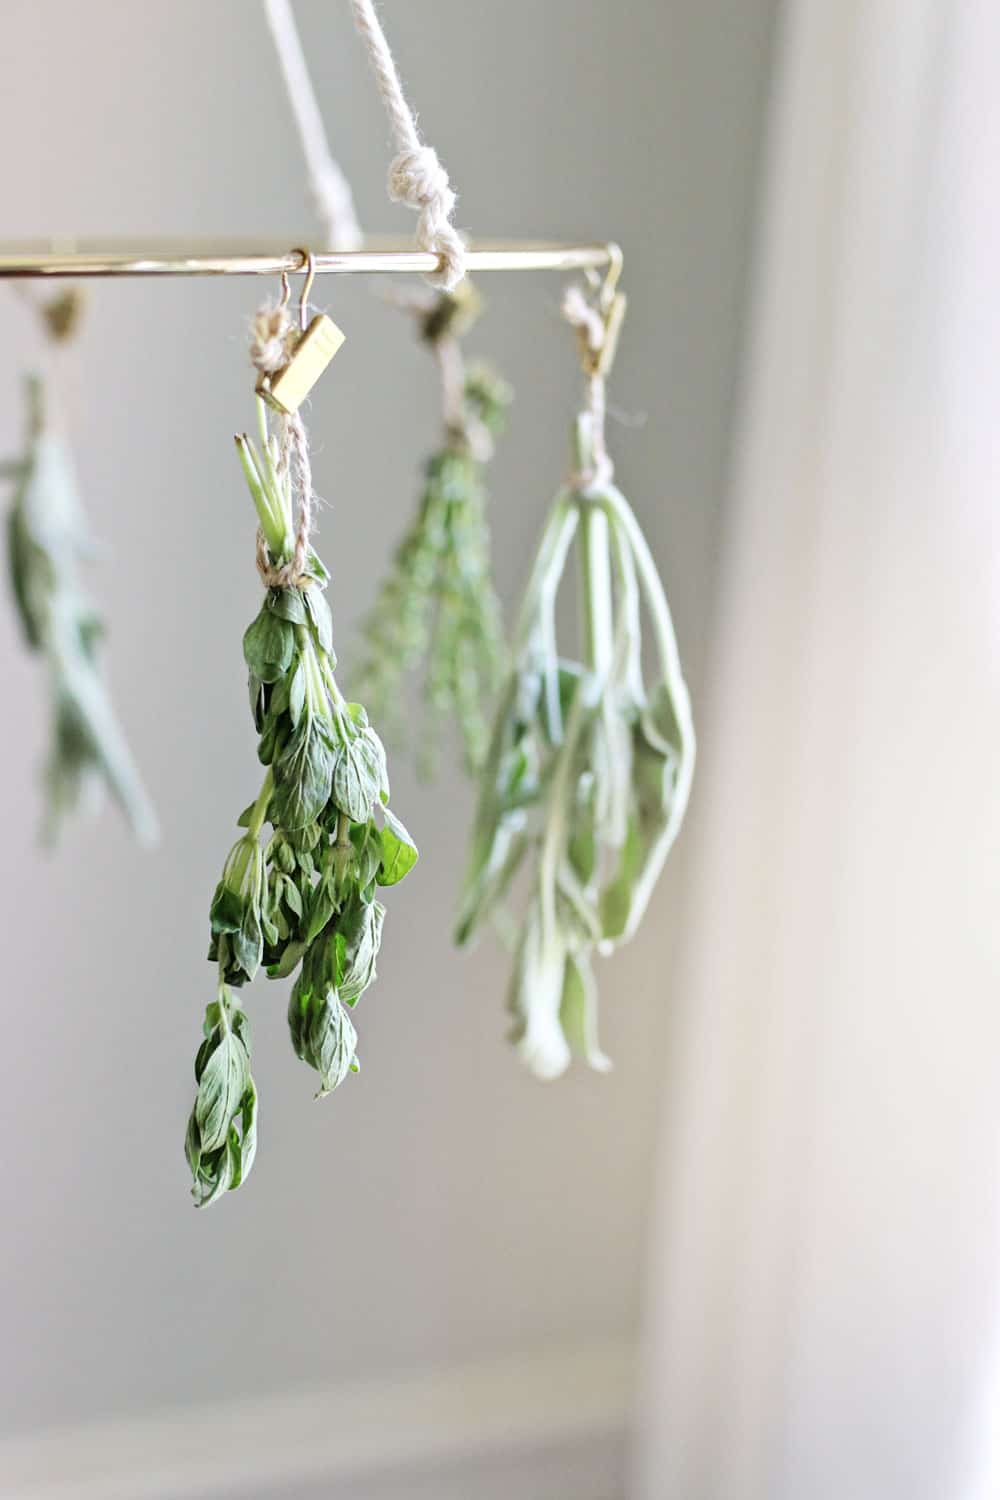
Step 7: Tie fresh herbs into a small bundle using kitchen twine. Hang them upside down from your drying rack and place near a sunny window if you have one. Remove herbs when dried and store in glass jars.
FAQ
To prevent molding and wilting, it's best to dry herbs hanging. This allows air to circulate, so the herbs dry slowly and evenly. This method preserves the taste and medicinal properties of herbs as well.
If you can't find the supplies in our tutorial, you can improvise with a wooden embroidery hoops and clothespins, coat hangers, old windows and wire mesh. You can also wrap in paper and hang with twine in a well-ventilated area.
You could use this drying rack for flowers. However, we recommend using a different method instead, you can find it here.


