You know that person who lingers just a little too long in the candle aisle at Target? That’s totally me. And while I’d love to say it’s because I just can’t decide which one to get, the truth is I’m usually poring over the ingredients labels like a nerd.
Candles are known for being pretty bad when it comes to indoor air quality. And rather than pollute my home with artificial chemicals and fragrances, I decided it was high time to look into some natural options. That’s when I stumbled onto beeswax candles.
Unlike paraffin wax, which releases carcinogens into the air, beeswax actually helps cleanse the air. And when done right, making your own beeswax candles is little more than a melt-and-pour process. Here’s how to do it the easy way.
Jump to:
Why Make Beeswax Candles
There are a couple reasons I choose beeswax for most of my homemade candles.
For starters, beeswax is a slow-burning wax with a high melting point, which means your candles melt slowly and last longer. And because the wax gets hotter than, say, soy wax, your candles emit more fragrance into the air. Since beeswax is rather expensive, I love that I get bang for my buck.
Second, beeswax is different from paraffin or vegetable-based waxes in that it emits negative ions into the air as it burns. Anecdotally, these ions are said to help collect positively charged particles like dirt, dust and chemicals and remove them from the air.
While I couldn't find any scientific studies on the matter, beeswax candles may help to improve the air quality in your home. And at the very least, they won't make it worse!
Ingredients to Make Beeswax Candles
While it’s possible to use straight beeswax for your candles, since it's a slow-burning wax with a high melting point, it has a tendency to “tunnel” as it burns. It’s not a problem, per se, but you might be left with a ring of wax around the inside of your jar that won’t burn.
By mixing beeswax with a soft oil, like coconut oil, you essentially lower the melting point so the wax gets hot all the way through. Not only that, but beeswax can pricey compared to other waxes. To cut the cost without cutting the quality, adding a softer oil will help stretch the beeswax even further. I typically choose coconut because it’s inexpensive and easy to find.
Plus, it gives your candles a fresh, nutty scent that pairs well with everything from lavender to rosemary.
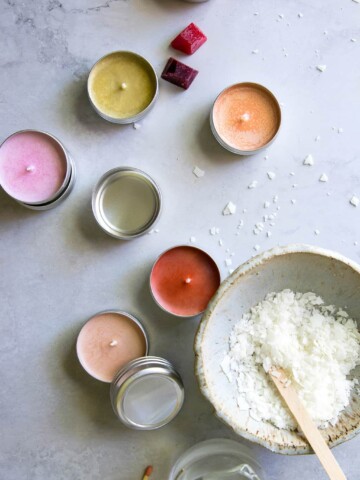
The beeswax itself has a soft, honey-like scent, so you don't need to add essential oils if you don't want to. But I like to add oils that complement the beeswax scent, like sweet orange, lavender or rosemary. Rather than buying new oils, you can use any oils you already have on hand.
Top tip:
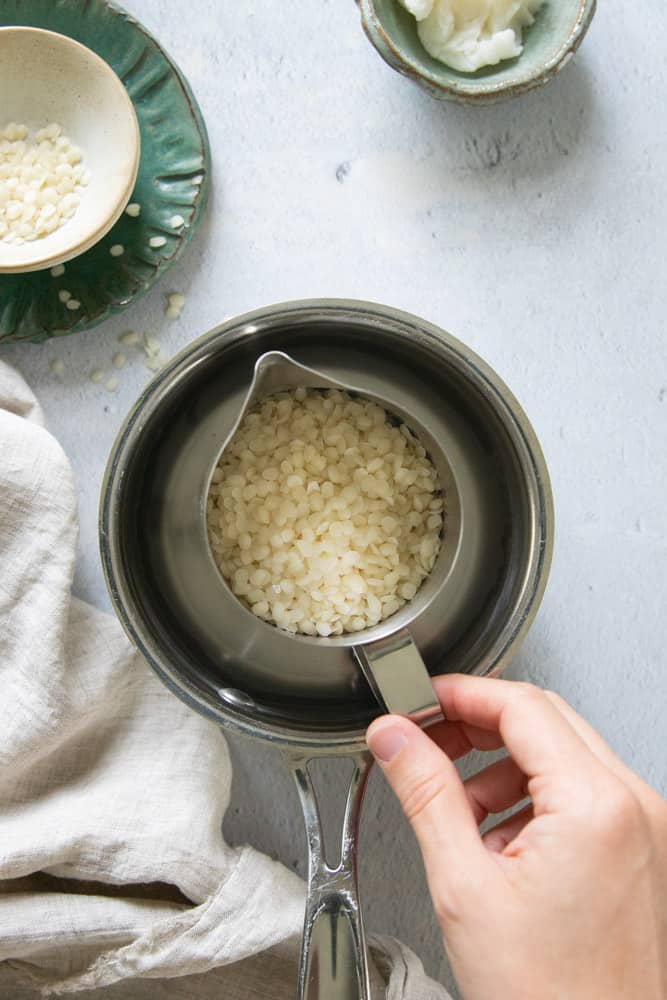
When buying your beeswax, I would recommend choosing the beeswax granules or small 1-ounce blocks as opposed to the large blocks (I learned this the hard way!).
The large blocks can be a little less expensive, but unless you soften it in the microwave (a messy process) or have incredibly strong wrists, it’s nearly impossible to chop! At one point I thought my knife was about to snap in half when I tried cutting it into pieces, so don’t be like me. Save time—and knives—and buy the granules.
How to Make Beeswax Candles
If you don't have a double boiler, place the wax in a clean, empty aluminum can. Then place the can inside a slightly larger saucepan.
Pour 1-2 inches of water into the saucepan and place the whole thing on the stove over low heat.
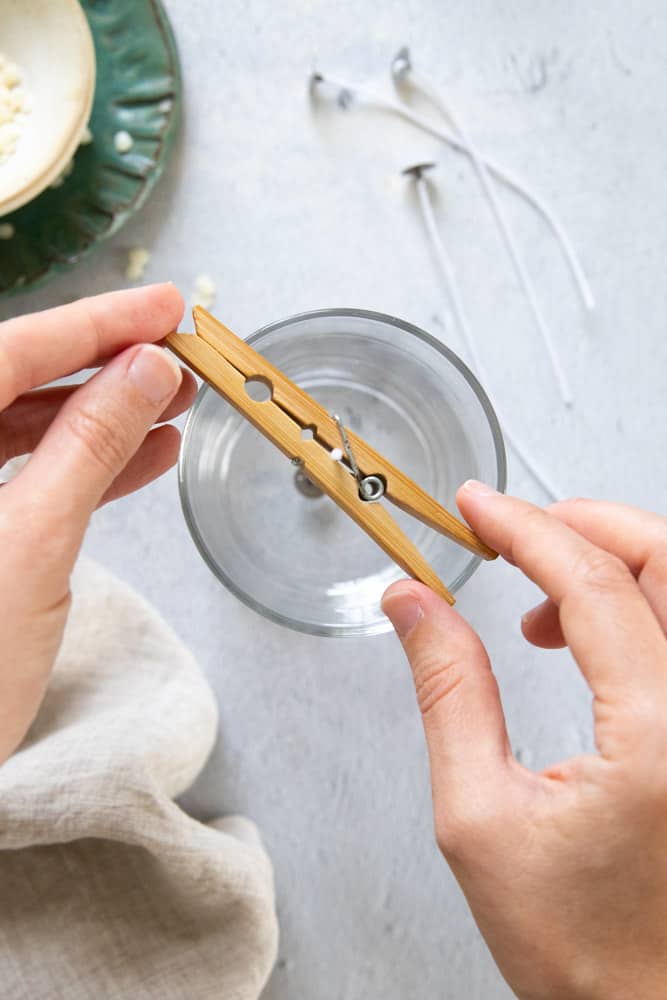
To keep the wick from shifting as the wax cools, I like create a small hole in a piece of masking tape and feed the wick through it. I then center the wick in the candle container and press the ends of the tape to the sides of the container. You can also hold the wick in the place with the help of a large clothespin placed over the top if the container.
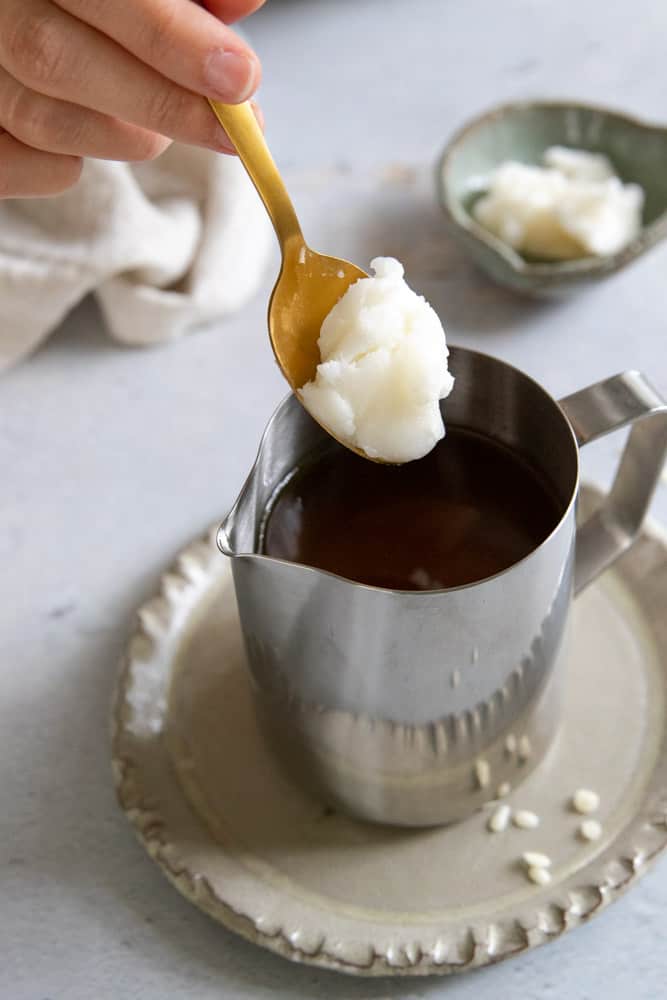
Once your beeswax has melted, turn off the heat and add your coconut oil. Finally, add about 20 drops of each of your essential oil and stir with a popsicle stick or plastic spoon.
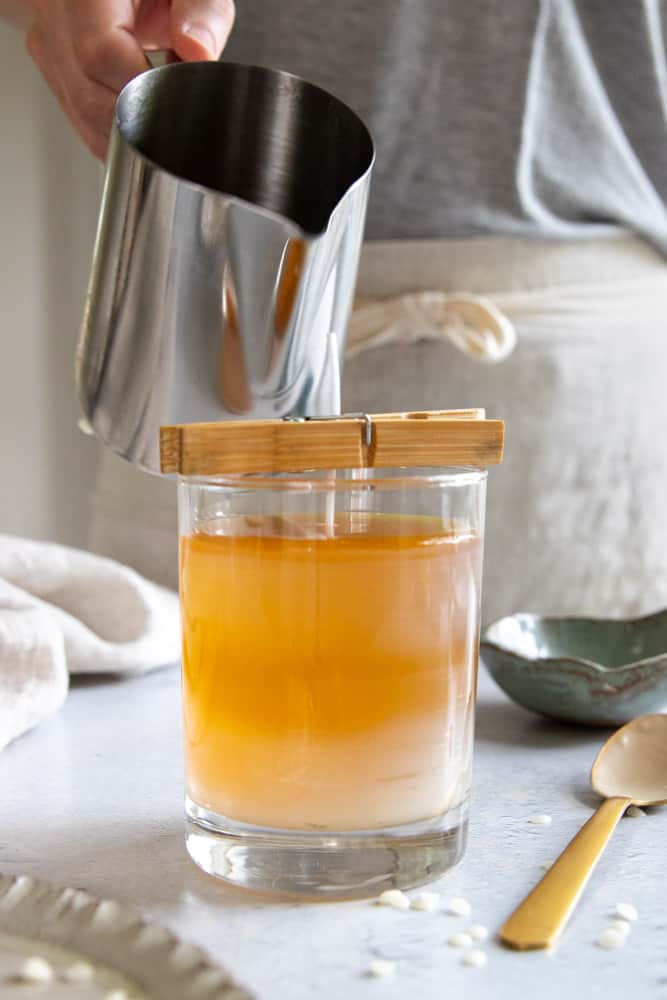
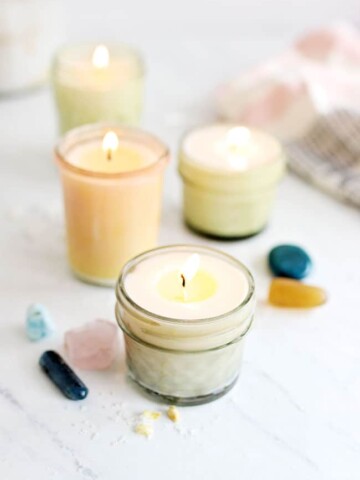
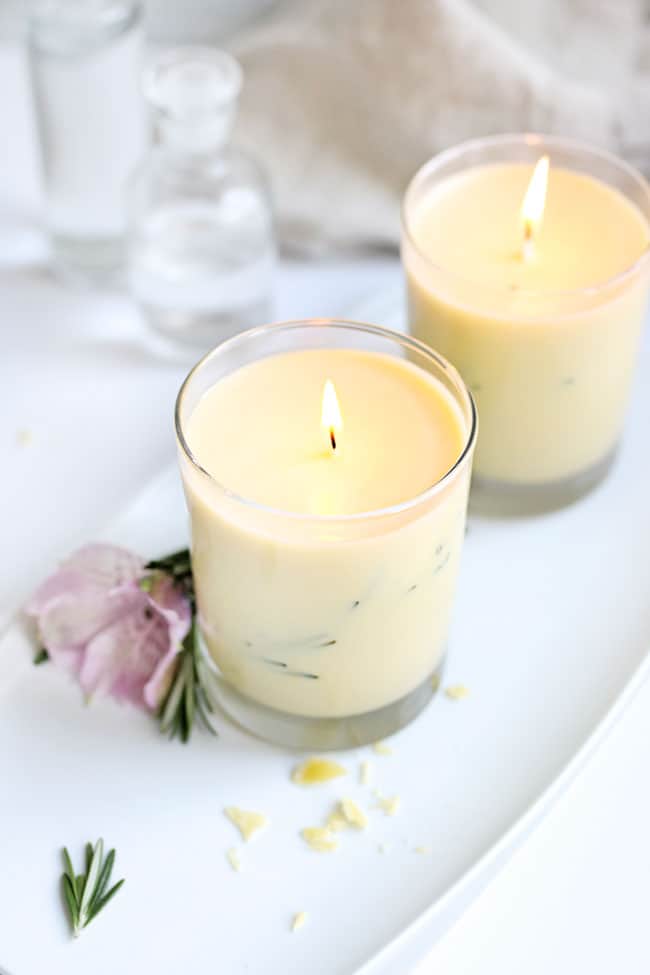
Pour it into your candle containers. I use cheap drinking glasses from Target. But you can use old wine bottles, candle tins, or even old, re-purposed containers leftover from other candles.
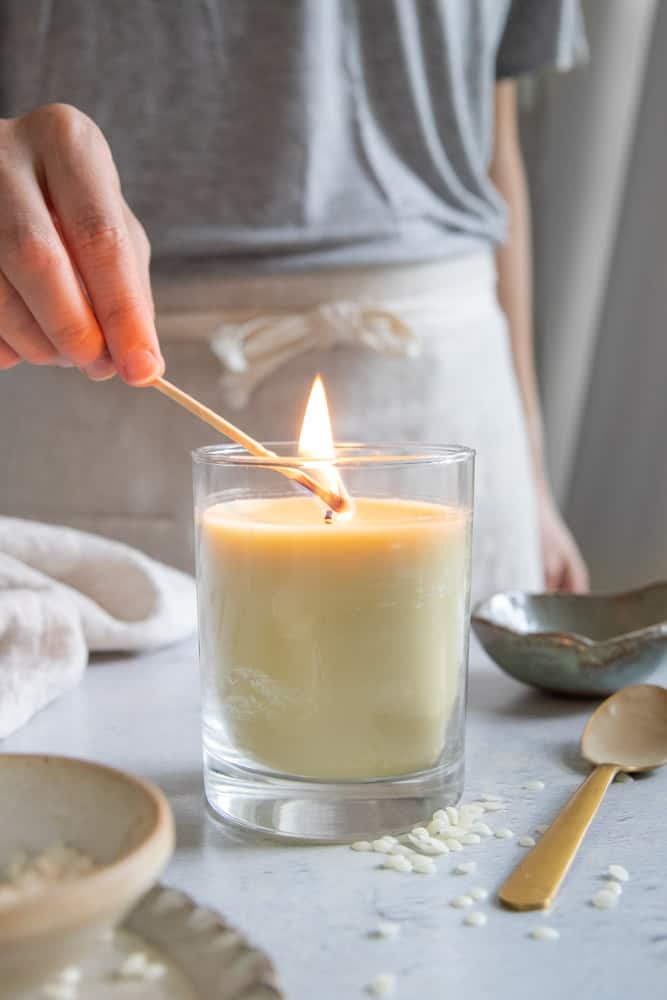
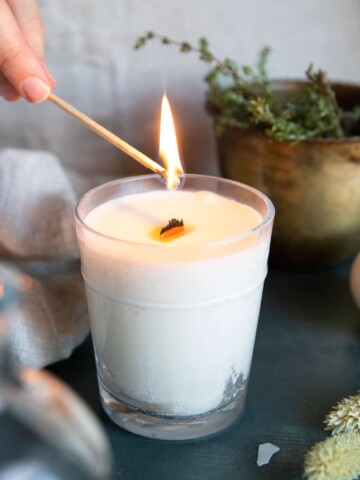
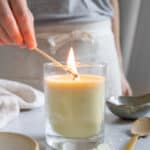
Let the candle cool overnight. When you're ready to light it, make sure to trim the wick to keep it from smoking or burning the wax.
Beeswax Candle FAQ
I love essential oils because they're all natural, but they don't make for incredibly fragrant candles. Either you can try adding more essential oil to improve the scent throw. Or you can leave out the essential oil together and use a fragrance oil made especially for candles. It's up to you.
If you mixed beeswax with coconut oil and your candles still don't want to burn, it usually has something to do with your wick size. To salvage them, I recommend placing the candles in a saucepan with a little bit of water and melting the wax over low heat.
Pour the wax in a separate container and replace the original wick a thicker one. Then pour the wax back into the candle container and letting it cool.
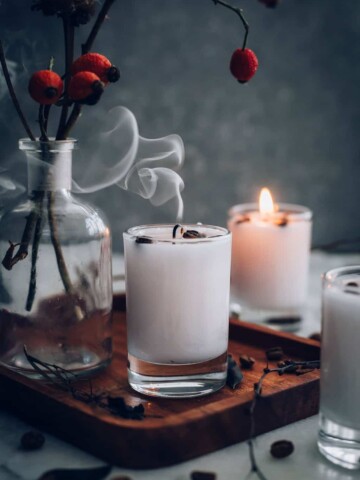
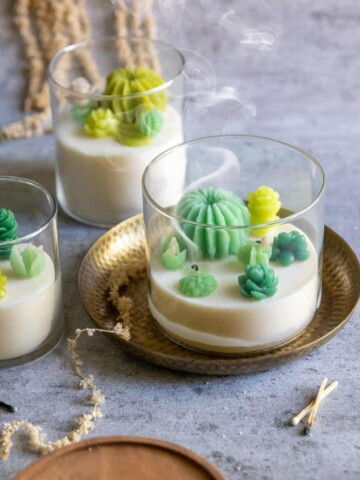
Yes, dried orange slices, cinnamon sticks or dried flowers make great additions to candles. If the flame gets too close to the herbs, they may catch on fire. But in my experience, beeswax candles don't usually melt all the way through (even with the addition of coconut oil), so any botanicals placed toward the outside of the container should be safe.
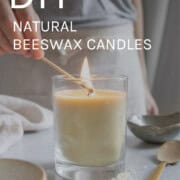
Beeswax Candles
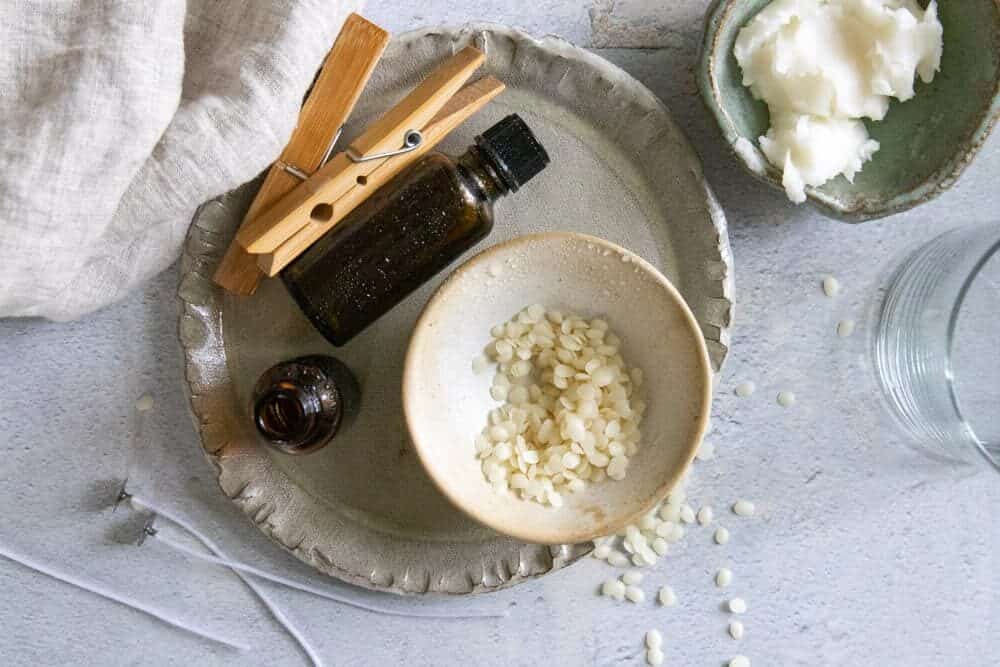
Equipment
- Cotton candle wicks
- 2 8-ounce lowball glasses (or glass jars, metal candle tins, etc.)
- Masking tape or large clothespins
- Small saucepan
- Clean aluminum can or metal wax pitcher
Materials
- 1 pound beeswax yellow or white
- ½ cup coconut oil
- Essential oils like orange lavender and thyme
- Fresh or dried herbs optional
Instructions
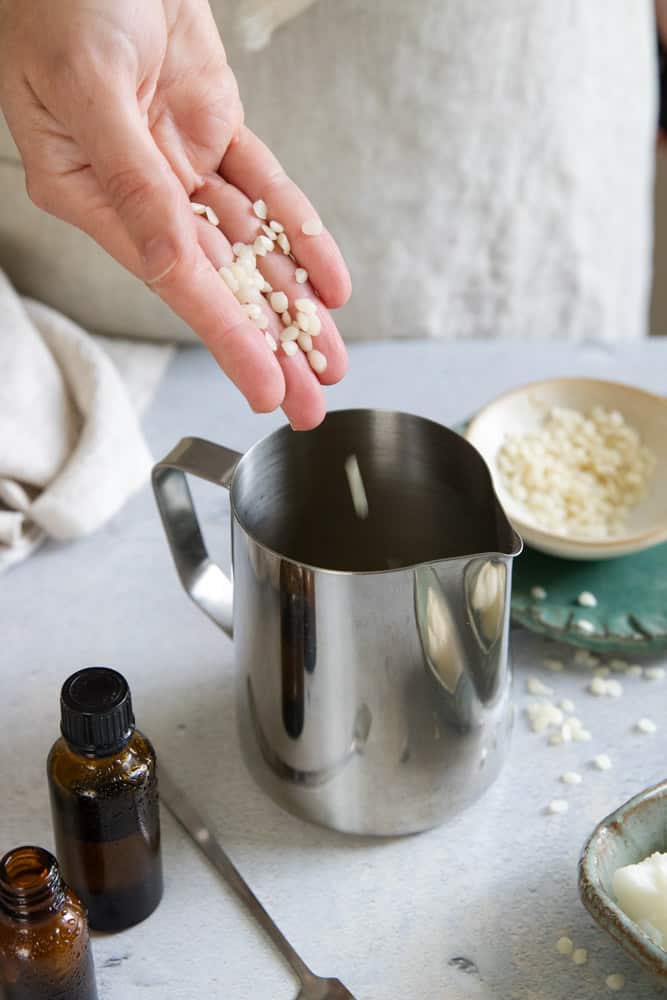
- Place beeswax in a wax pitcher or aluminum can.
- Fill a small sauce pan with 2 inches of water and place your wax pitcher in the center. Turn the burner to medium-low and keep a close eye on your beeswax while it melts.
- While you're waiting for the wax to melt, set up your wicks. Secure the wick between a large clothespin and set the clothespin on top of the lowball glass. You can also punch a small hole in the center of a piece of masking tape with a sharp knife. Slide the wick through the hole, center the tape over the top of one of the glass and secure it on both sides.
- Once your beeswax has melted, turn off the heat and add your coconut oil. Finally, add about 20 drops of each of your essential oil and stir with a popsicle stick or plastic spoon.
- Divide the wax between two 8-ounce glasses. If desired, wait a few minutes for the wax to set up slightly and submerge a few fresh herbs into the wax to give it a pretty, earthy look.
- Let your candles cool on the counter (to avoid cracking, do not put your candles in the refrigerator) for 5 or 6 hours before trimming the wicks and lighting the candle.
Notes
View this post on Instagram
Related
Want to try more candle tutorials now that you've got some beeswax on your hands? Here are some reader favorites: