This post has been sponsored by American Greetings. All thoughts and opinions are my own.
Summer means one thing and one thing only: festivities. Once warm weather hits, it seems like my social calendar gets booked solid. And I’m not complaining. I love spending time with friends and family, especially if it involves a patio and a grill.
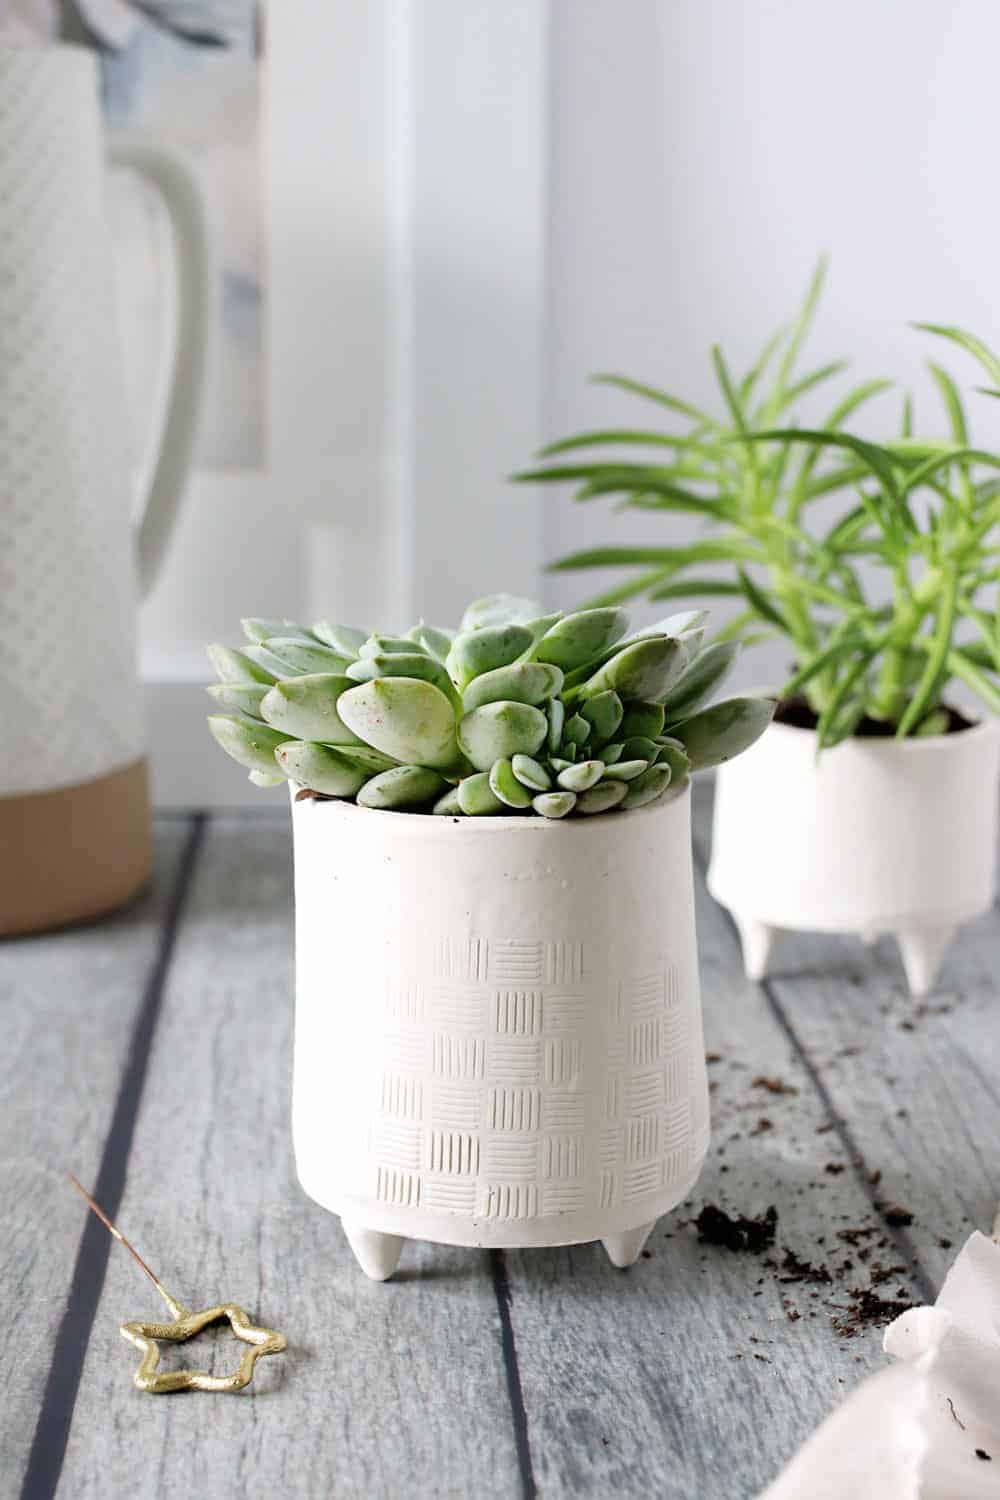
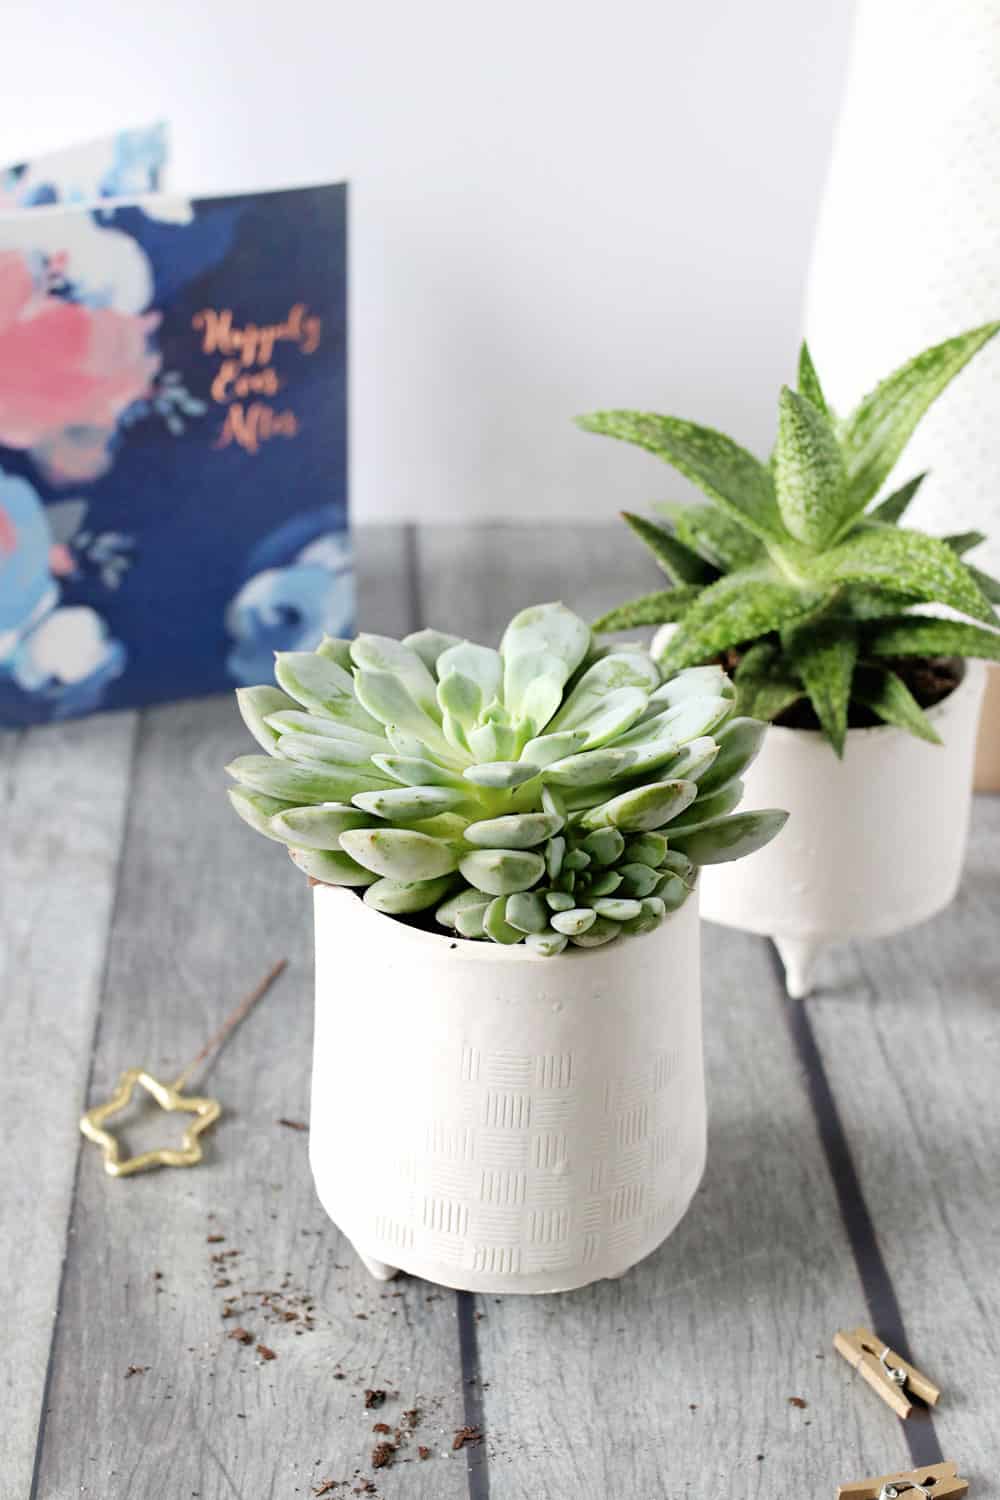
But with all the gatherings, it's sometimes hard to come up with cute gift ideas that work for several different occasions. Not only are these succulent planters simple to make, but they easily freshen up a dull space and give any room new life. Just whip up a few in different sizes and pop in succulents of various colors and shapes for a festive look.
The best part? Succulents are easy to care for, even if you have a brown thumb. That means your loved ones will spend more time enjoying them and less time stressing about them.
DIY Succulent Planters
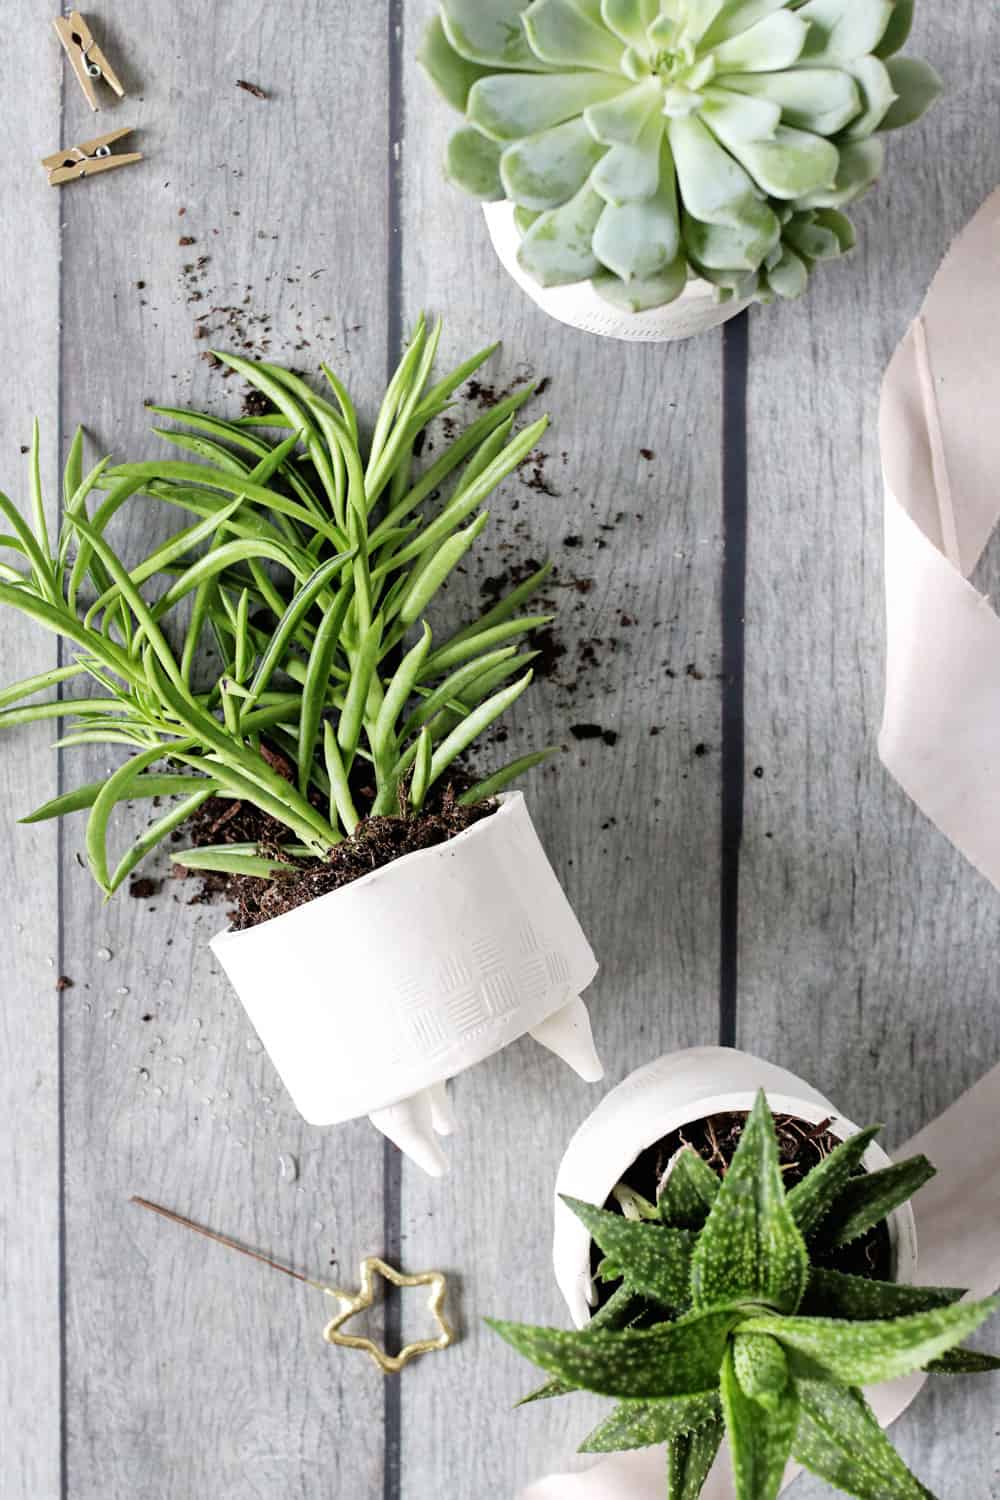
I am a self-professed plant killer. While I have been known to kiss many a plant goodbye in my day, succulents are the only ones I manage to keep around longer than a month. They’re hearty, require minimal attention and thrive on little water, making them the perfect plant.
After spotting a couple mid-century planters at an expensive boutique down the street, I knew they'd make great gifts for summertime gatherings. But rather than spending a small fortune on them, I decided to make them myself. All you really need is some polymer clay, a rolling pin, glue and, of course, some succulents. The result is a charming handmade planter your friends will love putting on display.
In case you're wondering, the little feet aren’t just for looks. They help keep moisture from collecting under the pot and water spotting furniture. Form + function, my friends.
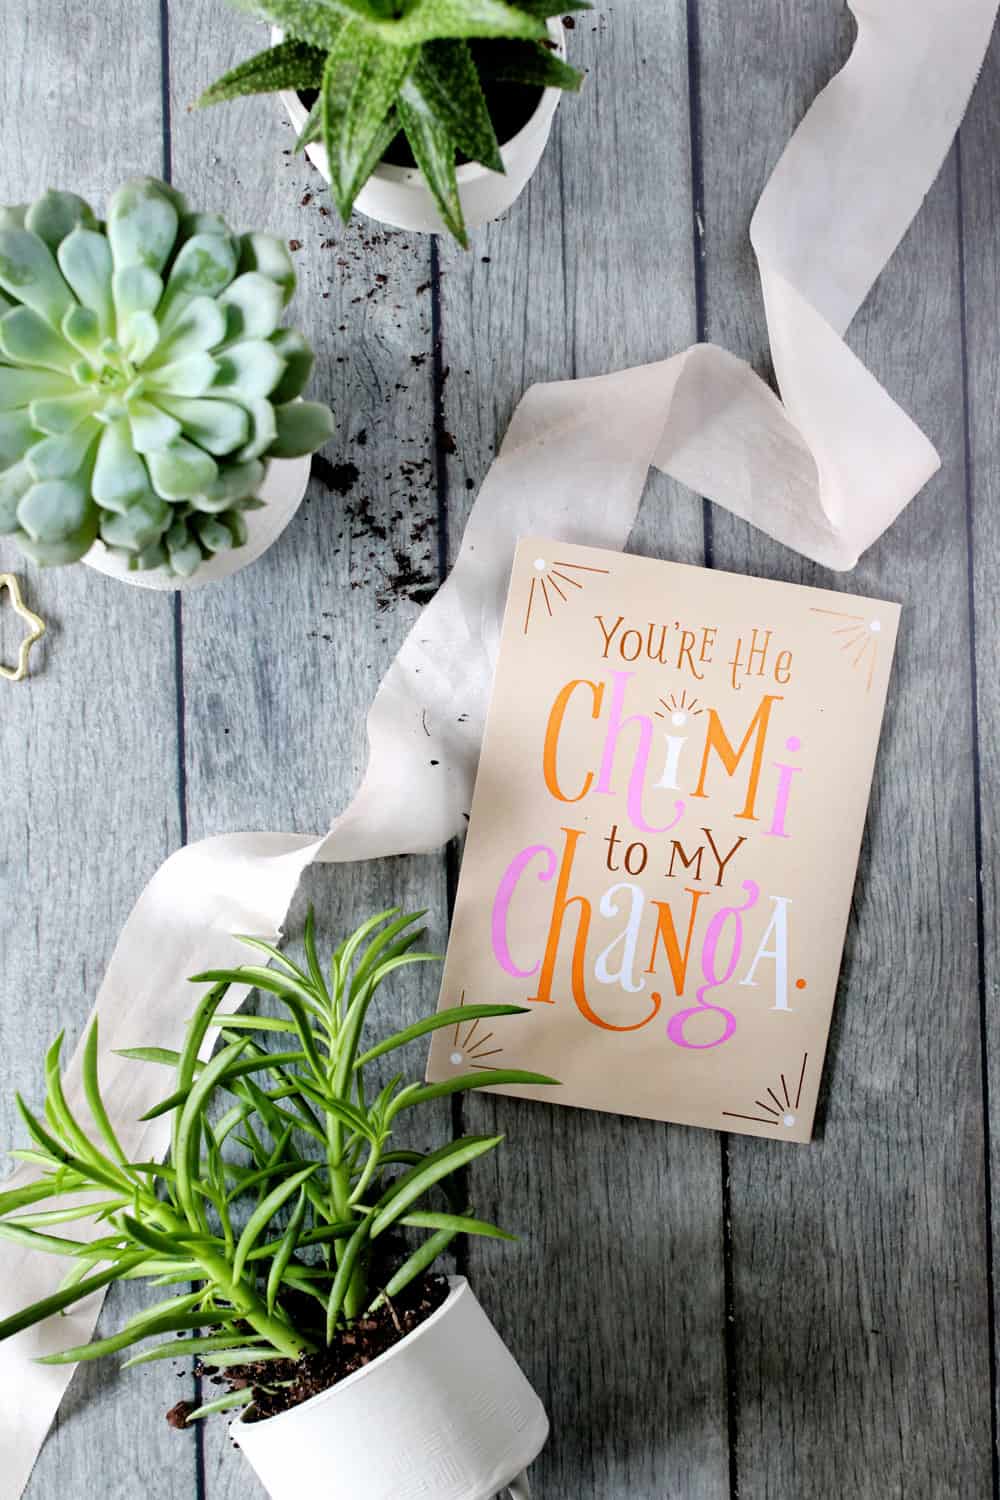
When you’re all done, don’t forget to add a note. Greeting cards add such a sweet, sentimental touch to any present. I never give a gift without one! Telling my friends how much they mean to me is another way to make homemade birthday, graduation and housewarming gifts that much more special.
Since I’m gifting pots to a few girlfriends, I stopped by Target to pick out some summer cards for a variety of different occasions. Target has the biggest selection of cards of any stores nearby. Plus I’m a huge fan of the fun, festive designs that just scream summer.
Don't they just pop next to the bright white pots?
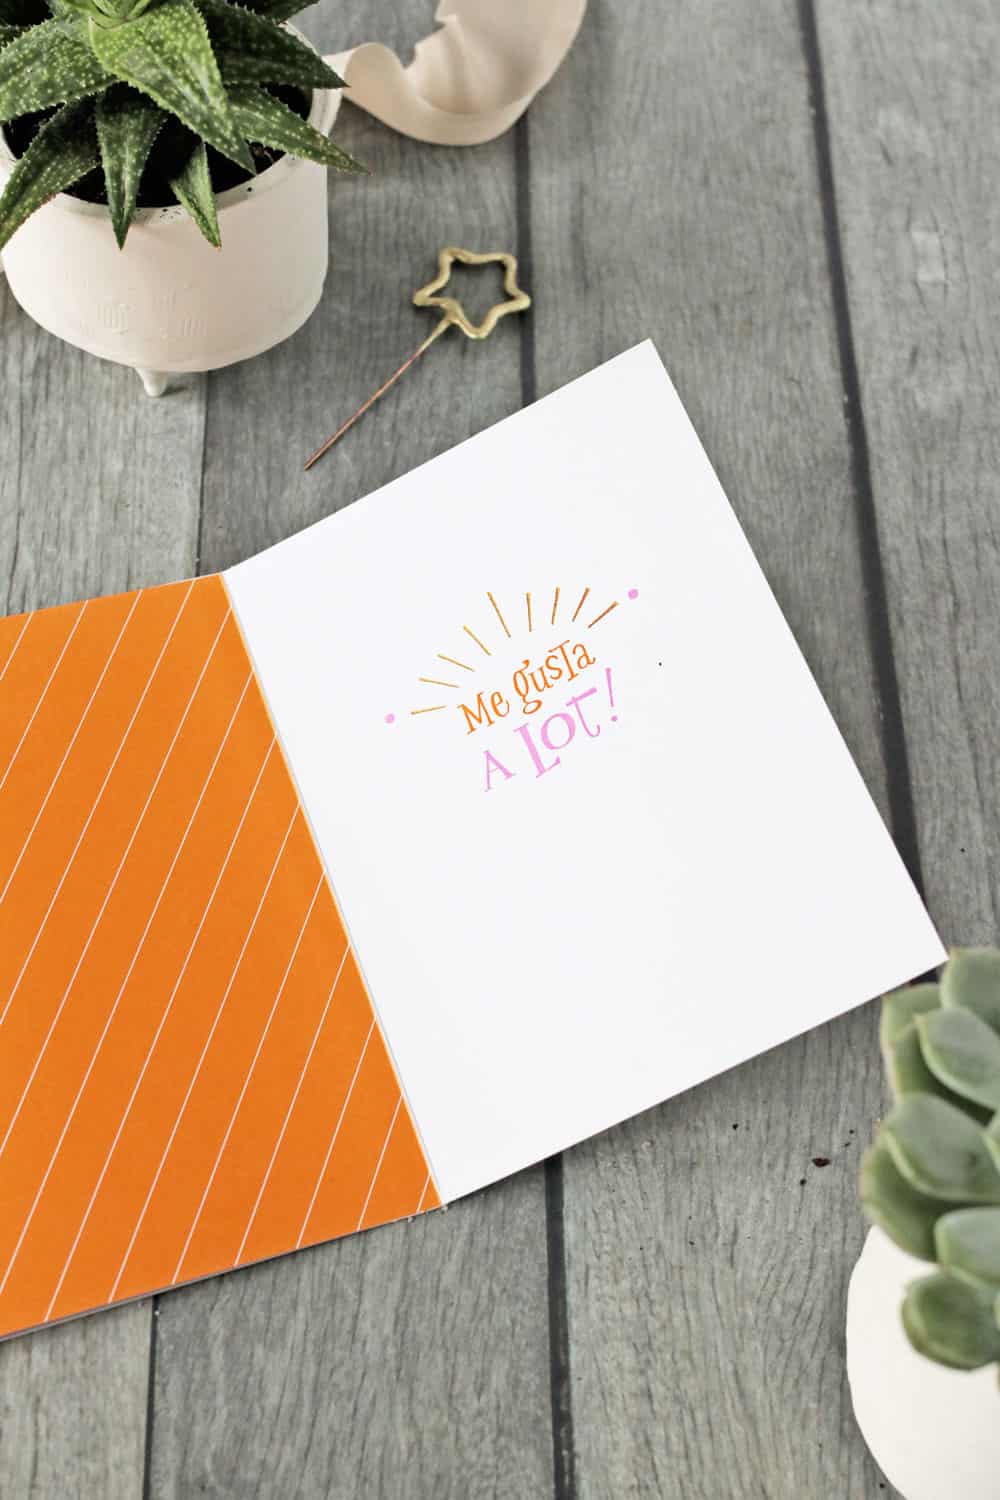
I especially love how American Greetings teamed up with several artists to design a line of unique summer cards. The artists range from illustrators to photographers, and they cover everything from weddings to graduations. After spending almost an hour in the card section, I eventually settled on a birthday card by photographer Audrey Jones and a floral wedding card by Jen Fitchwell. What can I say? I'm a sucker for rose gold foil and sentimental messages.
In my Target, the card section is front and center near the entrance, so it’s easy to grab a few cards if you’re in a hurry. But I highly recommend also swinging through the craft section to pick up acrylic paint and other supplies to decorate your pots. I chose to leave mine white, but by all means, paint them if you like. They’d be sweet painted in soft pastels or bright summery neons.
Oh, and don’t forget to include a few simple care instructions in your card. Your friends will thank you!
Supplies
- White polymer clay
- Knife
- Crazy glue
- Wax paper
- Rolling pin
- Ruler
Instructions
- Preheat the oven to 275ºF.
- Lay a piece of wax paper on a smooth, sturdy table. Use tape to secure the sides, if needed.
- Take a chunk of polymer clay about the size of a lemon and roll it between your hands until soft. Place it on the wax paper and use a rolling pin to roll it into a long oval about ½ inch thick.
- Use a ruler and a knife to trim off all four sides so you have a rectangle. My rectangle was about 3 inches wide by 7 inches long, but yours can be any size you like. This will form the sides of your planter.
- Use the rolling pin to roll another ball of clay, this time about the size of ping pong ball, into a ½ inch thick circle. This will be the bottom of your planter.
- Stand your rectangular piece of clay on edge and bring the ends around so it forms the sides of the pot. Once it's the size you like, trace it's outline into the circular piece of clay to make the bottom. Use your fingers to seal the seams.
- Make the feet by taking 3 small balls of clay and using your fingers to shape them into cones.
- Place on a baking sheet and bake for 15 minutes. Then remove from the oven and let cool completely.
- Use crazy glue to attach the feet to the planter.
- Plant 1 large succulent or 2-3 small succulents in each pot.

