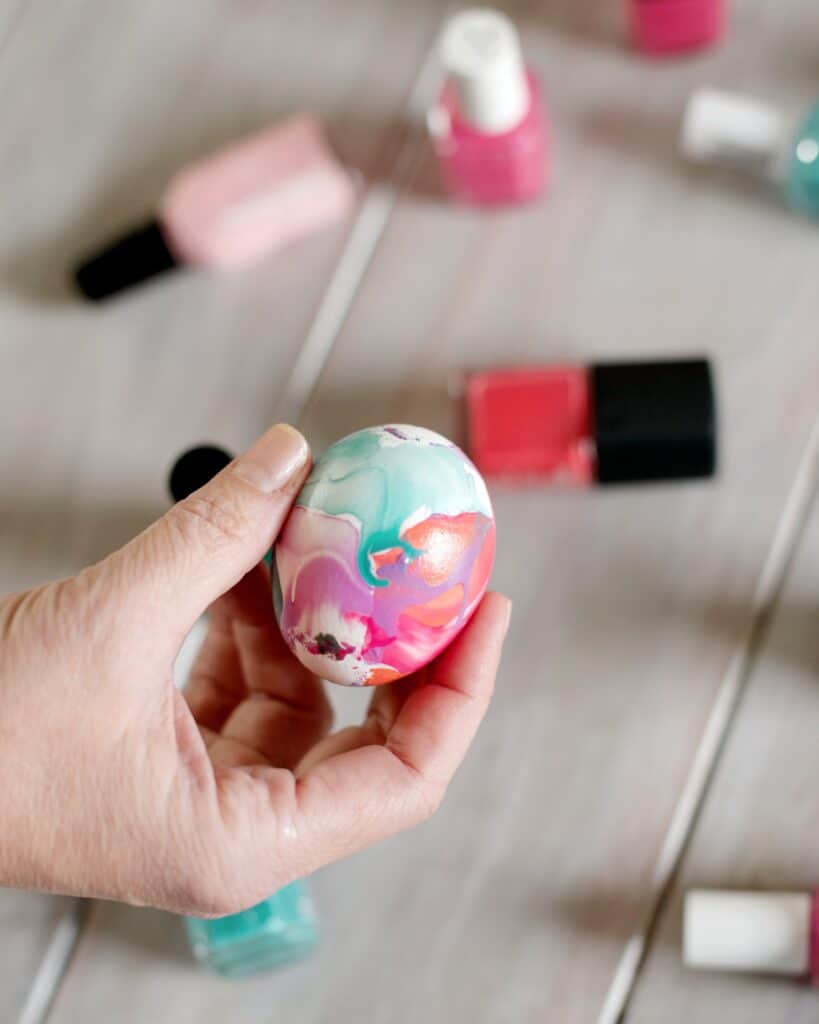
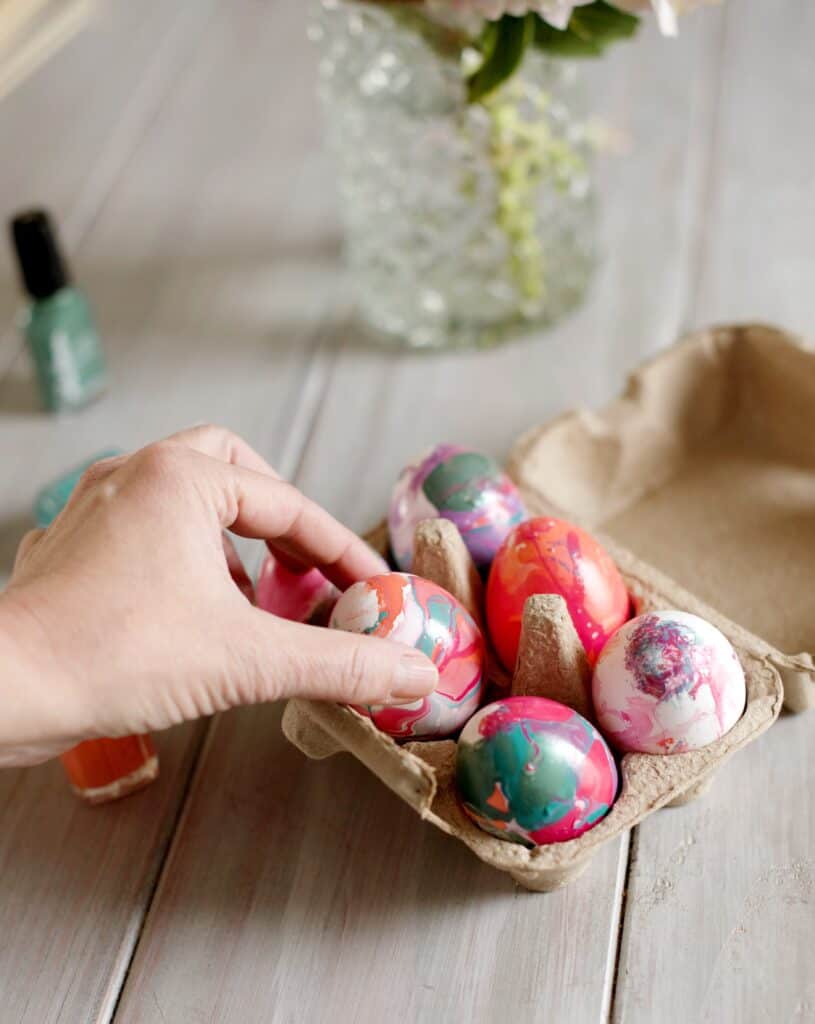
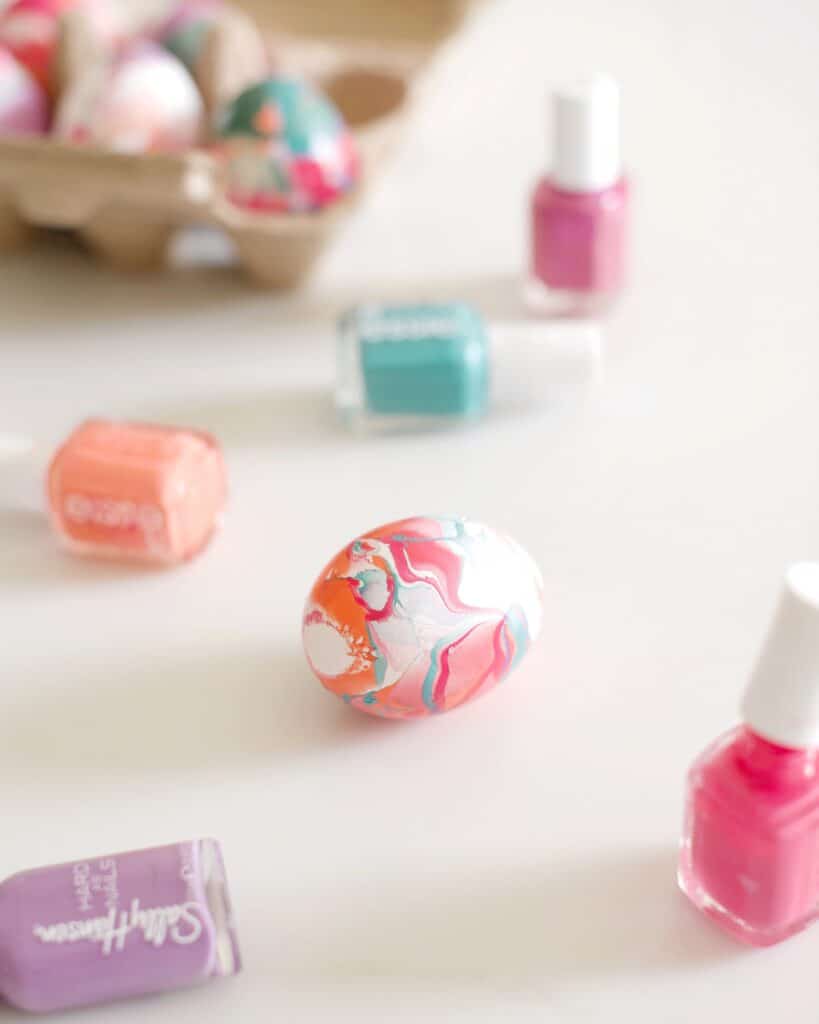
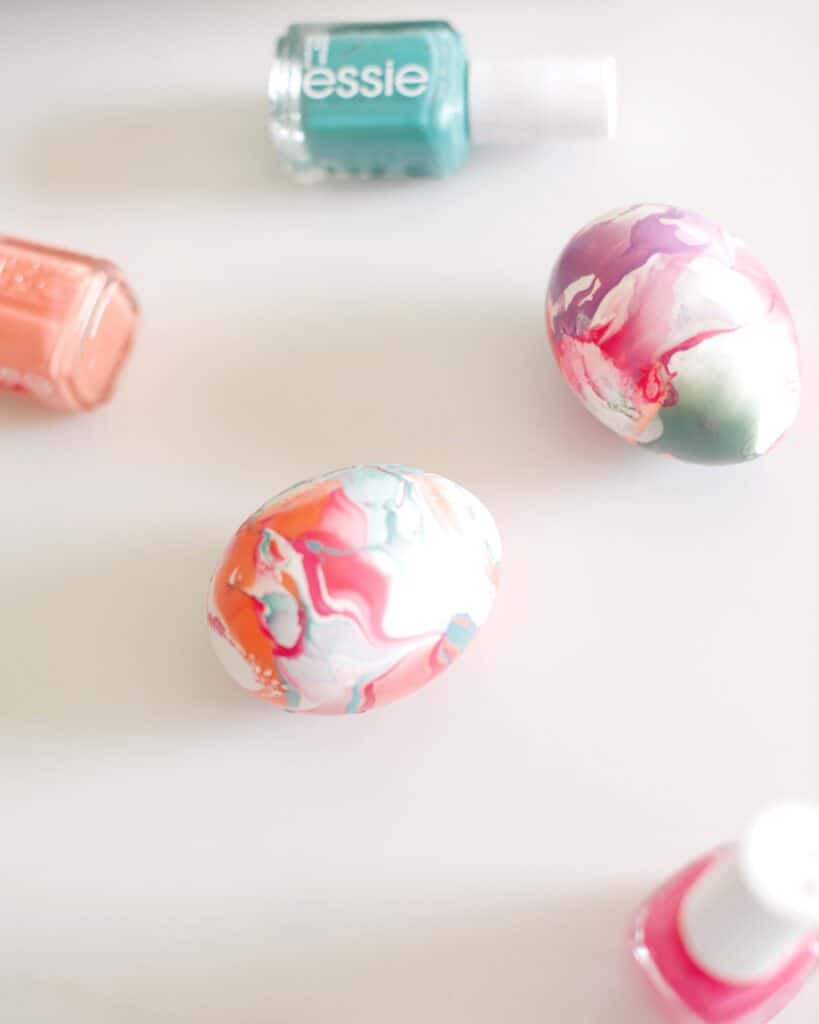
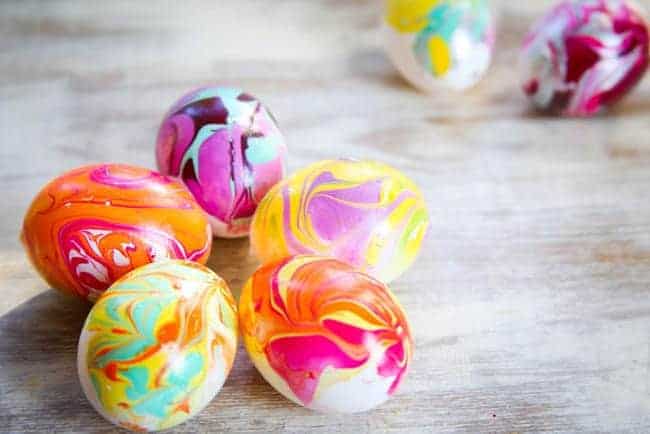
My new favorite thing is nail polish marbling. Have you tried it? I'm always looking for new Easter egg DIYs, and this decorating technique might be one of the most fun ones yet!
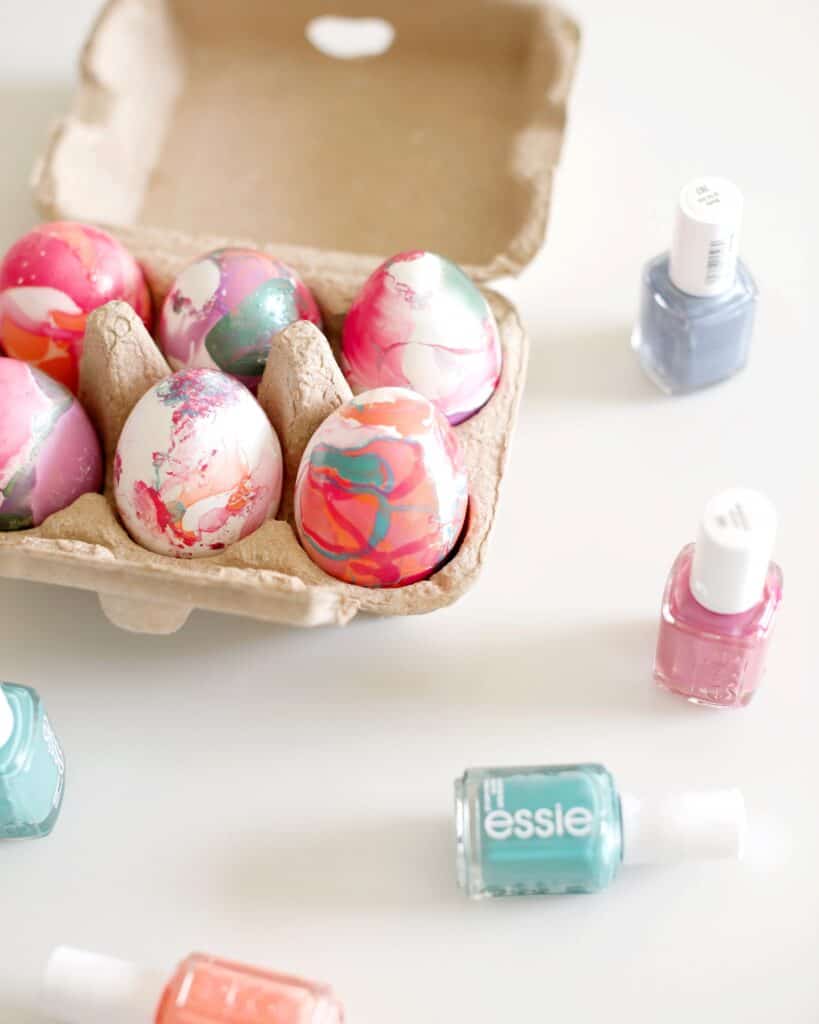
The other day I decided to try nail polish marbling on Easter eggs—and then proceeded to work my way through two dozen eggs. It makes me seriously wish I had more colors of nail polish!
And then I had to take roughly a million pictures. Because aren't they just the coolest?
How to nail polish marble eggs
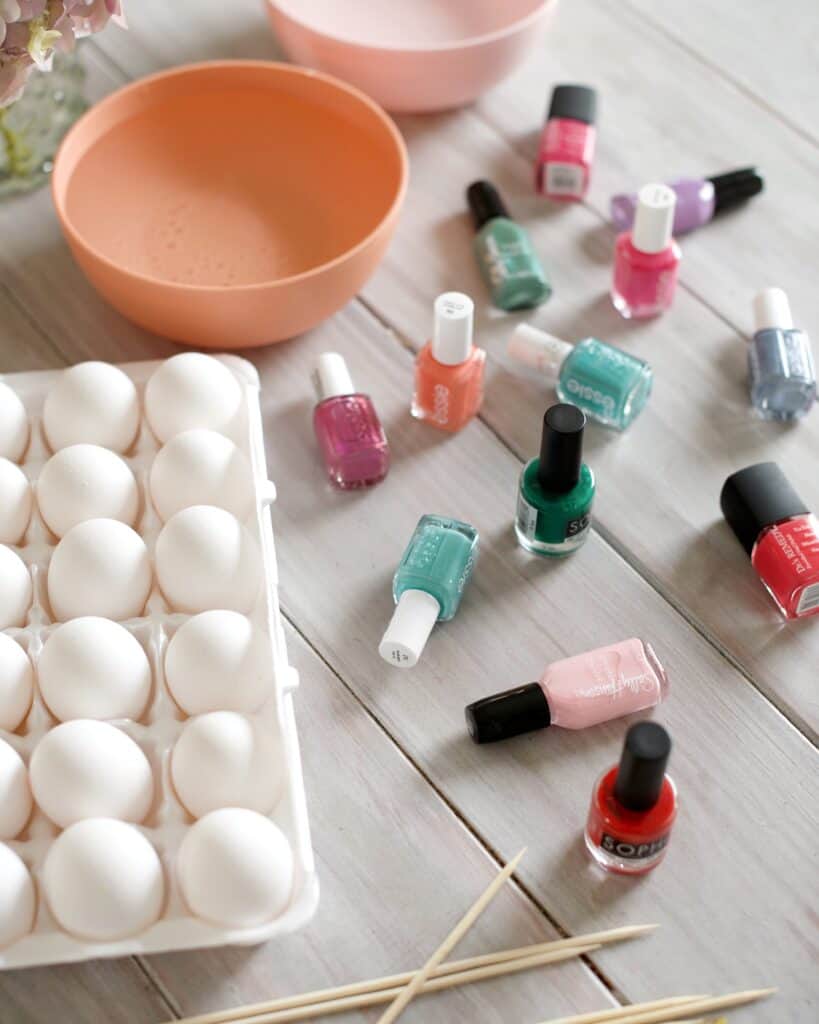
To marble some eggs with nail polish here's what you need:
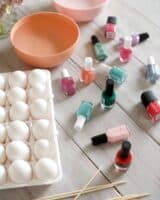
- Eggs. A lot of them. Because once you start you'll want keep dipping.
- Nail polish in all kinds of fun shades. My Essie polishes worked fine this time—I think it was because I wasn't trying to make a specific design. And polish with a bit of shimmer looked amazing!
- A plastic cup or bowl filled with room temperature water. This is very important! If the water is too cold or too hot, the polish won't work. (When I did this nail polish marbling, I learned that using a larger bowl makes dipping much easier!)
- Toothpicks or wooden skewers.
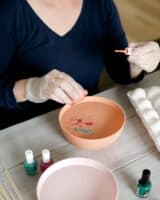
- Nail polish remover. You'll need this to get the polish off your fingers when you're done. Or you can do what I did and wear plastic gloves!
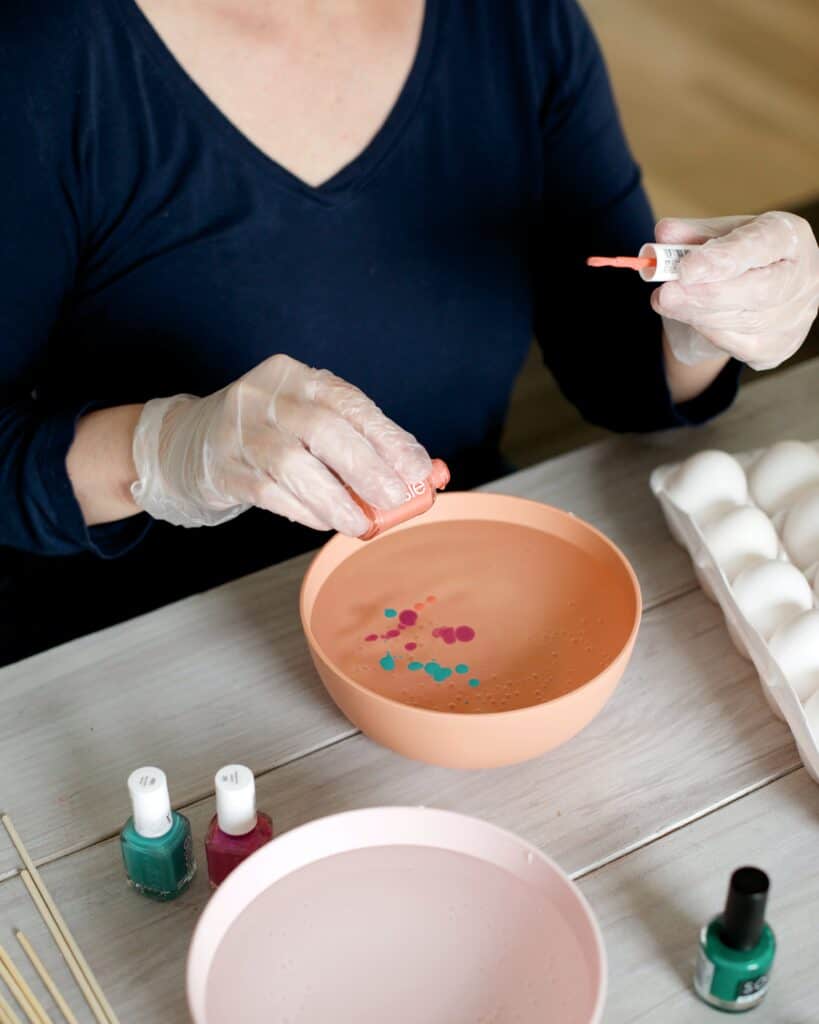
Once your water has reached room temperature, you can start the process of dropping lots of nail polish into the water. If it sinks, the temperature isn't right.
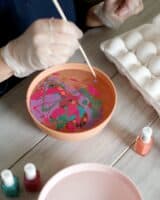
Start with just a bit of polish at first and pour slowly—you want to give the polish time to form a film along the top of the water. This helps the additional polish colors float a bit better. Once you have your first few colors added, you'll want to continue to add polish and spread it out over the top of the water.
Have fun playing with colors and mixing them up to create interesting color palettes! There are so many pretty and affordable nail polish lines in fun, modern colors that have come out this spring, and I had a good time creating color stories that I was excited to show off on Easter Sunday. (Let's just say I took my time in the nail polish aisle!)
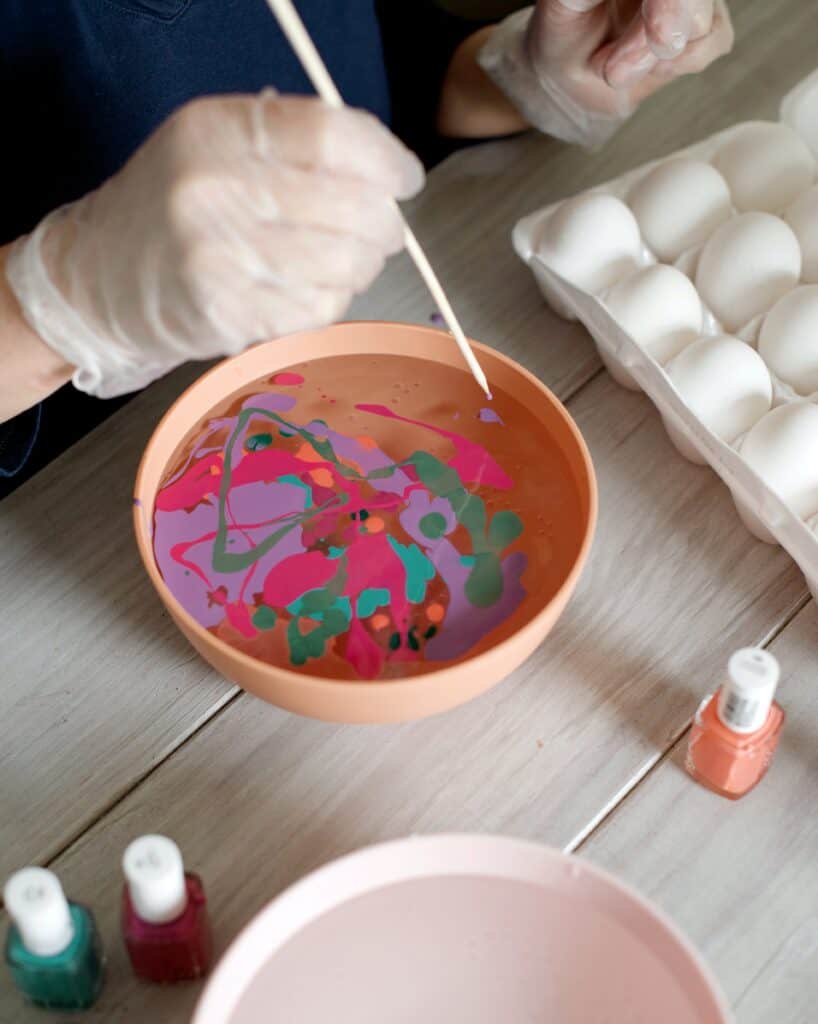
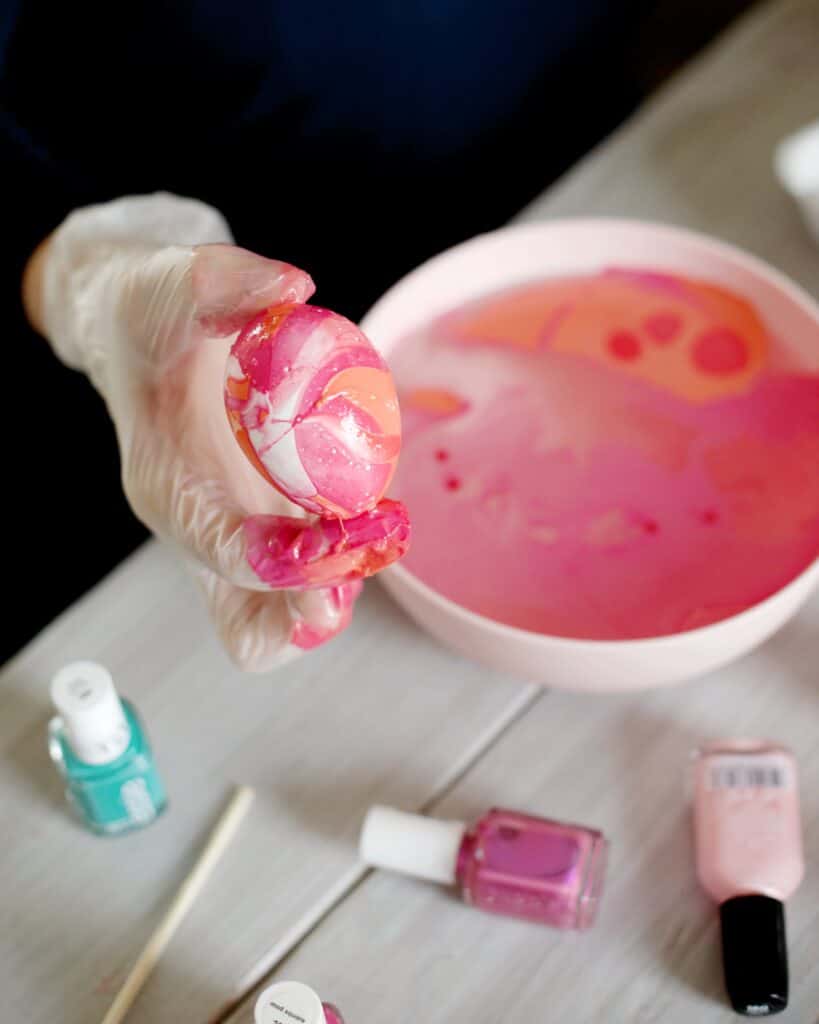
Then take some time to evaluate your work—if you'd like to create more of a swirled effect with the colors, use a toothpick or skewers to swirl the colors a bit. The nail polish I poured already had a nice swirling, marbled effect, so I didn't have to do much additional swirling.
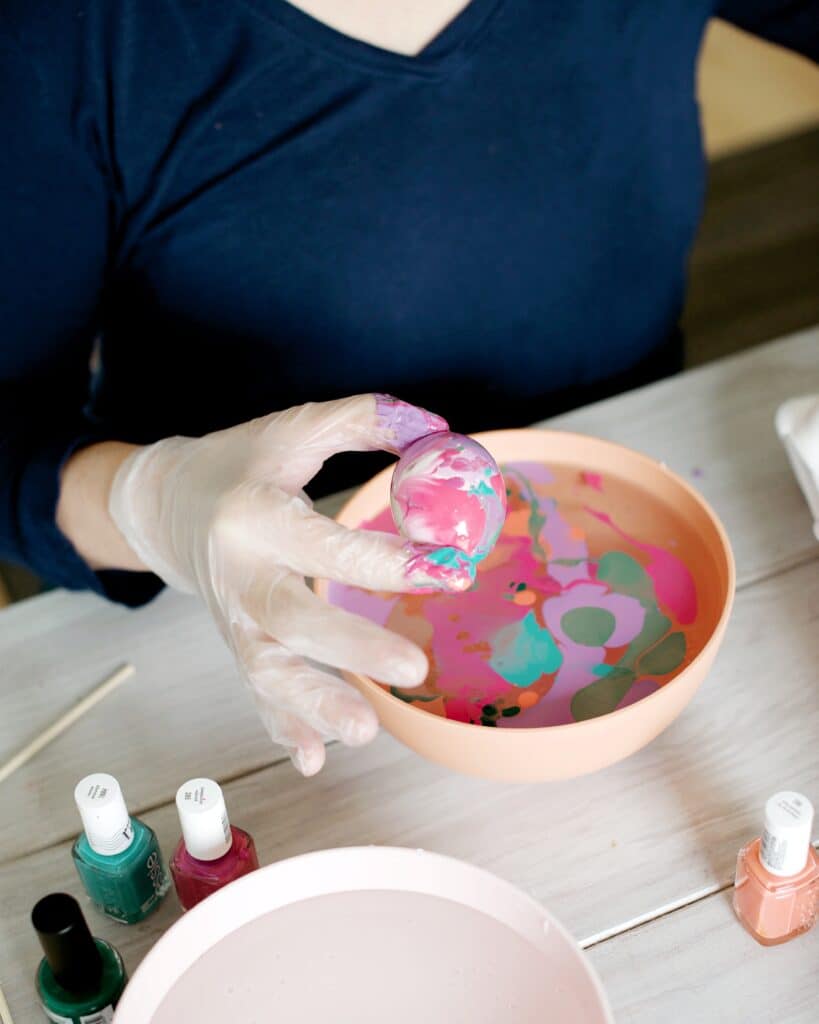
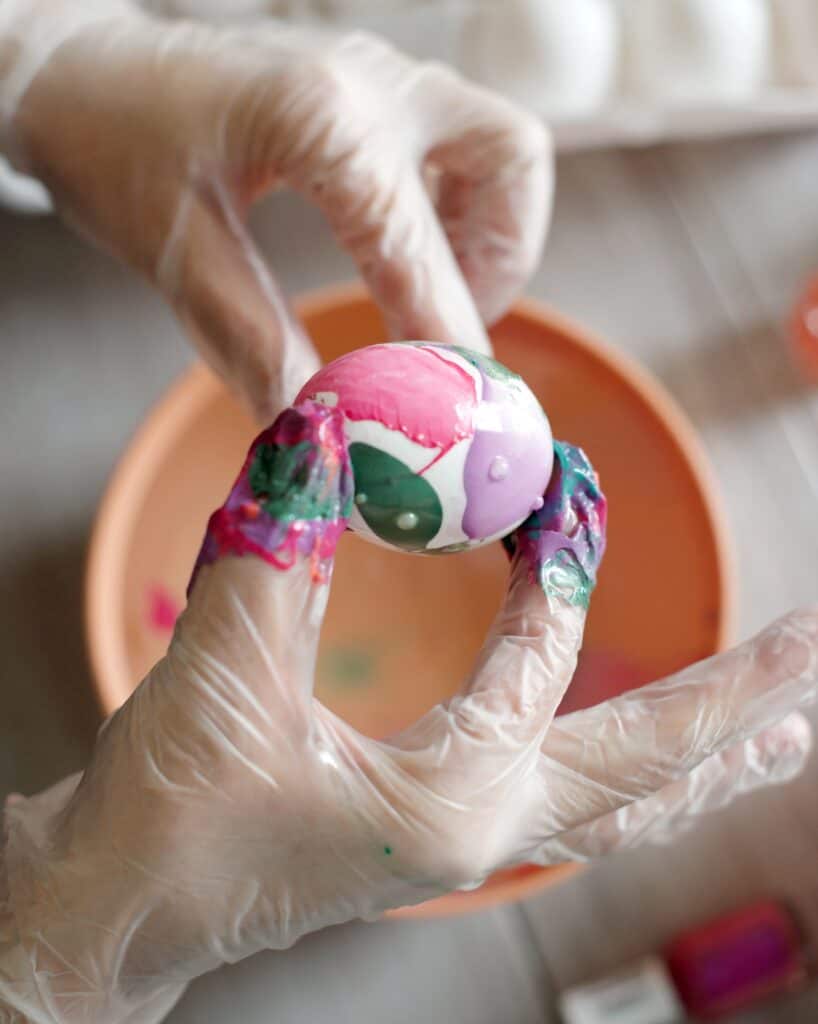
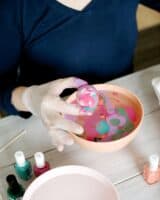
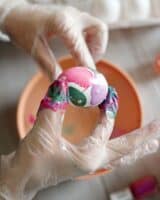
To dunk an egg, hold it between your fingers so that you cover the least amount of surface area on the egg. Then dunk straight down into the water, hold for a second underwater and then bring it up.
Expert tip: if you use a larger container, you'll have more space to roll the egg around under the water and turn it over so you can bring it up on the blank side. This helps cover the entire egg with polish.
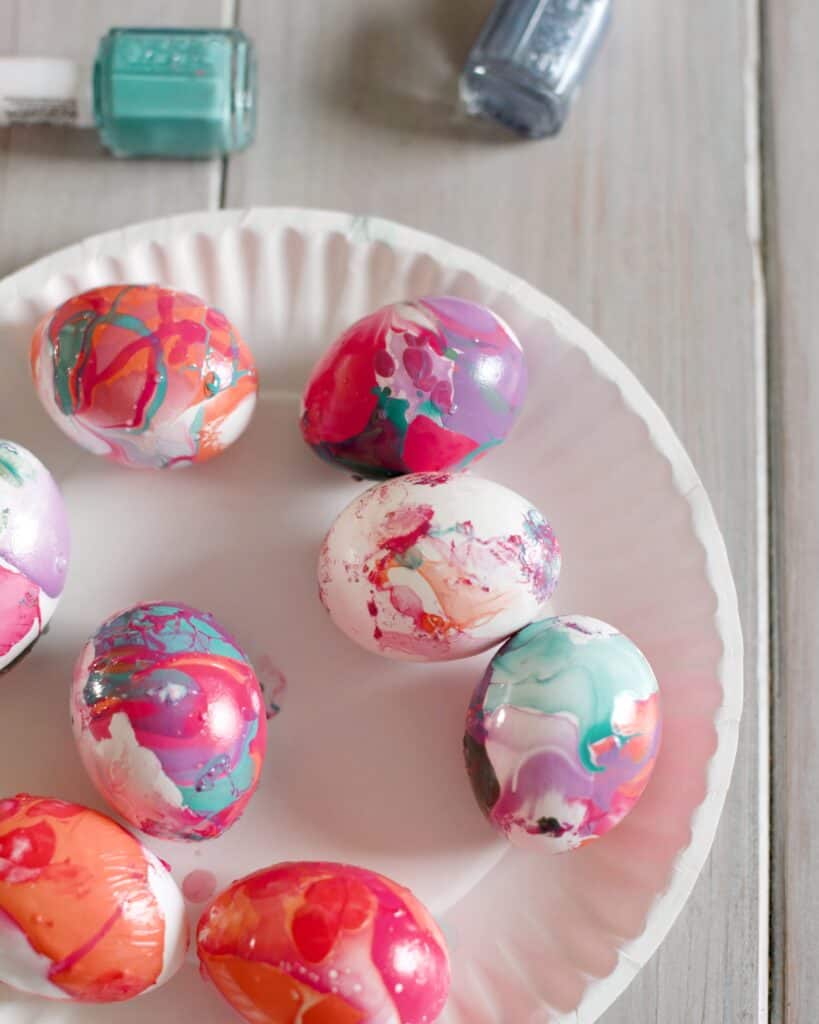
Place the egg in a carton or a paper plate and let it dry. (I liked the paper plate because it offered a no-mess solution where the eggs touched as little of the surface as possible when drying to reduce smudging.)
Yes, your fingers will get a bit messy. I tried dunking the eggs with skewers or spoons, and nothing worked as well as my hands. I ended up using some plastic gloves that worked like a charm!
Have you decorated any eggs for Easter yet? I dyed some with the kids last weekend and it was really hard to share with them while decorating because it was just so fun!
If black and white is more your style, check out these minimal black & white marbled eggs with polish. You can also make some DIY nail polish marbled planters to spruce up your patio using a similar method.
DIY Nail Polish Marbled Eggs FAQ
Can I use non-toxic nail polish for this DIY?
Yes and no. While I added some non-toxic polishes I already had at home to the mix, I found they didn't work as well as some of the less expensive, traditional nail polishes you find in the beauty aisle.
So while I definitely recommend using nail polishes that are free of toxic ingredients for at-home manicures—check our guide to non-toxic nail polishes for some of our favorite brands—traditional polishes seem to work better for this DIY. I would encourage you to experiment and see which works best for you!
I can't get my nail polish to float on top of the water. What am I doing wrong?
Try pouring the water into your cup or bowl ahead of time and letting it sit awhile on the counter to come to room temperature. If the water is too cold or too hot, the polish won't float.
Though it's important to note, some of my nail polish did sink or disperse slightly on my first few pours. This is why it's important to pour slowly and just add a little bit of polish at once.
Once you start to create that initial film of polish along the surface of the water, it seems to create a thicker surface that helps "support" the rest of the polish you're adding.
Won't the fumes from the nail polish be strong when you're decorating these eggs?
Yes, somewhat. While I didn't find it bothersome or overwhelming, if you are sensitive to those kinds of scents, I would suggest doing this project outside on the patio with the kids on a nice, sunny day. This project can get messy, so that's a great way to get better ventilation with easier options for cleaning up.
View this post on Instagram
DIY Nail Polish Marbled Eggs
Materials
- Eggs
- Plastic cup or bowl
- Nail polish in variety of shades
- Toothpicks or wooden skewers
- Nail polish remover (optional)
- Plastic gloves (optional)
Instructions
- Pour water into bowl or cup and let it come to room temperature.
- Drop lots of nail polish into the water, working slowly at first. If the polish sinks, the temperature isn't right. Add enough polish to ensure it spreads out over top of water.
- If you'd like to create more of a swirled effect with the polishes, use a toothpick or wooden skewer to swirl colors a bit.
- Dunk eggs one at a time, holding each between your fingers to cover the least amount of surface area on the egg. Dunk egg straight down into the water, hold for a second underwater and then bring it up. (Wearing gloves for this step helps to keep hands from getting too messy.)
- If you use a larger container, you can roll each egg around under the water to turn it over and bring it up on the blank side to cover all of the egg with polish.
- Place each egg in a carton or on a paper plate and let it dry fully. Enjoy!

