If you’re a fan of fresh aloe vera gel, the right conditions will ensure you have a steady supply of that liquid gold for years to come. Here’s how to care for an aloe plant the right way.
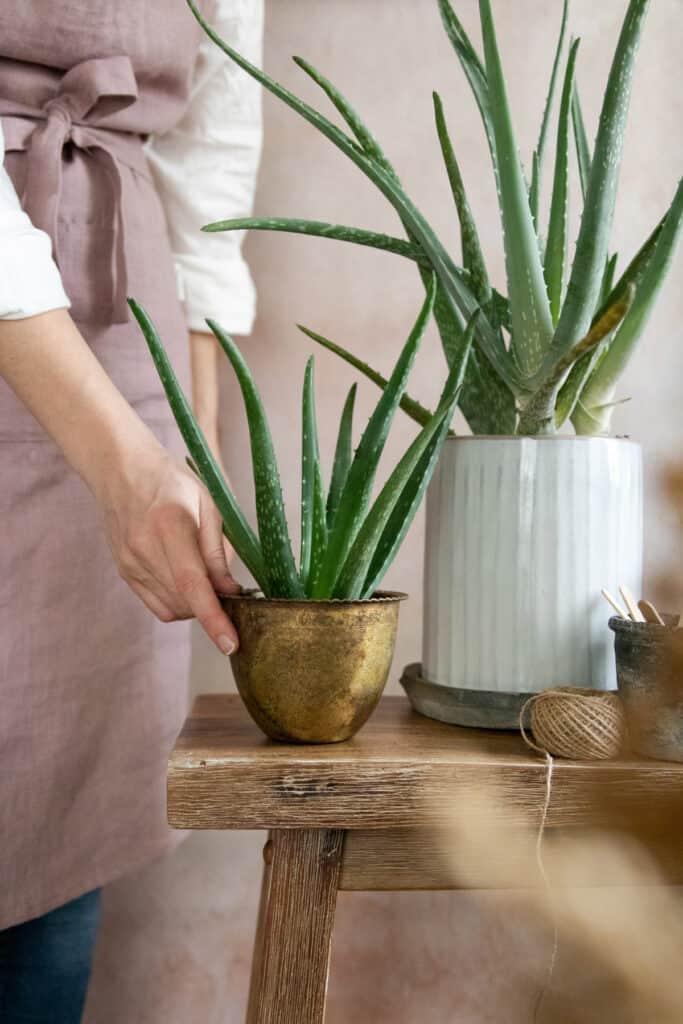
While known predominantly for their health [source] and beauty benefits, aloe vera plants are actually some of the easiest plants to grow at home (yep, even if you’re a plant killer, like me). Because they’re succulents, they require very little TLC. Just pop them on a bright window ledge, water them every now and then, and watch ’em thrive!
Jump to:
How to Care for an Aloe Vera Plant
1. Choose the right pot.
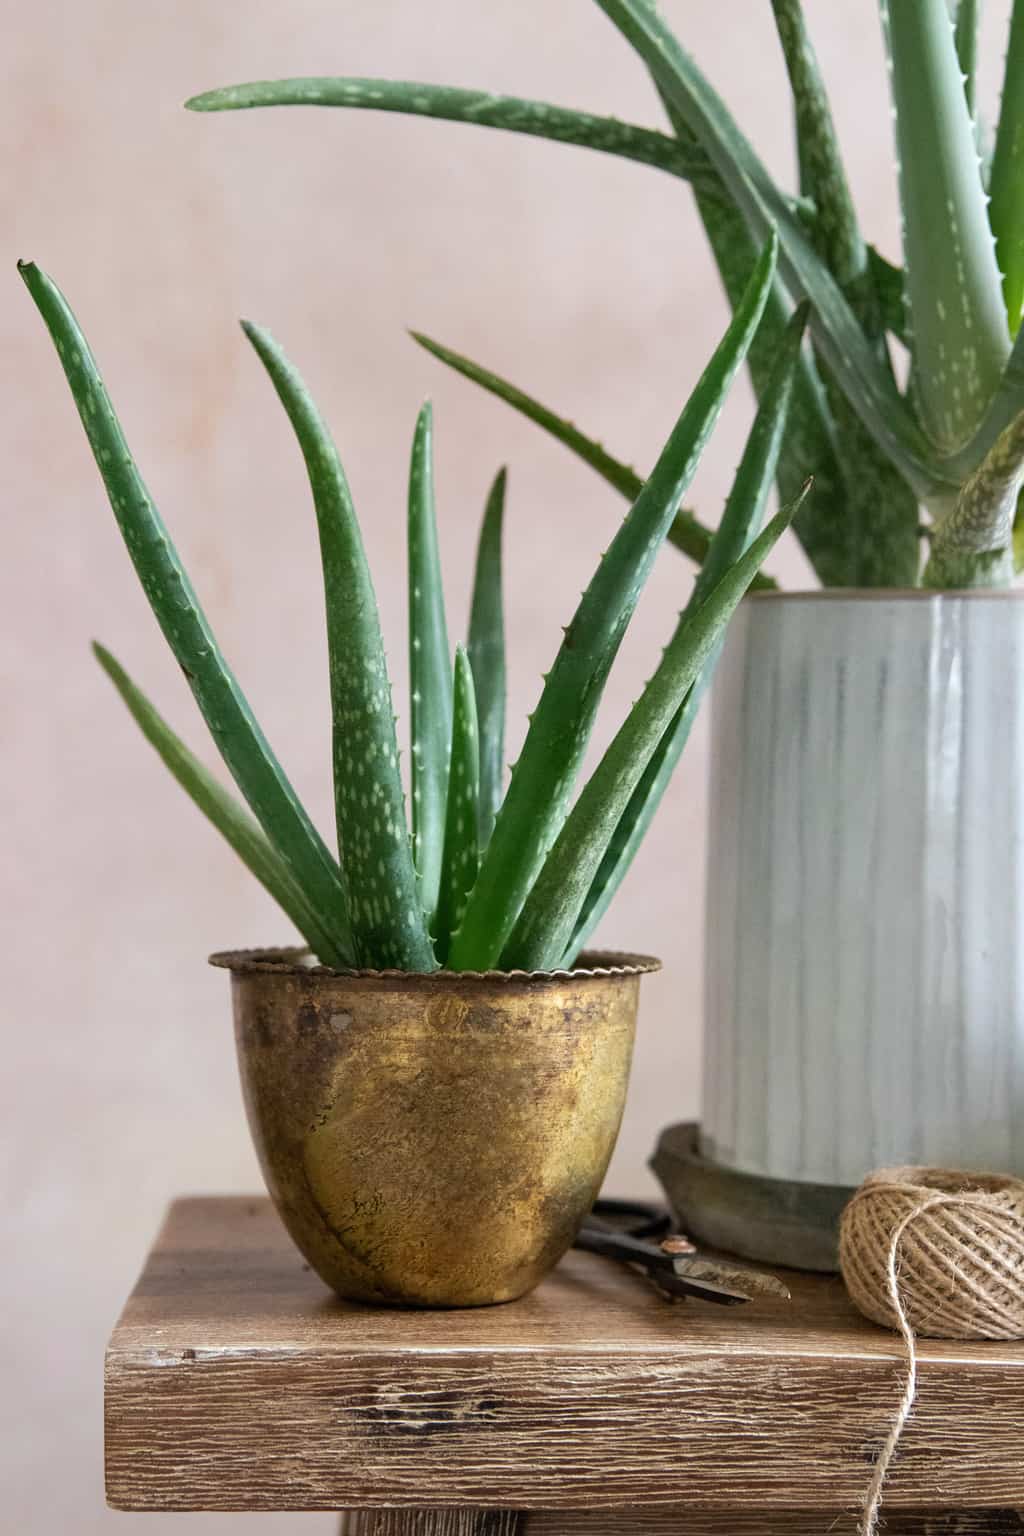
Terracotta or another porous material is recommended to help prevent overwatering. That being said, I have used plenty of plastic, metal, and glazed pots and have never had any issues. If you have trouble keeping plants alive, then definitely make your life easier and stick with terracotta.
Make sure your pot has one large or several small drainage holes in the bottom. Again, overwatering is the most common aloe plant care mistake, so it’s vital that your pot has at least one drainage hole to let the excess water out. Without it, you may start running into root rot or wilting issues.
If your pot doesn’t have drainage holes, and you cannot make them, there’s a way to deal with it. To prevent overwatering, you’ll need to put a layer of lava rocks at the bottom of the container to keep the roots up and out of sitting water.
Choose a wide, deep pot. Aloe plants tend to get long and stalky. And if the pot isn’t large enough for them to put down a good root system, they’re liable to fall over.
2. Pick a well-draining soil.
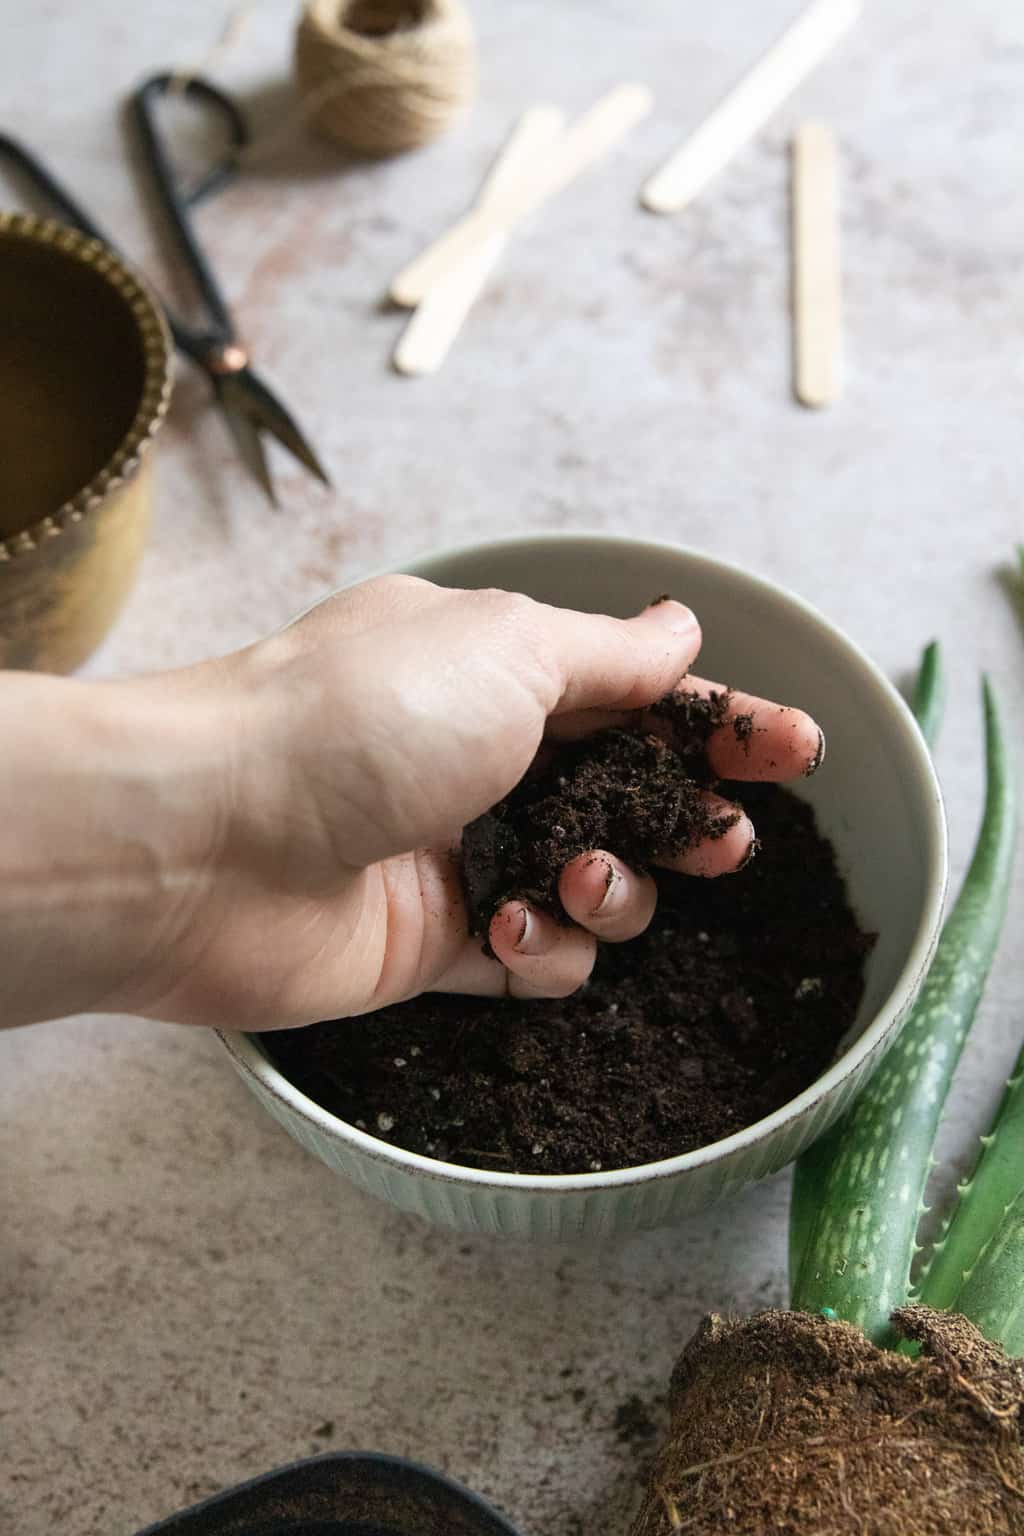
Since they’re technically succulents, aloe plants do best in sandy, well-draining potting soil. Look for a potting mix made specifically for cacti or succulents, which has the perfect amount of sand, lava rock, perlite, or bark already mixed in.
3. Repot when needed.
If your aloe plant is still in the plastic container from the greenhouse or it’s gotten too big for its current pot, it’s time to repot it.
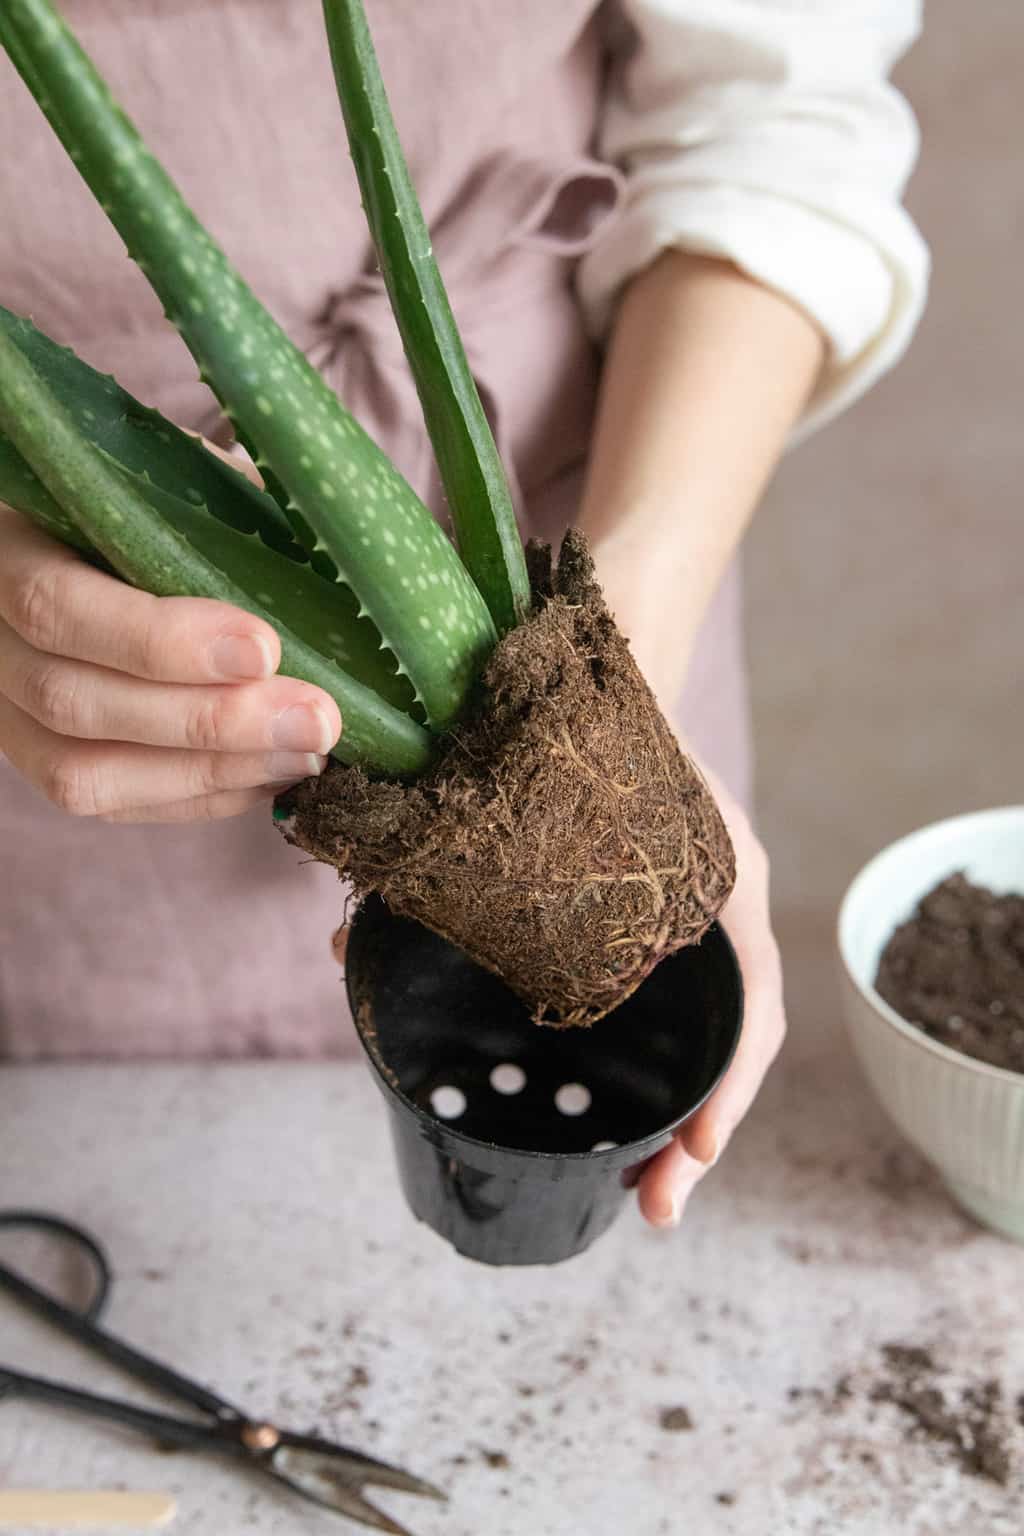
How To Repot Aloe
Prep the pot. Wash your pot in warm, soapy water to remove any dirt or debris. Then, place the pot upside down on a towel to let it dry out thoroughly. If your pot has a drainage hole, set the pot upright and put a small piece of newspaper over the hole to prevent soil from falling out. Don’t worry—the paper will break down over time without hurting the plant.
Prep the plant. Gently remove the aloe plant from its current pot and brush away any excess dirt from the roots. If you notice the roots have grown around and around in a tight ball (root-bound), then very gently loosen them, trying your best to avoid damage.
Transfer your aloe to its new pot. Fill the pot a third of the way with cactus potting mix and set your plant on top of the soil. Add more soil on all sides of the plant, making sure to leave about an inch of space between the top of the soil and the rim of the pot. Do not water after planting.
Let your plant adjust. Place your repotted plant in a bright, warm window that gets indirect light. Then don’t water it for 4 to 5 days. This will give the plant time to put out new roots while reducing the chance of root rot.
Water your plant. After 4 to 5 days, water your plant thoroughly, allowing the excess water to drain from the pot.
4. Pick the right conditions for your aloe plant.
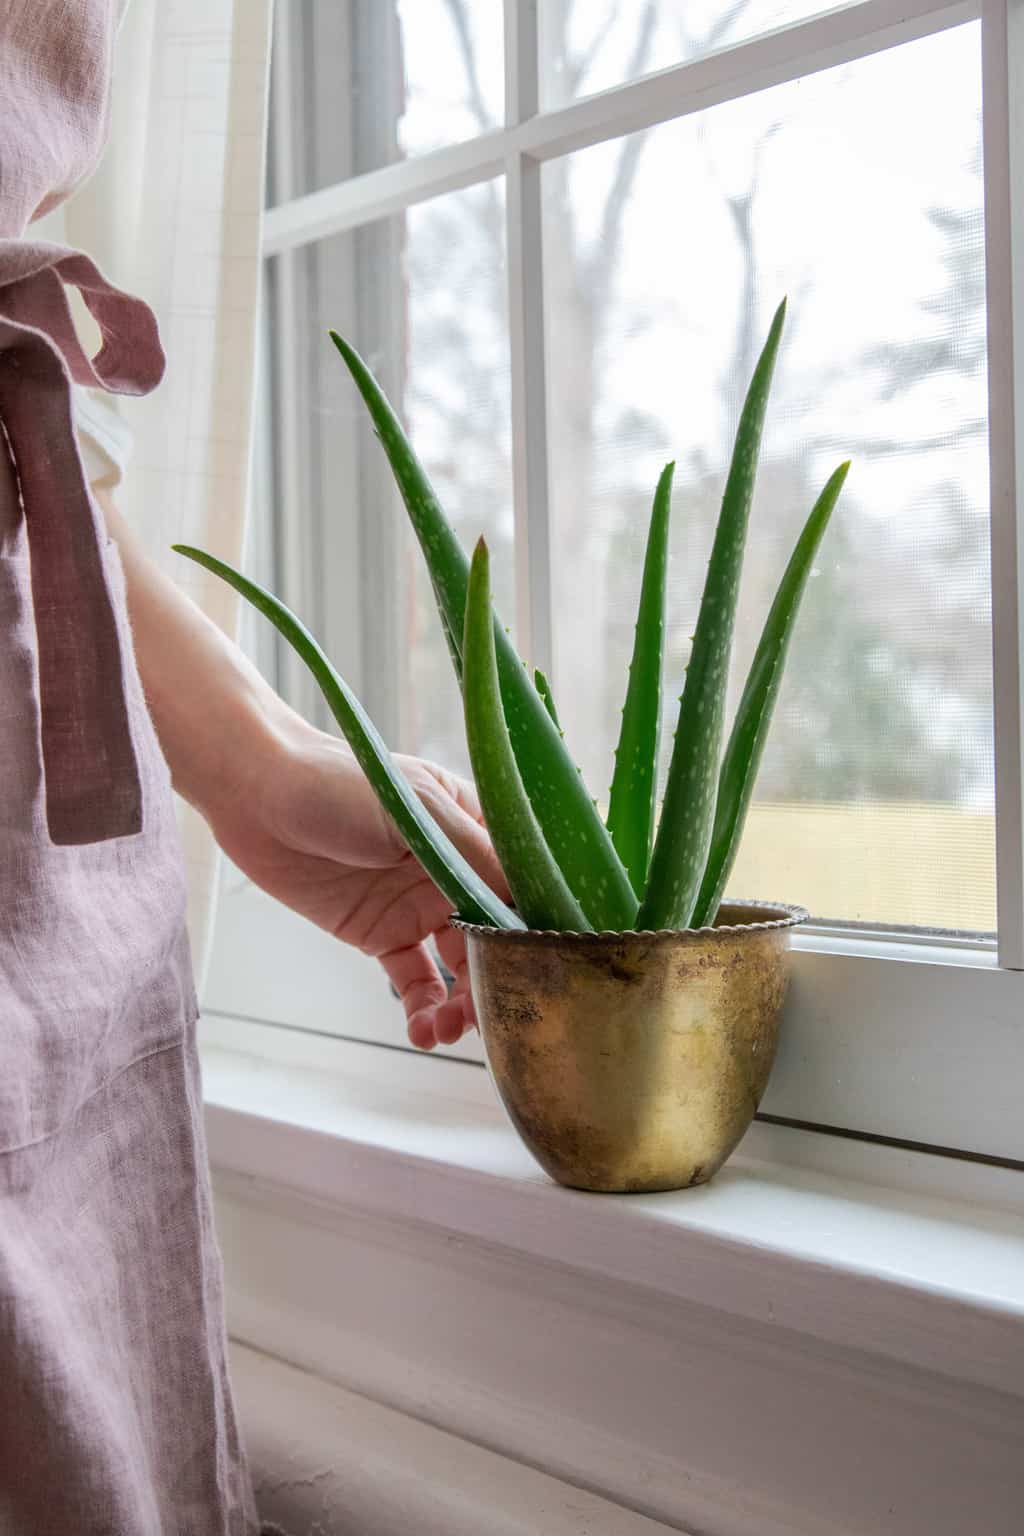
Look for bright, indirect light. If you’re in the Northern Hemisphere, place your aloe in a west-facing window that gets bright, indirect light (in the Southern Hemisphere, choose an east-facing window). Too little light may cause your plant to grow long and leggy.
Keep your plant warm. Since they’re native to desert regions, aloe plants thrive in temperatures between 55° and 85°F. During the summer months, you can put your aloe plants outside or on a patio, but make sure to bring them back inside when temperatures plummet.
Fertilize during the growing season. Fertilize your plants with a balanced houseplant fertilizer once a month during the spring and summer.
5. Follow the rules for watering aloe vera plants.
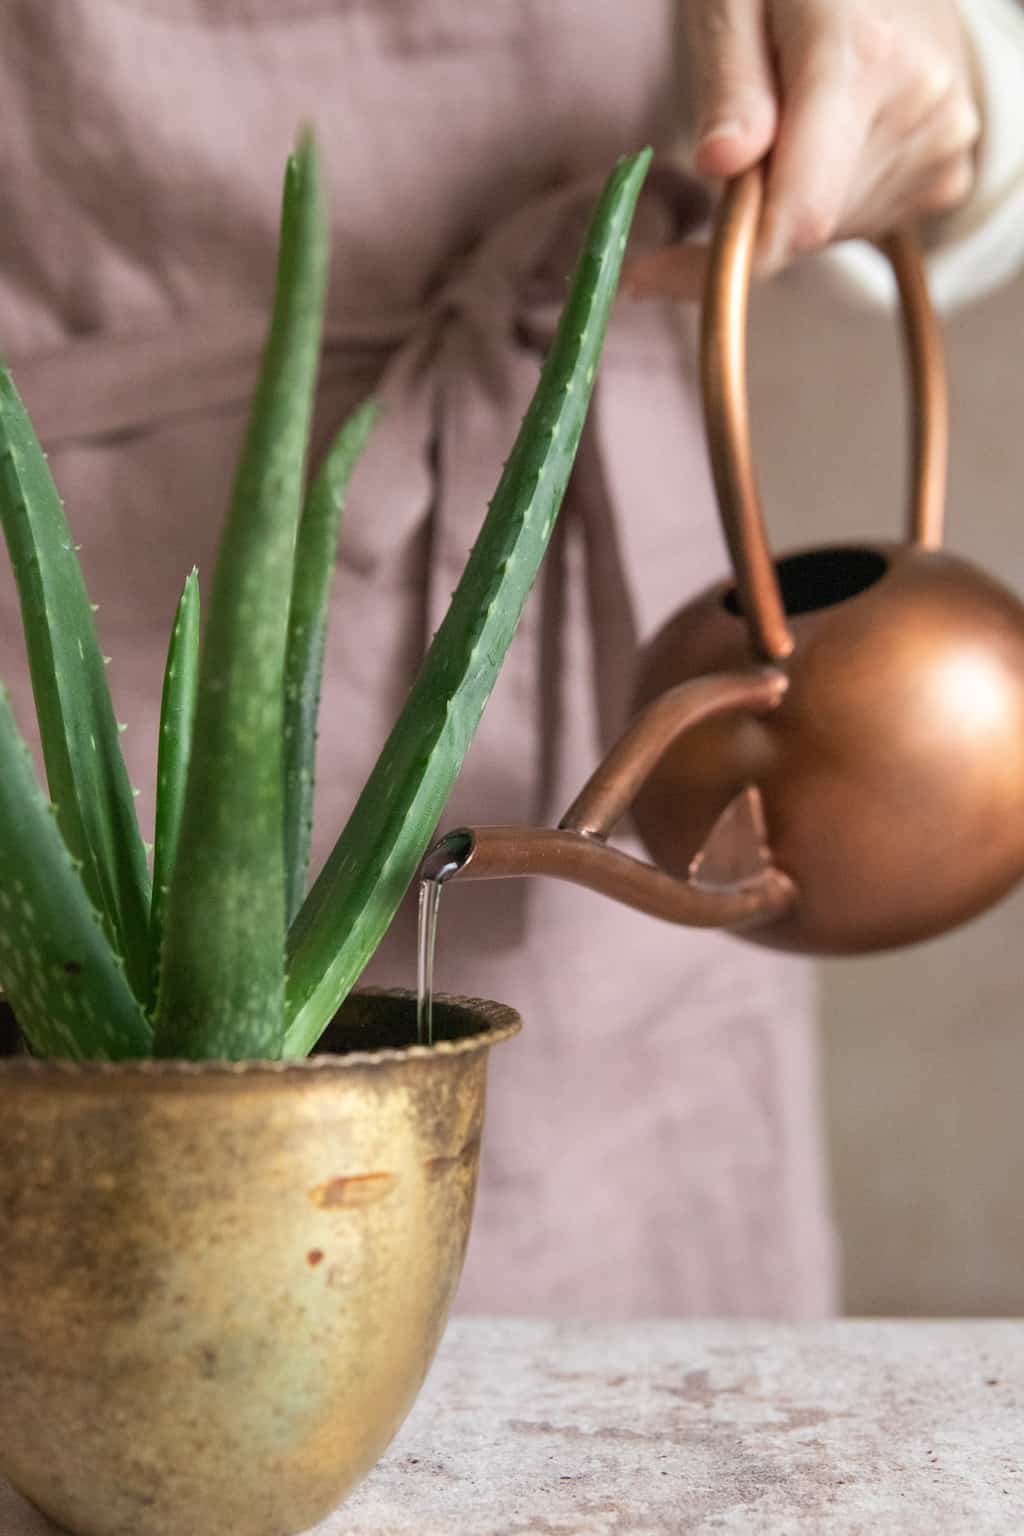
Keeping your aloe plant alive is easy once you get in the habit of watering it thoroughly but infrequently. If you’re prone to miss a few waterings, rest easy! Your plant won’t die overnight. In fact, mine tend to do best when I ignore them a little.
Water your plant infrequently. Aloe plants love arid conditions, so you want to emulate that environment as best you can. You want to keep pouring water until it comes out of the drainage hole at the bottom. Then don’t touch it again for 4 weeks in the spring and summer and 6 to 8 weeks in the fall and winter.
Use filtered water or rainwater. Tap water contains chemicals, such as fluoride and chlorine, that can build up over time and weaken plants. While aloe vera plants aren’t particularly finicky, watering with filtered or rainwater will create stronger, healthier plants.
When in doubt, water less frequently. As a rule of thumb, you should allow the top third of the soil to dry out between waterings. To test it, just stick your finger in the soil and feel around. If it feels even remotely moist, don’t water it. If you’re not sure, you can’t go wrong with watering less often.
If you notice shriveled, sagging leaves, water more often. Because aloe vera leaves are mostly water, the leaves will start to wilt, sag, and wrinkle if the plant isn’t getting enough water. So leave a little more time between waterings.
6. Harvest aloe the right way.
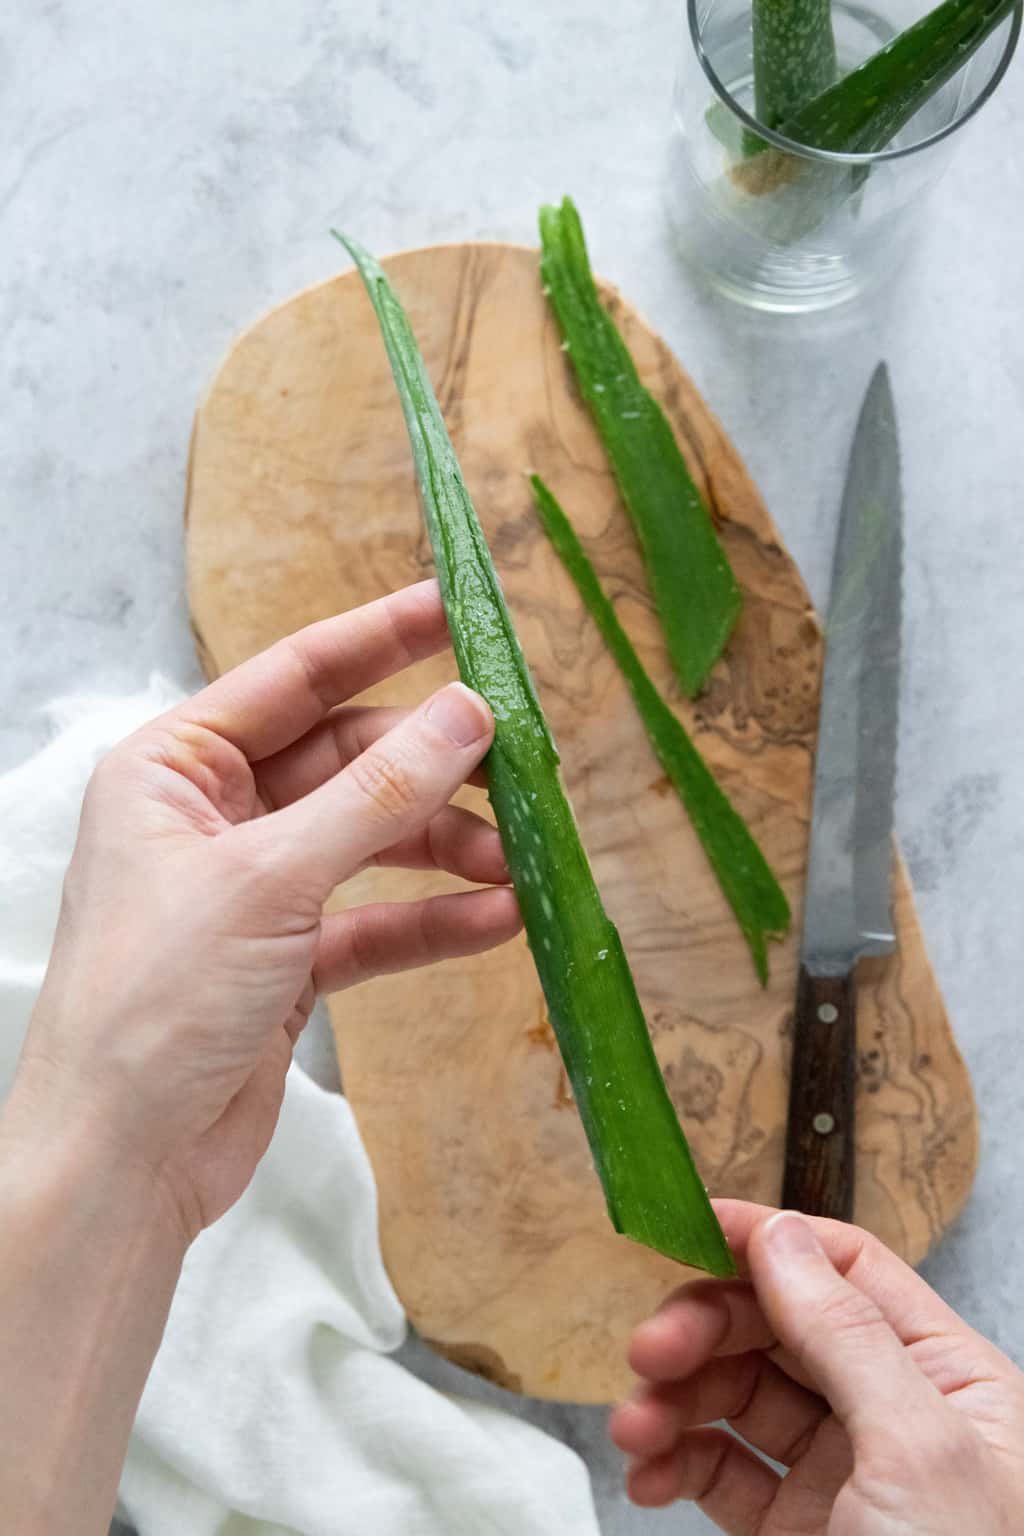
So, how do you use an aloe plant? Well, this post shows you how to harvest aloe and put the fresh gel to use.
Just don’t overdo it on the harvesting. Only cut the mature, outer-most leaves on the plant using a sharp blade. If you don’t have any large, mature-looking leaves, it’s best to let the plant grow some more before attempting to harvest the leaves again.
FAQ
Given the right conditions, aloe plants can live up to 12 years.
Aloe plants are naturally slow-growing, but there are a few things you can do to encourage them to grow faster.
—Keep your aloe plant outside when it’s warm as much as possible. Just make sure to put it in a somewhat shady spot that doesn’t get prolonged midday sun.
—Repot when needed. If the pot is too small, the plant’s roots can’t get the nutrients needed to grow. So repot your plant every couple of years or if you notice a change in the plant’s condition.
—Remove any pups. After a while, you’ll notice that tiny baby aloe leaves start popping up around the mature plant. These are called pups, and they’re essentially offsets of the mother plant. If you don’t remove them, they’ll crowd each other out, compete for resources, and stunt the growth of the mother.
Yes, although it’s a little trickier than propagating succulents or cacti! To regrow the broken end of an aloe vera leaf, let it dry for a couple of days so that a thin crust grows over the cut. Fill a small pot with cactus soil and place the leaf cut side down in the pot.
Place your newly potted aloe in a bright, warm window, and try to keep the soil moist (but not wet) for the first 4 weeks. If everything goes smoothly, the leaf should sprout roots and slowly become established, at which point it will begin growing new leaves.
But, as I mentioned earlier, propagating aloe plants from cut leaves isn’t as easy as with other succulents, so don’t be too hard on yourself if it doesn’t take.


