As a naturally nostalgic person, there’s something I miss about the ornaments I grew up with. The hand prints and painted popsicle sticks and framed wallet-size photos may not be glitzy or perfect, but they mean more than the ornaments picked up last year from the Crate and Barrel clearance rack. Well, these homemade cinnamon ornaments combine the best of both worlds.
They’re both beautiful and heartfelt, so you won’t mind adding them to your perfectly curated ornament collection and pulling them out for years to come. Oh, and they will make your house smell ahhh-mazing.
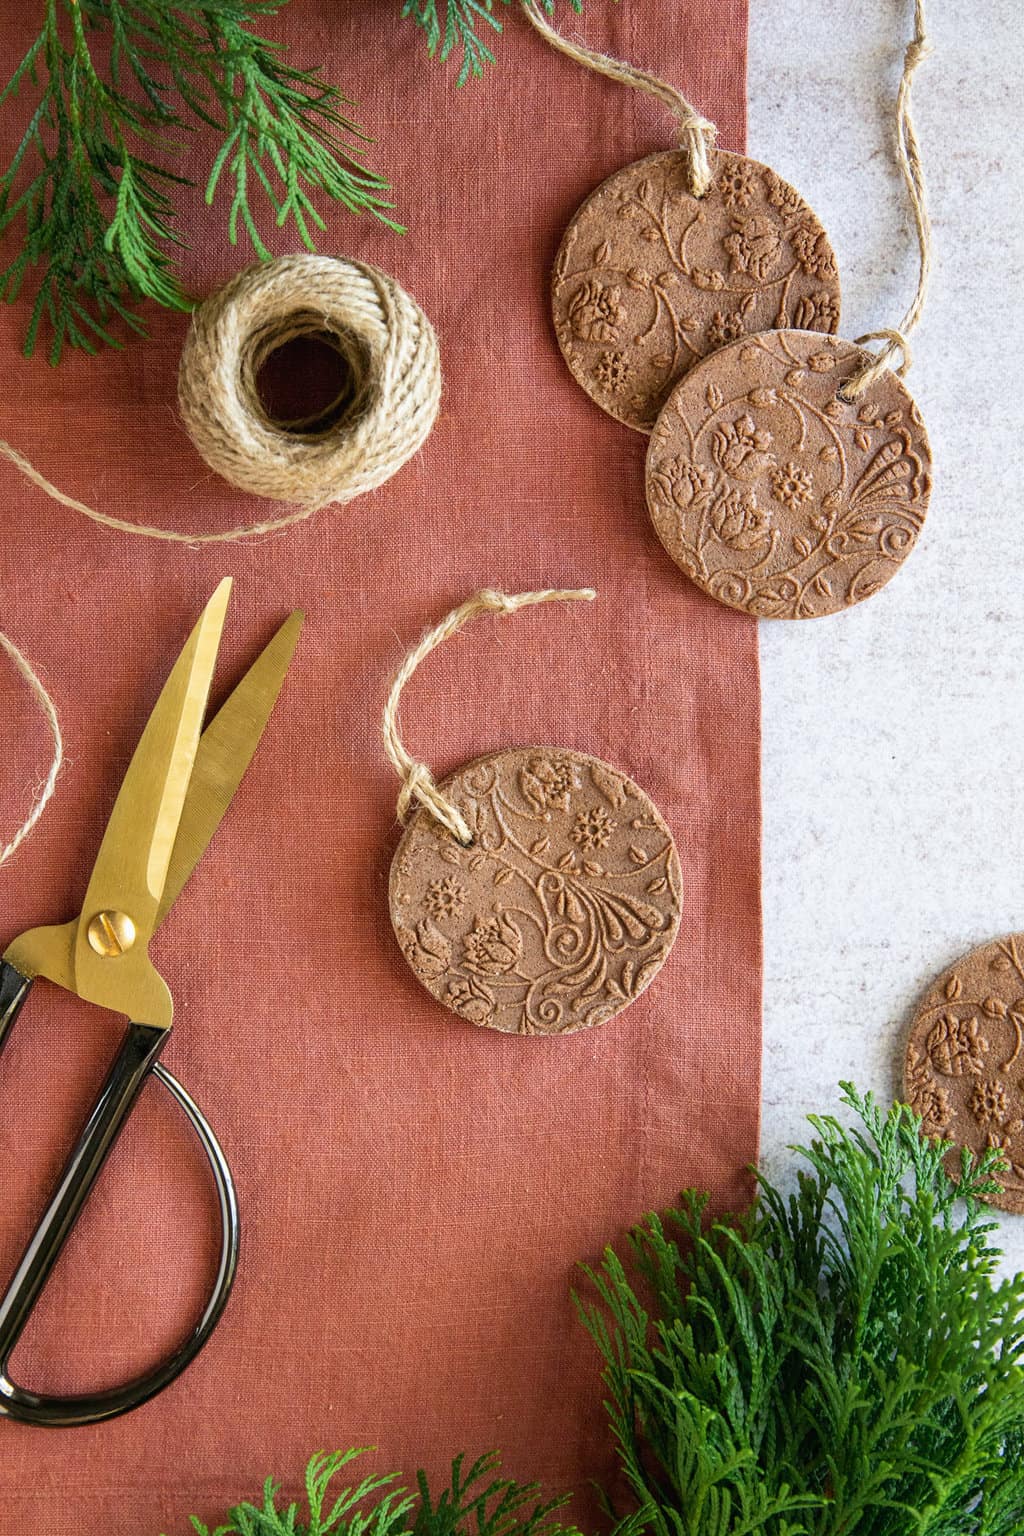
How to Make Cinnamon Ornaments
Most cinnamon ornament recipes call for three ingredients: glue, applesauce and cinnamon. While it’s super easy to pick up some white glue and applesauce on your next Target run, I wanted a recipe that was a little more accessible and natural. So this one uses kitchen staples most of us have lying around, like flour, salt and water, and comes together like a traditional salt dough. Then we add a whole bunch of cinnamon and clove for color and scent.
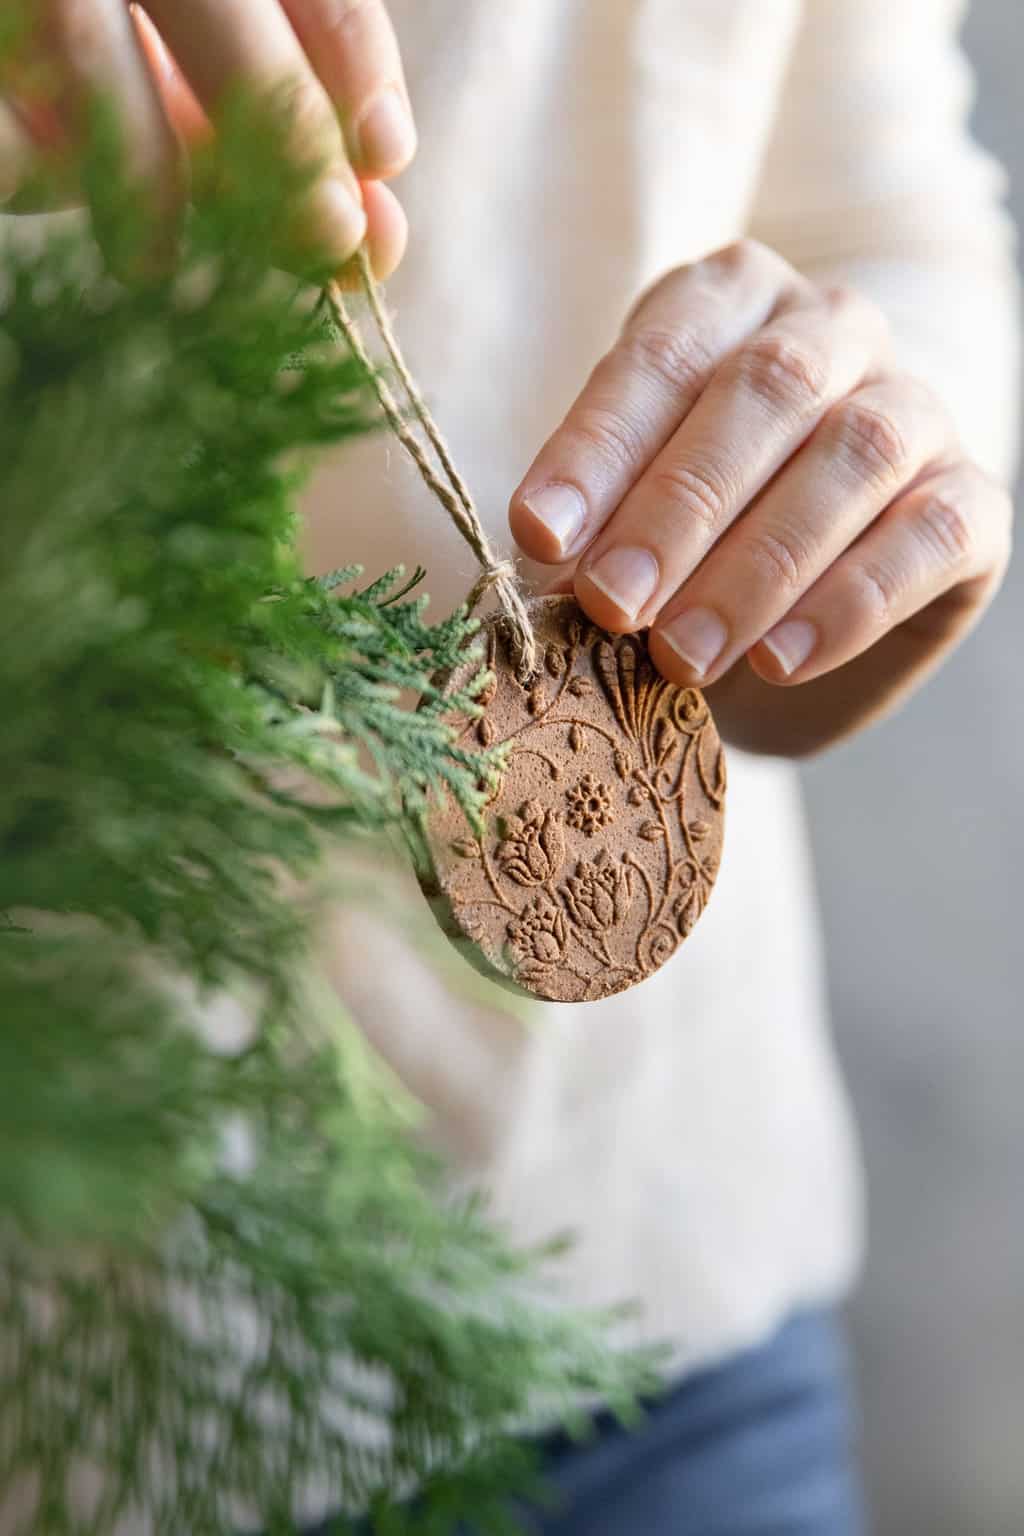
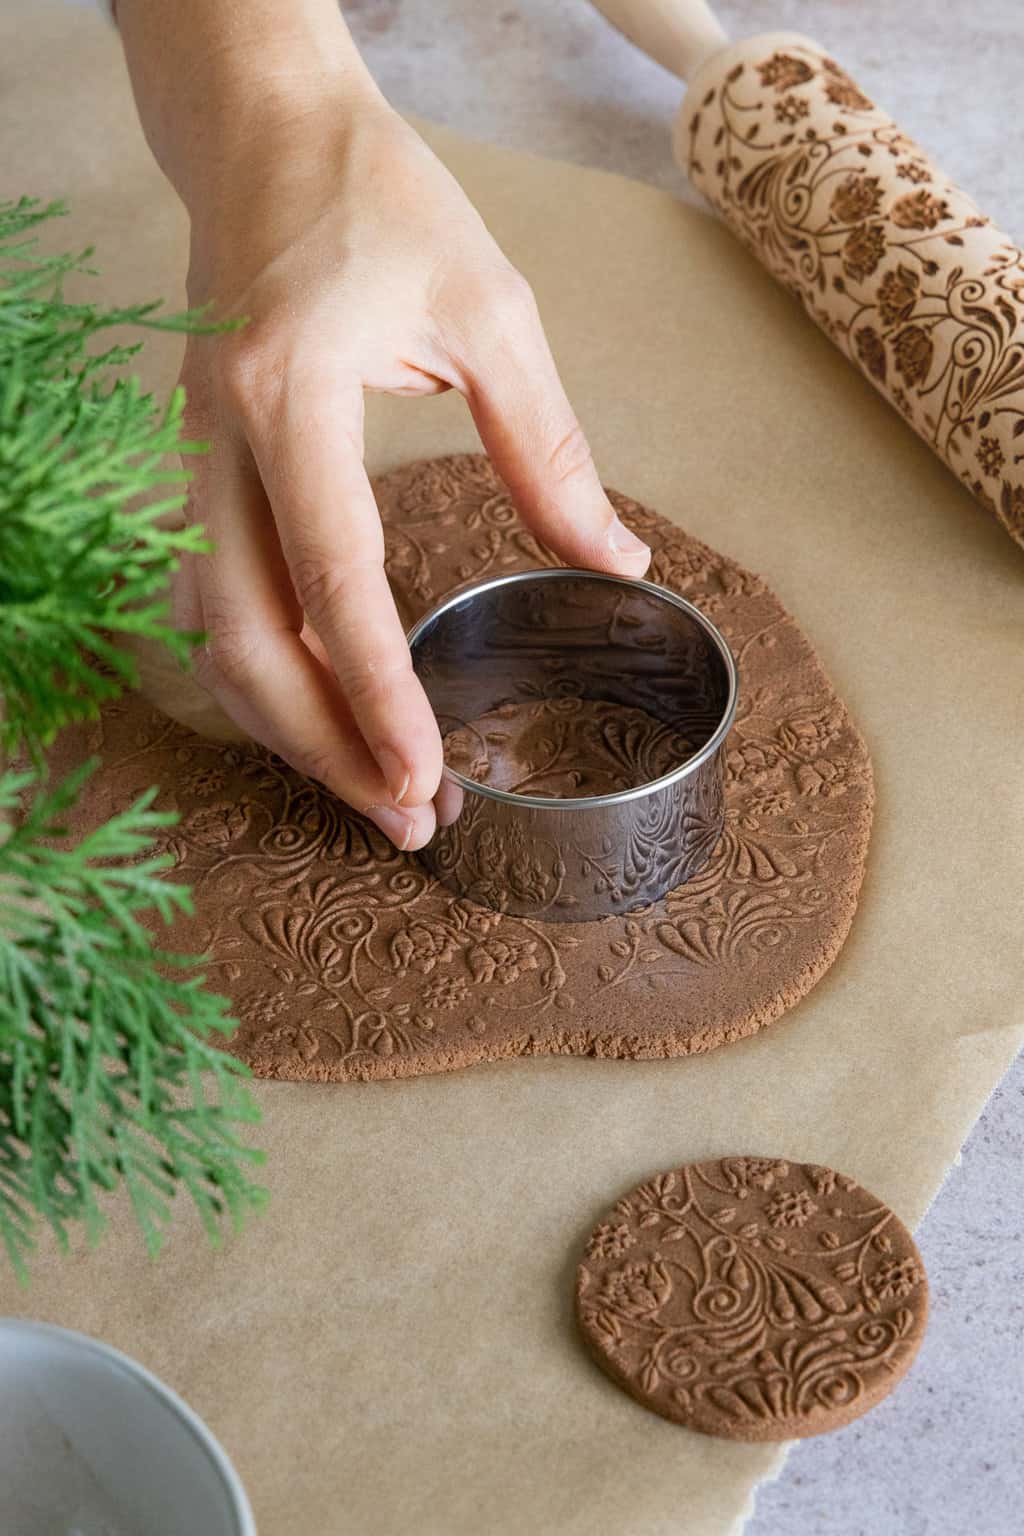
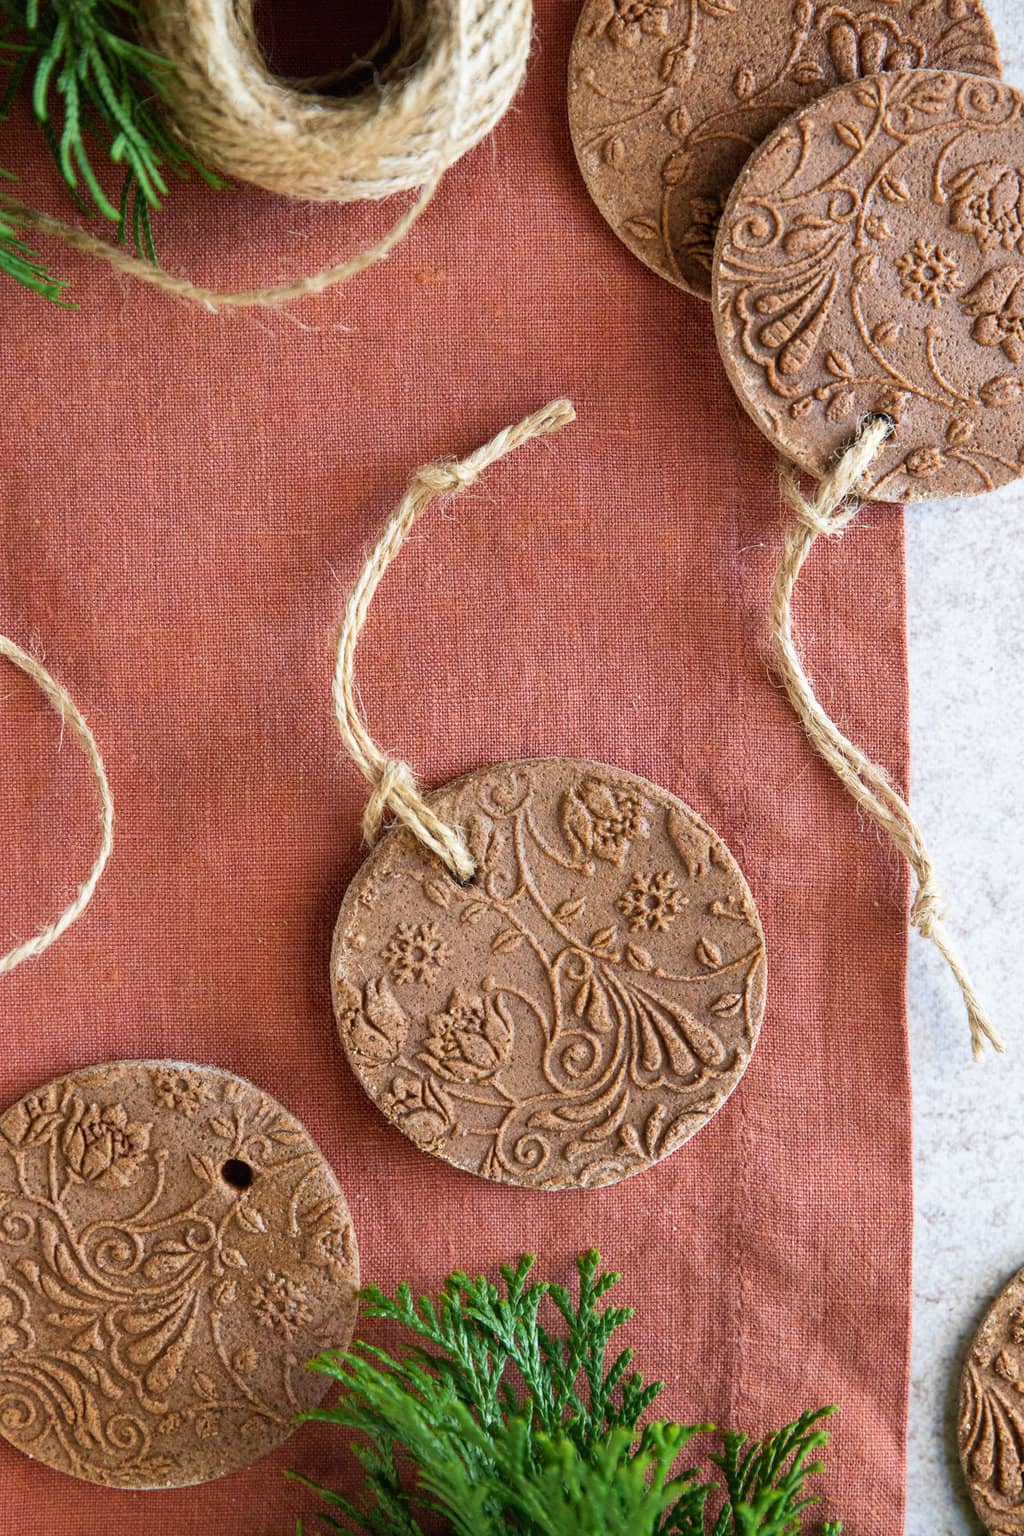
To make the pattern, I used a wooden rolling pin engraved with a hygge design. Then I cut them out with a cookie cutter and added a hole at the top for a piece of string or ribbon.
How to bake cinnamon ornaments
If you’re not in a hurry, place the ornaments on a parchment-lined baking sheet and let them air dry for a couple days, flipping regularly. Or simply pop them in the oven for an hour to help speed things up. Just make sure to flip them over often and take things slow, otherwise they may warp or crack as they dry.
Since these are easy to make, feel free to whip up a batch or two with the help of the children in your life. Who knows, you may even have a new tradition on your hands.
Supplies for cinnamon ornaments
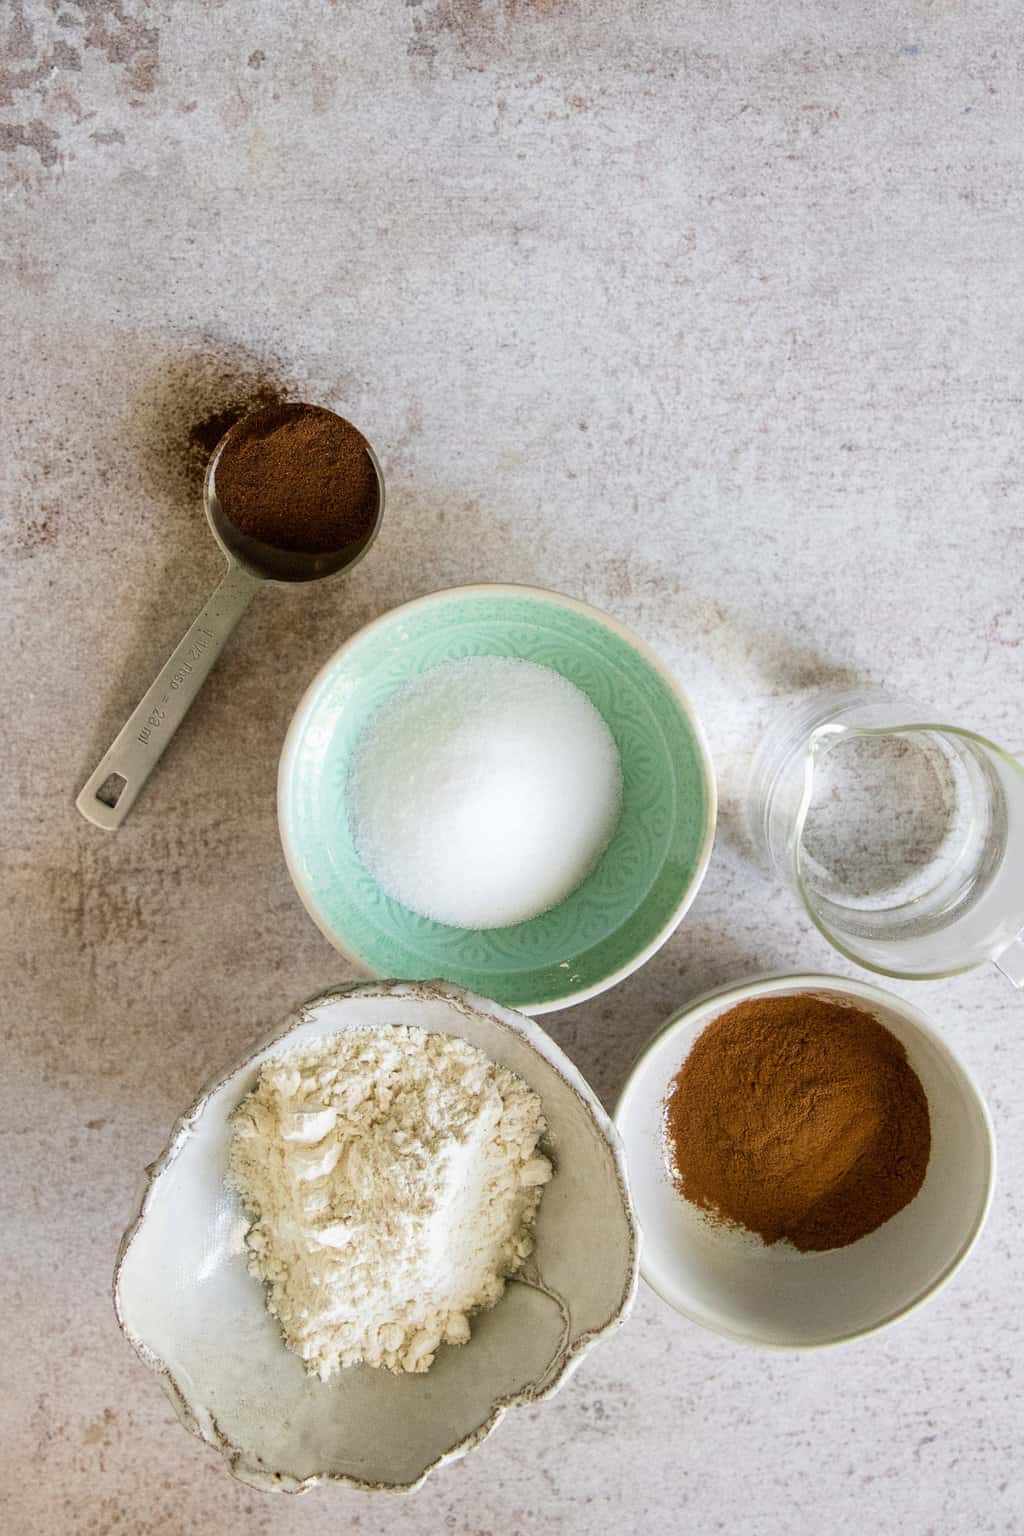
—½ cup white or whole wheat flour
—½ cup table salt
—1 cup cinnamon
—3 tablespoons ground clove
—½ cup boiling water
—Parchment paper or wax paper
—Rolling pin
—Engraved rolling pin (optional)
—Cookie cutter
—String or ribbon
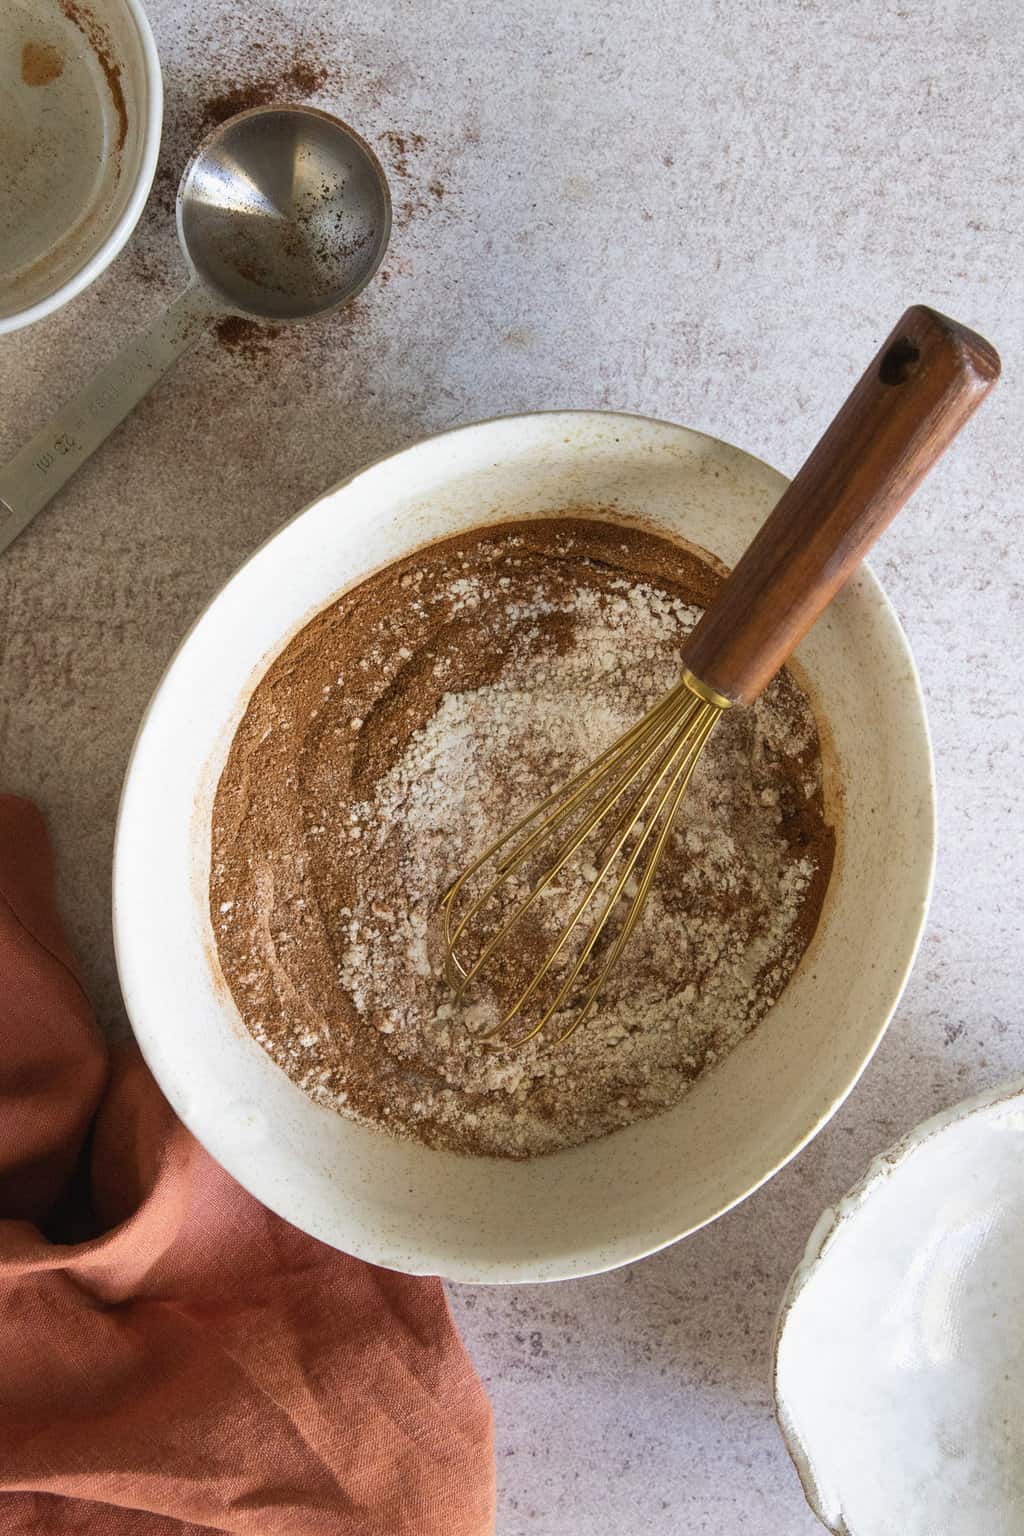
Step 1 | Mix dry ingredients
Start by combining the flour, salt, cinnamon and clove in a bowl. Whisk well.
Step 2 | Make dough
Slowly pour in the boiling water and mix well. Add more water, if needed, until you reach a dry, dough-like consistency.
As the dough comes together, you may want to use your hands to incorporate all the dry ingredients and knead it into a dough. Place the dough in the center of a piece of parchment paper. Roll the dough until it’s ¼-inch thick.
Step 3 | Make designs + dry
Once the dough is the right thickness, go over it with an engraved rolling pin to create a pattern. Using cookie cutters in any shape you like, cut out the dough. Use a toothpick or skewer to create a hole at the top. Let dry for 2-3 days, flipping once a day.
Note: Because of the flour, these ornaments turn a light brown/beige color as they dry. This is normal! If you would prefer a darker color, use more cinnamon and less flour.
Cinnamon Ornament FAQ
Can I make these without salt or flour?
Absolutely. The traditional recipe for cinnamon ornaments is 1 cup cinnamon, ¾ cup applesauce, 2 tablespoons white glue. Combine everything in a bowl and stir until it forms a dough.
Can I add essential oils?
Sure, feel free to add 5-10 drops of cinnamon, clove, ginger, pine, or anything festive oils you like.
Will these ornaments go bad?
No. If the ornaments have dried out thoroughly, they should last forever without molding. But you may find that they start to crumble after a while, especially if they have been store in a hot attic for most of the year. If that happens, it’s time to throw them out and make a fresh batch.
Want more ornament ideas?
Try these birdseed ice ornaments or these hardware store DIY ornaments.






Leave a Comment