How do you know when you’ve been spending a little too much time on Instagram? For me, it was when I started investing in face yoga classes from ads. All of the face yoga classes. (Instagram does, in fact, know me). There’s nothing wrong with embracing your face exactly as it is. But after seeing the hundredth before-and-after photo of shrunken jowls and disappearing crows feet, I had to know, does it really work?
So, I put face yoga to the test for three weeks in order to find out. And let’s just say I did notice a difference, but it wasn’t exactly what I expected.
Here’s a 5-step face yoga routine to boost circulation and improve the appearance of wrinkles in less than 30 minutes a day.

What Is Face Yoga?
Just like your body, your face contains a series of muscles. Some of them help you chew and speak, while others let you express emotions, move your head, and blink. With age, many of those muscles lose volume and tone, making them appear more relaxed. That’s typically when we start to notice those dreaded lines forming between the eyes, around the mouth, and across the forehead.
According to the proponents of face yoga, a combination of massage and exercises can help the face appear softer and fuller. By alleviating tension in the face, you may stop making repetitive expressions that lead to wrinkles. And by pumping the facial muscles, you can replenish some of the lost volume, helping to plump wrinkles and increase fullness.
With just a few minutes of practice a day, you may notice:
—Less prominent wrinkles
—Improved circulation
—Less puffiness
—A thinner, more symmetrical face
—More even skin tone
—Improved hydration and elasticity
While studies are limited, one small study published in 2018 found that a 30-minute facial exercise program performed over 20 weeks seemed to improve mid- and lower-face fullness in middle-aged women. According to subjective ratings, estimates of participants’ ages decreased from an initial average of 50.8 years to 48.1 years after the intervention. And the participants noted improvement in 18 out of 20 of their facial features, indicating they were highly satisfied with their results [source].
My Experience with Face Yoga
Overall, I’d say I spent between 20 and 30 minutes a day doing the exercises at the bottom of this post. Some days I did it morning and evening, and other days just in the evening. But, aside from a daily face yoga routine, I didn’t do any other special treatments, like gua sha, facials, or serums.
And I only had 3 weeks to put face yoga to the test, so my results weren’t as dramatic as if I had something closer to the 20 weeks of the study to practice. But even in that short time, I did notice some subtle changes.
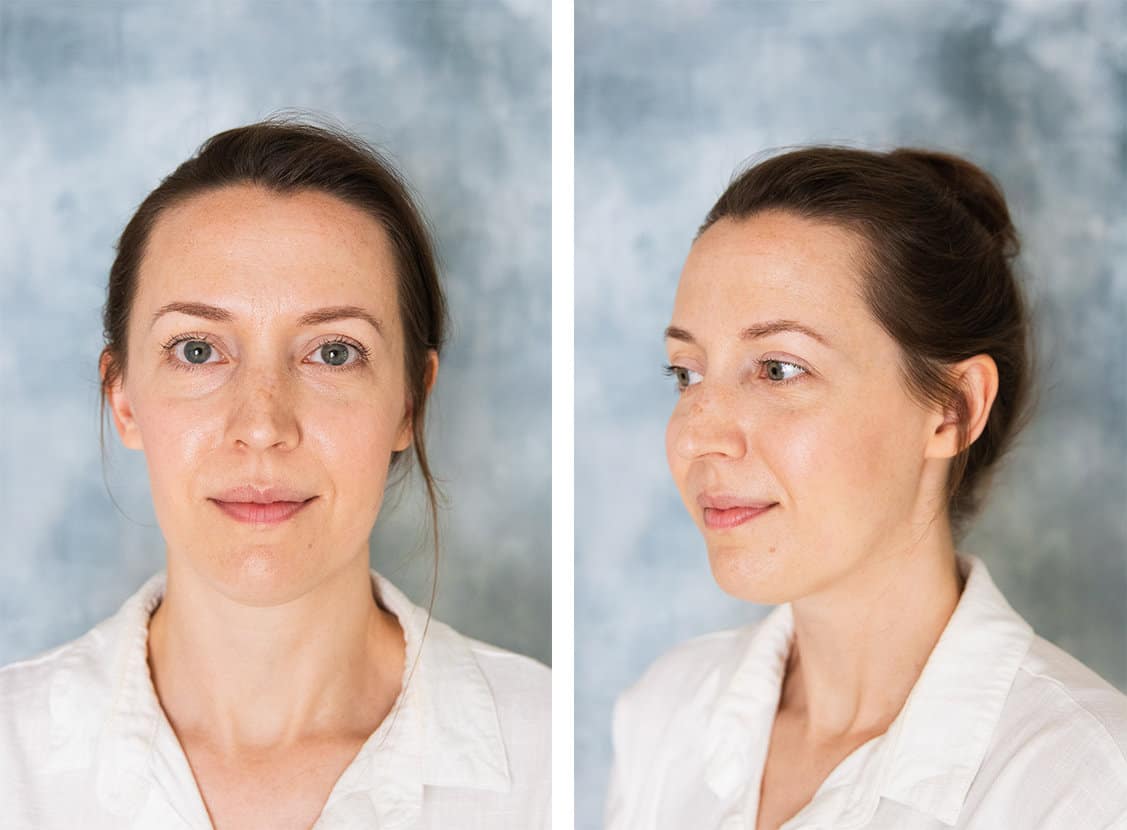
Here are my before photos:
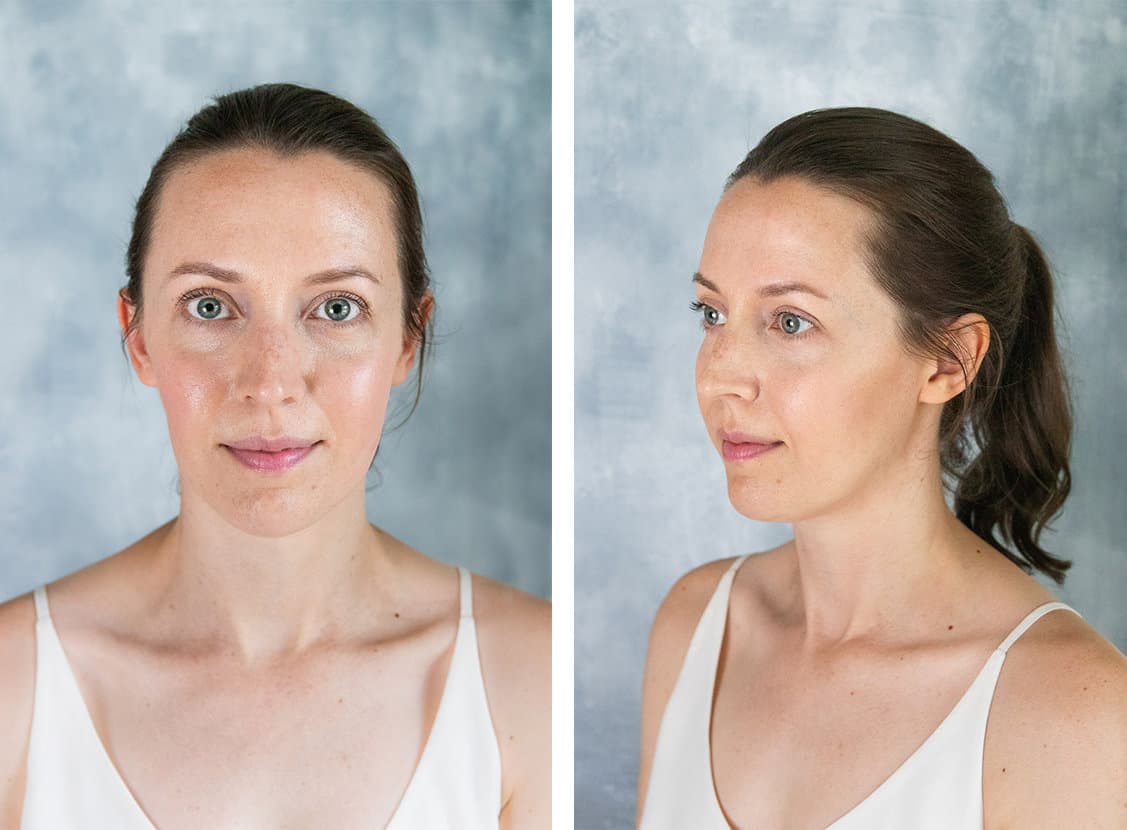
And my after photos:
The biggest difference I saw was in the shape of my face. Regular massage helped drain some of the puffiness, making my face appear thinner and more oval. It also softened some wrinkles, which I chalk up to improved circulation and hydration. And lastly, although it’s hard to see in the after photos, my jawline is more sculpted, and my cheekbones are a little more noticeable.
But most things really didn’t change. My laugh lines (nasolabial folds) are still there, despite tons of time spent working on them (what can I say, they’re genetic!) And I still have a crease between my eyebrows, lines under my eyes, and sun damage.
I still look like myself—just a slightly more toned version of myself. With more time and some extra exercises, I do think some of those lingering lines might have improved, too.
How to Do Face Yoga
Here are 5 face yoga exercises I used to tackle problem areas. I mainly focused on the jawline, mouth, under eyes, forehead, and neck. But if you have other trouble spots, check out Google or Youtube for additional exercises specifically targeted to your trouble areas.
Face yoga tips:
—Before you get started, pull your hair into a ponytail and use a headband to keep stray hairs away from your face. There’s nothing worse than yanking hair out while trying to do your exercises.
—Apply a few drops of lotion or facial oil. The oil helps your fingers glide over the skin and keeps tugging to a minimum.
—Stand in front of a large mirror so you can see your face clearly.
—Perform each exercise about 10 times on each side.
—If you have time, repeat them both morning and night.
—I recommend starting with the step-by-step video below, then reading through the written instructions for more clarification.
#1 | Forehead lines
This exercise targets those pesky forehead lines by softening the skin and relaxing forehead muscles.
Instructions
1. Using the pads of your index fingers and thumbs of both hands, lightly pinch the skin between your eyes and along the forehead.
2. Continue pinching for about 30 seconds.
3. When you’re done, place your fingertips at the center of your forehead and pull outward, smoothing the skin and pulling any built-up fluid toward the ears. Repeat this last step 10 times.
#2 | Undereye bags
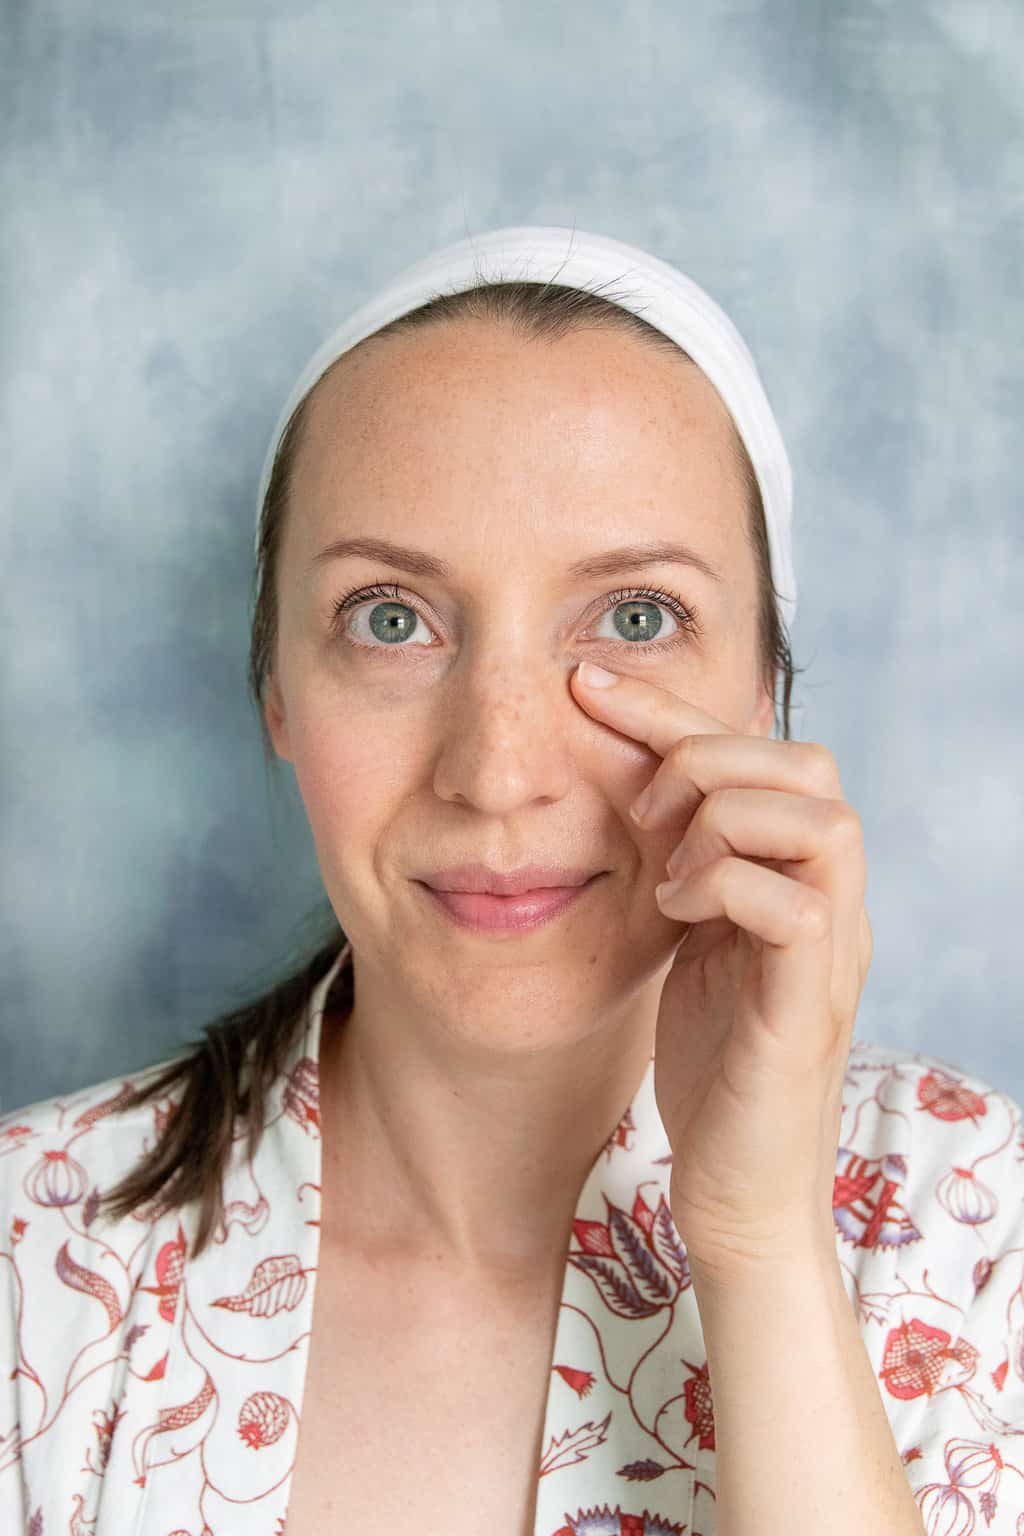
This exercise will help you rejuvenate the area under your eyes and shrink eye bags. Since the undereye skin is incredibly delicate, make sure to go slowly and use light pressure. It doesn’t hurt to apply an eye serum beforehand, either.
Instructions
1. Place the tip of your index finger at the inner corner of your eye. Gently glide your finger from the inner corner to the outer corner, helping to flush lymphatic fluid from under the eye.
2. Place your index finger under the brow bone, and move it in a complete circle around the eye socket, starting and ending at the inner corner of the eyebrow. This will help improve circulation and soften the muscles around the eyes.
3. Repeat each move 10 times on each side.
#3 | Nasolabial folds
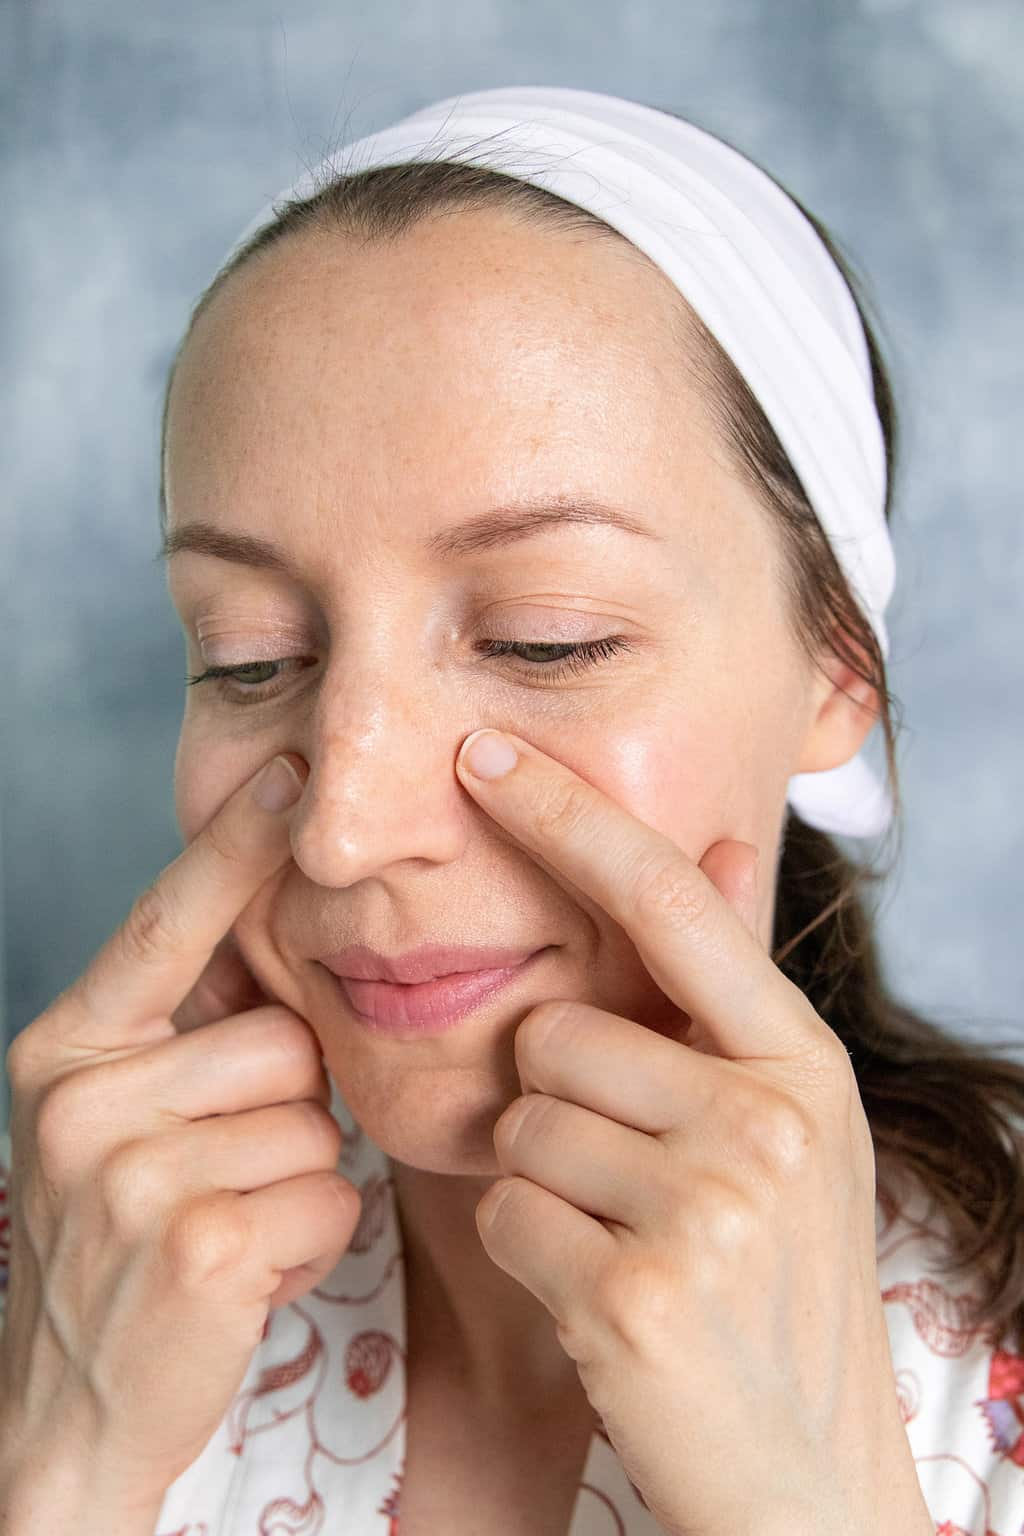
To get rid of laugh lines, you need to relax the mouth muscles and soften the lines around the mouth. While they may not go away completely, you can help retrain those muscles to make the lines less prominent.
Instructions
1. Place the tip of each index finger on either side of the nose.
2. Using firm pressure, massage the muscles in a circular motion for 30 seconds.
3. Next, make the letter “O” with your mouth.
4. Using your index fingers, pull down along the nasolabial folds from the nose to the chin.
5. Return to the starting position next to the nose and pull down over the nasolabial folds again.
6. Repeat 10 times.
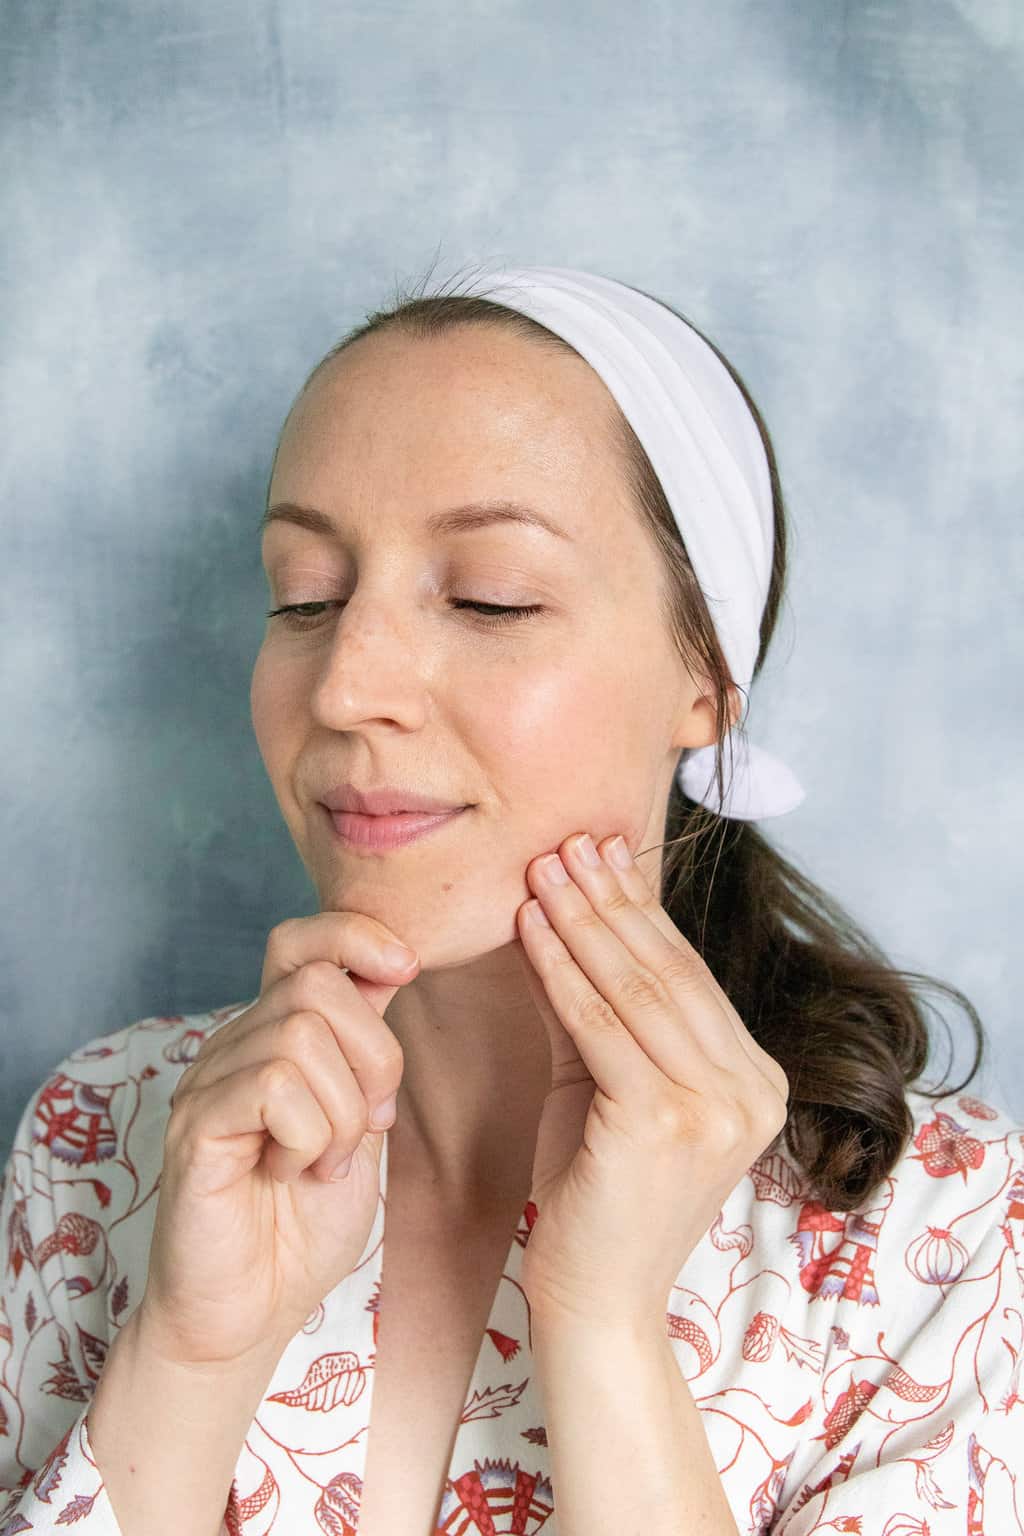
#4 | Jawline
This exercise helps shape the jawline by redistributing fat and improving circulation to the area.
Instructions
1. Use one hand to hold the chin taught.
2. With the other hand, place the thumb underneath your jaw and the fingertips above your jaw.
3. Using firm pressure, pull along the jawline from the chin to the ear.
4. Repeat 10 times on each side.
#5 | Double chin
While a double chin is usually caused by an accumulation of fat, it can be exacerbated by a buildup of fluid in the face. This means that, as with other parts of the face, it can benefit from relaxation and lymphatic drainage.
Instructions
1. Tilt your face upward 45 degrees.
2. Open your mouth slightly to relax the jaw and neck muscles.
3. Using the fingertips of both hands, gently swipe under the chin and down the neck.
4. Return to the starting position and repeat 10 times.
546





Sarah says
I’m late to the party, but thank you! I’ll try anything on my jawline!
iris weber says
Brilliant !!! Thanks for this !!!