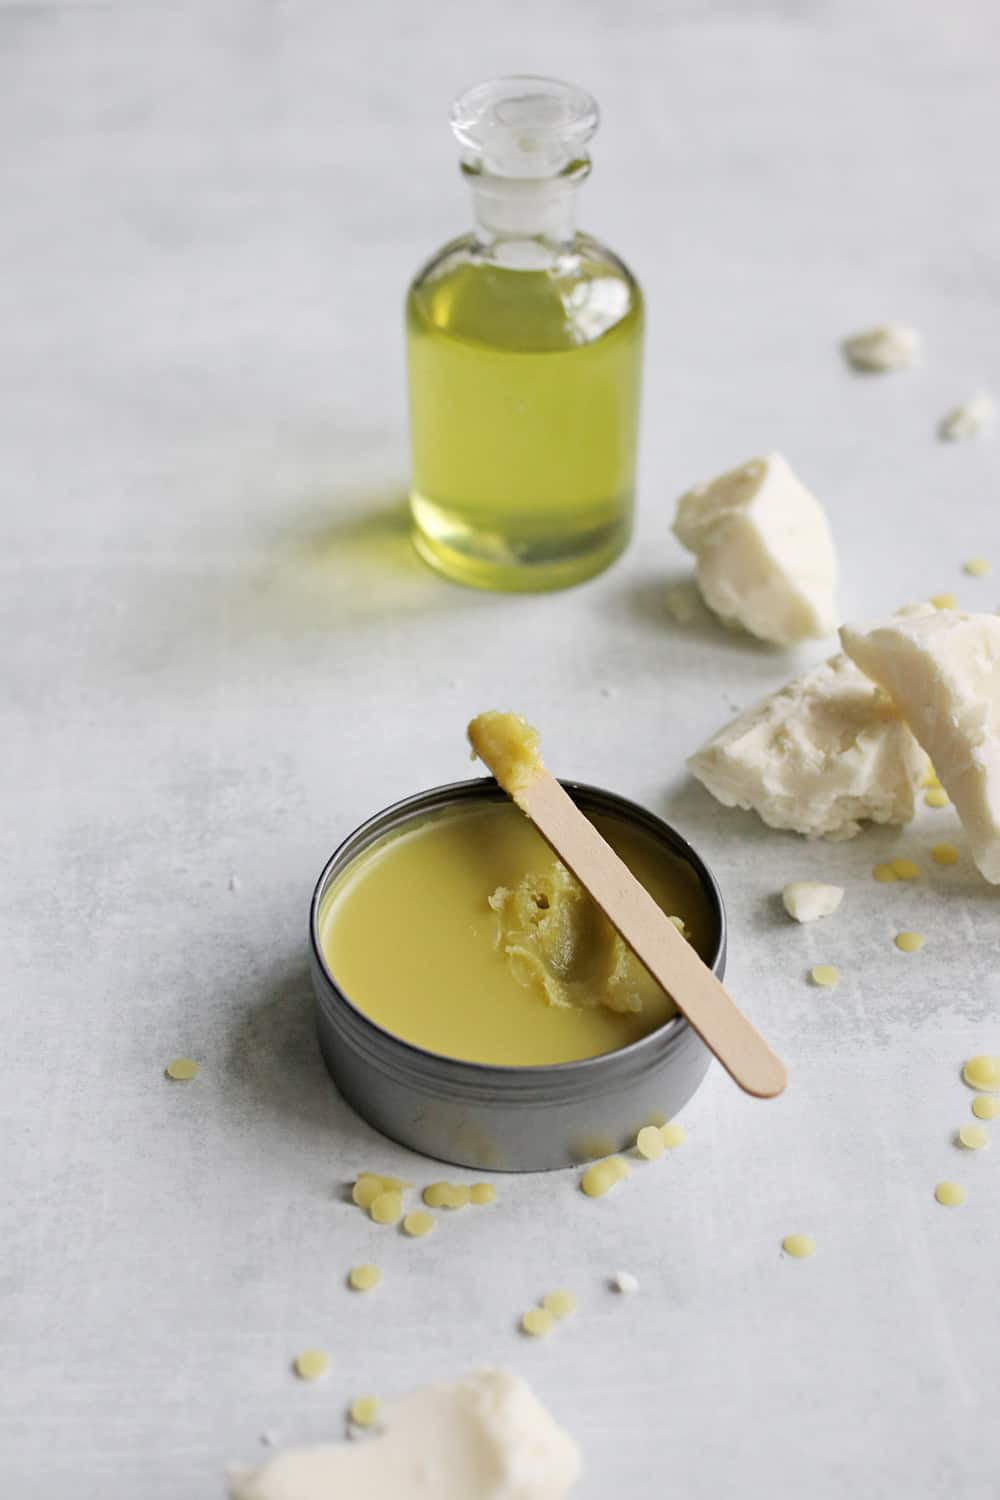
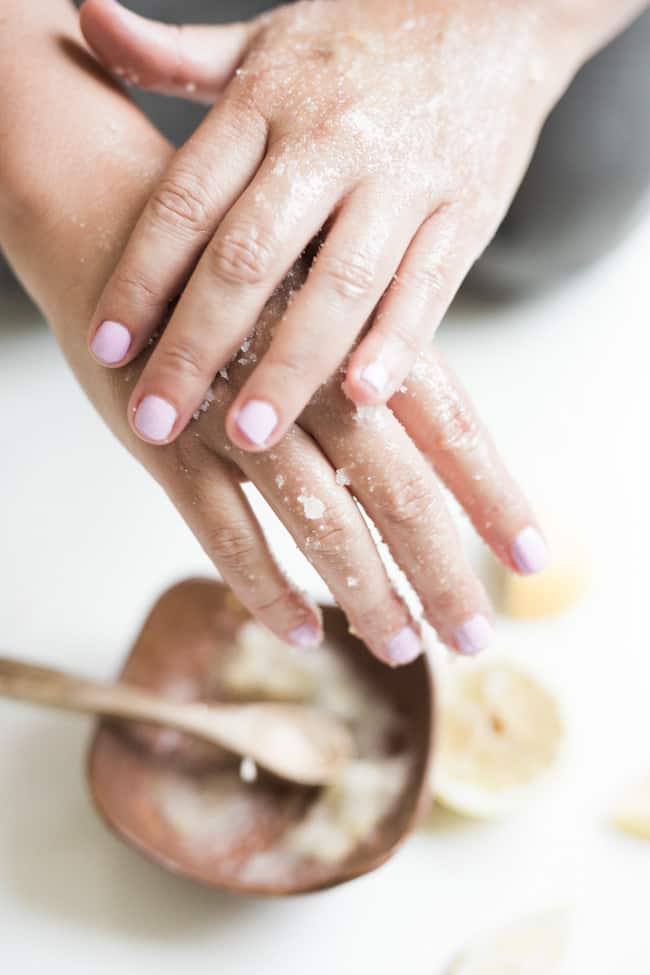
At-home manicures can be a terrific alternative to the expensive nail salon services that often only last a handful of days, no pun intended! To give yourself a thorough, long-lasting manicure at home you’ll want to follow a few key treatments to get the maximum number of days out of it.
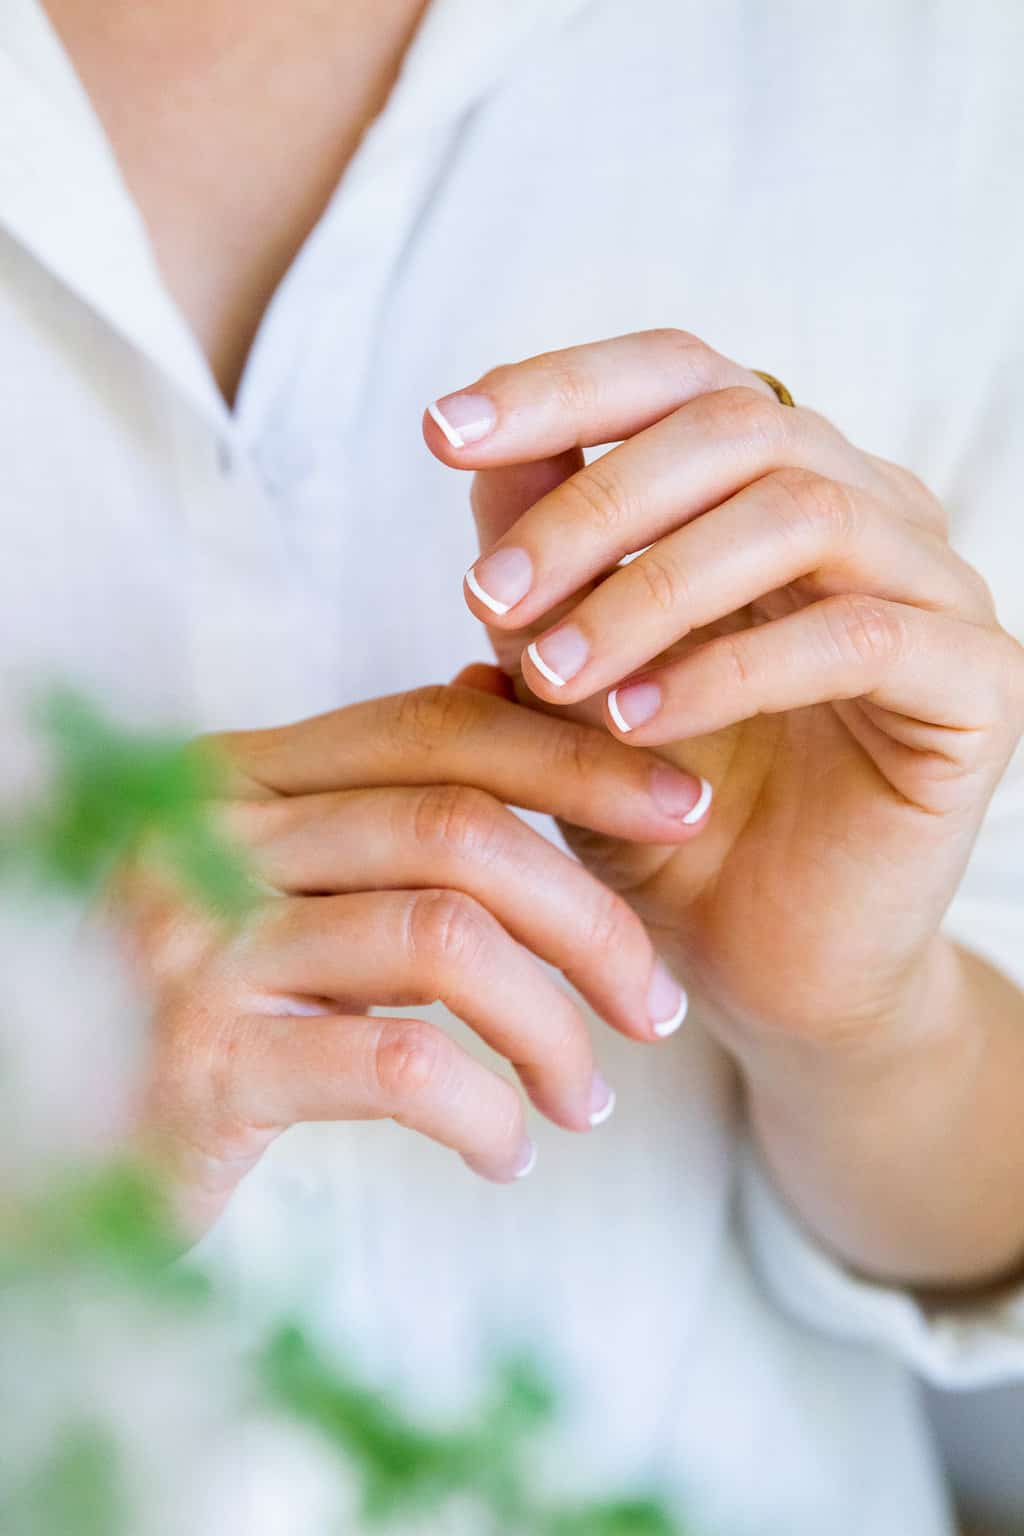
Even though I love getting my nails professionally done (who doesn't love some pampering?), I do my nails at home every week. Buy a few new nail polishes and these home manicure supplies, and you can do them yourself late at night when you're reading in bed or watching something on the iPad.
It's easy and saves me money and time. Just make sure to allow 45 minutes or so before falling asleep to avoid smudge disasters!
Jump to:
- How To Do a Manicure At Home
- Step 1 | Remove Old Nail Polish Thoroughly
- Step 2 | Soak To Soften Cuticles
- Step 3 | Clean Nails
- Step 4 | Massage Hands
- Step 5 | Cuticle Treatment
- Step 6 | Push Cuticles Back
- Step 7 | File and Shape Nails
- Step 8 | Buff the Nail Plate
- Step 9 | Apply a Base Coat
- Step 10 | Polish Nails
- Step 11 | Apply Top Coat
- Step 12 | Plenty of Drying Time
- FAQ
How To Do a Manicure At Home
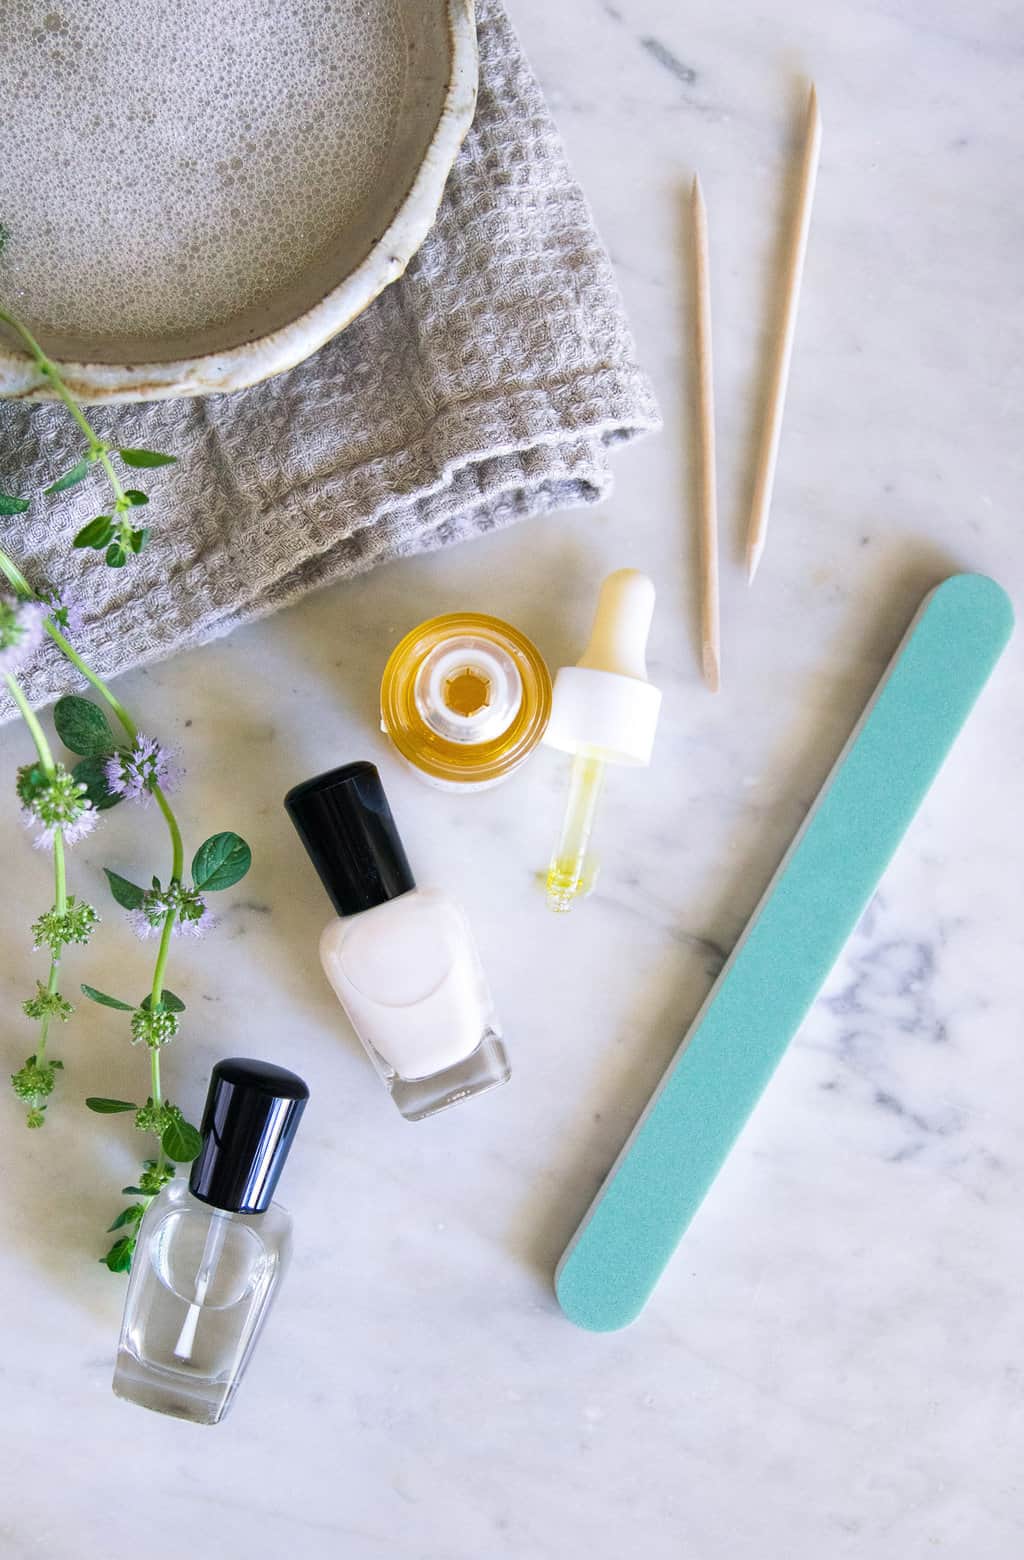
We've put together a little step-by-step guide on the ultimate salon-worth at-home manicure along with our favorite manicure supplies. Set aside plenty of time for the manicure itself and for the drying time after, and you just might be surprised how great your nails look!
Step 1 | Remove Old Nail Polish Thoroughly
Use a natural polish remover or acetone-free nail polish remover and cotton balls to remove all signs of your previous color choice. Sometimes it takes a few passes to get a bright color, such as red, removed thoroughly from skin and nails.
No remover? Don't fret, try one of these at-home nail polish remover ideas.
Nail polish remover picks:
- Karma Organic Natural Nail Polish Remover Unscented is non-toxic, scent-free, and it strengthens your nails, too.
- The Cutex Non-Acetone Nail Polish Remover is a non-acetone miracle, and it's also affordable.
Step 2 | Soak To Soften Cuticles
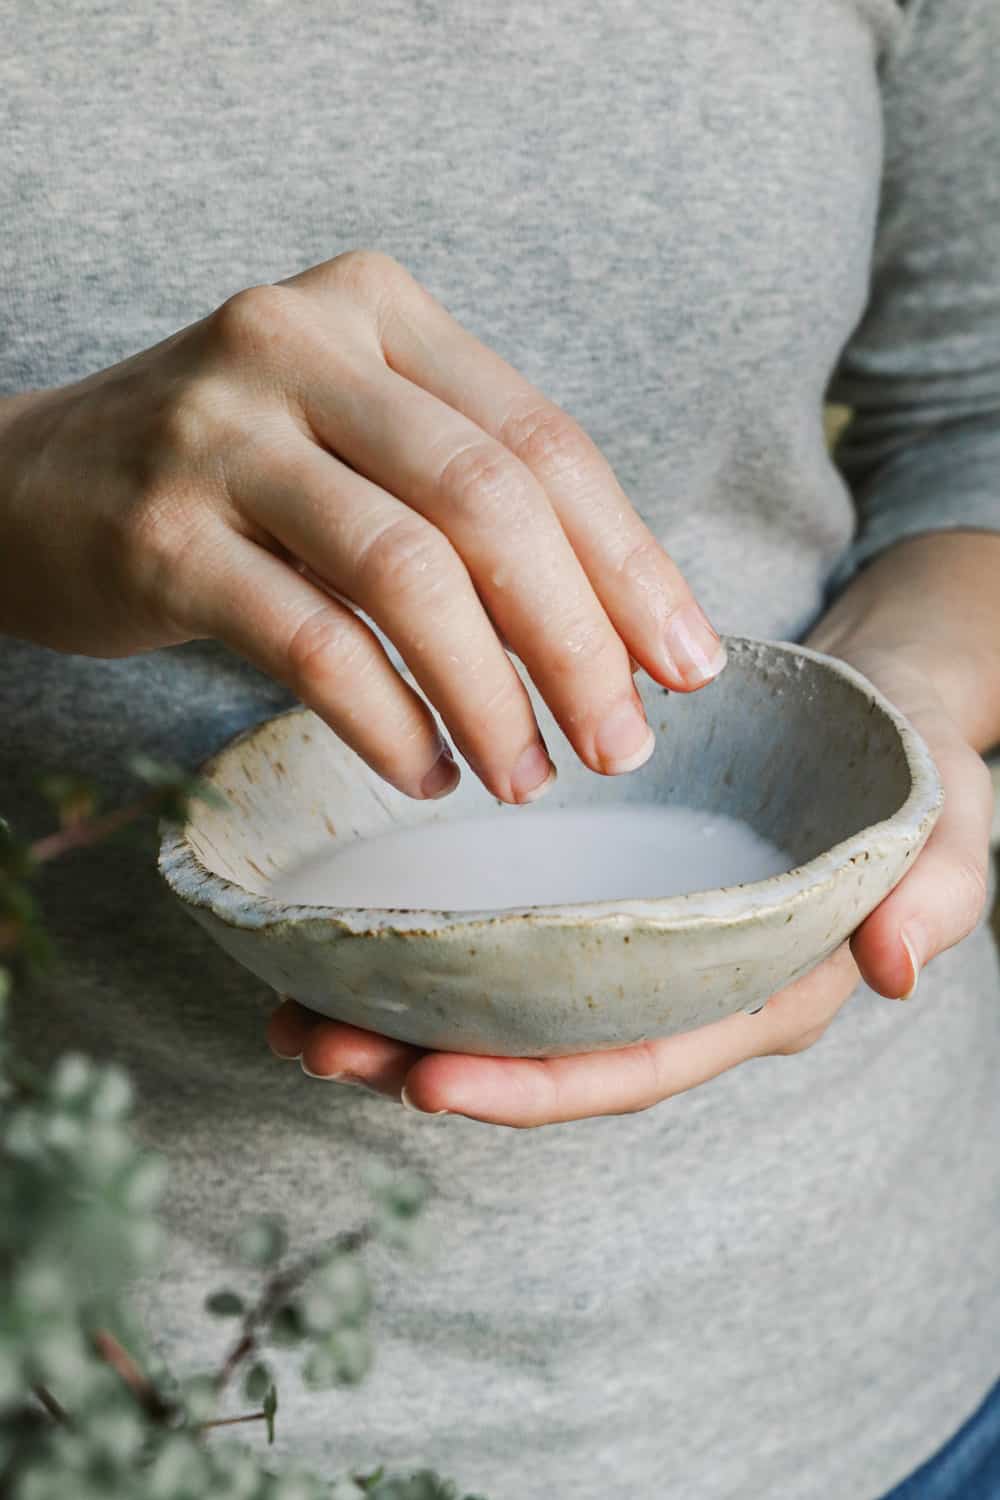
In a shallow dish, combine 1 teaspoon raw honey and 2 teaspoon olive oil in warm water. Soak for 5-10 minutes.
The honey has antibacterial properties and will cleanse and soften your nails while retaining moisture which is great for dry nail beds. Olive oil will also add moisture and shine to dry nails and cuticles.
If your cuticles are looking especially rough, add ¼ cup milk for its lactic acid, which helps soften the skin and slough away dead skin cells. You can also add a bit of carrier oil or a few drops of an essential oil that's good for nails, like myrrh.
Step 3 | Clean Nails
After soaking, use a brush or nail file to remove debris and dirt from beneath your nails.
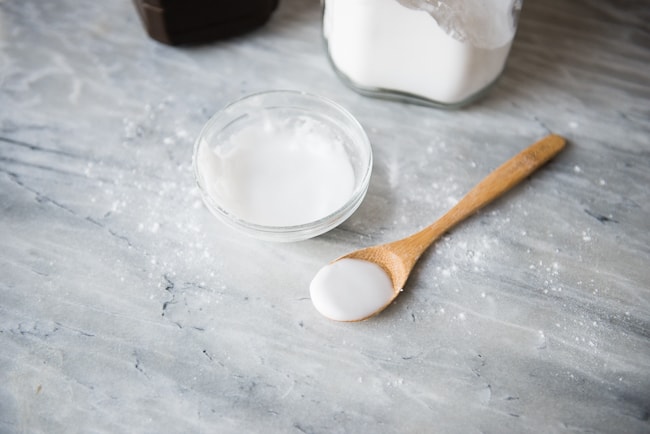
If your nails are yellow or discolored make a paste of hydrogen peroxide and baking soda. Massage nail beds with the mixture and let it sit for a couple of minutes then rinse off.
Exfoliator Picks:
- The luxurious Shea Moisture Coconut Hibiscus Scrub is basically a spa for your hands.
- Or treat yourself to a Bare Botanicals Salt Scrub, and enjoy the feeling of soft, moisturized skin.
Step 4 | Massage Hands
It may be a little strange to give yourself a massage, but don’t skip this step! Your skin will benefit from the hydration, not to mention we hold a lot of tension in our hands and fingers.
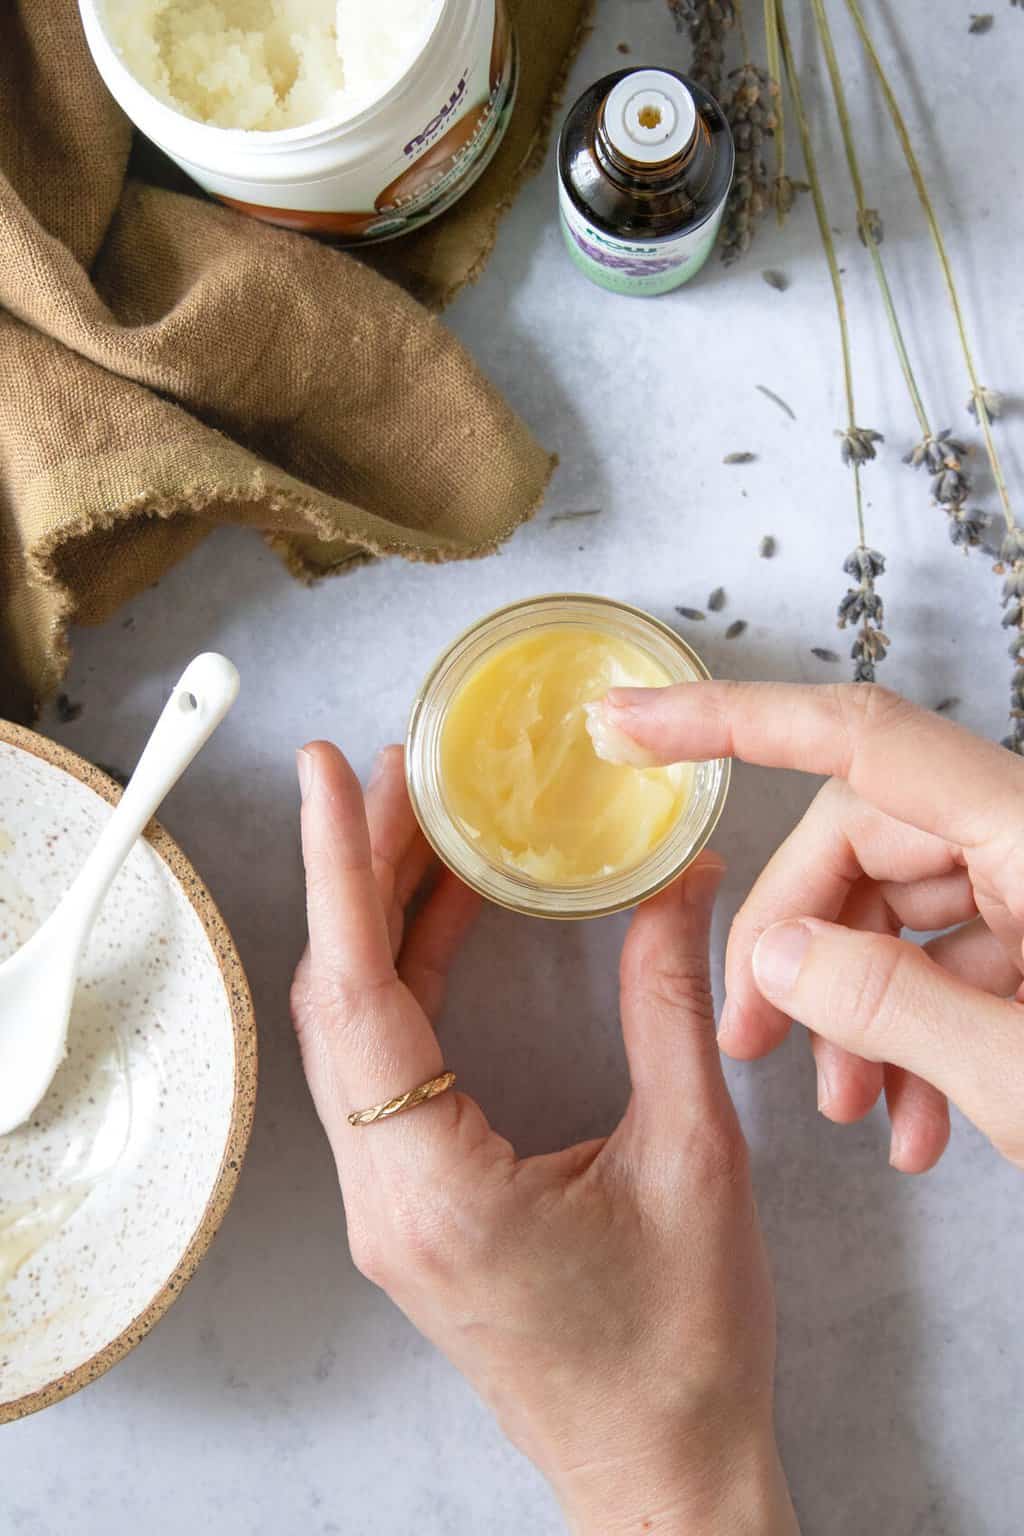
This whipped shea butter is a perfect choice to use during a hand massage.
Hand lotion picks:
- Burt's Bees Hand Repair Cream is the all-in-one hand moisturizer of our dreams.
- Philosophy's Hands of Hope Hand and Cuticle Cream is non-greasy, easily absorbed, and perfect for super dry skin.
Step 5 | Cuticle Treatment
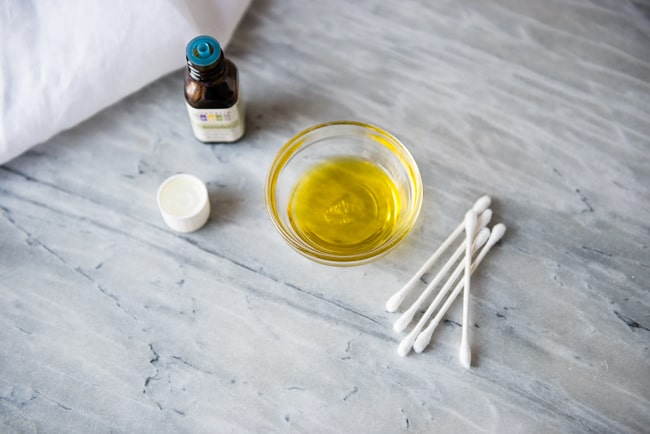
Cuticles tend to dry out and peel from the chemicals in nail polish so cuticle oil is a must. To soften cuticles, add a drop of lavender essential oil to 1 teaspoon of olive oil. Or use a cuticle balm infused with the best essential oils for nails.
Apply a drop or two of oil to the base of each nail. Then massage it into the cuticles for about 30 seconds. The longer you massage, the softer and more hydrated they’ll be, so take your time.
Cuticle serum picks:
- You'll love the scent and feel of the Cuccio Natural Milk and Honey Cuticle Revitalizing Oil on your hands.
- Strengthen your nails and cuticles with a precise application of Bliss Kiss Simply Pure Cuticle & Nail Oil Pen. Or make the DIY version of cuticle oil pens with our favorite nail-strengthening essential oils.
Step 6 | Push Cuticles Back
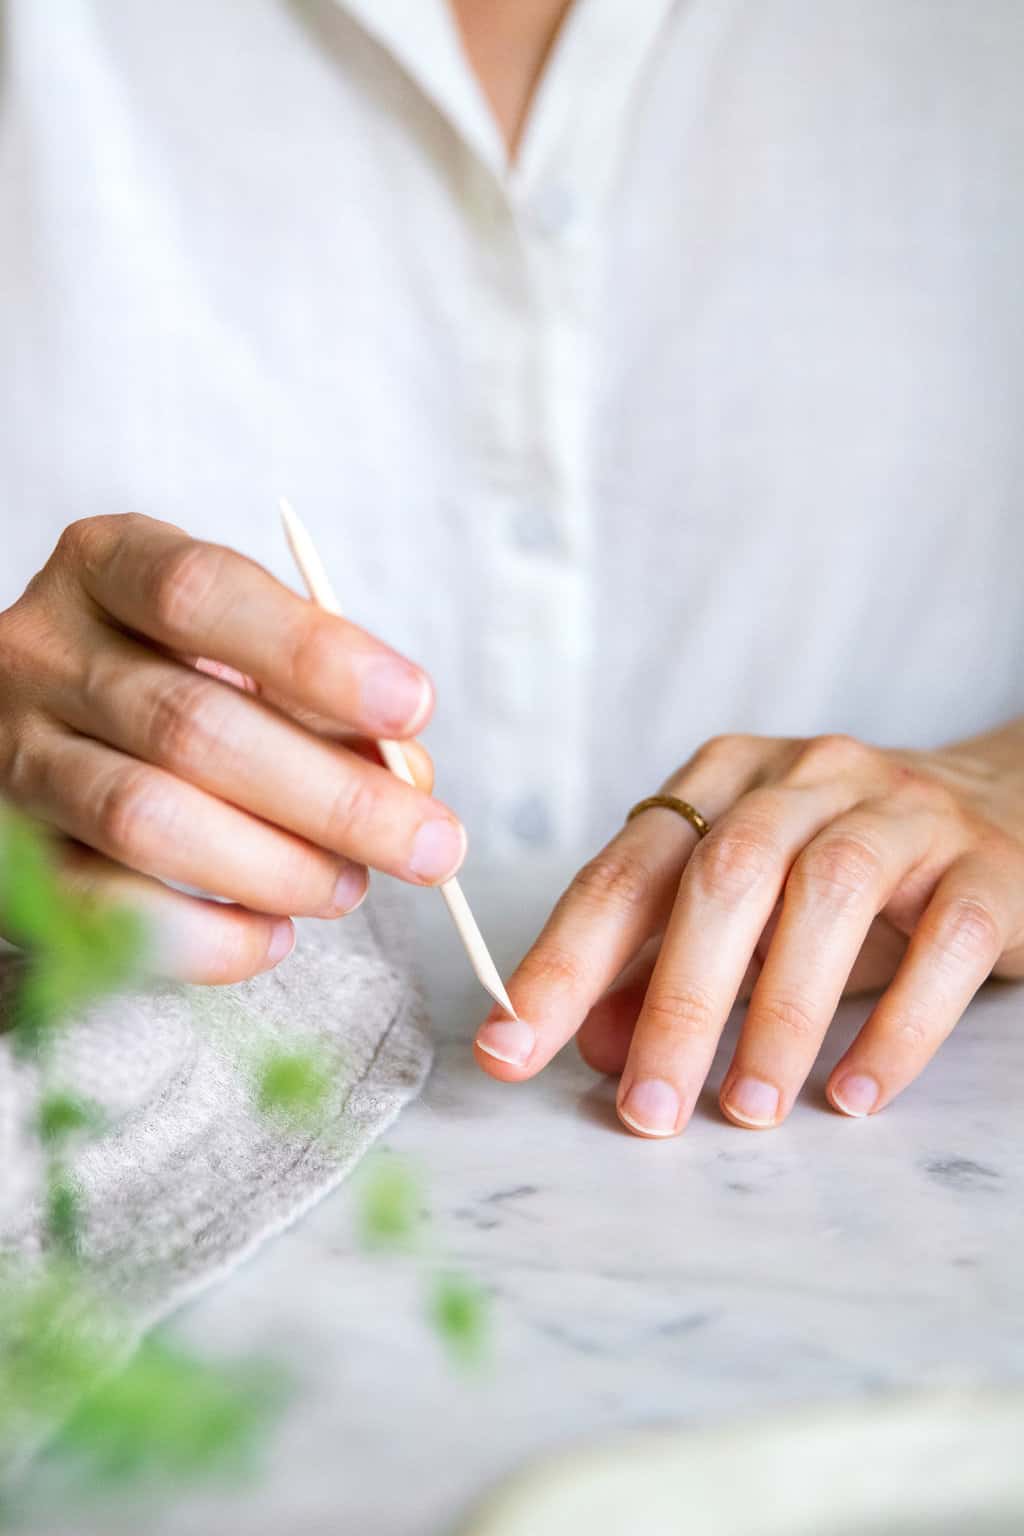
Now that your cuticles are hydrated, it’s time to clean them up. Use a Q-tip or cuticle stick to push back your cuticles so they don’t get in the way of your polish.
Clip hangnails and get rid of skin that may snag but don't trim your cuticles like they do at the salon. In my experience, when they grow out you're left with a big ol' ratty mess!
The more I mess with my cuticles, the more they crack and peel in the future, so I keep this part to a minimum.
Cuticle pusher picks:
- Tweezerman Pushy Cuticle Pusher is ideal for at-home use, but it's actually salon-grade quality.
- Or you can push, cut, and trim your cuticles with a super-affordable stainless steel cuticle pusher cutter trimmer set.
- The Tweezerman Grip & Snip Spiral Spring Cuticle Nippers tool is both good-looking and comfortable to use.
Step 7 | File and Shape Nails
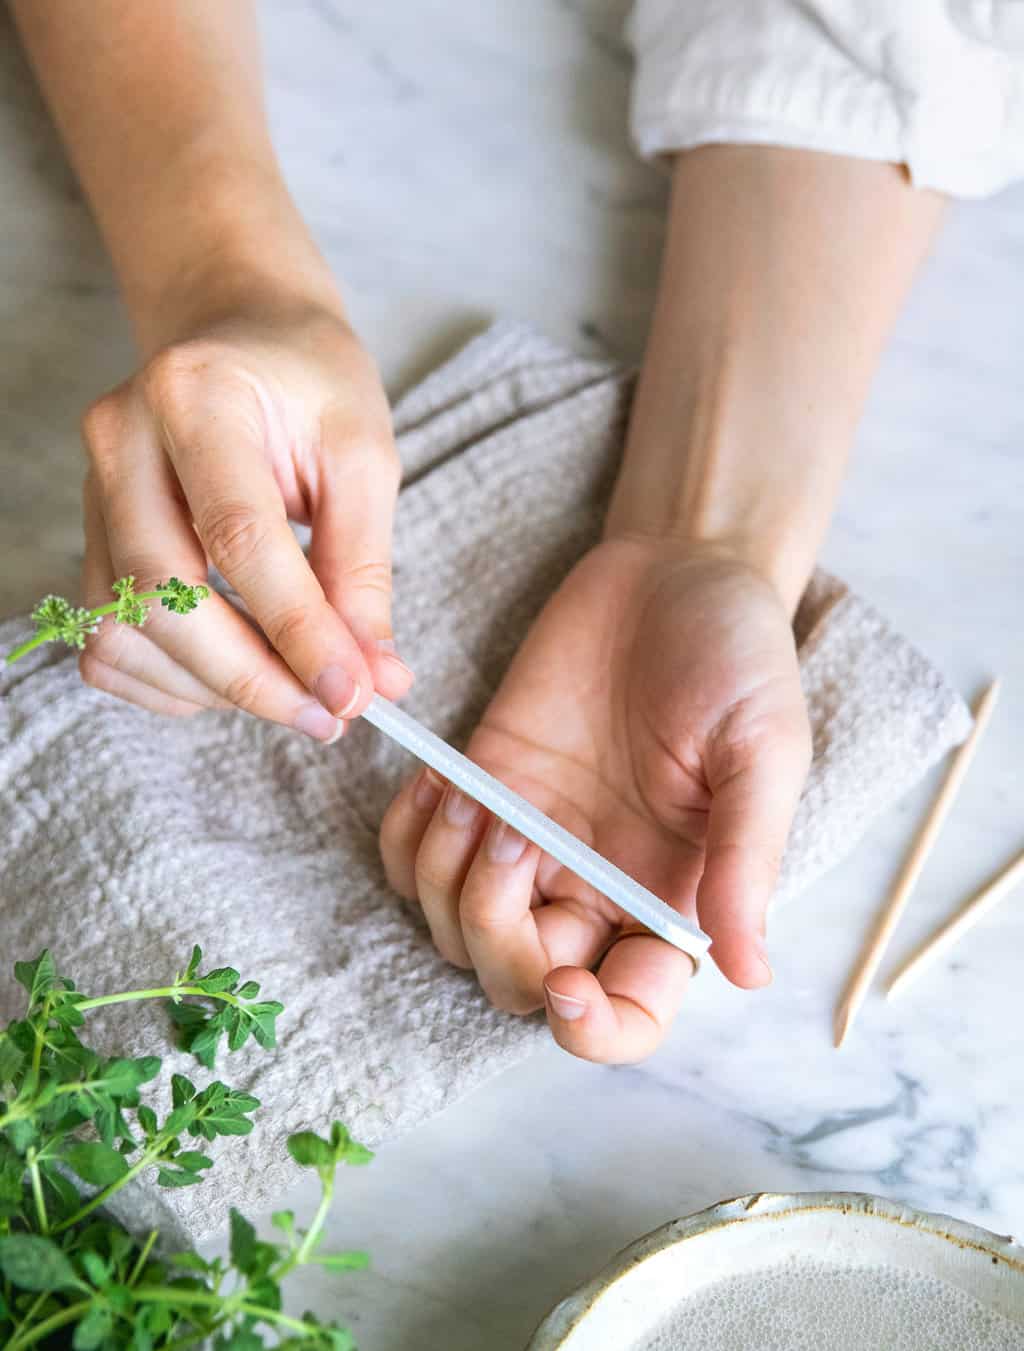
Whether you prefer square, oval, or stiletto, use a nail file to shape your nails into your desired length and shape. File in one direction so that your nails don't get split ends.
If you can’t decide which shape to make, try mirroring the shape of your cuticles. If you have straight or squared-off cuticles, go for square or squoval (square-oval) nails. If you have round cuticles, try a round or oval shape.
Nail file + clipper picks:
- The OPI Crystal Nail File is reusable, sanitizable, and travel-friendly, not to mention long-lasting. A crystal nail file is the best thing you could ever buy. I've had mine for years, and I can't tell you enough how much I love it.
- Alternatively, the Tweezerman Neon Hot Nail Files come in a set of three, and they can file both natural and acrylic nails.
- The Revlon 2-in-1 Nail Clipper and the basic Revlon Nail Clipper are both excellent, long-lasting options for an at-home mani.
Step 8 | Buff the Nail Plate

Once your nails are shaped, use a nail buffer to smooth the nail plate.
Using the roughest part of the buffer, gently buff the surface of each nail to smooth out any ridges and get rid of discoloration. Continue buffing until the nail becomes cloudy.
Next, using the smoother part of the buffer, buff the nails until they become shiny.
Wipe away dust with a damp towel. Rinse off your nails to get rid of any lingering dust or oil that may interfere with the application of your polish.
Nail buffer picks:
- If you're going to a no-polish manicure, a nail buffer or nail polishing block lets you buff and polish your nails to perfection for a salon-worthy finish.
Step 9 | Apply a Base Coat
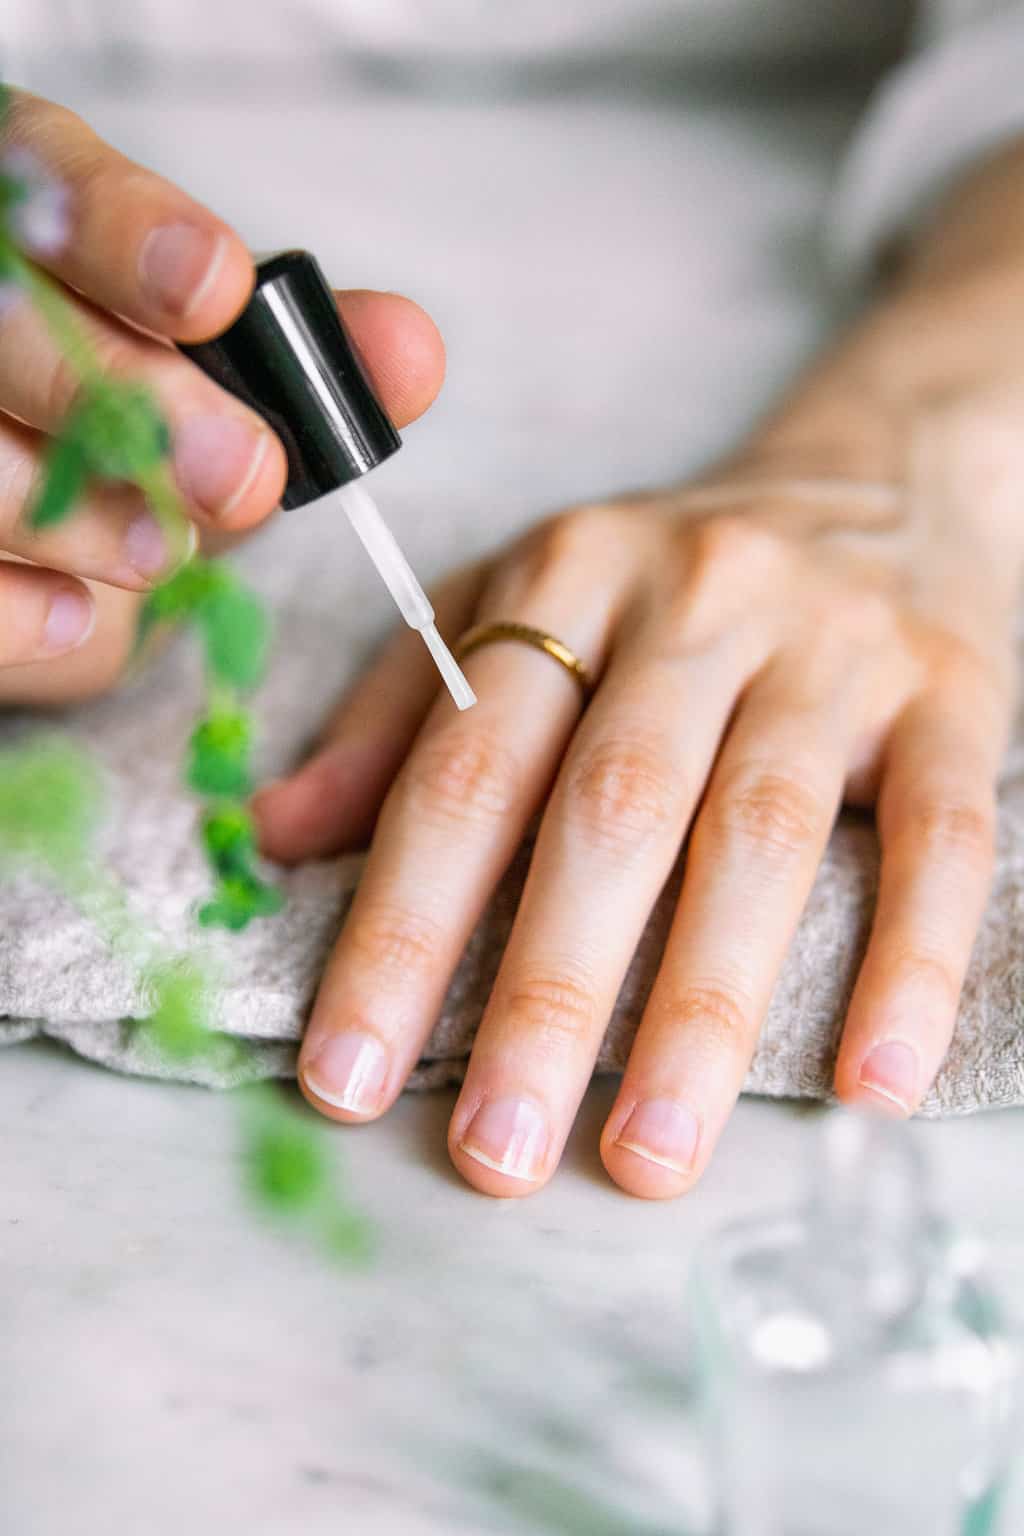
With clean, trimmed nails, it’s time to apply the base coat. This protects the nails against staining and also promotes adhesion between the nail and the nail varnish.
Let the base coat dry thoroughly before moving on to the next step.
Base coat picks:
- The Karma Organic 2 in 1 Base Coat and ella+mila Ridge-Filler Base Coat both make perfect base coats for at-home use.
Step 10 | Polish Nails
Now you’re ready for nail polish. Are you a neutral girl who sticks to pale pinks and nudes, or do you change your nail shades with the season?
Most nail polishes should be applied in two thin coats. Place a stroke down the center, followed by one on each side. Let the first coat dry and apply the second so that it provides a more opaque finish.
Nail polish picks:
- Essie is our all-time favorite, particularly the Talk to the Sand shade and their Treat, Love and Color line. Beginning in 2021, Essie polish became vegan and 8-free!
- You can find more non-toxic nail polish options here or learn how to make your own custom shades.
Step 11 | Apply Top Coat
Finish with a thin layer of clear top coat. It seals the color and adds shine, lengthens the staying power of your nail polish, and speeds up the drying time.
If any polish ends up on your skin, use a tiny brush (an old eyeliner brush works well) dipped in nail polish remover to clean up the edges. You'll love a nail corrector in your arsenal for those last-minute touch-ups.
Top coat picks:
- Our favorite top coat options include Mineral Fusion and Karma Organic.
Step 12 | Plenty of Drying Time
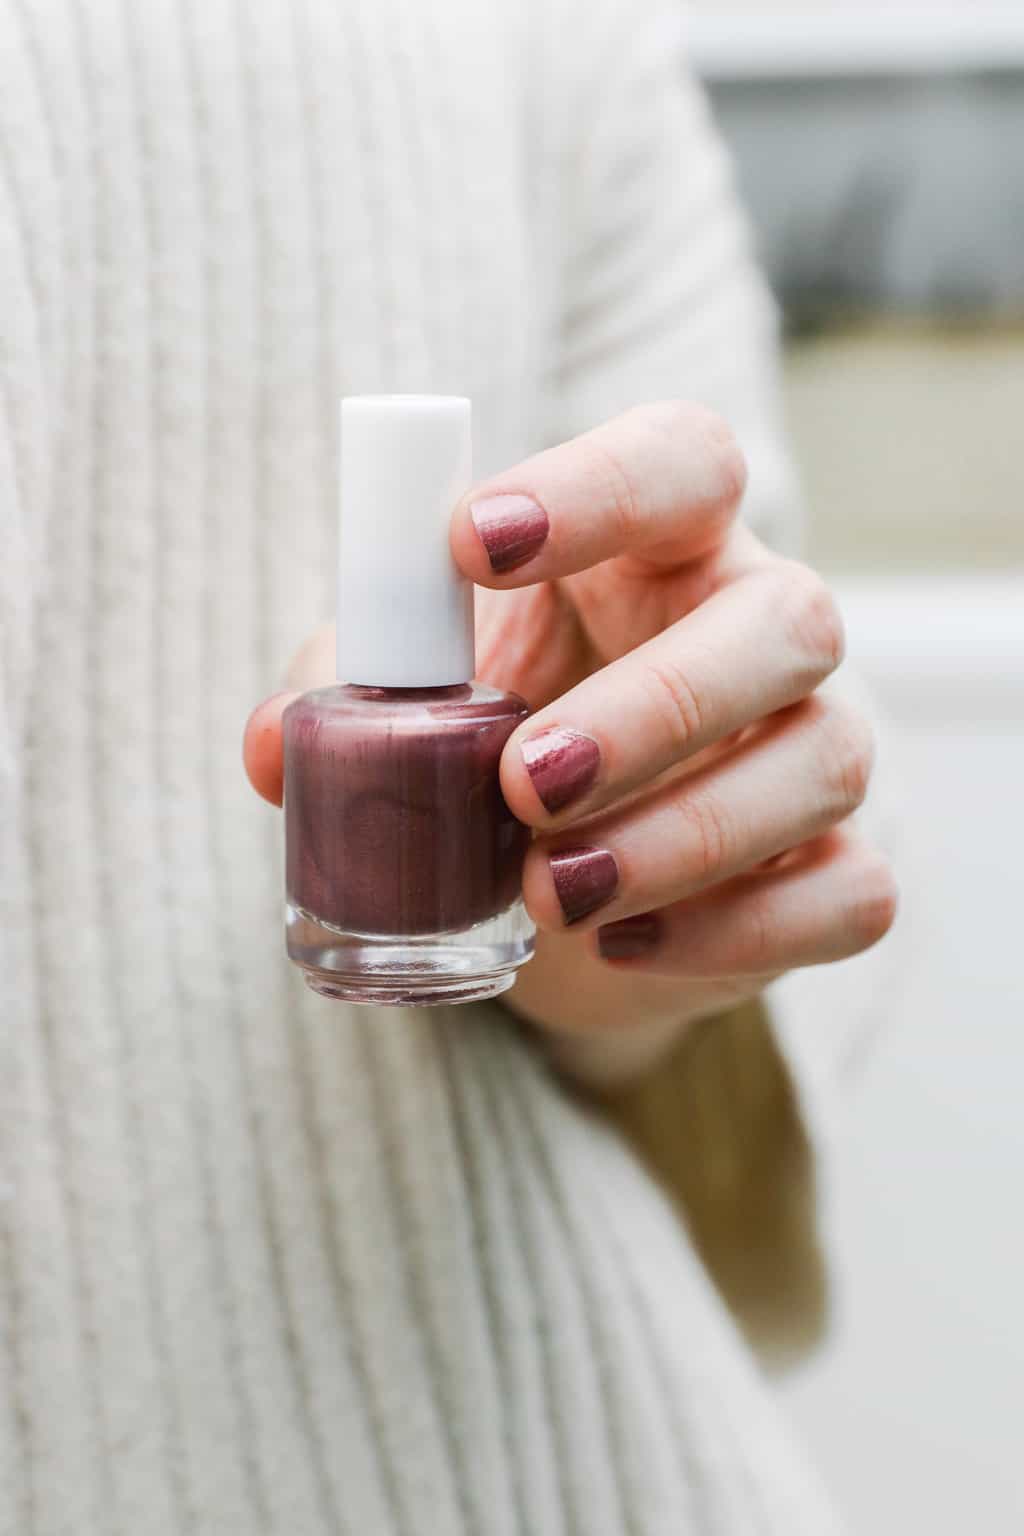
One of the reasons at-home manicures are difficult is that we rush through them without allowing our nails to thoroughly dry. That ultimately leads to dings or smudges.
Give yourself a good 15 minutes (or longer!) to make sure everything is completely dry. And wait at least 1 to 2 hours before washing your hands or doing anything that might smudge the paint before it’s had a chance to cure.
Apply another layer of top coat every two to three days to give your mani extra staying power.
FAQ
Use a nail file to shape your nails, filing in one direction to prevent splitting. Regularly moisturize your hands and nails with heavy-duty hand cream. Winter is often tough on hands and nails so try the tips here to strengthen your nails.
Base coats and top coats are your friends here. They significantly improve the longevity and appearance of your manicure. The base coat helps protect your nails and ensures better polish adhesion, while the top coat adds shine and protects against chips and scratches.
Absolutely! Short nails can look very neat and elegant. Ensure they are evenly shaped and focus on caring for your cuticles and skin, which will enhance the overall appearance of your manicure.
It depends on your personal preference and how quickly your nails grow and polish chips. Typically, a home manicure can last about a week. But applying a top coat every few days can help extend the life of your manicure.

