If you've never heard of essential oil wax sachets, they’re a lot like candles except they don’t burn. Instead, they’re just pretty, fragrant bars of wax that make your home look sweet and smell amazing. If you have a window that doesn't get too hot, try hanging a wax sachet from the sash and let the sun help release the scent. It's heavenly!
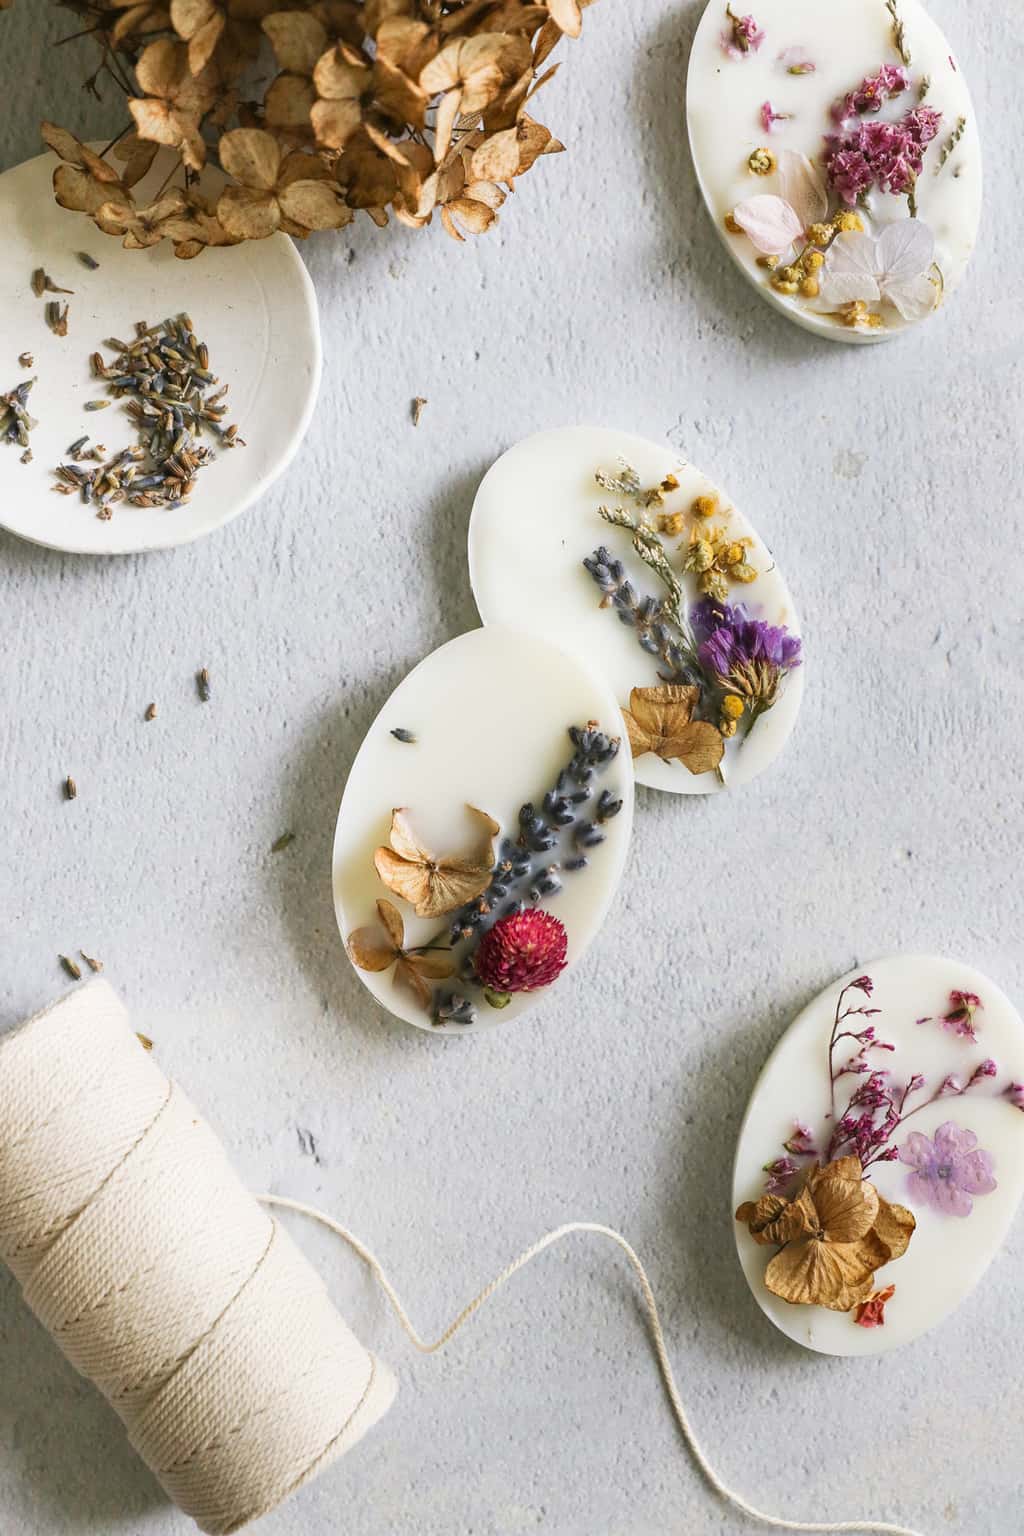
We're big candle fans around our house and I usually have at least one burning at any given time. But with wild animals and the occasional small child running around, I’m always a little worried about the fire hazard aspect. Plus, I can never remember if I blew them out before leaving the house! So that’s why I love essential oil wax sachets.
These really couldn't be easier to make. Here is a basic recipe that you can customize with any herbs and essential oils you choose. Or read on for a few of my favorite flower + oil combinations.
Jump to:
Wax Sachet Supplies
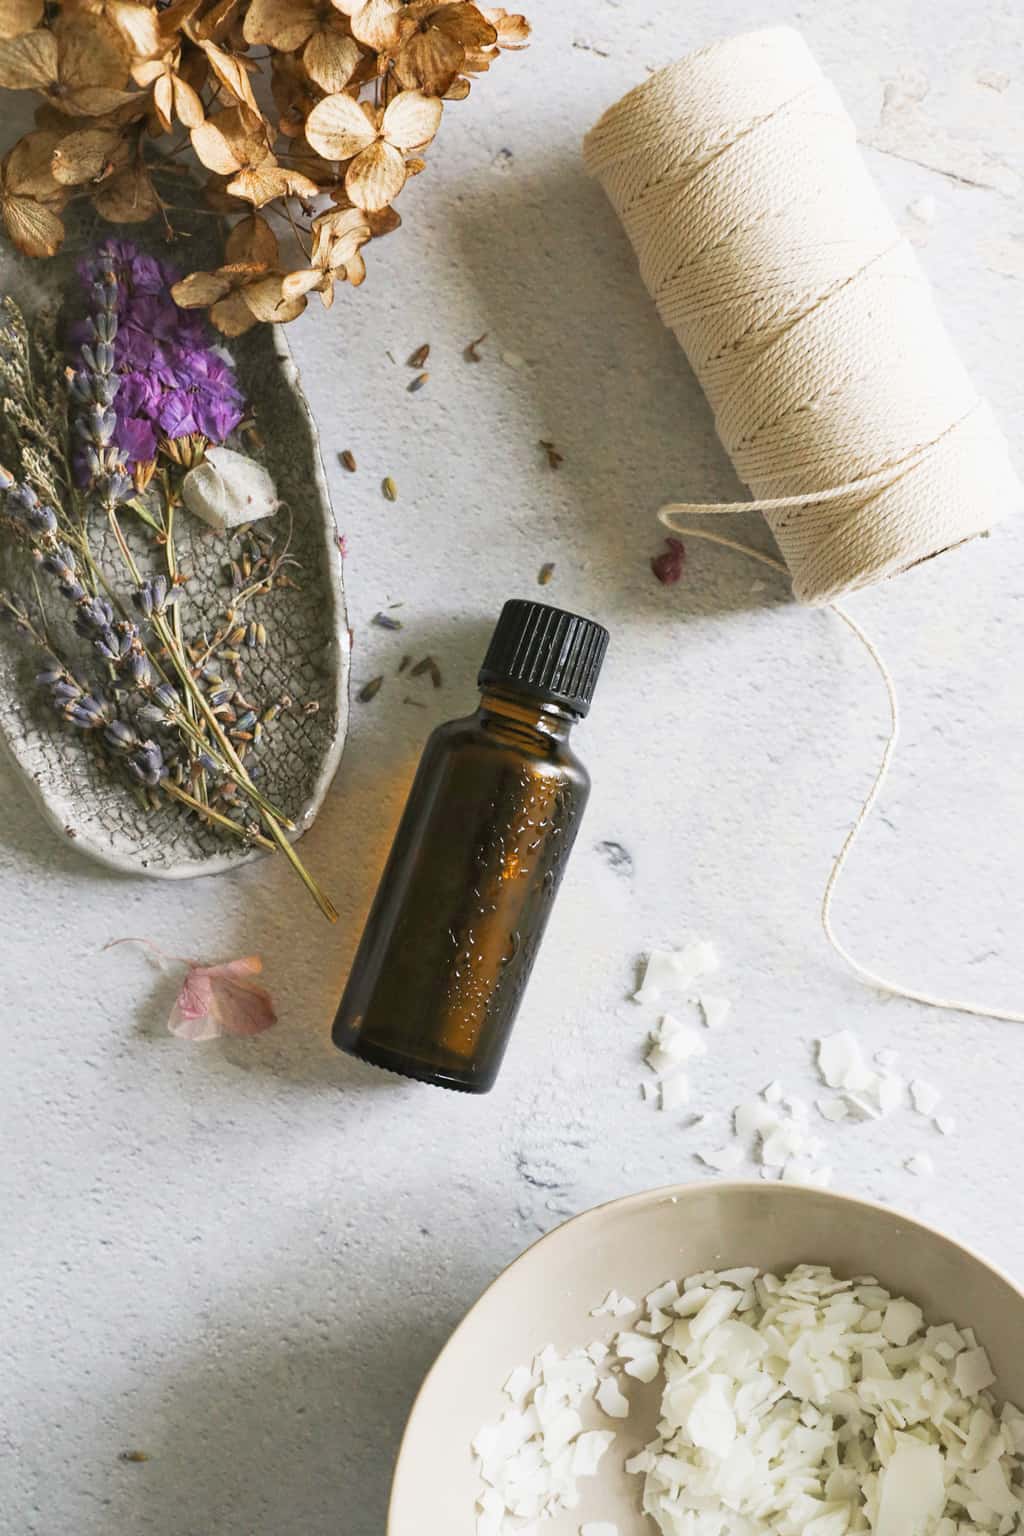
To make wax sachets, all you need is wax (I like to use soy wax but you can also use beeswax if you have it), essential oils and some dried herbs or flowers. They're super easy to make and can be whipped up in an afternoon. You'll need:
—String
—Long metal nail or needle
—Wax pitcher (or a clean aluminum can)
—Silicone molds
—2 cups soy wax flakes
—2 teaspoon essential oil of your choice (see below for scent options)
—2 teaspoon dried flower petals or herbs
How to Make Essential Oil Wax Sachets
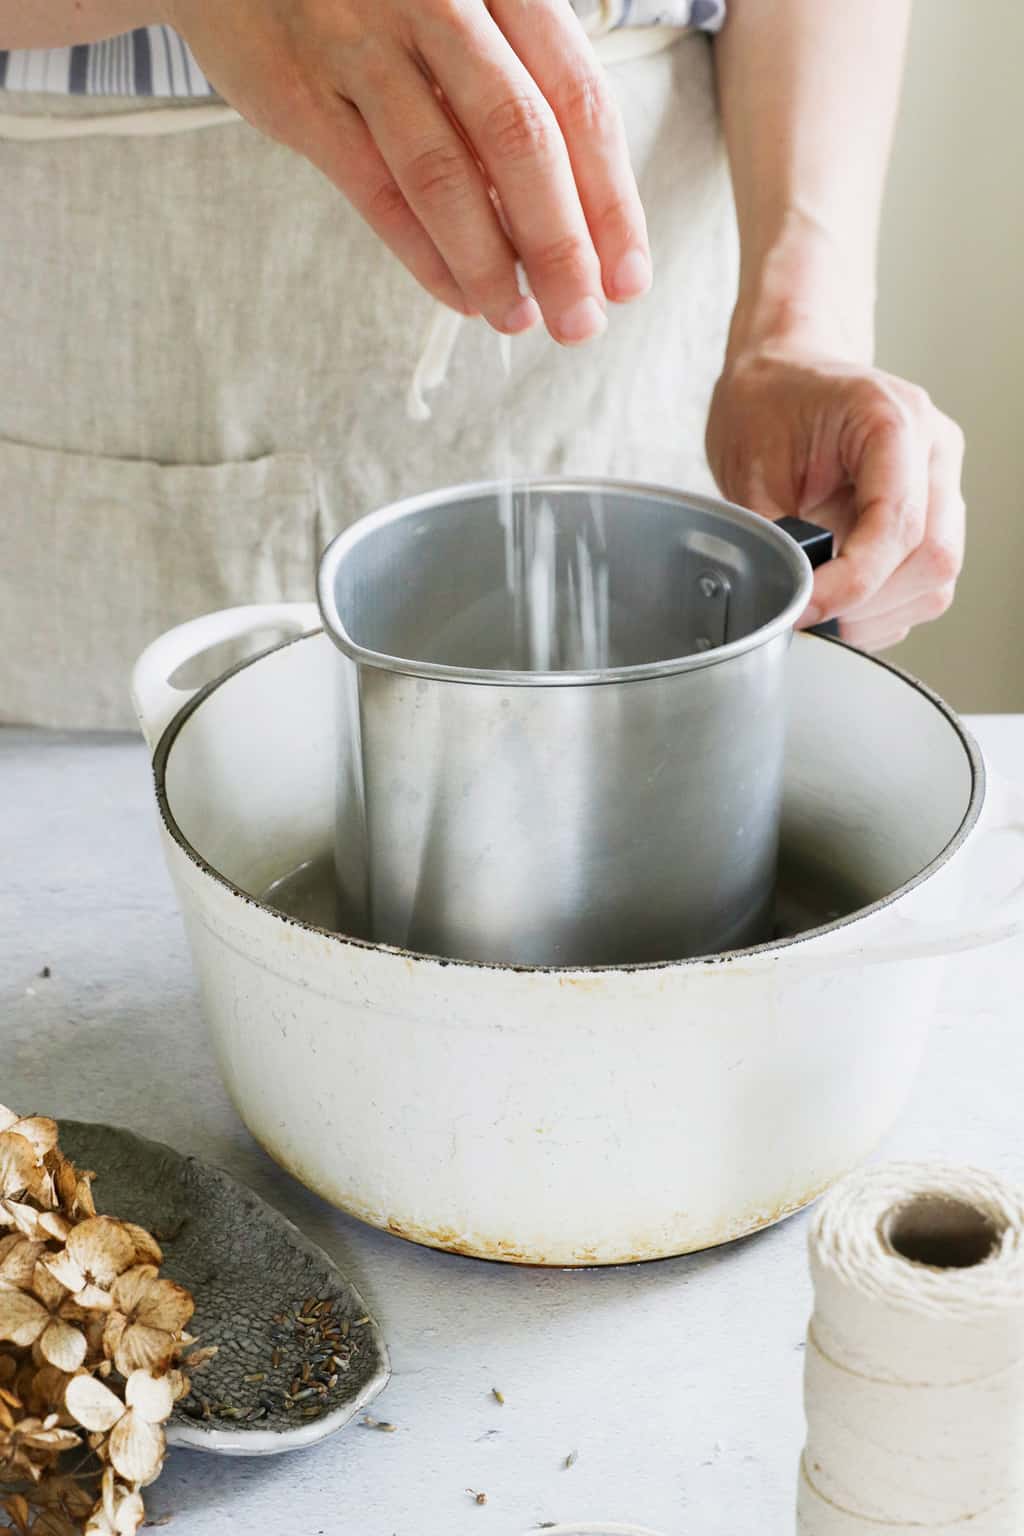
Step 1 | Melt wax
Fill your wax pitcher or aluminum can ¾ of the way with wax flakes. Place the can in the center of a small saucepan and pour water in the saucepan until it reaches 2 inches up the sides of the can.
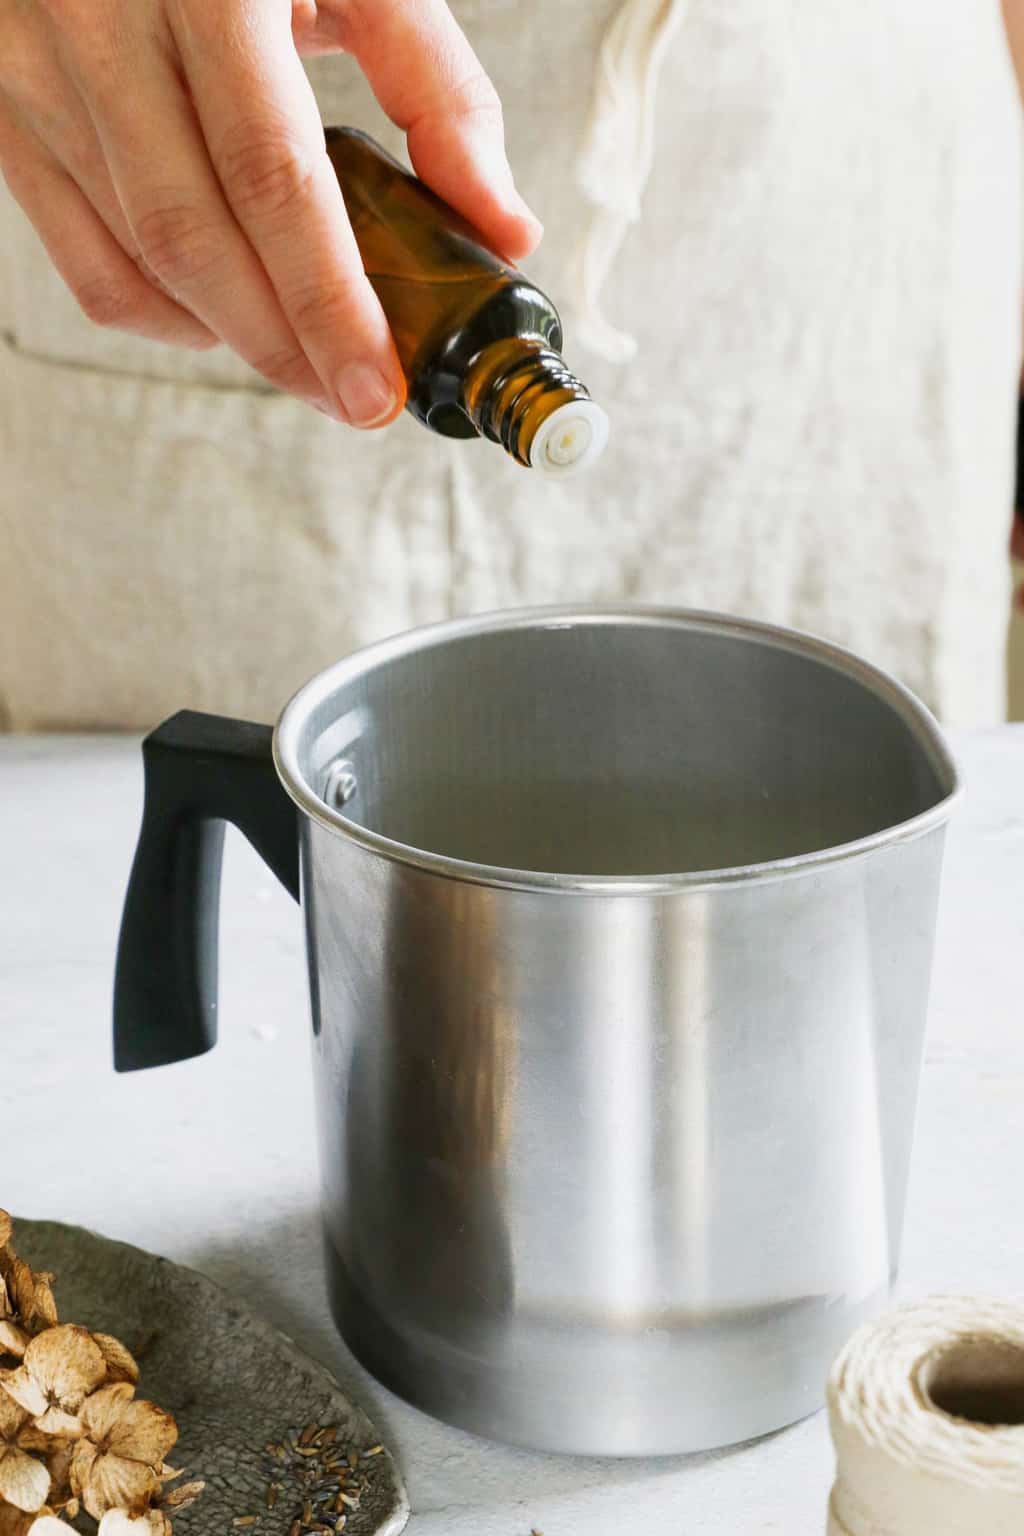
Step 2 | Add essential oils
Bring the water to a boil over medium heat and keep a watchful eye on the wax until it's completely melted.
Once the wax has melted, add your essential oils and stir to combine.
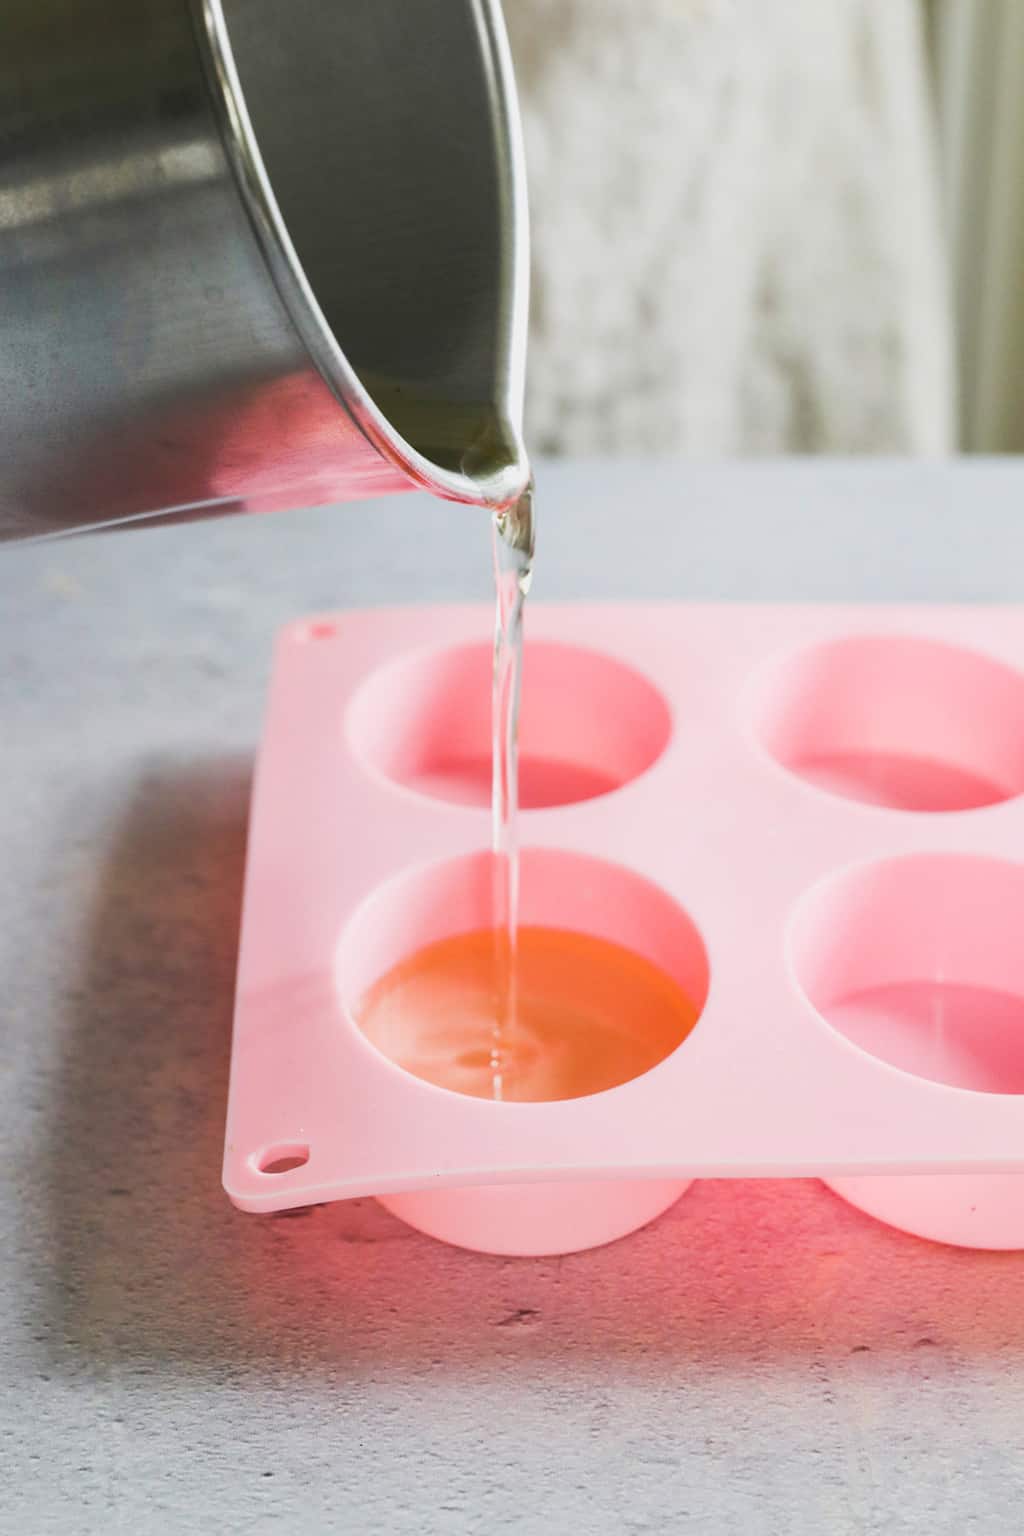
Step 3 | Pour wax
Pour the wax into each of the mold cavities about ¾ of the way full. Let the wax cool slightly.
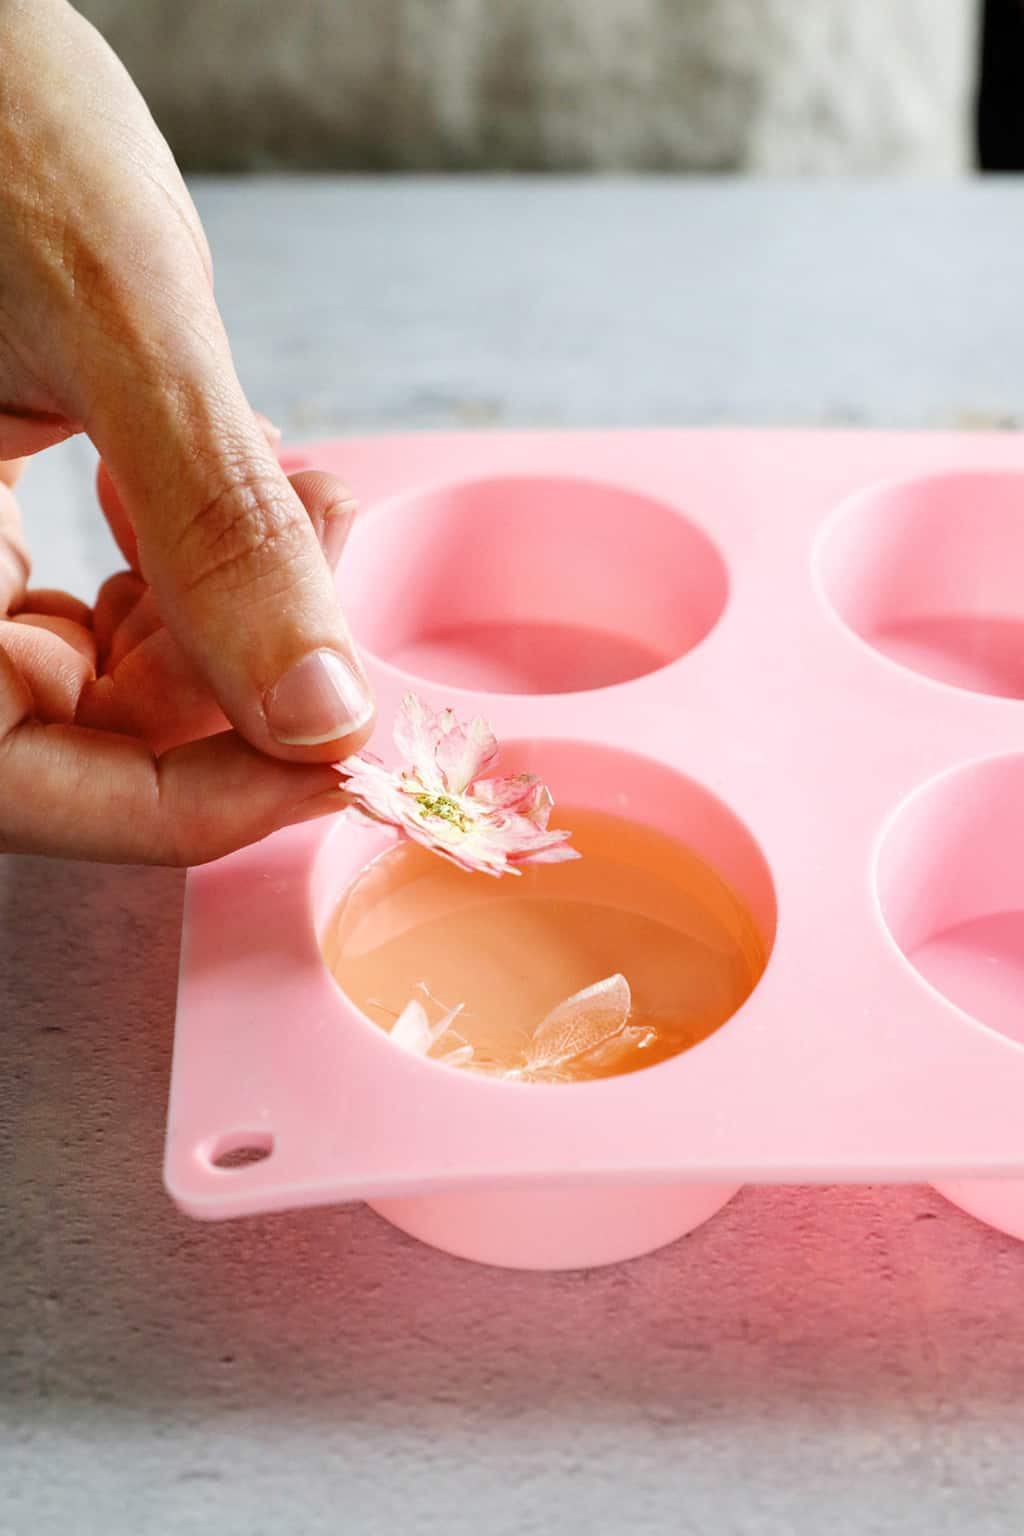
Step 4 | Add dried elements
When the wax has just begun to set, place dried flowers and herbs in the wax. Repeat until you've filled all the cavities.
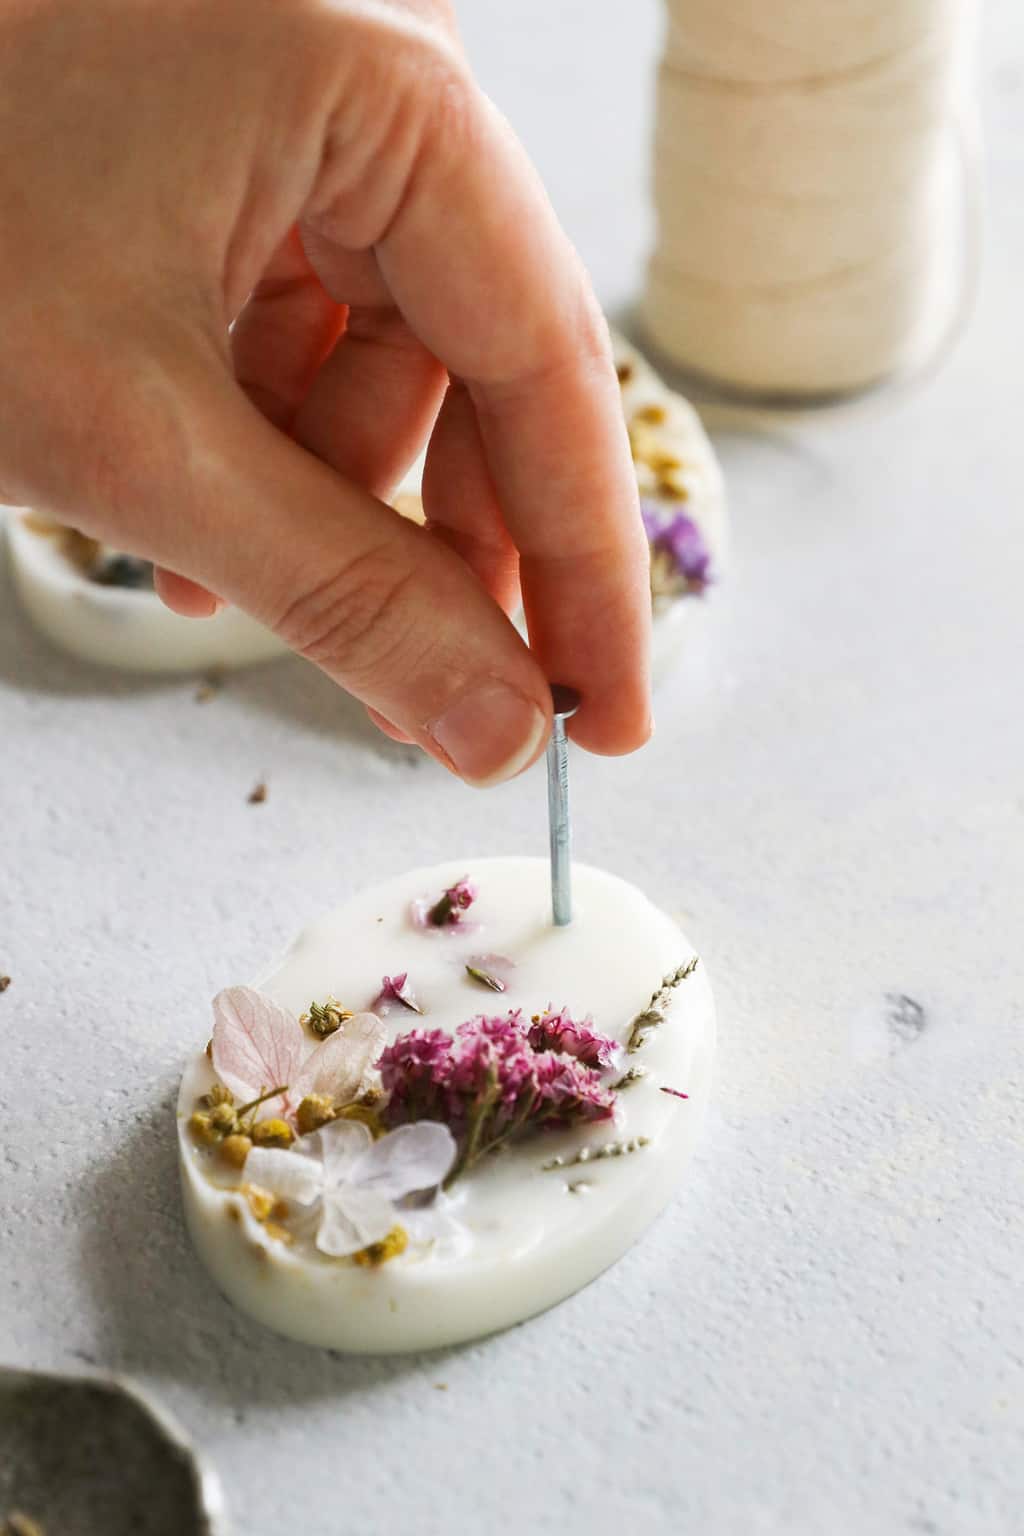
Step 5 | Make holes
When the wax has cooled completely, remove the sachets from your molds. Use a nail to melt a small hole through the top of your wax bars (I found it best to start at the back and go through to the front).
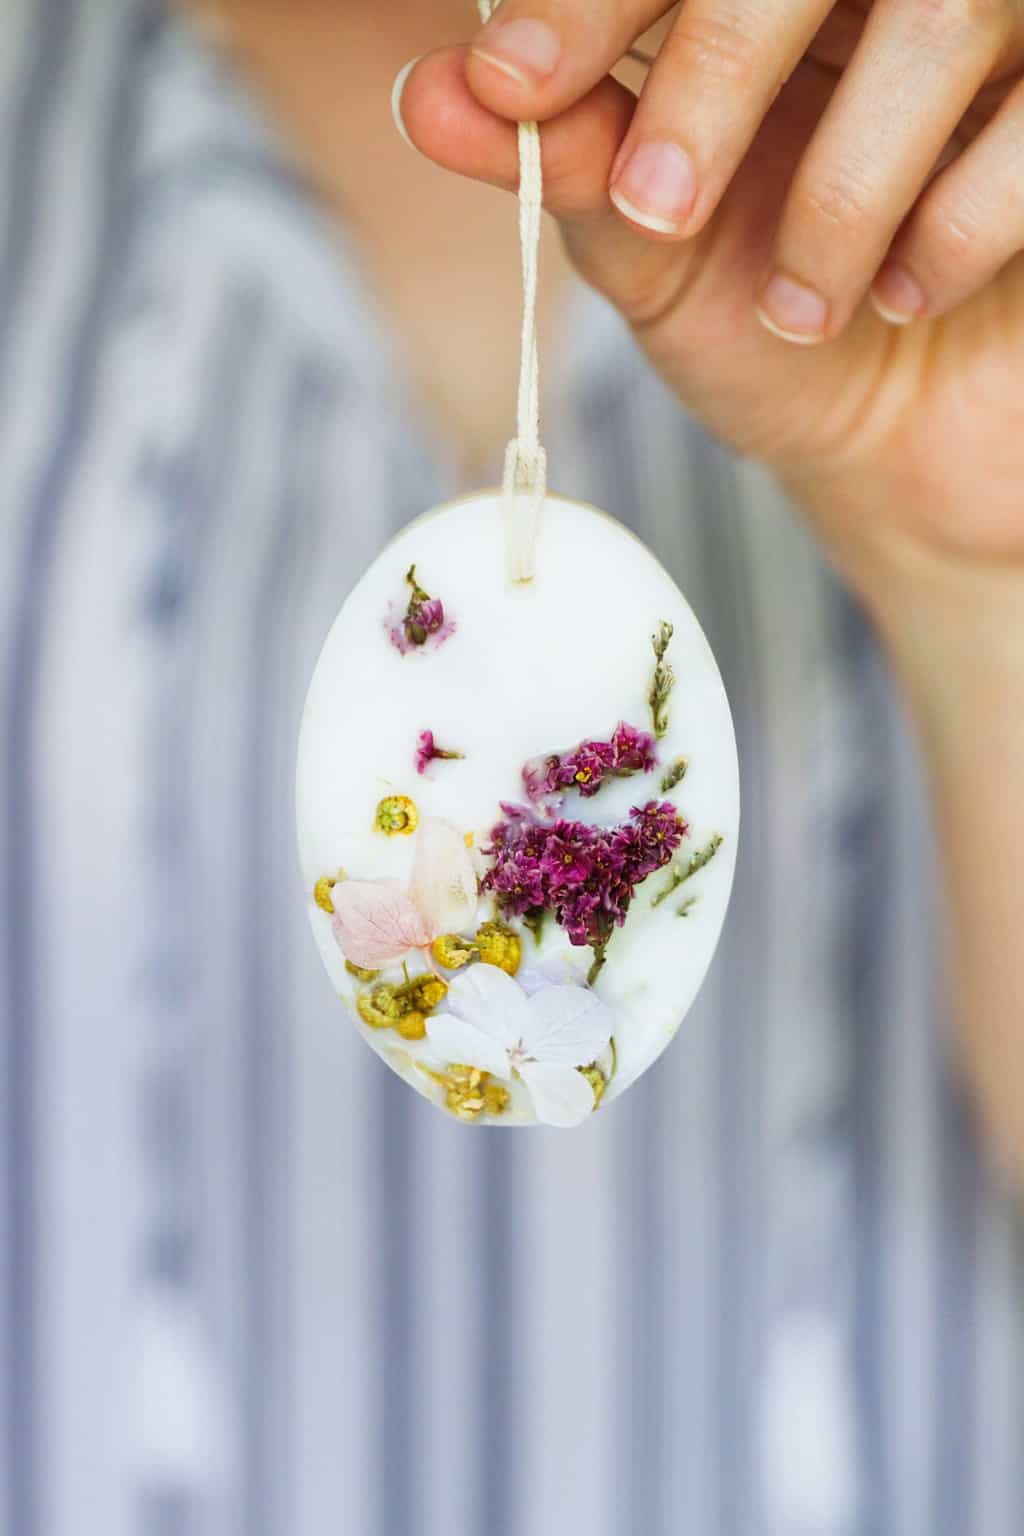
Step 6 | Add string + hang
Thread a piece of string through the hole and tie. Hang your sachets around the house or wherever you'd like to enjoy a clean, fresh scent.
Floral Fragrance Blends
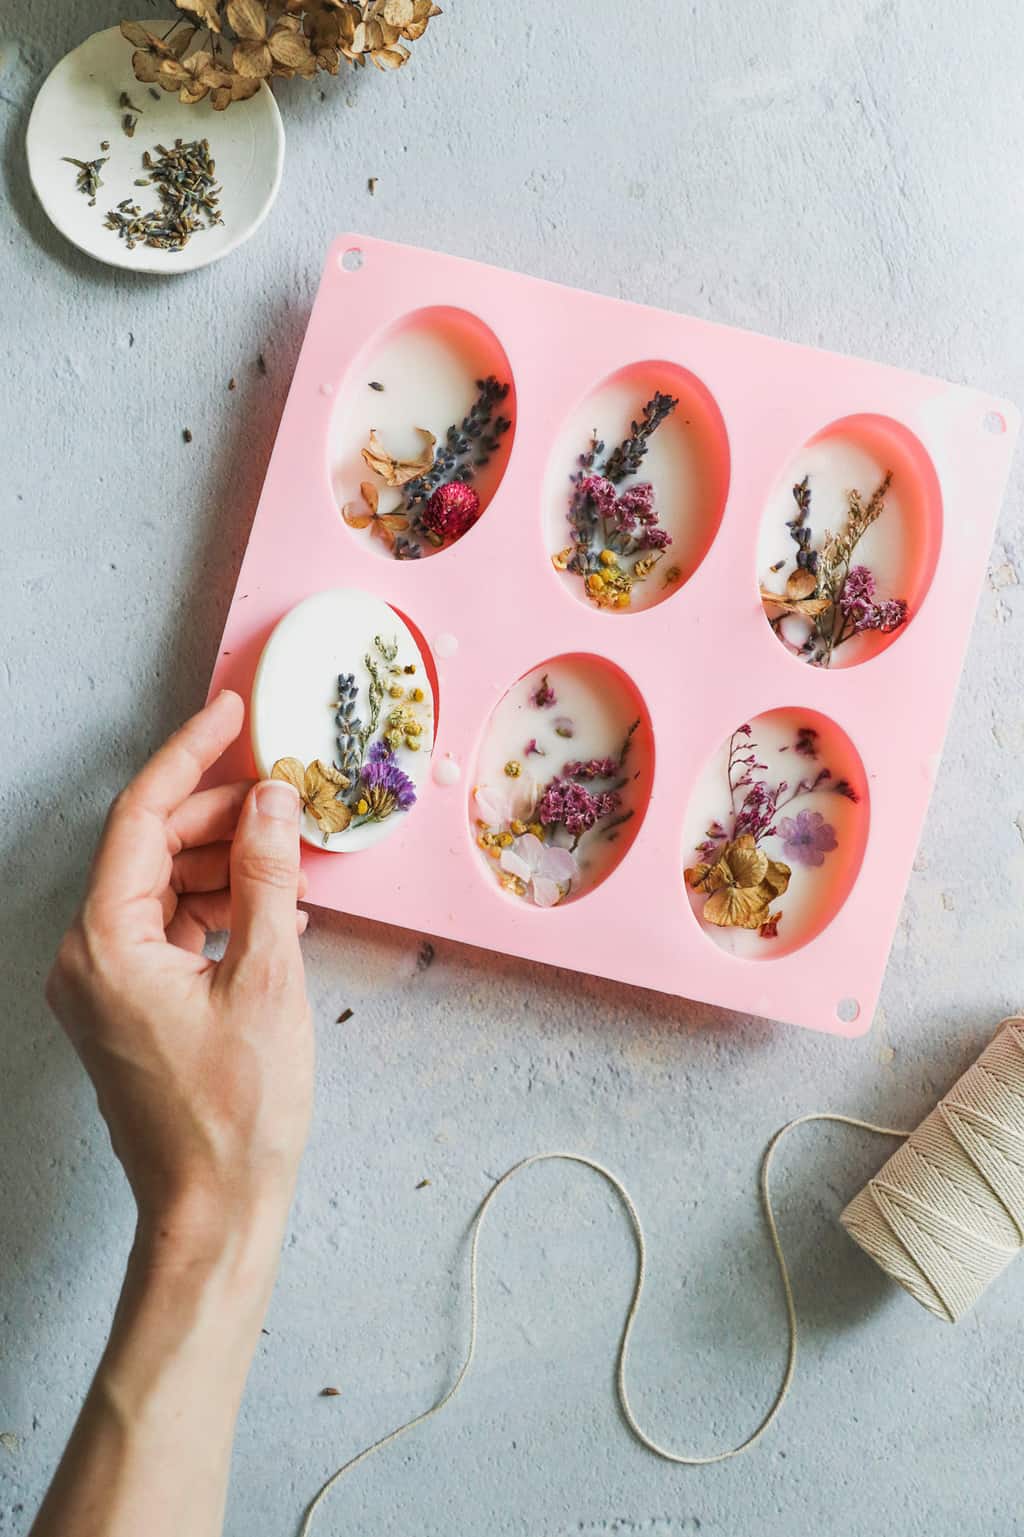
Relaxing Lavender
—1 teaspoon lavender essential oil
—1 teaspoon dried lavender petals
Place these in your bedroom where you can enjoy the relaxing scent while you're falling asleep.
Warming Rose
—1 teaspoon patchouli essential oil
—1 teaspoon dried rose petals
This soft, romantic scent is great for the living room, entryway or anywhere you might host a lot of guests.
Sunny Lemon
—1 teaspoon lemon essential oil
—½ teaspoon each dried calendula and chamomile blossoms
This fragrance will help boost your mood and keep you feeling alert, so I like to place a few in my office and around the kitchen.
Storing Wax Sachets
The scent should last for about 2-3 months before it starts to fade. To revive your sachets, you can re-melt them (strain out the dried herbs, if you like), add more essential oils and pour back in the mold to cool again.
If you'd like to extend the use of your wax sachets, wrap them in a piece of wax paper and store in a cool, dry place like a drawer or cabinet until ready to use. The scent may fade slightly, even if they're not being used, so don't keep them lying around for too long.
Using Wax Sachets
Hang them around the house, place some on your coffee table, tuck them near an entry way or put a few on your desk. Then sit back and enjoy the relaxing scent without having to worry about burning the house down.
FAQ
I don't see why not, especially if your wax melt warmer uses a light bulb as opposed to an open flame. If yours does use an open flame, then leave out the dried herbs just to be safe.
I use my essential oils undiluted. Neat oils, such as lavender, chamomile and patchouli are safe to use without diluting in a carrier oil.
How to Make Essential Oil Wax Sachets
Equipment
- Clean aluminum can or double boiler
- Silicone molds
- Long metal nail (for creating the hole)
- String
Materials
- 2 cups soy wax flakes
- 2 teaspoon essential oil of your choice see notes for fragrance blends
- 2 teaspoons dried flower petals or herbs
Instructions
- Fill your wax pitcher or aluminum can ¾ of the way with wax flakes. Place the can in the center of a small saucepan and pour water in the saucepan until it reaches 2 inches up the sides of the can. Bring the water to a boil over medium heat and keep a watchful eye on the wax until it's completely melted.
- Once the wax has melted, add your essential oils and stir to combine.
- Pour the wax into one of the mold cavities and let it cool slightly.
- When the wax has just begun to set, place dried flowers and herbs in the wax. Repeat until you've filled all the cavities.
- When the wax has cooled completely, remove the sachets from your molds. Optional: Take a long metal nail and (carefully!) heat it for a couple seconds over an open flame being careful not to burn yourself. Use the nail to melt a small hole through the top of your wax bars (I found it best to start at the back and go through to the front). Thread a piece of string through the hole and tie.
- Hang your sachets around the house or wherever you'd like to enjoy a clean, fresh scent.
Notes
Relaxing Lavender
- 1 teaspoon lavender essential oil
- 1 teaspoon dried lavender petals
Warming Rose
- 1 teaspoon patchouli essential oil
- 1 teaspoon dried rose petals
Sunny Lemon
- 1 teaspoon lemon essential oil
- ½ teaspoon each dried calendula and chamomile blossoms



Marta says
Hi! This recipe is lovely. Can beeswax be used in place of soy wax? :)
Rebecca Paramo says
Hi, thanks for the great post! Would you recommend using this technique for wax melts as well? Or could the dried herbs/flowers be a potential fire hazard?
Van says
hi, love your post!
are you using diluted essential oil?
I'm wondering whether it's safe to use undiluted essential oil for wax sachets.