Microneedling has received a lot of buzz in the skincare world in the last few years, and rightly so! If you are curious about microneedling and how it can help your skin, including some dos and don’ts when buying and using the right device, this guide is for you.
First thing’s first: microneedling is typically performed by a professional medical aesthetician or dermatologist using a specialized microneedling pen. It can also be done at home safely with a derma roller, a handheld tool with tiny little needles on a drum-like roller.
The physiology behind how it works is that tiny needles create micro-injuries that stimulate a healing response consisting of increased blood flow and new collagen production [source]. This subsequently encourages skin renewal, enhanced penetration of product actives, and improves the appearance of wrinkles and acne scars [source].
DIY Guide To Microneedling at Home
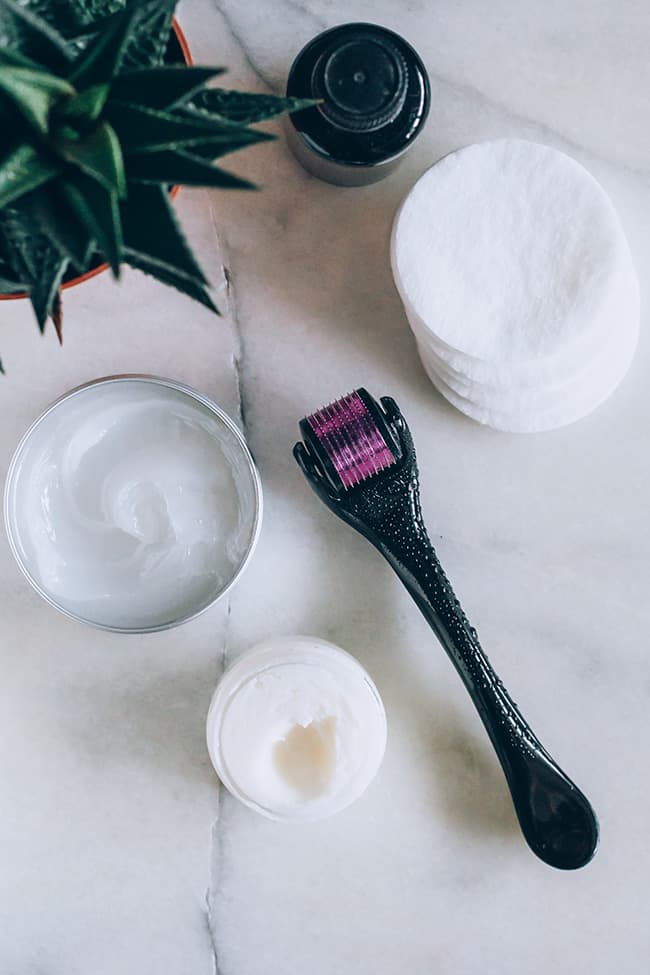
Home microneedling is a little milder in that the needles are typically quite a bit shorter than the ones used in a professional setting. It can be done to improve the appearance of very fine lines or areas with larger pores. It is also useful to increase the absorption of your skin serums and other cosmetic products [source].
Does it have to be painful to work?
No. You may have some mild discomfort, depending on how sensitive your skin is, but it should NOT be painful. The longer the needle, the more discomfort you may experience. That’s why the longer needles are used only in professional clinics after the application of a topical anesthetic.
The needles for home use are so short that they do not reach the pain receptors in the deeper layers of skin. So if it is painful with a roller designed for home use, that means you are pressing too hard and potentially damaging your skin.
Will there be blood?
No. The needles are tiny, and the rolling is very light; the at-home tools for microneedling should not create wounds with blood. If you see blood, you are likely too aggressive in your approach, or your needles are too long for the area being treated.
It is important to avoid the eye area for this reason. Professionals have tools with longer needles, and these are used for deeper skin issues like scarring and deep pigmentation.
Is it true that the longer the needle, the better?
No. The derma roller lengths for the face should never be greater than 1.0 mm. In fact, the 0.25 mm, 0.5 mm, and 0.75 mm are typically recommended for at-home use on the face. The thinner the skin area, the shorter the needle needs to be.
Will I see results overnight?
No. Microneedling is a process for which patience is essential. It takes 3 to 6 months for new collagen to form and before the best results are noticed. Continuous use is needed for significant results. There are no quick fixes here, as the best treatments support the health and natural healing of the skin.
Can I use a derma roller daily?
This is not recommended and may actually be harmful. The needle length will determine how often you use your derma roller. The smaller the needle, the more often it can be used: 0.25 mm may be used every other day on the skin, whereas a 1.0 mm may only be used every other week.
It all depends on the sensitivity of your skin and how quickly it recovers. There is a fine line between encouraging new collagen production and causing scarring. More isn’t always better.
Will skin be red after use?
Possibly. The skin will often turn pink immediately following use, but prolonged redness and skin irritation are not normal, and you should stop using your derma roller if this occurs.
The more rolling, the better, right?
Wrong. Over-rolling is dangerous and can cause inflammation and even scarring. Roll over an area 2–3 times max and move onto another section of the face.
Will it help my acne scarring?
For areas of acne scarring, keloid or burn scar tissue [source], or stretch marks, microneedling can help, but it will require a stronger intervention with longer needles requiring an application of topical anesthetic. That is best done by professionals in the clinic and not with an at-home roller [source].
Can I share my derma roller with a friend?
No. Nope. Never.
The Basics of Using a Derma Roller
The pressure used to roll the derma roller should only be enough to glide it over your skin.
Always apply to clean skin.
Follow up with a serum. Be aware some serums may sting or tingle after rolling because you have exposed the skin to enhance the delivery of their active ingredients. Definitely be mindful of the products you are using immediately following a treatment.
Make sure it is a relatively fresh product that is less likely to be contaminated with bacteria from sitting around for a long time after repeated applications to the skin (potentially having been inoculated from the bacteria on your fingers).
Use good quality products. The derma roller will only work as well as the skincare products you are using, so invest in good quality serums and oils to get the most beneficial results. Use an organic product with very few and only natural ingredients. Avoid products with alcohol and harmful chemicals.
Clean your derma roller after each and every use by dipping it in rubbing alcohol. Don’t leave a derma roller out in a bathroom where it can be susceptible to moisture and bacteria; a covered container is preferred (once it is completely dry).
And don’t buy the cheapest derma roller you can find either—many are poor quality and could injure the skin. Stacked Skincare and ORA rollers are both reputable and affordable brands.
How To Use A Derma Roller To De-Puff Your Face
Using two essential beauty tools and a serum, you can treat several areas of concern. This simple 3-step method depuffs, detoxifies, rejuvenates and firms the skin.
You Will Need:
- Derma roller (aka micro-needler or GloPRO)
- Serum targeting anti-aging or pigmentation (check ingredients for peptides, retinol, or alpha hydroxy acids)
- Jade roller
Step 1: Derma Roller
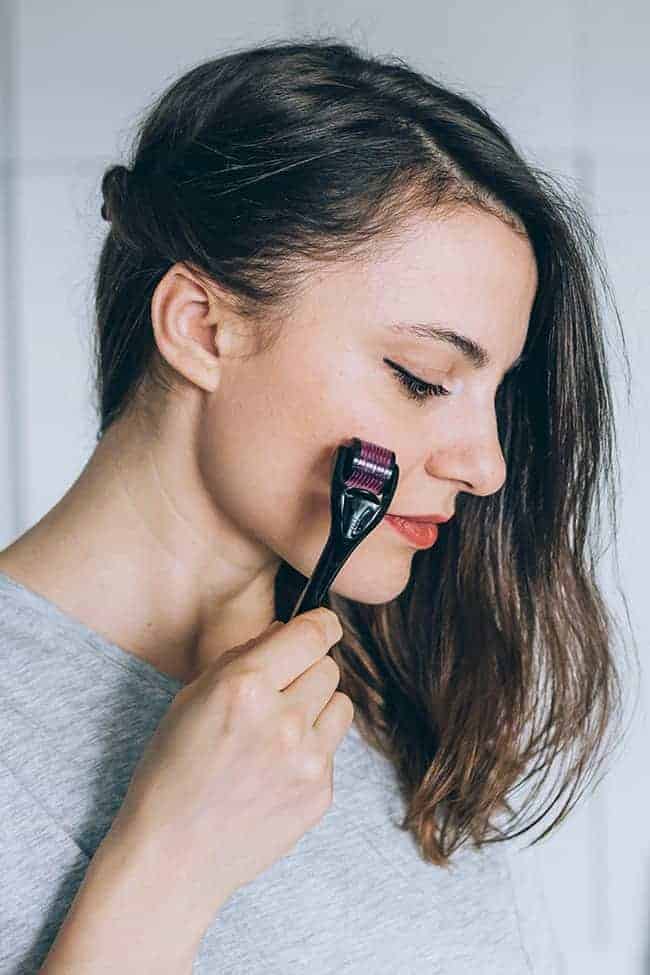
On cleansed skin, first use the derma roller and gently glide over your face and neck. Once you have gone over the face and neck evenly with the derma roller, you may notice a pink or flushed complexion which is normal.
The micro-injuries you are creating stimulate blood flow, oxygen and collagen production. A small amount of micro-injury encourages the rebuilding of collagen, while being too aggressive (or unsanitary) can lead to infection and scarring.
This is definitely a situation where more is not better - if you want a more aggressive treatment, the only safe way to do this is in the hands of a Board Certified Dermatologist, an expert in all things skin. At this stage, your skin is ready to absorb anything you put on it—it's perfectly prepped to make the most of the rest of your routine for glowing, healthy skin.
Step 2: Serum
Follow with a natural face serum by warming it for a few seconds in the palm of your hand and gently apply in an upwards direction on your face and neck. Applying products in an upwards direction does two things—first, it stimulates the blood flow under your skin, prepping it for your jade roller. Second, it does that tiny little bit to help your skin fight against gravity!
At this stage, it's incredibly important to check that your chosen serum does not contain any AHAs or BHAs. Right after derma rolling, your skin has open channels and is super vulnerable to irritation - even estheticians don't recommend jumping straight into an exfoliating product after doing this procedure!
If you normally use an AHA or retinol, skip it this time in favor of a serum that contains peptides, growth factors (preferably with hyaluronic acid) or even a nourishing, anti-aging facial oil. This ensures that you're giving your skin the best chance to boost collagen and not overstimulating it with too much at once.
Step 3: Jade Roller
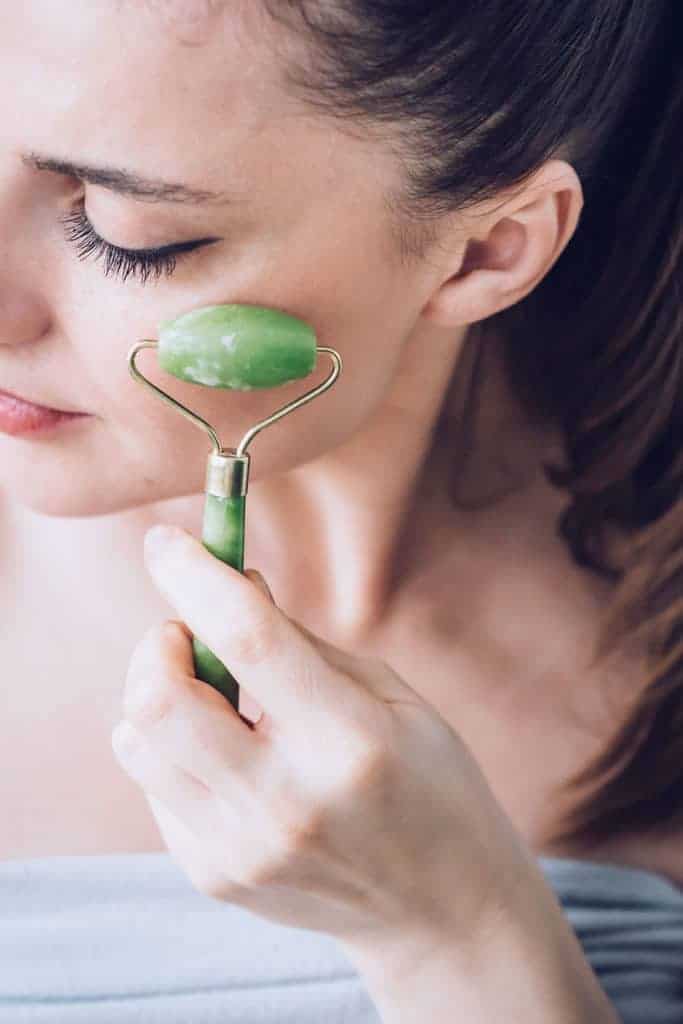
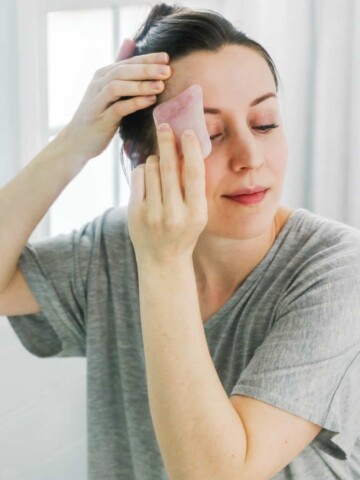
The third step is your jade roller. This tool helps with penetration and absorption of the serum, in addition to massaging the skin and muscles of the face, which lift and firm. Directions on how to use a jade roller can be found here.
Remember, you don't necessarily need to press hard with the jade roller. You're just gently pushing it in upward strokes, giving yourself a super-soothing facial massage.
One of my favorite jade roller tips is to put it in the fridge or freezer about 10 minutes before using—the cool jade really helps to bring down any puffiness and also just feels really, really good on my skin. A cold jade roller really helps to bring down any redness that might be hanging around after derma rolling too, so all you're left with is perfect, glowing skin.
And there you have it! You’ve just completed a mini at-home treatment that can be done 1-2 times each week. Results can include reduced inflammation, more even complexion and skin tone, firmer skin, better absorption of products and so much more. Getting the most out of your skin care is super easy with the right tools!
This post was medically reviewed by Dr. Jennifer Haley, a board-certified dermatologist with extensive experience in medical, cosmetic, and surgical dermatology. Learn more about Hello Glow’s medical reviewers here. As always, this is not personal medical advice, and we recommend that you talk with your doctor.
Photos by Ana-Maria Stanciu
720

Christine Nagy says
Would you be able to give me some advice about something? I've done a number of chemical peels. I had bad cystic acne when I was younger. All of a sudden, I have indentations in my skin.
I was told to use copper peptides and continue with the chemical peels. Should I try the derma rolling? I was told it would take a long time for the copper peptides to work, the indentations are really noticeable.
Please advise if I should start the derma rolling and should I use the 1.0 needles?
Katie says
When you roll you can not get consistent pressure causing triangular micro tears which will eventually lead to rougher texture in the skin. Also it is extremely to disinfect properly so potentially spreading bacteria. I am not sure why Esthis and Derms ever offer this as a at home option, job security?
Kalean says
Hi! I've started using a derma roller recently and love the results! I ordered another online and accidentally ordered a 1.0mm.
DO you think it will be ok to use myself at home? Or do you suggest I just throw it out....
Thanks!! :)
KM
Erika says
I have mild sebaceous hyperplasia on my forehead. Do you think this would help reduce or heal it?
Virginia Angulo says
I just started using mine! Honestly, this is not BS, I noticed smoother skin the next morning. But! Fair warning, I thought this was something I could use every night. Well, it turns out after day 2 my skin started shedding like crazy! It was so flaky I had to bring in my microdermabrasion machine to help smooth it out. So, lesson learned, now I use it every other day and still see results.
Audrey Houston says
Thank you for this article! This was actually the post that made me finally buy a dermaroller. I'm loving the results so far. But, I have a big event coming up and I have decided to give microneedling a go! My derm says I can still use my derma roller at home after treatment to keep up in between sessions. Very excited about those results.
Valora says
Great post! I just recently heard out about derma rollers and I found them intriguing but I was a little nervous about trying it out because I am not a huge fan of needles. Haha! But after reading this I think I will take the plunge after all. I have seen some pretty amazing before and after photos online so with regular use it does seem to work wonders. :)
Sarah says
Interesting article. I've been dermarolling for several years now and while I can't say I've seen an "improvement", I also don't see many signs of aging (yay!). However, I was always told you should allow 4-6 weeks between sessions if you are using a roller of 1.0 mm or more, so as to allow the collagen to build and repair. Anything less and you risk damaging your newly developing collagen fibers. You can use the .25 rollers more frequently to help serums penetrate more deeply, but they won't hit deep enough to actually create the micro-traumas that cause the collagen building. Also, a copper peptide and or vitamin C serum after is supposed to help build collagen.