If you have dry skin like me, it’s time to hop on the hyaluronic acid bandwagon. Learn how to make your own DIY hyaluronic acid serum to hydrate and plump fine lines and wrinkles. This homemade recipe took me from a skeptic into an HA believer!

For a while, it seemed like everyone I know—my friends, my dermatologist, heck, even Eva Longoria—were hounding me about investing in a pricey bottle of hyaluronic acid serum. Despite their persistence, I’m forever a beauty minimalist (aka beauty skeptic), so it took me months to get around to trying it.
Truth be told, I didn’t see that much difference in my lackluster skin after burning through an entire bottle. Then, I did something that changed everything: I made my own DIY hyaluronic acid serum, and I fell in love with the stuff.
By making your own, you get to control the strength and effectiveness of the serum. Not only that, but you can cut out any ingredients that may irritate your skin and make dryness worse. Keep the bottle in the fridge and use it quickly for peak freshness (and potency) or add a preservative if you plan to use it more slowly.
Jump to:
What is Hyaluronic Acid?
First things first—what is hyaluronic acid (HA), anyway? At its most basic, HA is a molecule that’s naturally found in your body’s skin and connective tissue. It acts as a lubricant for the body—for joints, nerves, hair, skin, eyes [source], you name it—and its magic lies in its ability to attract and hold up to 1,000 times its weight in water [source]!
As we age, our natural production of hyaluronic acid decreases, so our bodies don’t look and feel quite as young or supple as they once did. From a beauty perspective, supplementing with HA helps keep the skin moist [source] so it looks dewy, plump, and young. When applied directly to the skin, it draws in water and holds it against the skin's surface, increasing overall hydration without causing irritation or clogging pores.
By creating a protective barrier, HA serum is said to help alleviate dryness, facilitate healing, and soothe redness. Basically, it’s a game-changer for healing dry skin and lessening the lovely side effects that come with it, like wrinkles, sagging, and flakiness.
In addition, hyaluronic acid helps to
— Plump fine lines and wrinkles [source]
— Soothe irritation
— Hydrate parched skin [source]
— Repair the skin’s moisture barrier [source]
— Lessen the appearance of sun damage
— Improve the skin’s overall elasticity [source]
— Encourage healing [source]
— Protect against free radical damage [source]
How To Make Hyaluronic Acid Serum
Most store-bought brands contain somewhere between 0.25 and 2.5 percent HA, with the rest of the bottle being mostly water. But with homemade hyaluronic acid serum, you get to control the amount of HA while also adding other ingredients that help nourish the skin.
Ideally, you want to aim for about a 1% HA solution in your DIY face serum. This will provide plenty of skin-firming and plumping benefits without irritating sensitive skin.
Ingredients
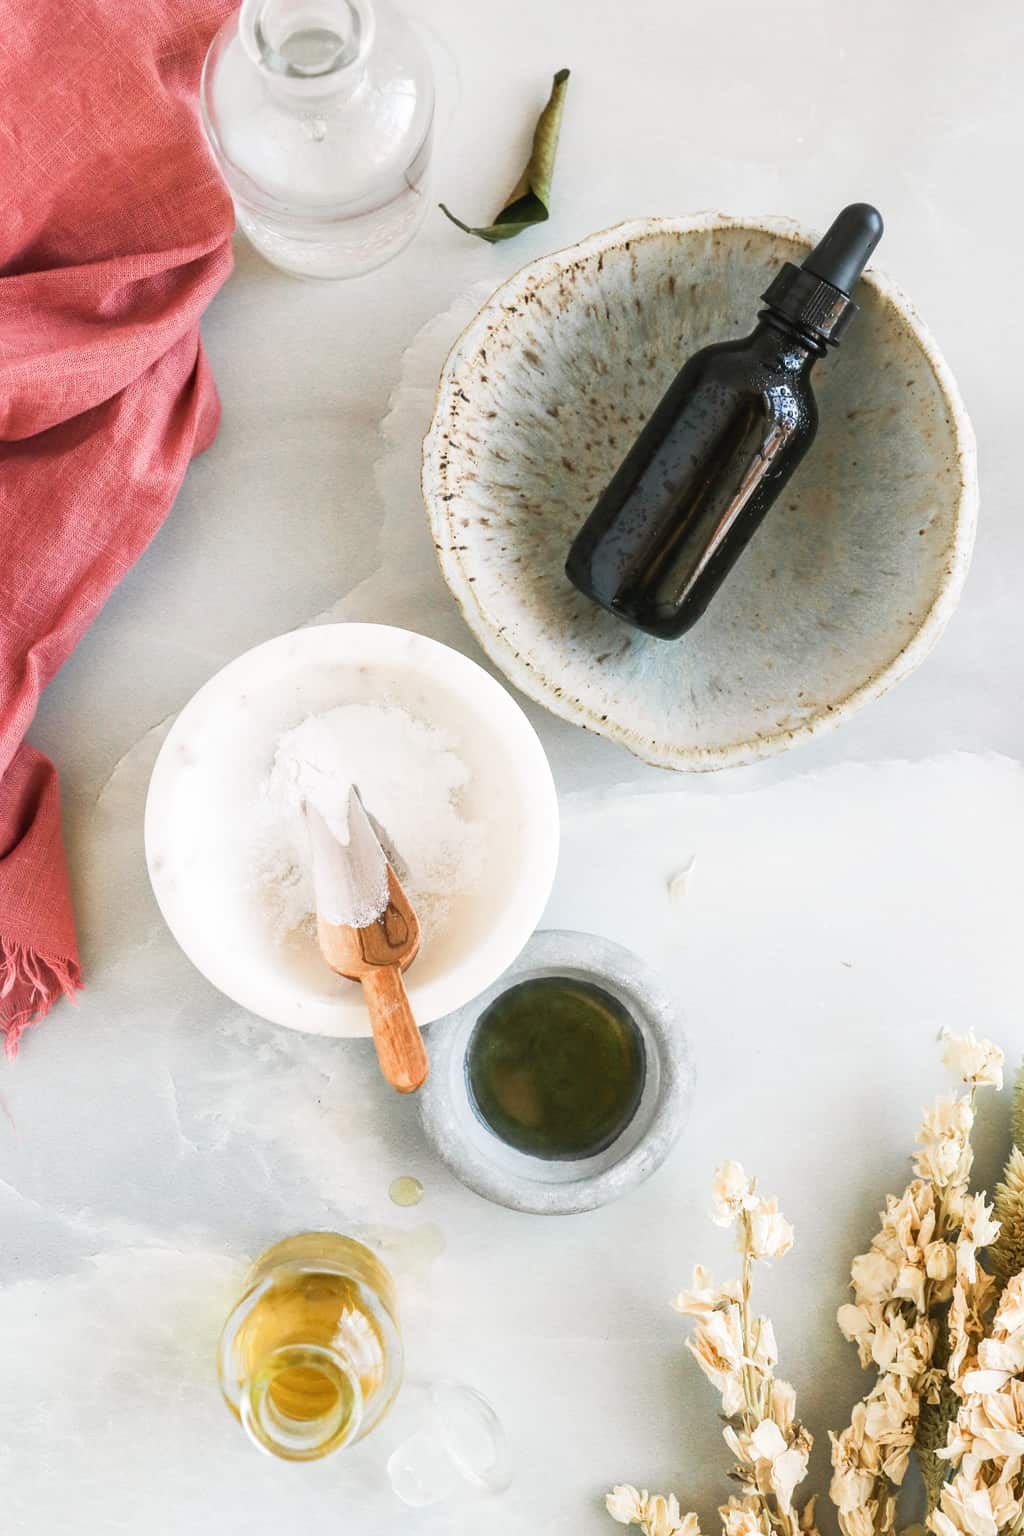
I swear by things like rose water for improving skin health and aloe vera gel for skin-soothing benefits. Meanwhile, vegetable glycerin helps to give the serum a little substance while also locking in moisture.
Rose Water: Rose water is often used for its soothing and anti-inflammatory properties. It can help balance the skin's pH and give your serum a nice fragrance.
Hyaluronic Acid Powder: The star of the show, hyaluronic acid powder is what gives this serum its moisturizing properties.
Glycerin: A strong humectant, glycerin attracts water to the skin and helps maintain its moisture balance. It also provides a bit of moisture for the hyaluronic acid to draw from, so it doesn't end up pulling moisture from deeper layers of skin.
Aloe Vera Gel: Known for its cooling and calming effects on the skin, aloe vera is great at reducing inflammation and soothing irritation.
Preservative: Since this serum contains water-based ingredients, it's susceptible to bacterial contamination (e.g., mold!) without a preservative. We recommend using a broad-spectrum antimicrobial such as Optiphen ND to keep mold at bay.
See recipe card for measurements.
How To Use Hyaluronic Acid Powder
The powdered hyaluronic acid we recommend is 100% hyaluronic acid, whereas most liquid formulations of hyaluronic acid are already diluted to a 0.25–2.5% concentration.
Hyaluronic acid is water-soluble and won't integrate well with just oils. If you do decide to add oils to your serum, you'll need to dissolve the powder in water or glycerin first before adding the oils.
Usage — Sprinkle the powder into a water-soluble base. Use a stick blender or frother to incorporate, then allow the mixture to rest and thicken. A usage rate of 0.25-0.75% creates a thin serum, 1-2% creates a mid-weight gel, and 3-5% creates a very thick gel. Add 1% preservative to prevent bacterial growth.
Safety — When working with hyaluronic acid powder, it's essential to wear protective gear such as goggles and a mask to protect your eyes and lungs.
Instructions
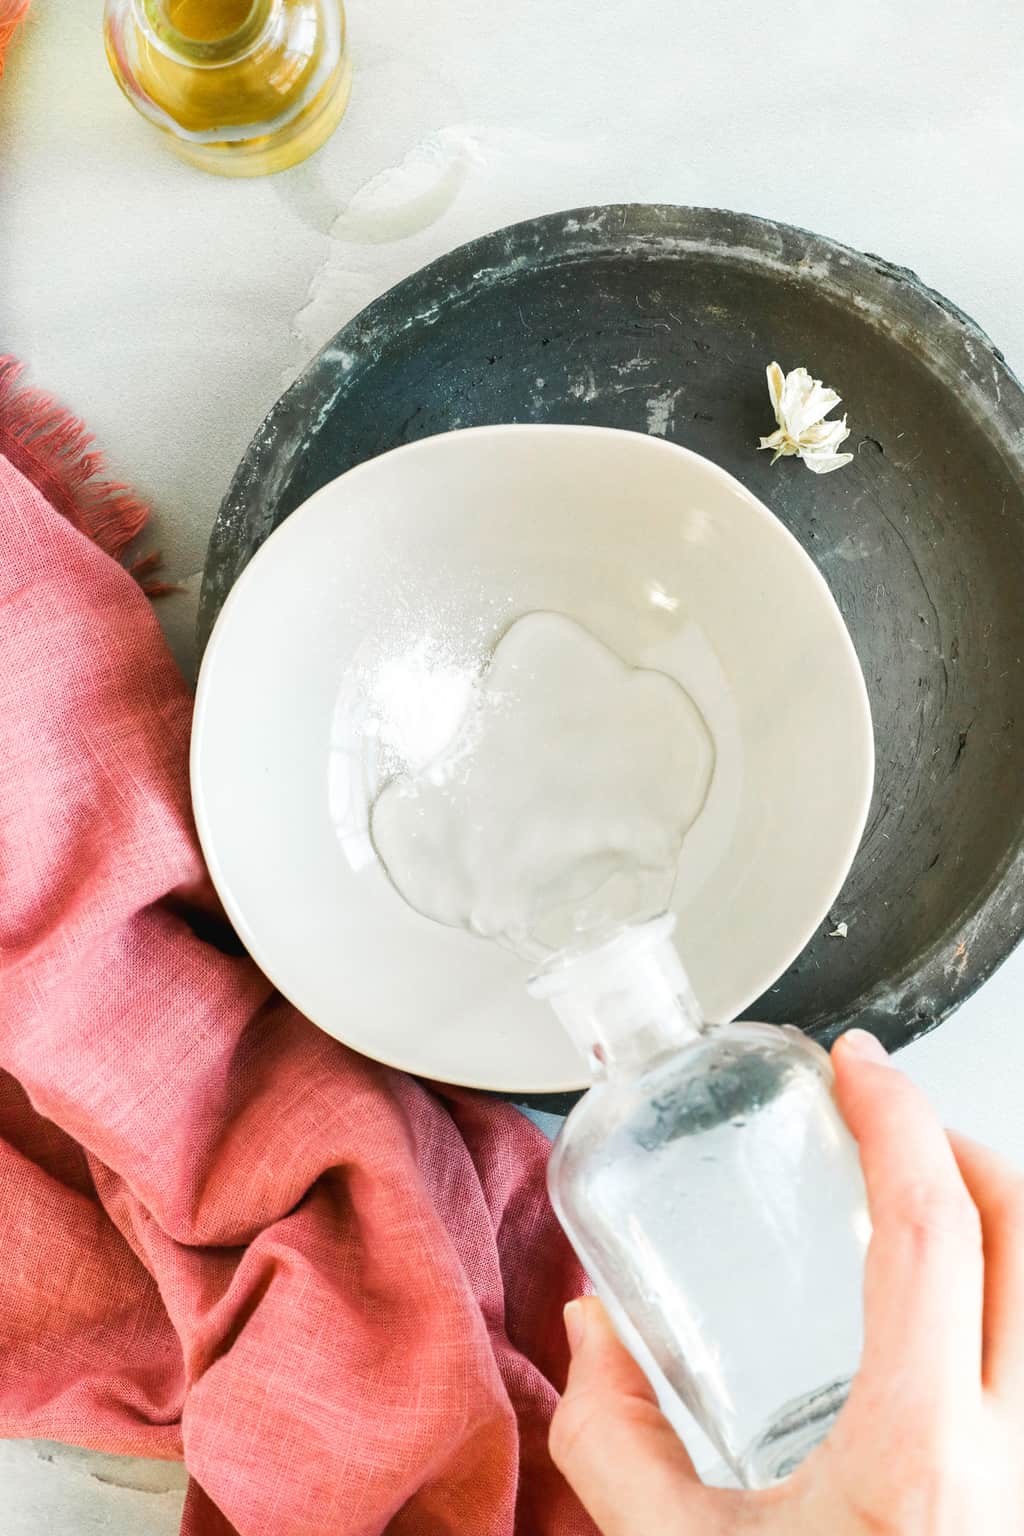
Step 1 | Dissolve HA powder
Place the hyaluronic acid powder in a small bowl. Add the water and stir vigorously to dissolve.
Cold water should help the powder dissolve more easily, but if you’re still seeing chunks, you can use a stick blender or milk frother to fully incorporate the powder.
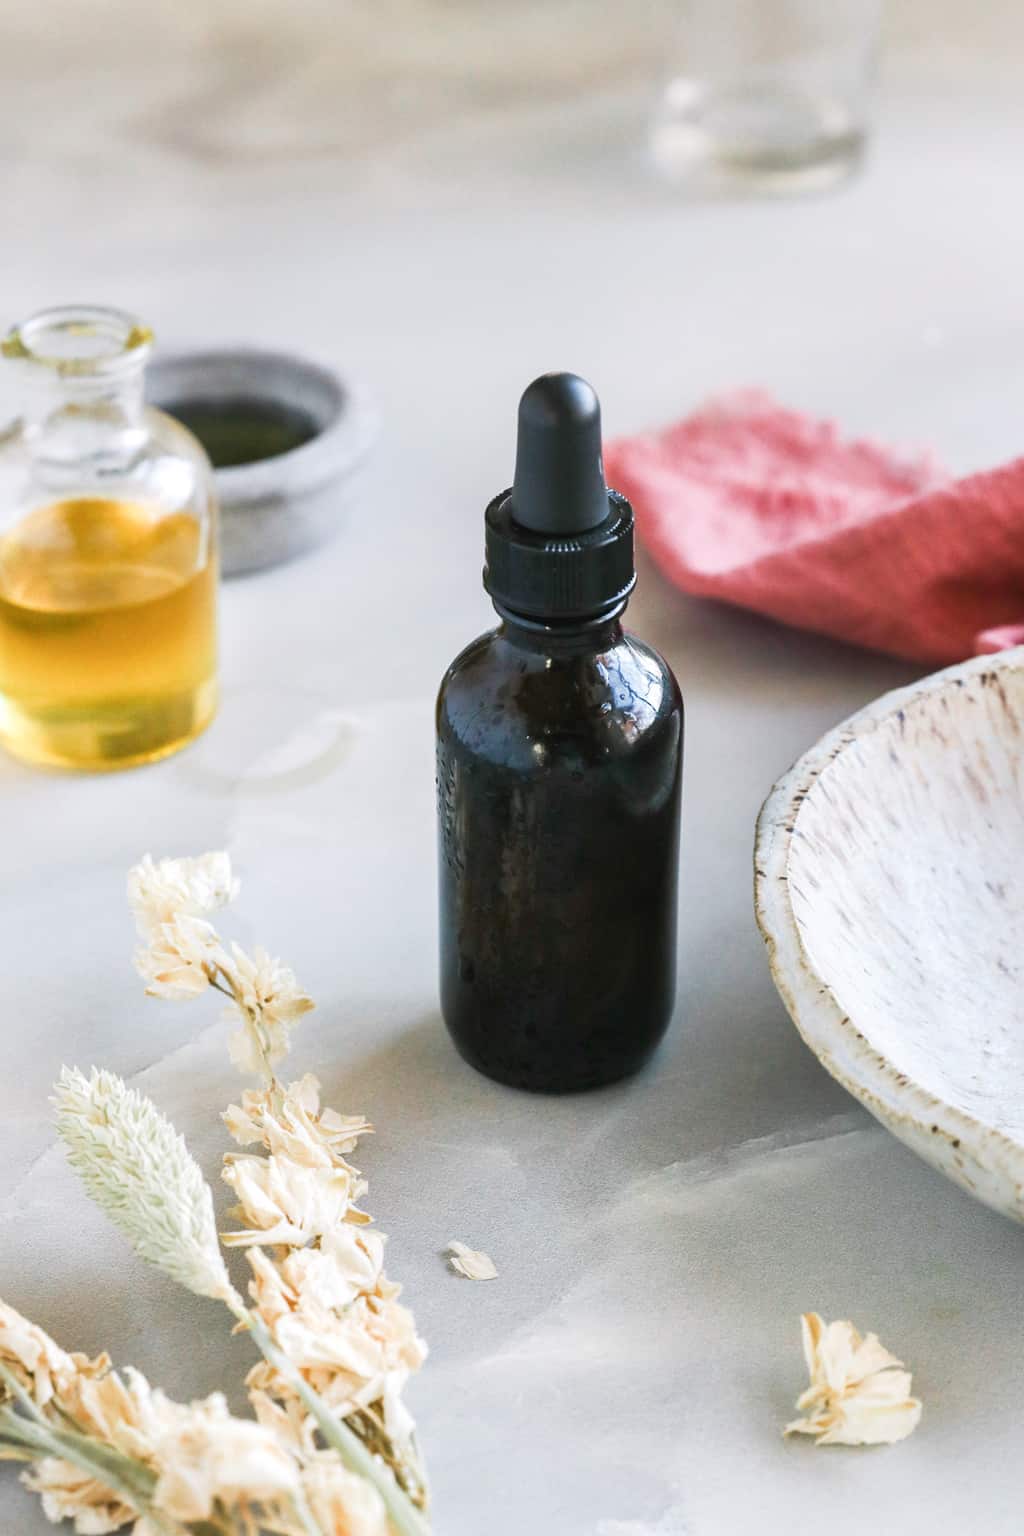
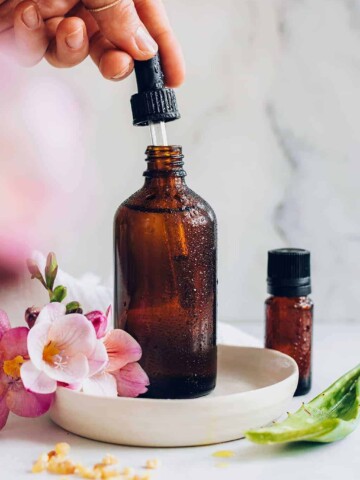
Step 2 | Bottle + add ingredients
Transfer the mixture to an amber bottle and add the remaining ingredients. Replace the lid and shake well to combine.
Let the serum sit for at least 4 hours to allow the hyaluronic acid powder to dissolve completely before using.
Substitutions
Hyaluronic acid serum base — If you purchase it in the liquid form, you can’t control the strength (it’s already diluted), and combining it with additional ingredients will dilute it even further, making it less effective. That’s why we recommend using a powdered product. If you can find a 100% liquid, then go ahead and use that if you prefer. Just know that we haven’t tested it, so I’m not sure how much you should use or how it will turn out.
Water — Feel free to use distilled water or a floral hydrosol in place of the rose water in this DIY hyaluronic acid serum recipe.
Variation: Vitamin C Hyaluronic Acid Serum
You may have seen a combination of vitamin C and hyaluronic acid serums on the market. Good news! It's super easy to make a combo serum at home simply by adjusting the ratio of ingredients and adding vitamins C and E.
You'll need:
- 2 ounces (4 Tbsp) distilled water, divided
- .05 ounce (½ tsp) ½ teaspoon hyaluronic acid powder
- .1 ounce (1 tsp) vitamin C powder
- .1 ounce (1 tsp) vegetable glycerin
- .1 ounce (½ tsp) aloe vera gel
- 1 vitamin E capsule, emptied (approx. ⅛ tsp) vitamin E
- .025 ounce (¼ tsp) Optiphen ND, for a 1% concentration
In a small, clean bowl, dissolve the vitamin C powder in 1 tablespoon of distilled water. In another small bowl, mix the hyaluronic acid powder with 3 tablespoons of distilled water. Slowly pour the vitamin C serum into the hyaluronic acid serum, stirring continuously. Add the remaining ingredients and stir again.
Pour the serum into a dark glass dropper bottle and store it in a cool, dark place. Use within 2 months.
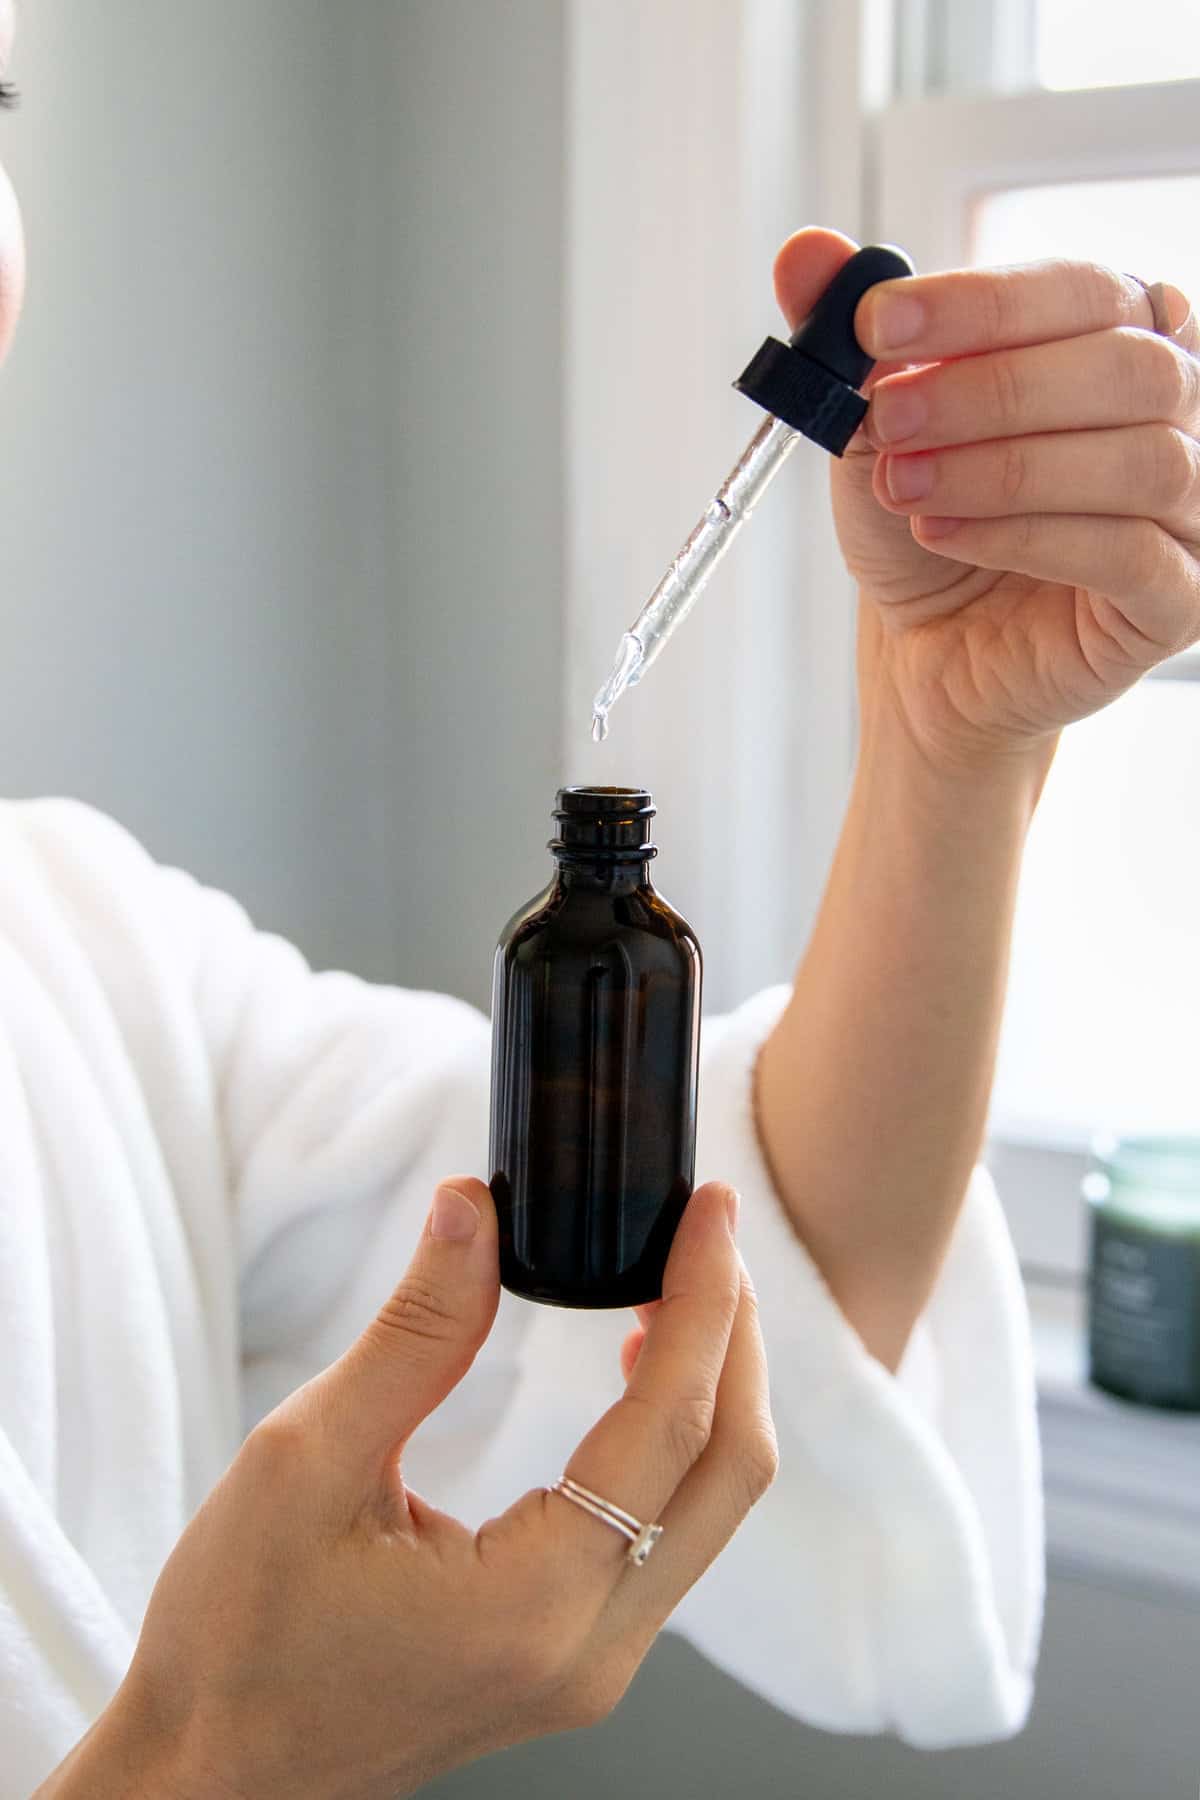
Using Natural Hyaluronic Acid Serum
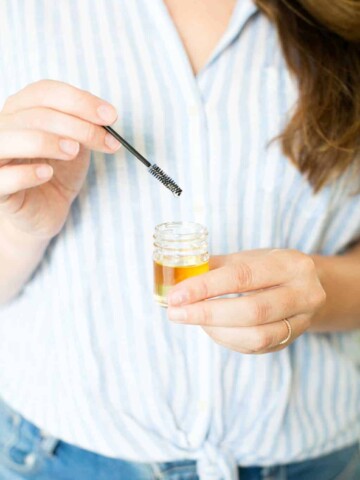
To use, apply a bit of serum to freshly washed, damp skin, and let it soak in. Hyaluronic acid draws moisture from the environment, but if there isn't any moisture in the air (like during winter) HA will end up pulling moisture from your skin!
Having a slightly damp surface enhances hyaluronic acid's hydrating effects and prevents it from drawing moisture from deeper layers of the epidermis. Follow up with a moisturizer and any additional serums to seal in the hydration.
For most people, using hyaluronic acid daily is beneficial. However, if you have sensitive skin, you might start by using it every other day and gradually increase the frequency as your skin adjusts. If you know it doesn't irritate your skin, applying 1–2 times a day will help keep your skin looking fresh and dewy.
Store serum in a cool, dry spot (or the refrigerator) for up to 8 weeks.
To keep your DIY hyaluronic acid serum fresh, feel free to halve the recipe to make smaller portions. And while the supplies can be a little pricey up front, they're used in such small quantities that they should last for a long time.
FAQ
Yes, it is used in many beauty products! And there’s science to prove it has important actions in different parts of the body [source]. A recent article details the effectiveness of hyaluronic acid on the skin [source].
Yes, you certainly can. Go ahead and use it twice a day if your skin is especially dry or if you’re battling stubborn wrinkles.
While you might be tempted to go a little HA happy, just know that using more than the recommended 2.5% dilution might cause redness or irritation, especially if you have sensitive skin.
Retinol and hyaluronic acid do two different things.
Retinol encourages cell turnover, which stimulates collagen and elastin production [source]. And hyaluronic acid absorbs moisture into the skin, plumping fine lines and wrinkles.
Both are important nutrients we need to replenish as we age. And both can help make skin appear younger and firmer. Because they do different things, there’s no need to choose one over the other. Alternating between retinol and hyaluronic acid can make aging skin appear healthier and more vibrant.
Since it’s naturally found in the skin, HA is generally safe for all skin types. And you don’t need to worry about it causing irritation or exacerbating other skin issues.
But as with all beauty products, you may want to do a small spot test to make sure it, or some other ingredient in your serum, doesn’t irritate your skin.
Avoid using hyaluronic acid in combination with highly acidic products or strong acids, such as AHAs or retinoids, as they can irritate your skin.
Homemade Hyaluronic Acid Serum Recipe
Equipment
- small funnel
- 4-ounce glass dropper bottle
Materials
- 2 ounces chilled rose water 4 Tablespoons
- 0.05 ounce hyaluronic acid powder ½ teaspoon
- 0.1 ounce vegetable glycerin 1 teaspoon
- 0.6 ounce aloe vera gel 1 Tablespoon
- 0.03 ounce Optiphen ND ⅓ teaspoon
Instructions
- Place the hyaluronic acid powder in a small bowl. Add the water and stir vigorously to dissolve. Cold water should help the powder dissolve more easily, but if you’re still seeing chunks, you can put the mixture in a small blender or food processor to get it to mix completely.
- Transfer the mixture to an amber bottle and add the remaining ingredients. Shake well to combine.
- Let the serum sit for at least 4 hours to allow the hyaluronic acid powder to dissolve completely before using.
- To use, apply a bit of serum to freshly washed skin, and let it soak in. Follow up with any additional serums or creams. Apply 1–2 times a day to keep skin looking fresh and dewy.
Notes
References
Abatangelo G, et al. Hyaluronic acid: redefining its role. Cells. 2020.
Papakonstantinou E, et al. Hyaluronic acid: a key molecule in skin aging. Dermatoendocrinol. 2012.
Oe M, et al. Oral hyaluronan relieves wrinkles: a double-blinded, placebo-controlled study over a 12-week period. Clin Cosmet Investig Dermatol. 2017.
Jegasothy SM, et al. Efficacy of a new topical nano-hyaluronic acid in humans. J Clin Aesthet Dermatol. 2014.
Poetschke J, et al. Anti-wrinkle creams with hyaluronic acid: how effective are they? MMW Fortschr Med. 2016.
Litwiniuk M, et al. Hyaluronic acid in inflammation and tissue regeneration. Wounds. 2016.
Trabucchi E, et al. Low molecular weight hyaluronic acid prevents oxygen free radical damage to granulation tissue during wound healing. Int J Tissue React. 2002.
Dosoky NS, et al. Biological activities and safety of Citrus spp. essential oils. Int J Mol Sci. 2018.
Bukhari SNA, et al. Hyaluronic acid, a promising skin rejuvenating biomedicine: A review of recent updates and pre-clinical and clinical investigations on cosmetic and nutricosmetic effects. Int J Biol Macromol. 2018.
Shao Y, et al. Molecular basis of retinol anti-aging properties in naturally aged human skin in vivo. Int J Cosmet Sci. 2017.
This post was medically reviewed by Dr. Jennifer Haley, a board-certified dermatologist with extensive experience in medical, cosmetic, and surgical dermatology. Learn more about Hello Glow’s medical reviewers here. As always, this is not personal medical advice, and we recommend that you talk with your doctor.
471