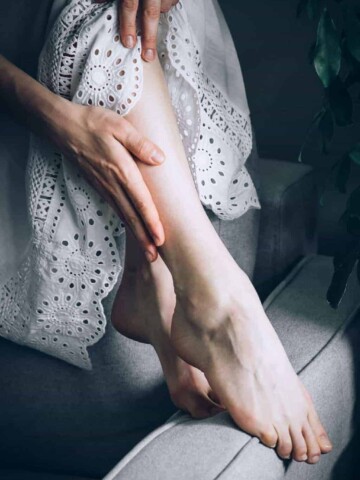
Raise your hand if you’re tempted by the no-shave trend. Nicks, ingrown hairs, and razor burn make it awfully appealing. Before going au naturale I made one last-ditch effort to find a way to soothe the irritation. These natural razor burn remedies, including a cooling razor burn spray recipe, will keep your skin happy before and after it encounters your razor!
Can I prevent razor burns? Yes!
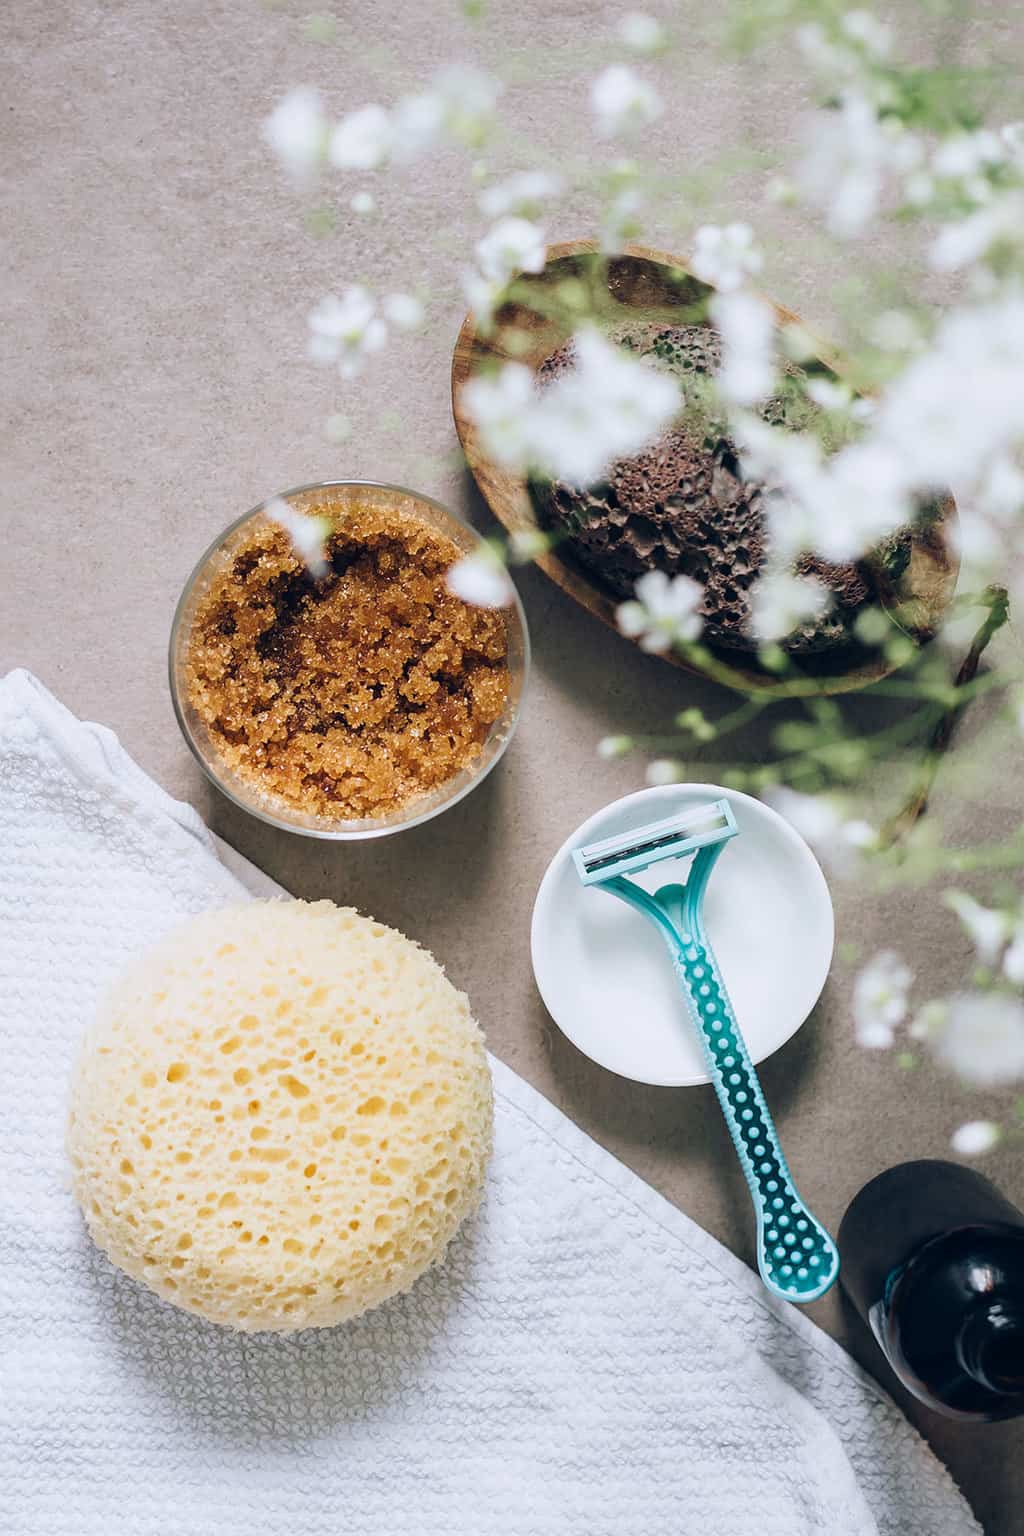
There’s nothing quite like those angry red bumps and irritated skin to ruin a new outfit. Whether it was a dull razor, piping hot water, or not enough shaving cream, we’ve all been there. These remedies will stop the burn before it starts:
1. Hot compress
Prepping the skin before shaving is just as important as healing it after shaving. To prevent razor bumps in the first place, lay a hot, damp towel over the area you’re about to shave and let it sit for 5 to 10 minutes. This will open the pores and cause the hair shafts to swell and become more pliable, so they’ll be easier to shave.
If you already have razor bumps, using a hot compress will help reduce the swelling and kill bacteria that might have been transferred from a dull or dirty blade.
2. Moisturizing shaving cream
Always good for softening the hair and moisturizing, shaving cream lubricates the skin for a close shave without so much irritation. Try this moisturizing homemade shaving cream with coconut oil, honey, aloe gel, and tea tree essential oil—all of which are antibacterial and can help calm red, irritated skin.
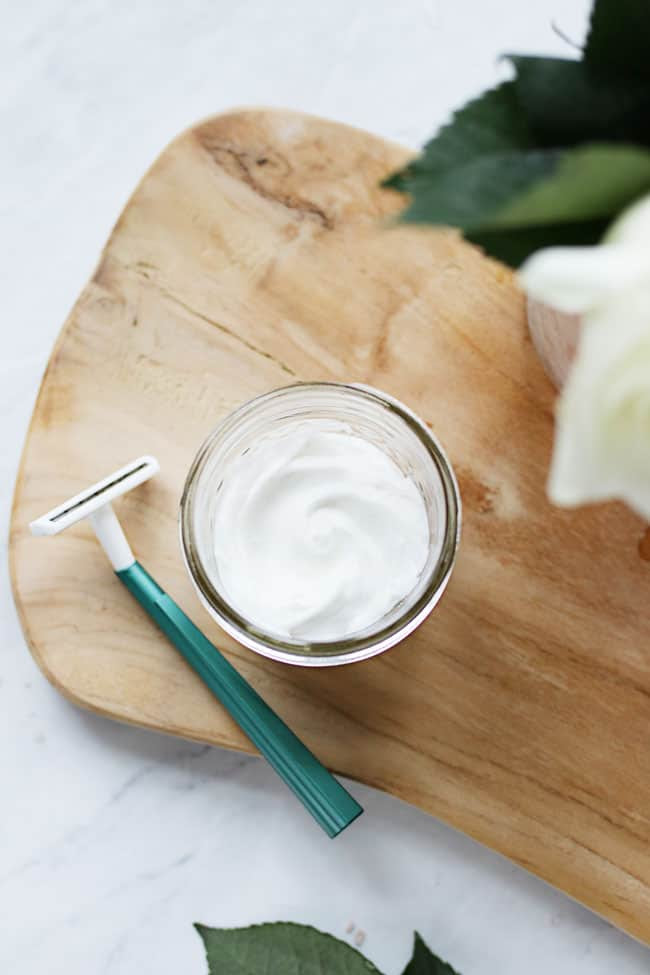
Or make a simple shaving oil:
—1 ounce light carrier oil, like grapeseed or sweet almond
—10–12 drops of an anti-inflammatory essential oil like lavender, sandalwood, frankincense, or myrrh
Combine ingredients in a 1-ounce bottle and replace the lid. To use, pour a small teaspoon-sized amount of oil into your palm, and rub it into your skin. Store in a cool, dry spot and use within 3 months.
3. Frequent razor change
Change your razor often. If the edge is dull, you’ll press harder, which causes more irritation [source]. You can also try alternating between a razor and an electric shaver. Switching things up after a month can reduce razor burn.
4. Correct technique
The right shaving technique will go a long way to avoiding skin irritation and ingrown hairs.
Some tips [source]:
-Don’t pull your skin. Again, shortened hairs can go back under the skin and get trapped.
-Shave down instead of up. Shave from knee to ankle to go with the grain and avoid irritation and ingrown hairs.
Natural Razor Burn Remedies
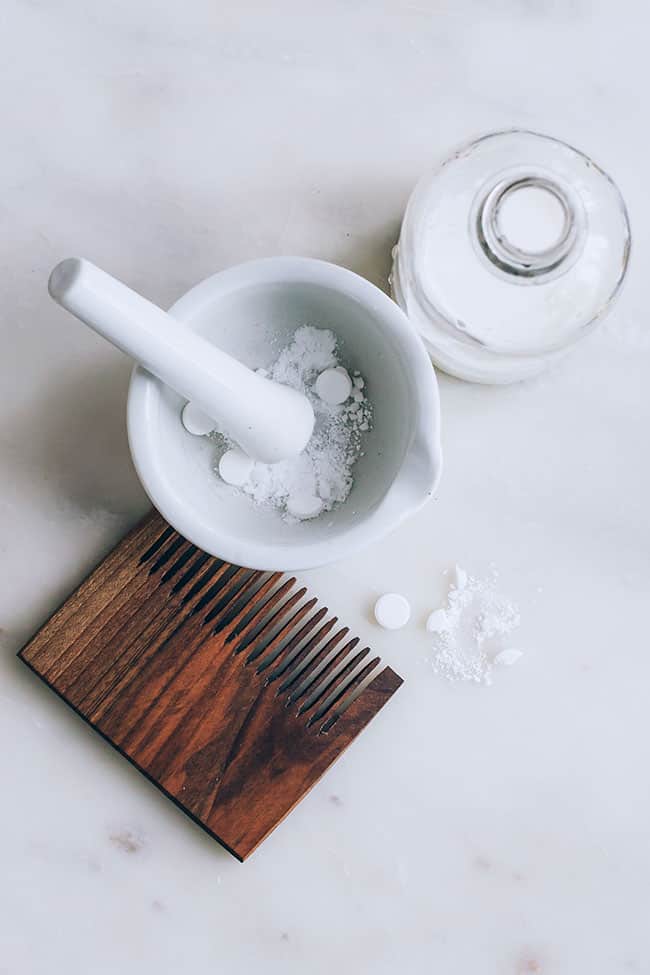
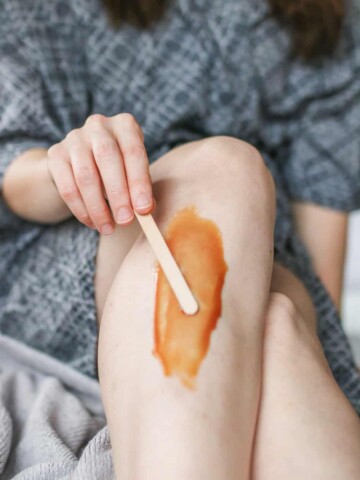
5. Aspirin paste
Aspirin has anti-inflammatory properties that can help calm the redness and irritation associated with razor burn. To use, crush 2–3 aspirin with the back of a spoon and mix with 1–2 teaspoons of water to make a paste.
Apply the paste to the affected area, and let it dry completely, then rinse off. Repeat twice a day until the redness subsides.
6. Aloe vera gel
Apply a small amount of aloe vera gel to areas of razor burn twice a day and massage in—don’t rinse off! Continue until the irritation has subsided.
7. Milk compress
Milk has been shown in an animal study to aid in wound healing [source]. It can be applied topically in a cold compress.
Add a gentle, anti-inflammatory essential oil like Roman chamomile to ease pain and relieve inflamed skin [source]. The lactic acid in milk will also soften stubble and exfoliate dead skin that can trap potential ingrown hairs [source].
—1 cup milk
—10 drops Roman chamomile essential oil
Soak a washcloth in the mixture and wring out the excess. Place on the skin for 5 minutes. Store leftovers in the fridge and repeat daily until irritation subsides.
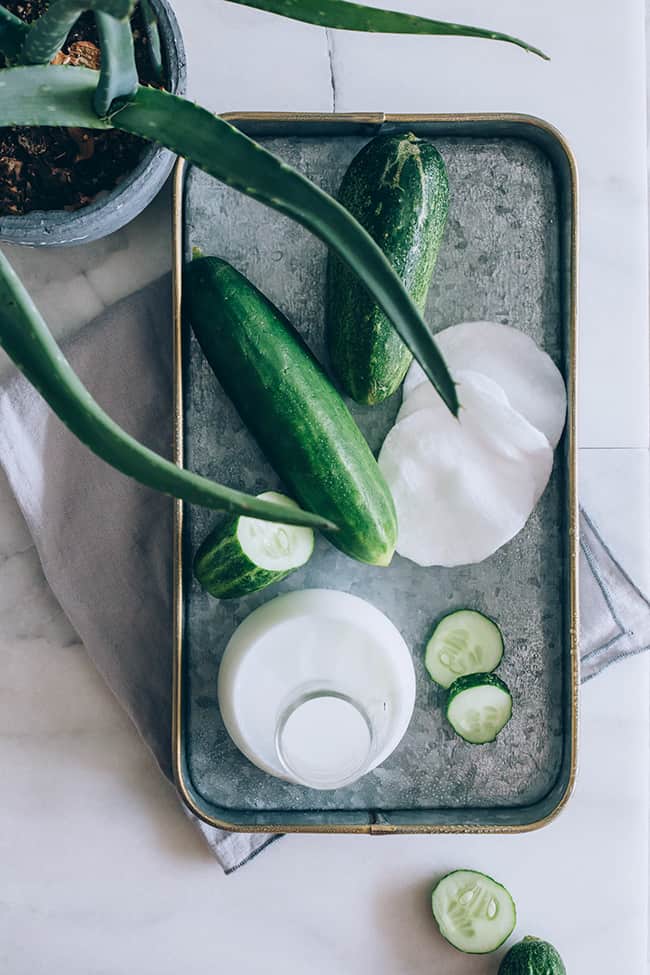
8. Cucumber lotion
Cucumber has long been used to cool inflamed skin and relieve pain [source]. It has also demonstrated antibacterial properties [source].
Apply slices directly to the irritated skin and leave on for 15 minutes. Or you can peel and puree half a cucumber with half an avocado and apply that to the area.
9. Calendula oil
Calendula is an herb with anti-inflammatory and antiseptic properties that has a long history of soothing damaged skin [source], including things like razor burn. Simply rub calendula oil on the injured skin to ease irritation and speed healing. Make sure to use calendula oil not the essential oil.
10. Tea tree body oil
Like other oils, tea tree essential oil moisturizes, cleanses, and nourishes the skin. But what makes it different are its natural antiseptic and antibiotic properties [source]. These innate healing properties make it perfect for soothing skin irritation and healing ingrown hairs.
Add 3–5 drops of tea tree EO to a tablespoon of any carrier oil like jojoba, coconut, or rosehip seed, and apply a small amount to razor bumps. Let the oil’s natural astringent properties go to work disinfecting, soothing irritation, and calming redness.
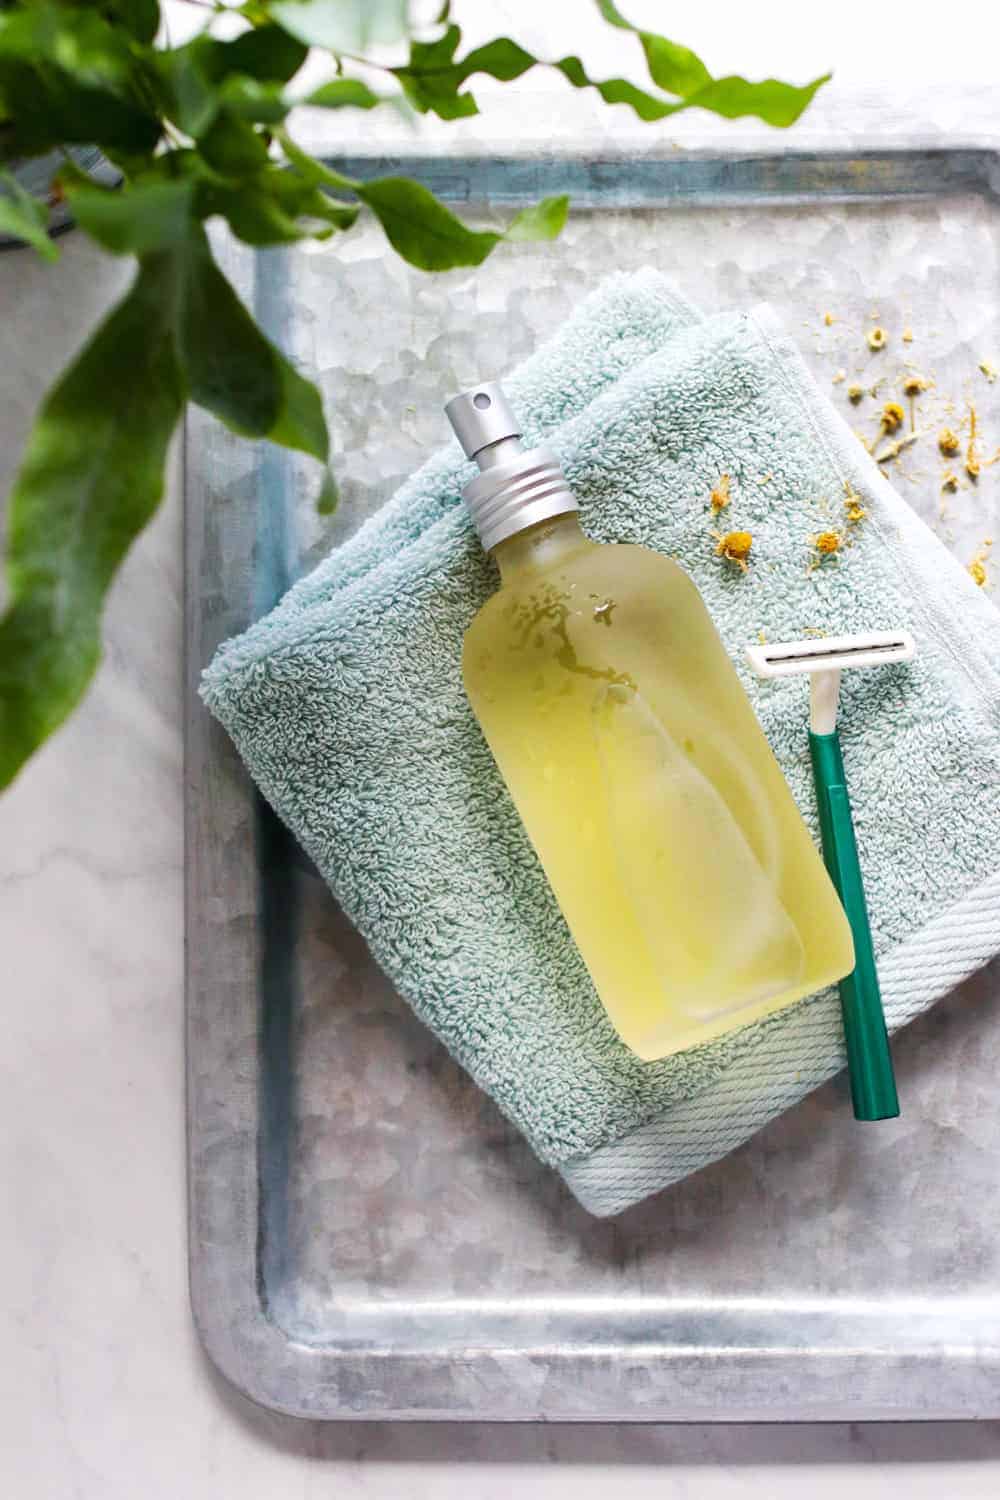
11. Witch hazel razor burn spray
The secret to preventing irritation lies in killing any bacteria lingering on your razor that gets transferred to your skin and soothing inflammation. This homemade cooling mist combines five of the most common pre- and post-shave remedies in a single spray to combat razor burn and bumps on both fronts.
Razor burn soothing ingredients
Thanks to ingredients like aloe and chamomile, you don’t have to worry about stinging or inflammation (a major plus). And soothing oils even give irritated skin a soft, subtle glow. As an added bonus, if you toss it in the fridge, it will cool hot skin and soothe sunburn to boot.
Aloe vera - Used traditionally to heal wounds [source], its moisturizing and anti-inflammatory properties also help in treating chronic skin issues like psoriasis, acne, and eczema [source]. Aloe vera makes a soothing aftershave that reduces skin irritation.
Witch hazel - A natural antiseptic that helps reduce skin inflammation and kill germs that may exacerbate problem skin [source]
Chamomile - Contains anti-inflammatory compounds that calm occasional red, dry, and irritated skin [source]
Coconut oil - Provides immediate relief for pain, irritation, and itching; promotes skin healing; and helps support the natural function of the skin barrier [source]
Tea tree essential oil - A natural antibacterial agent to prevent infections [source]
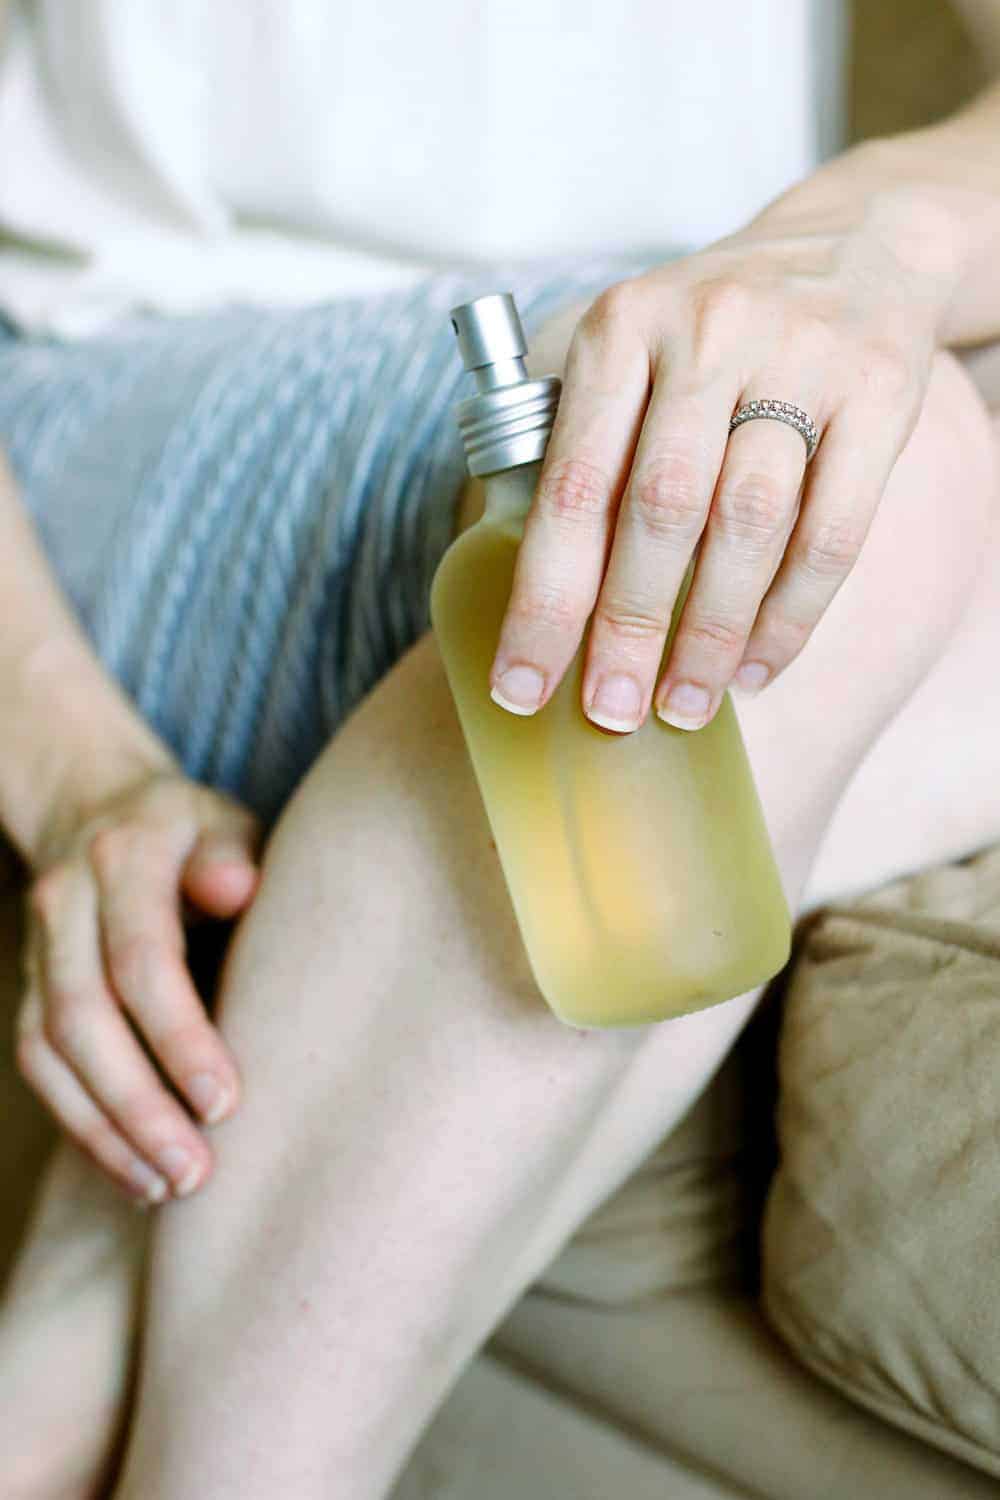
How to use a razor burn pray
Simply spritz it on freshly shaved legs to preempt the burn. Or you can apply it to existing bumps to help the skin heal more quickly.
1. Hop in the shower and shave your legs. Since a razor burn spray can only do so much, here are some tips to help keep razor burn from cropping up in the first place.
2. When you get out of the shower, lightly towel off, making sure not to rub or pull at the skin.
3. Next, lightly mist the razor burn spray on legs or underarms. If you don’t have a mister bottle, feel free to apply the solution using a cotton ball or cotton round.
4. Let the cooling ingredients sink into hair follicles, then apply a nourishing body lotion to lock in moisture.
5. Repeat 1 to 2 times a week.
You can use this mixture as a pre-shave oil to soften hair or as an after-shave mist to reduce swelling and prevent bumps. You can even use it to soothe infected follicles and speed up healing of irritated skin.
Razor Burn Spray FAQs
Can I use distilled water instead of chamomile tea?
Yes, it’s totally fine to substitute water in place of the chamomile tea. You can also try adding a different tea (organic green tea would be great for this), a hydrosol, or even diluted, sugar-free juice.
Can I use fresh aloe vera?
Fresh aloe vera gel would be fine—as long as it is very fresh. Just keep an eye out for signs of mold since aloe taken directly from the plant has a tendency to go bad rather quickly.
What other essential oils can I use in my razor burn spray?
You don’t have to use lavender and tea tree oils if you don’t want to. Any soothing essential oil, such as chamomile, carrot seed, bergamot, or clary sage, can be used instead.

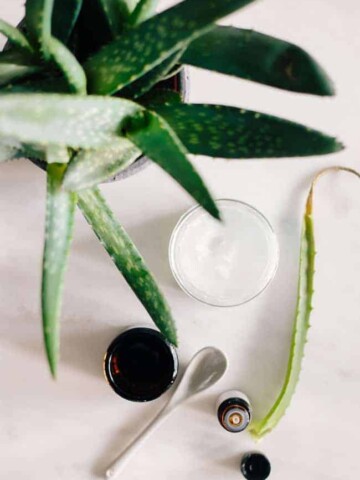
Razor Burn Spray
Equipment
- Small bowl
- 8-ounce glass spritzer bottle
Materials
- 1 tablespoon fractionated coconut oil
- 1 cup chamomile tea
- 1 tablespoon witch hazel
- 1 tablespoon aloe vera gel
- 5 drops Tea tree essential oil
- 5 drops lavender essential oil
Instructions
- Combine all ingredients in a small bowl and whisk to combine. Transfer the mixture to an 8-ounce spray bottle.

- Spray liberally on the skin before and after shaving to prevent razor bumps and burn. If separation occurs, shake well before using.

Video
Notes
This article was medically reviewed by Dr. Gina Jansheski, a licensed, board-certified physician who has been practicing for more than 20 years. Learn more about Hello Glow's medical reviewers here. As always, this is not personal medical advice and we recommend that you talk with your doctor.
248