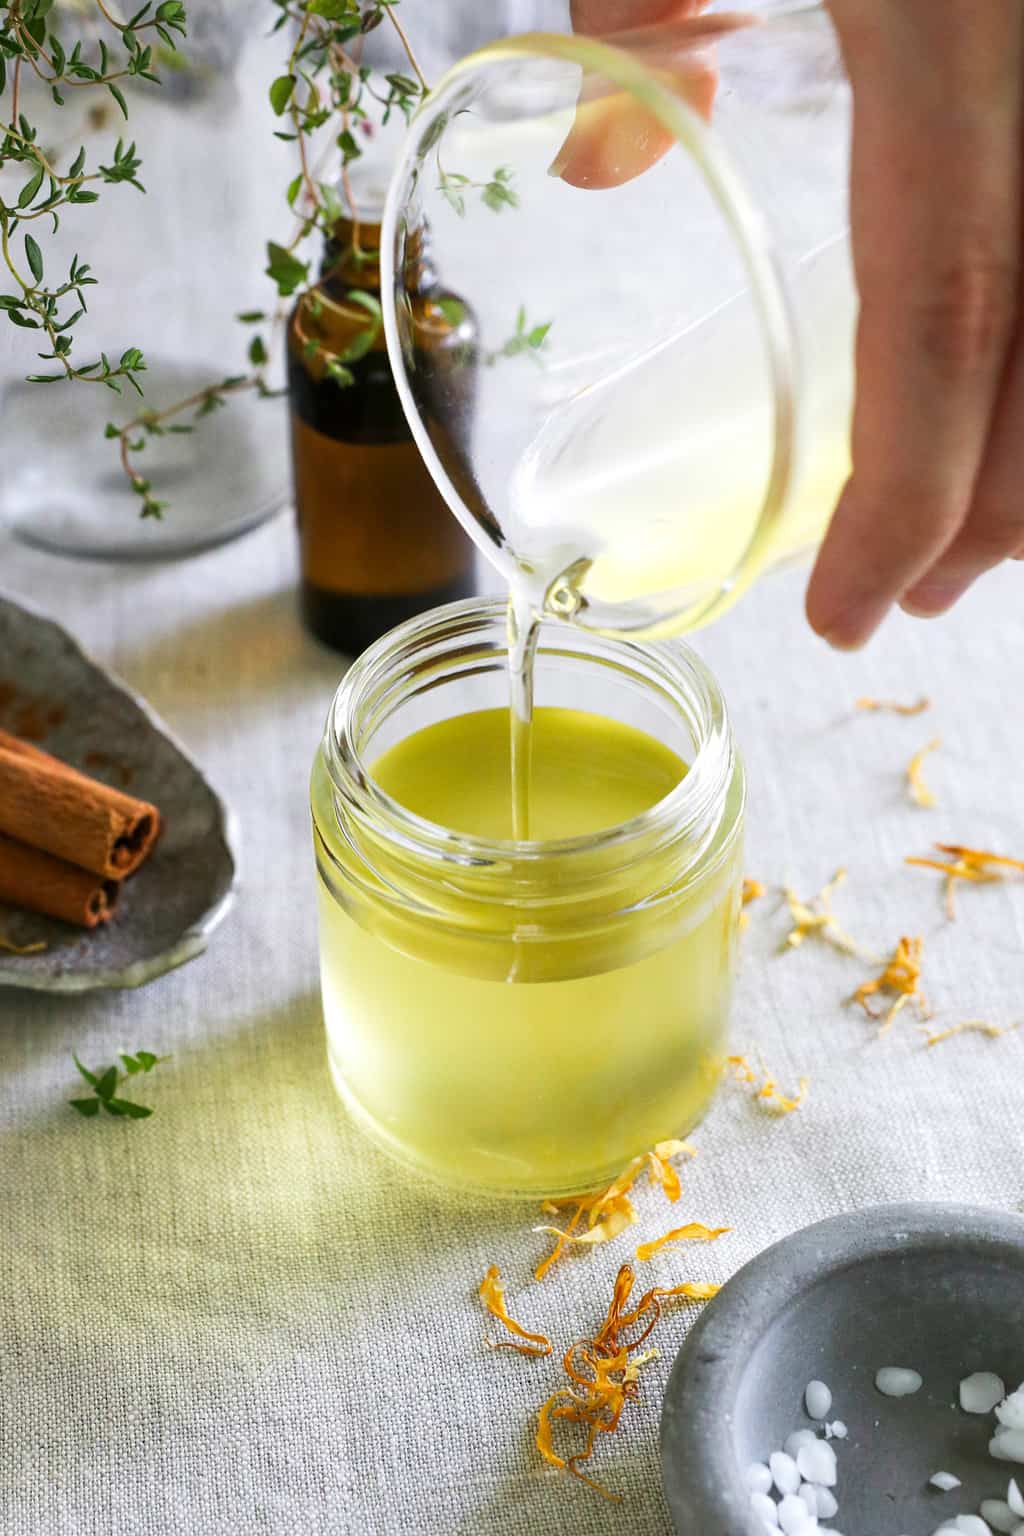
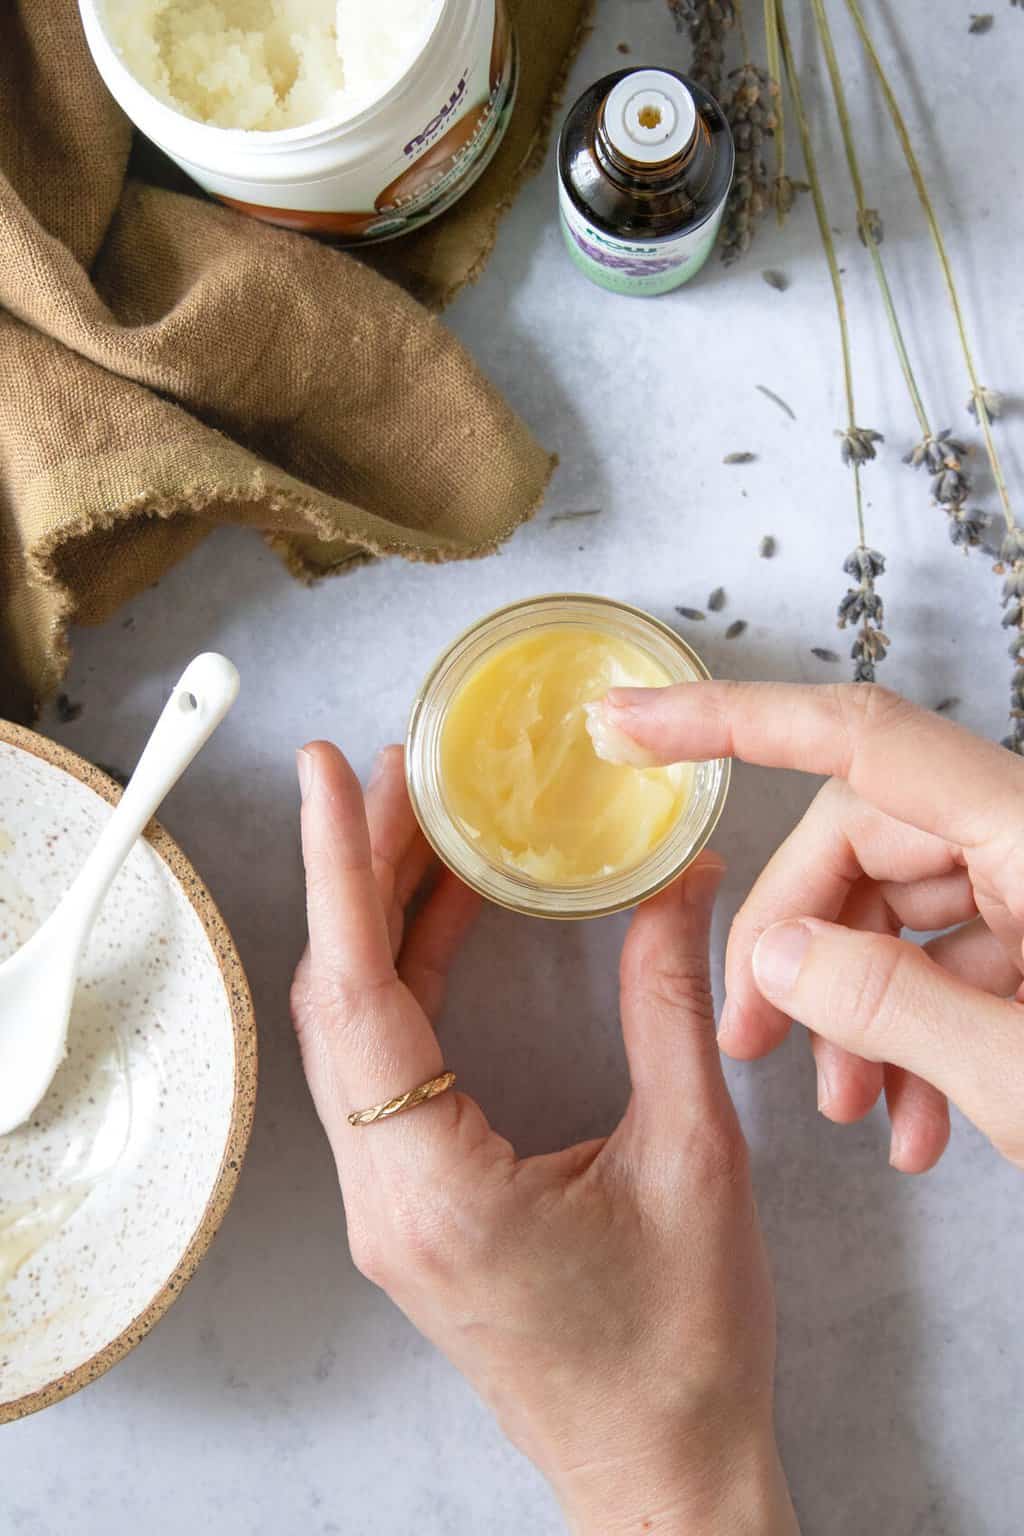
Looking for a gentle, all-natural way to keep your baby’s skin soft and hydrated? Making your own baby butter with coconut oil and shea butter is a simple, nourishing solution that’s perfect for delicate skin.
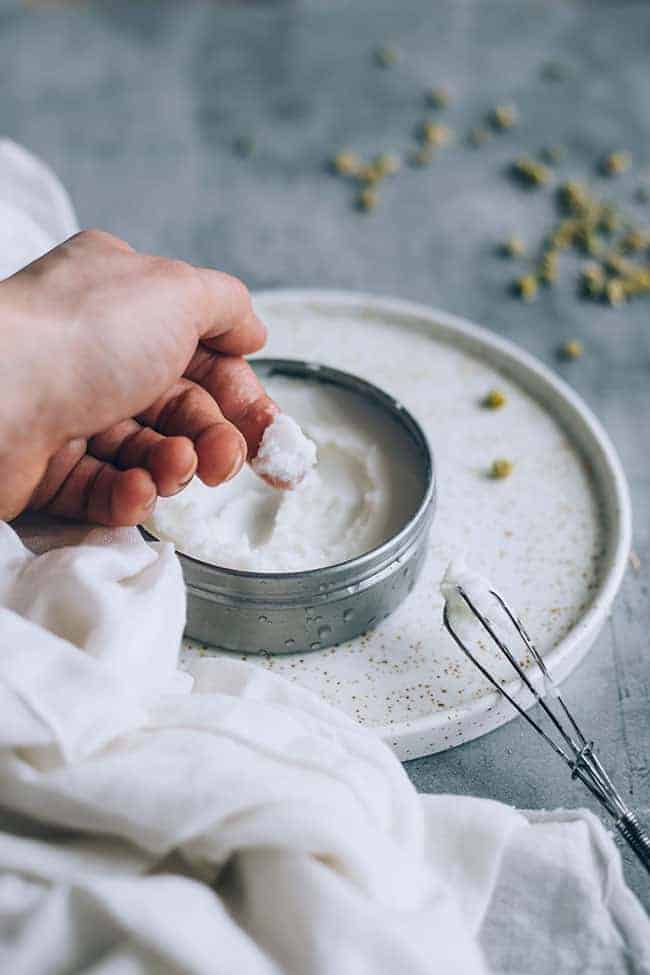
This homemade blend combines the moisturizing power of coconut oil with the rich, soothing qualities of shea butter to create a creamy balm that locks in moisture and protects against dryness. Not only is this DIY baby butter free from synthetic ingredients, but it’s also rich in vitamins and fatty acids that support healthy skin, making it ideal for sensitive or irritated areas.
Jump to:
What causes diaper rash?
Diaper rash begins when trapped moisture, chemicals, and friction irritate the skin. The irritation continues over time, and the harsh urine and stool inside a soiled diaper can make the irritation worse.
If no one is going to successfully pry the disposables from your overstuffed diaper bag either, then here’s one small change you can make. Recently, I switched out my diaper cream for a whipped shea baby butter. It’s one of those easy things that make you think: what took so long? No more need to wash hands to get rid of white cream residue.
Oh, and if you’re battling stubborn diaper rash, your little ones (and their buns) will thank you.
Natural treatments for diaper rash
1. Change often without irritating
Changing diapers is torture when baby’s bum is red, but frequent changes are necessary to reduce irritation and heal the skin. Wipe gently with wipes that have no fragrance, alcohol, or other ingredients that might cause reactions in irritated, sensitive skin. Try switching diaper brands if you think that could be a factor.
2. Protect with a zinc oxide cream
A cream containing zinc oxide creates a layer of physical protection on baby’s skin. You can try a store-bought version or make your own (this homemade natural sunscreen makes an amazing DIY diaper cream, btw).
3. Baking soda + oatmeal baths
A soothing oatmeal and baking soda bath can calm irritated tushes by reducing inflammation, and it helps to dry out rashes. It also works wonders on sunburns and bug bites.
4. Give it some “air time”
After the bath, slather on healing coconut oil or aloe vera, and give your baby some diaper-free time. I know the last thing you want is to be cleaning up pee-pee accidents, but letting things air out can speed skin healing.
5. Moisturize with coconut and shea butter
Coconut oil and shea butter are both wonder creams in their own way. Coconut oil is antibacterial, so it helps kill germs and keep baby buns rash-free.
Meanwhile, shea butter is anti-inflammatory, and its antioxidants encourage healing [source]. Combine the two in a homemade baby butter, and you’ll never reach for a store-bought diaper rash cream again.
I’ve been experimenting with herb-infused oils, and I initially used olive oil infused with calendula for this recipe, an herb known for its healing properties [source]. But you can use essential oils if it’s easier. Lavender and chamomile are my go-to baby butter oils because of their anti-inflammatory properties, but you can use any oils you prefer.
I’m not sure if diapering is ever easy—and I’ve had 6 years of practice—but a diaper cream that nicely doubles as a hand moisturizer definitely helps!
DIY Whipped Baby Butter
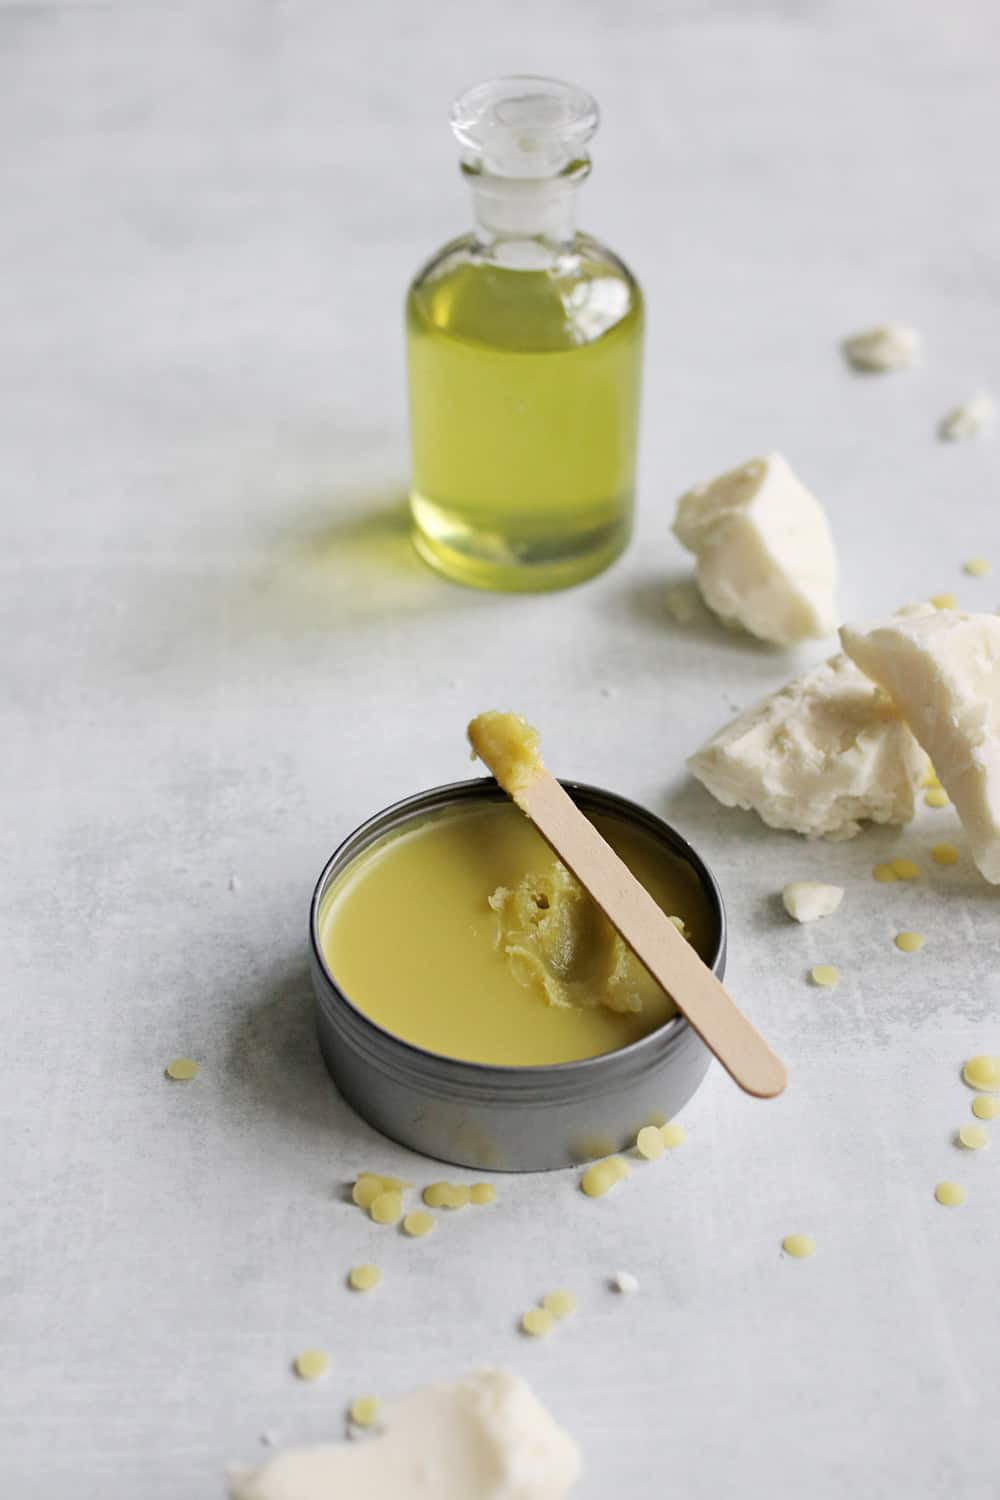
This 4-ingredient diaper cream is a cinch to make. Simply melt the ingredients slowly in a double boiler and pour into a tin or glass jar to cool. Apply it to chapped skin several times a day to soothe inflammation and lock in moisture.
Ingredients
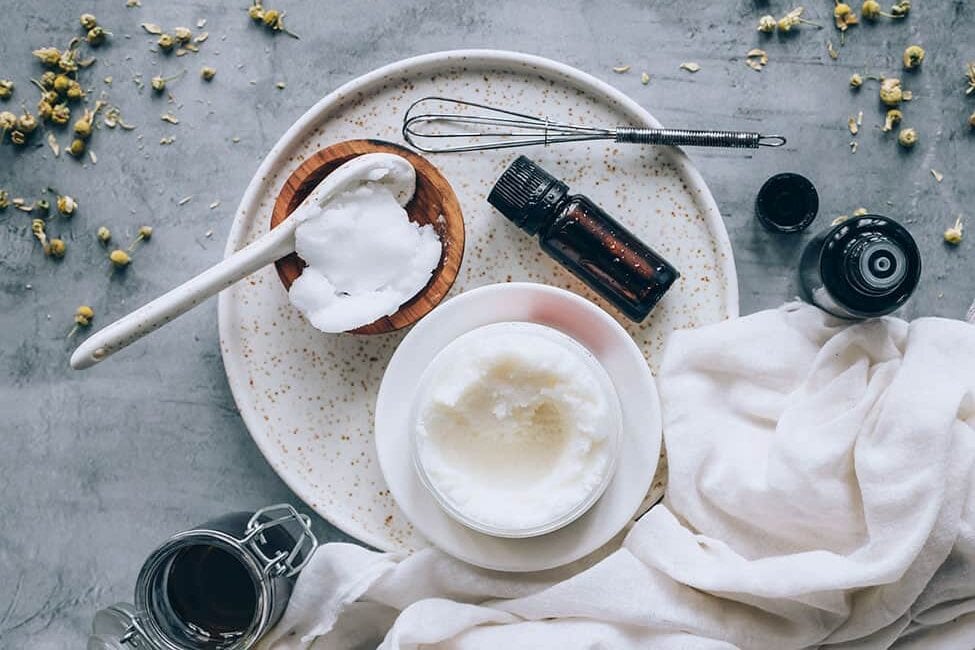
Together, these ingredients create a gentle, nourishing baby butter that protects, soothes, and deeply moisturizes, helping keep baby’s skin soft, smooth, and irritation-free.
Coconut Oil: A natural moisturizer that is gentle and soothing. Rich in fatty acids, especially lauric acid, it helps lock in moisture, protecting against dryness. Its natural antimicrobial properties also help to keep skin healthy and free from irritation, making it ideal for sensitive baby skin.
Shea Butter: Highly moisturizing and contains vitamins A and E, which support skin elasticity and promote healing. Its thick, creamy texture forms a protective barrier that locks in moisture while allowing skin to breathe, making it great for soothing and preventing diaper rash or dry patches.
Essential Oils: Gentle oils like lavender or chamomile, can enhance the baby butter’s calming effects. These oils have mild antibacterial and soothing properties and give a pleasant scent without the need for artificial fragrances. (It’s always important to choose baby-safe, diluted essential oils in very small amounts.)
Instructions
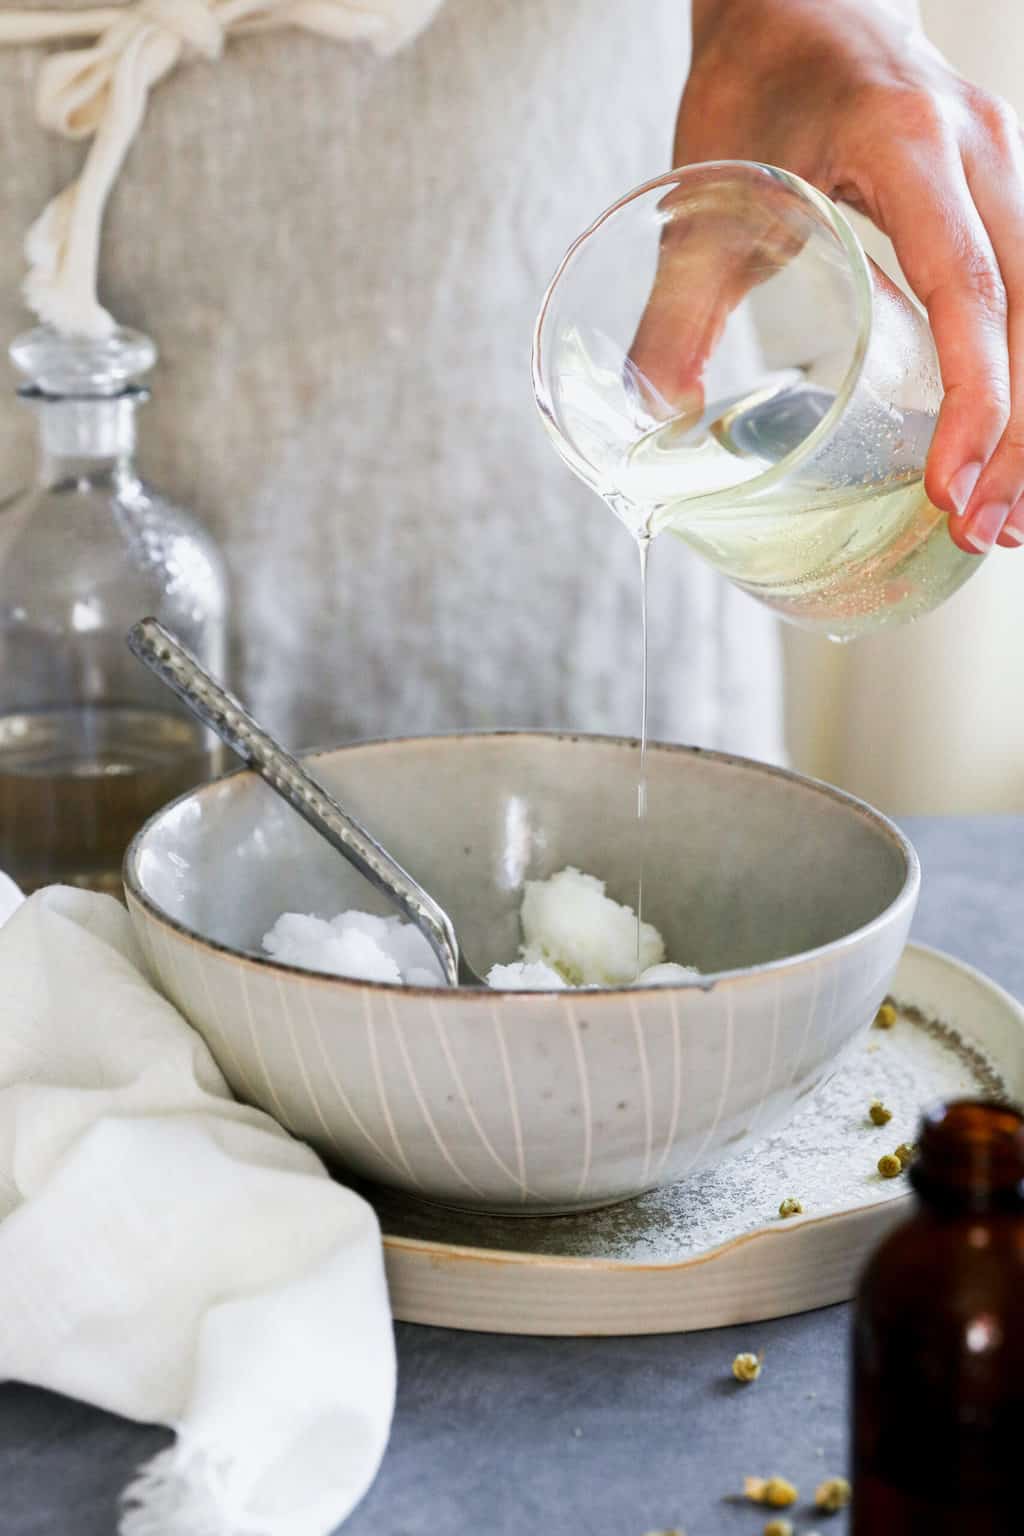
Combine the oils and butters in a medium glass bowl or double boiler. Melt them, stirring every few minutes until well combined.
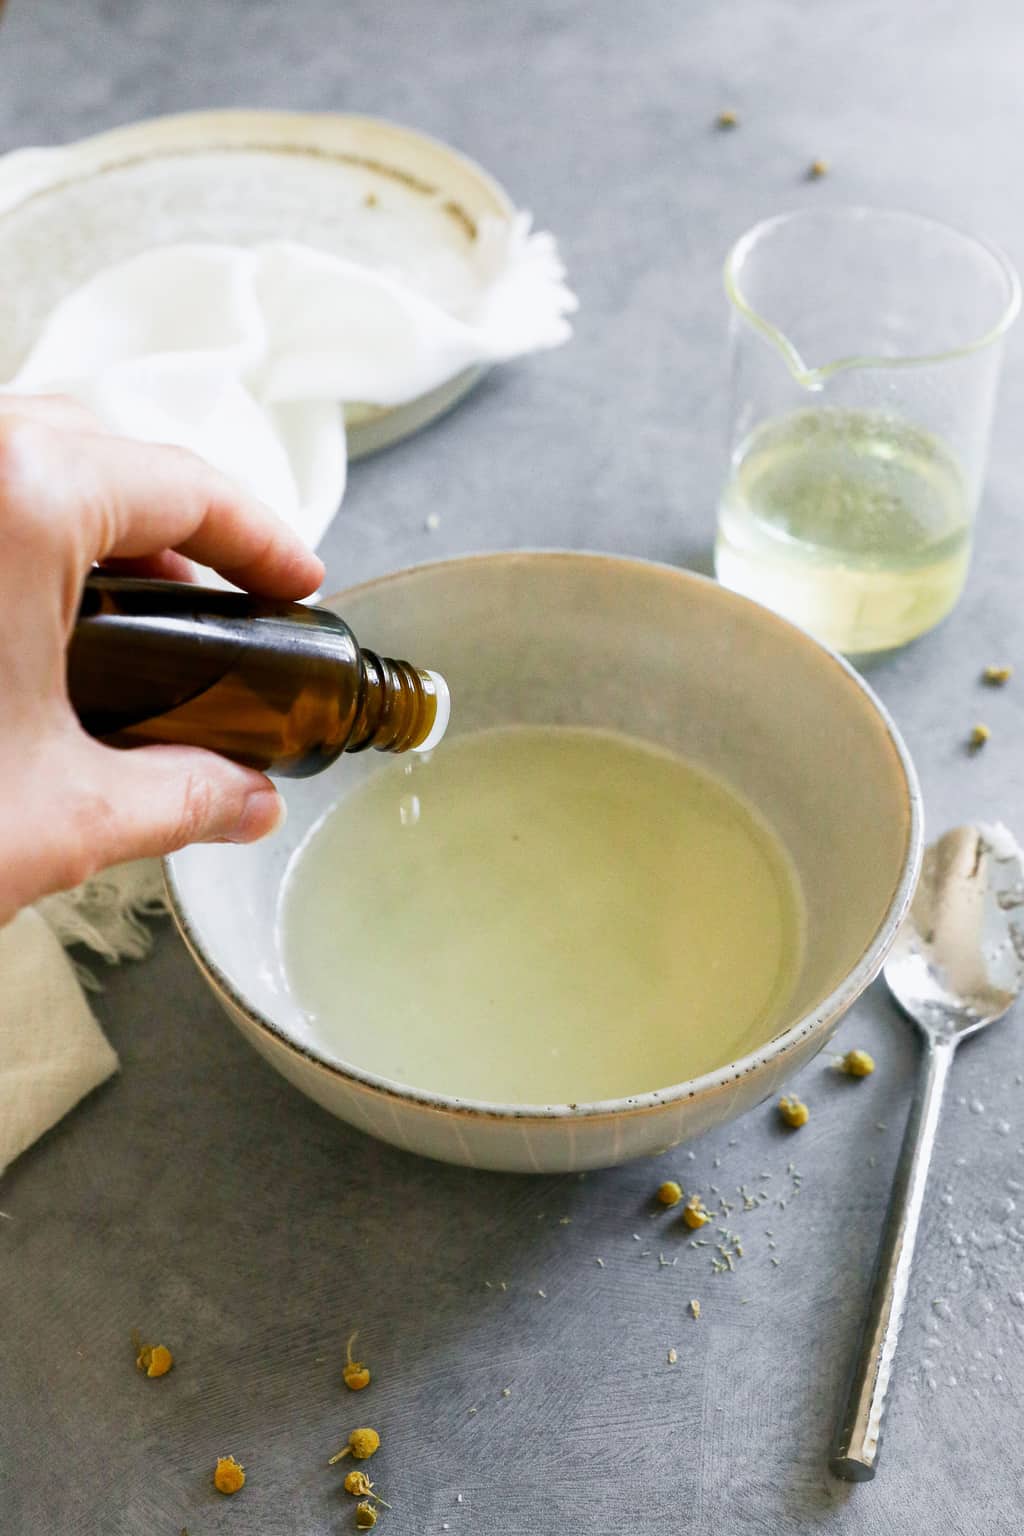
When the oils have melted, add the essential oils and stir well.
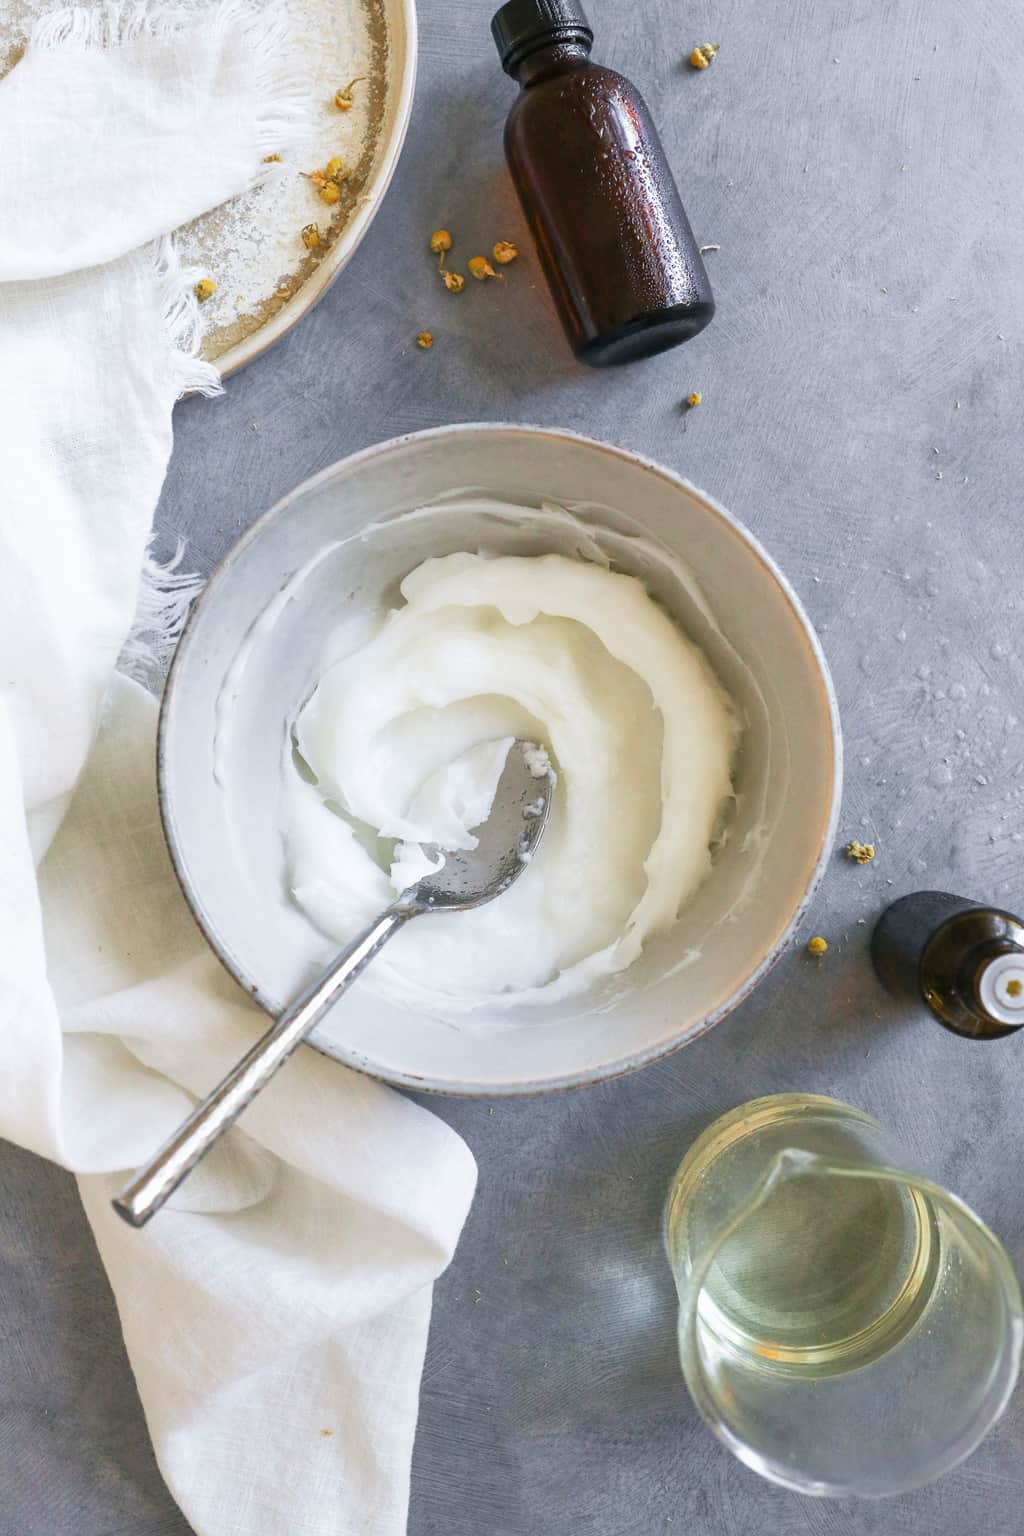
Let the mixture cool until just barely solidified. Place in the fridge to speed this up.
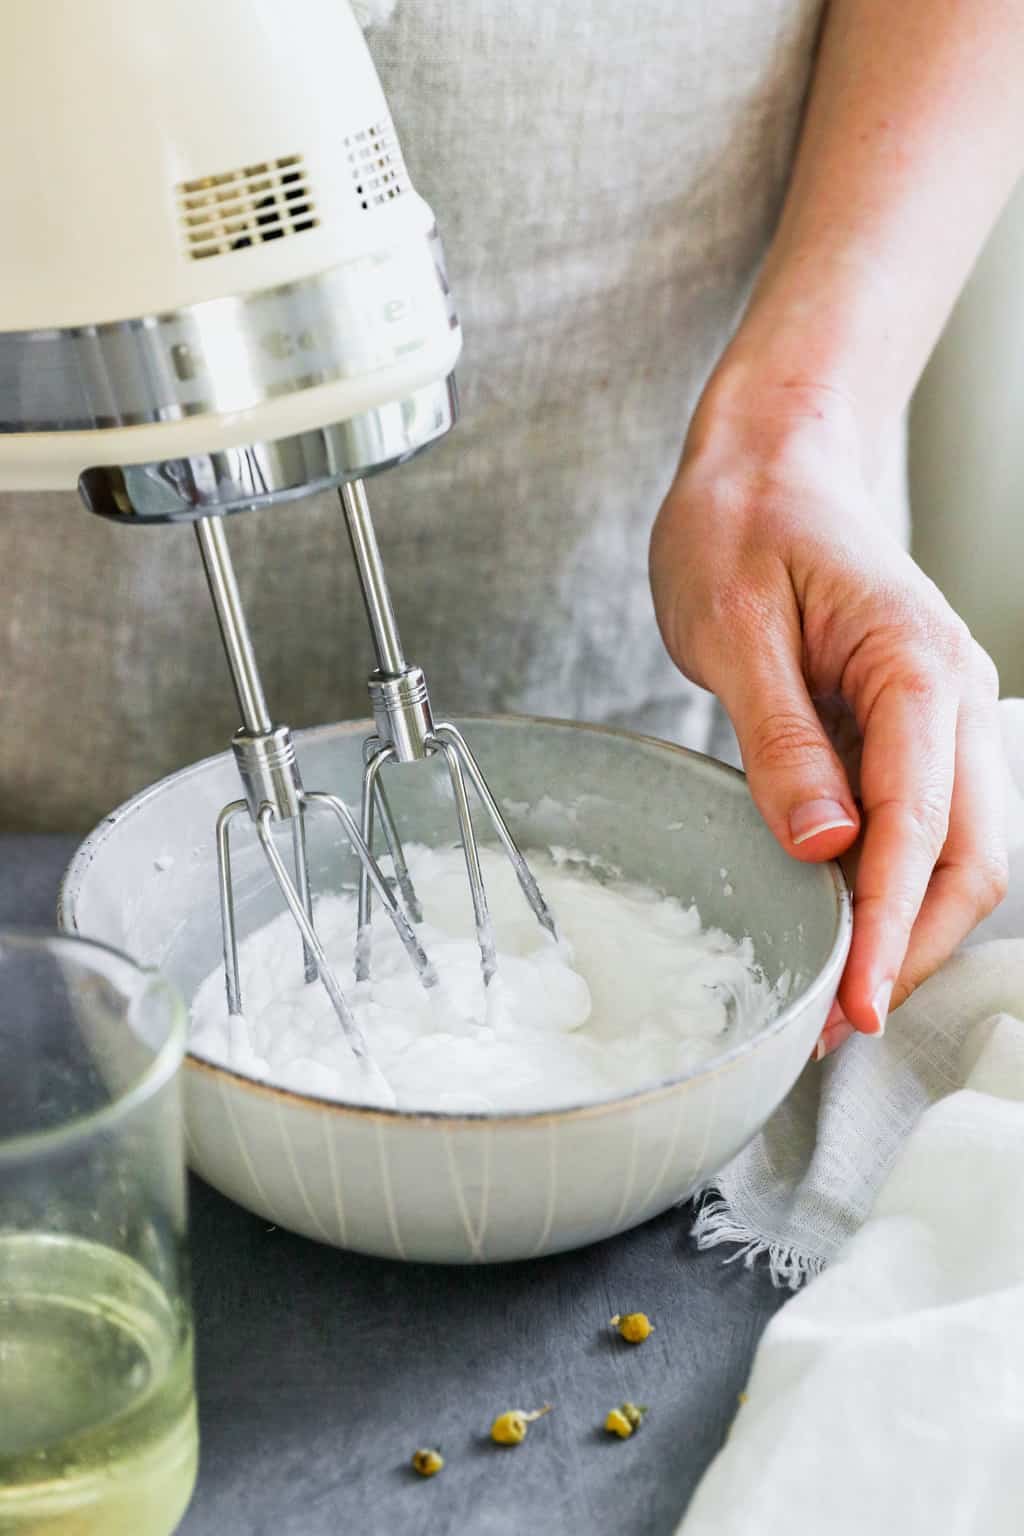
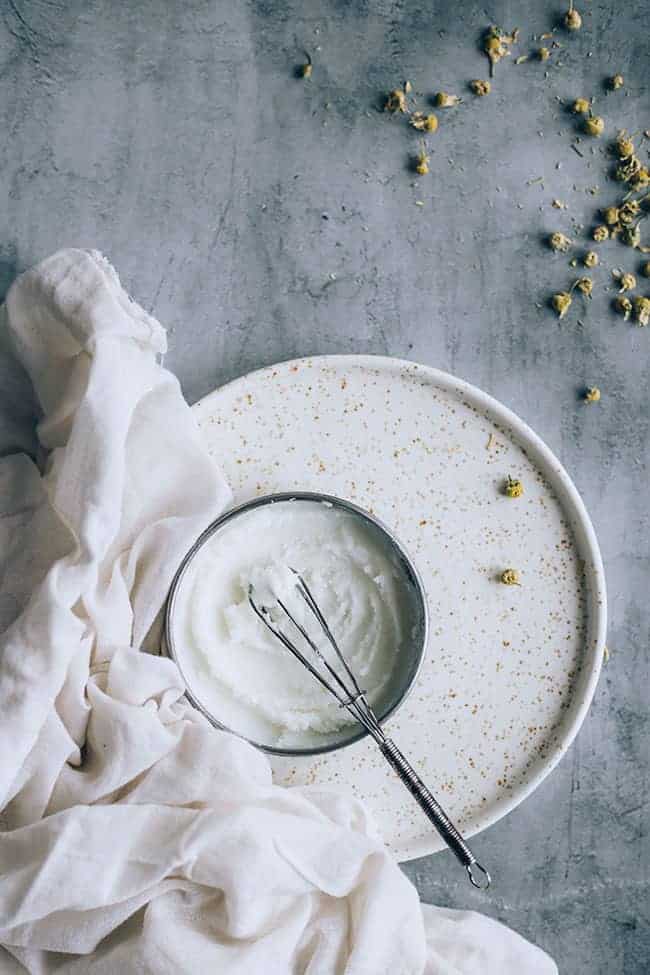
Then beat with a mixer until the butter turns creamy and frothy. This could take 5 to 10 minutes.
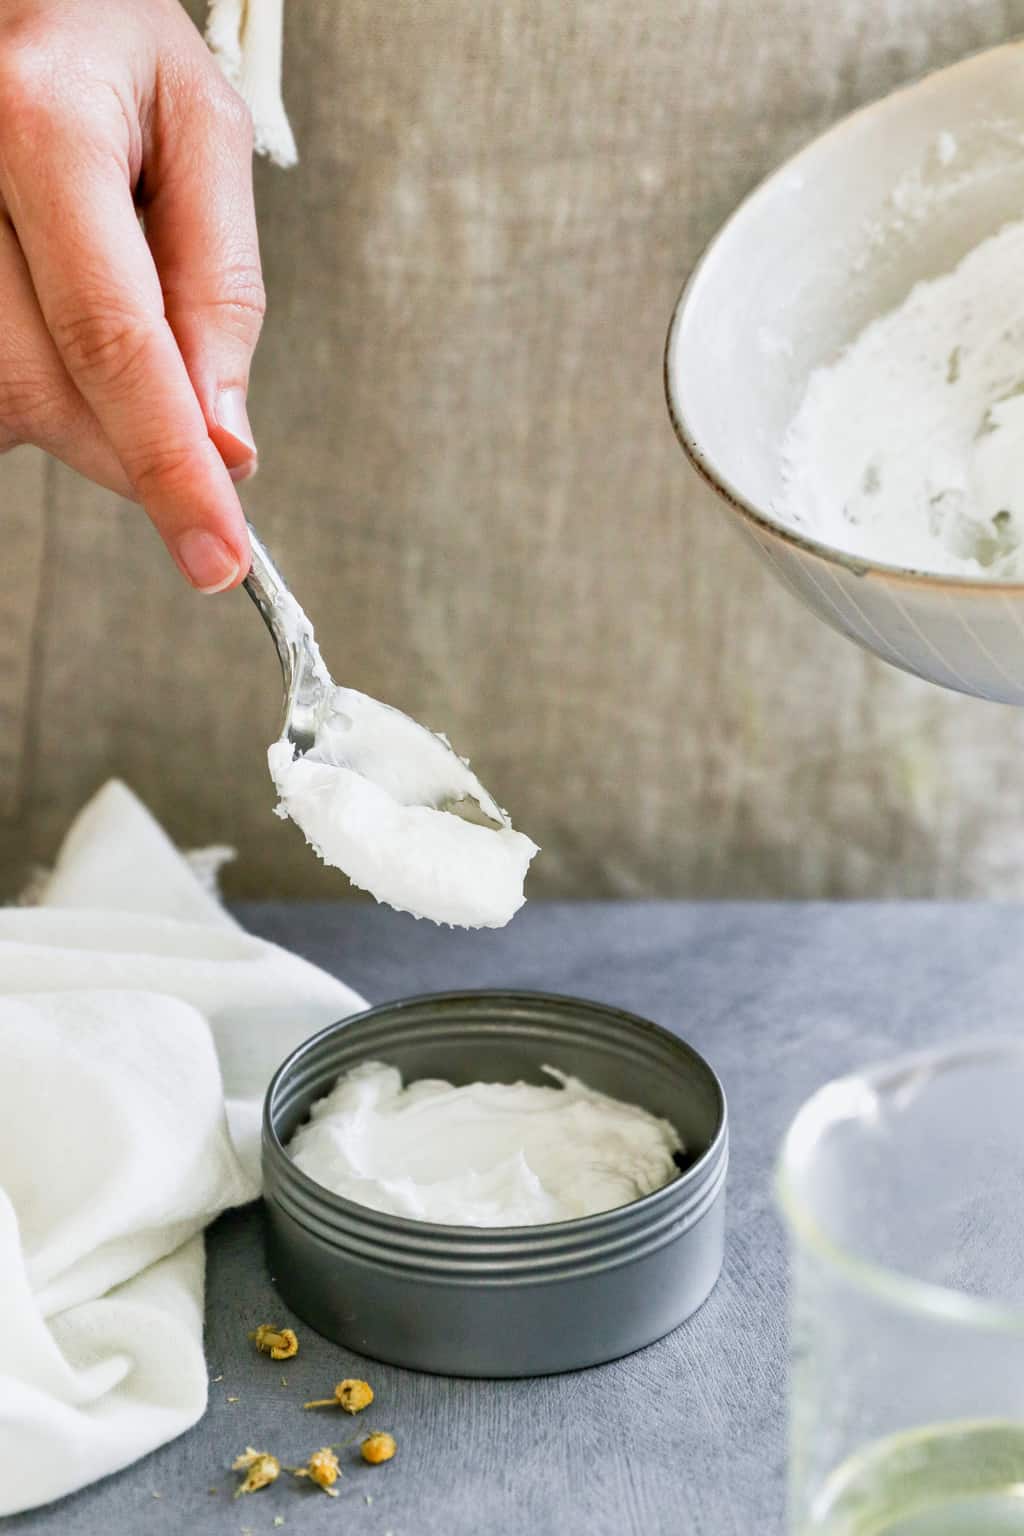
Transfer the mixture to a clean, lidded container.

To use, apply a thin layer to irritated skin 2 to 3 times a day. This recipe is gentle enough to use daily, even if irritation isn’t present.
Storage
If you keep your diaper cream clean and dry, it should last at least 6 months without needing refrigeration.
FAQ
Refined shea butter has been processed to remove the color, scent, and most of the healing properties. While it has a longer shelf life than the unrefined kind, the refined version doesn’t have as many of the skin-boosting benefits you might like in a diaper cream. However, both refined and unrefined shea butter will work in this recipe.
If your baby has sensitive skin, applying a gentle, natural diaper cream after every change can help prevent irritation. It’s also helpful to use when you feel it will be some time before the next diaper change, such as before bedtime or a long car ride. But it’s really just a matter of personal preference. Letting your baby’s skin breathe is important, too, so keep an eye out for changes, such as rashes or breakouts, and adjust your diaper routine accordingly.
If you’d like to reap the protective properties of zinc oxide, go ahead and add a teaspoon of zinc oxide powder to your diaper cream.
In an effort to maintain the right consistency, it’s best to use an oil that’s solid at room temperature. I recommend cocoa butter or tallow, both of which can be found online or at a natural foods store.
Whipped Shea Baby Butter
Equipment
- Medium bowl and/or double boiler
- Hand mixer
- 8 ounce jar with lid
Materials
- ½ cup unrefined shea butter
- ¼ cup coconut oil
- ¼ cup light oil (olive oil and almond oil are my faves)
- 5–10 drops of a soothing essential oil like lavender or chamomile
Instructions
- Combine the oils and butters in a medium glass bowl or double boiler. Melt them together, stirring every few minutes until combined.
- When the oils have melted completely, add the essential oils and stir well.
- Let the mixture cool until just barely solidified—I give it a stir every 10 minutes or so to check the consistency. Place in the fridge to speed this up.
- Then beat with a mixer until the butter turns creamy and frothy. This could take 5–10 minutes.
- Transfer to a clean, lidded container.
Notes
This article was medically reviewed by Dr. Gina Jansheski, a licensed, board-certified pediatrician with over 20 years of experience in practice. Learn more about Hello Glow’s medical reviewers here. As always, this is not personal medical advice, and we recommend that you talk with your doctor before using this recipe to determine what’s best for you.
7
