Anyone else have this "problem" of forgetting what you own if you don't see it? It happens to me with jewelry: If I don't see it, then I'll most likely forget that I have it and not wear it.
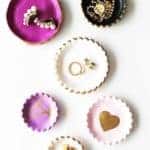
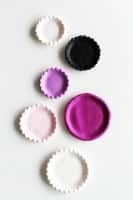
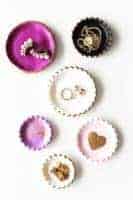
That's why I like to display my jewelry pieces on dishes, trays and even in vintage cups, so I can see it all beautifully displayed and organized—most of the time. With this in mind, I bring you an easy DIY clay jewelry dish project that won't take you more than an hour.
I had so much fun with this that I just want to make all of the clay crafts. If you're feeling the same way, I suggest trying your hand at these Scandinavian-style clay candlesticks or these photo transfer clay gift tags.
Making Crafts with Clay
Air dry clay is a versatile material that can be used to create a wide variety of crafts, from small jewelry dishes to larger decorative bowls. To get started with air dry clay crafts, you will need a few basic materials, including air dry clay, a rolling pin, and acrylic paint.
One popular project is to make a clay dish to hold small items like jewelry or keys. Roll out the clay on a flat surface with a rolling pin, then use a sharp knife to cut out the shape of your dish. Carefully lay the excess clay aside, and gently press the edges of the dish to create a smooth surface. Allow the clay to dry completely before painting with acrylic paint. This is a great idea for those looking to organize their small items in a decorative way.
Another project is to make an oven-safe bowl using air dry clay. Roll out the clay into a flat circle and gently press it into the shape of a bowl. Carefully peel away any excess clay and smooth the edges with a sharp knife. Bake the clay in the oven according to the package instructions, and allow it to cool completely before painting with acrylic paint. This is a great idea for those looking to add a handmade touch to their coffee table.
Overall, air dry clay crafts are a great way to get creative and make unique pieces for your home or as gifts for others. With a little practice and experimentation, you can create a variety of beautiful and functional objects using this versatile material.
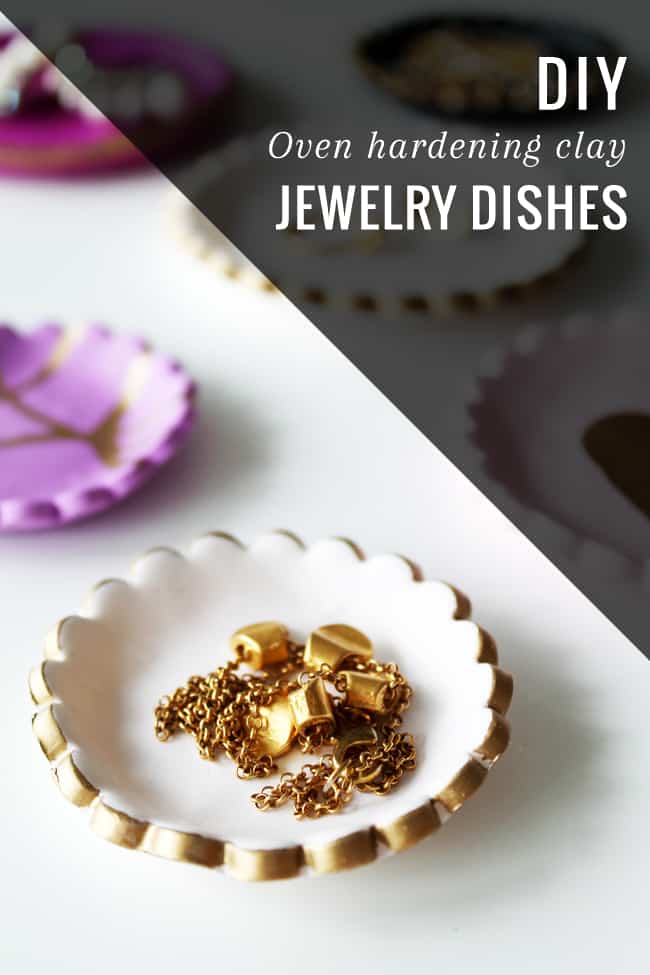
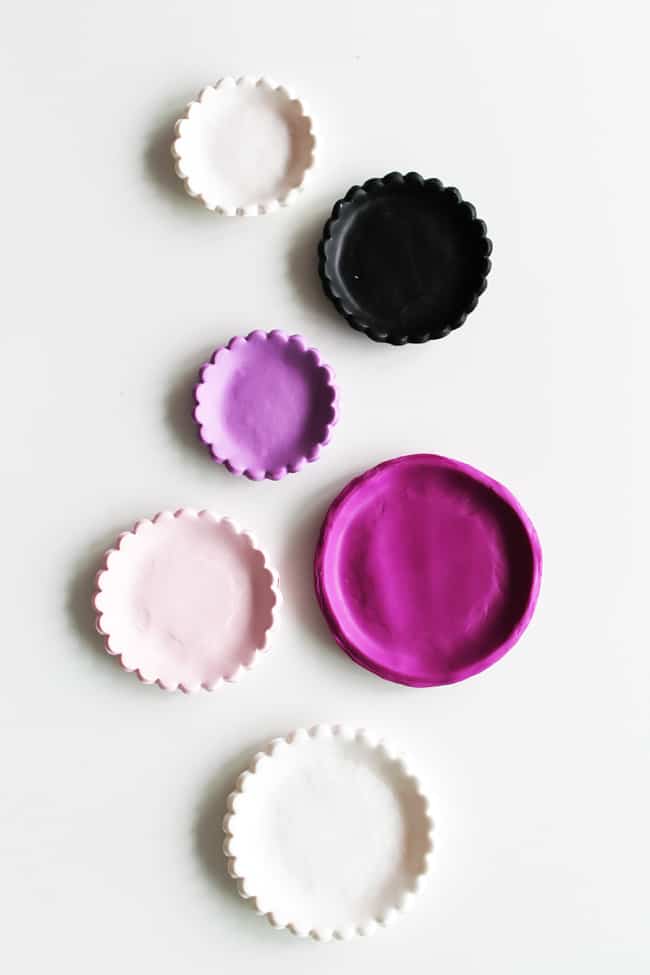
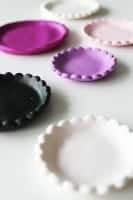
You can monogram them, paint polka dots or stripes, use gold leaf sheets…really, the options are endless. With so many cookie cutters available, imagine all of the shapes you can make!

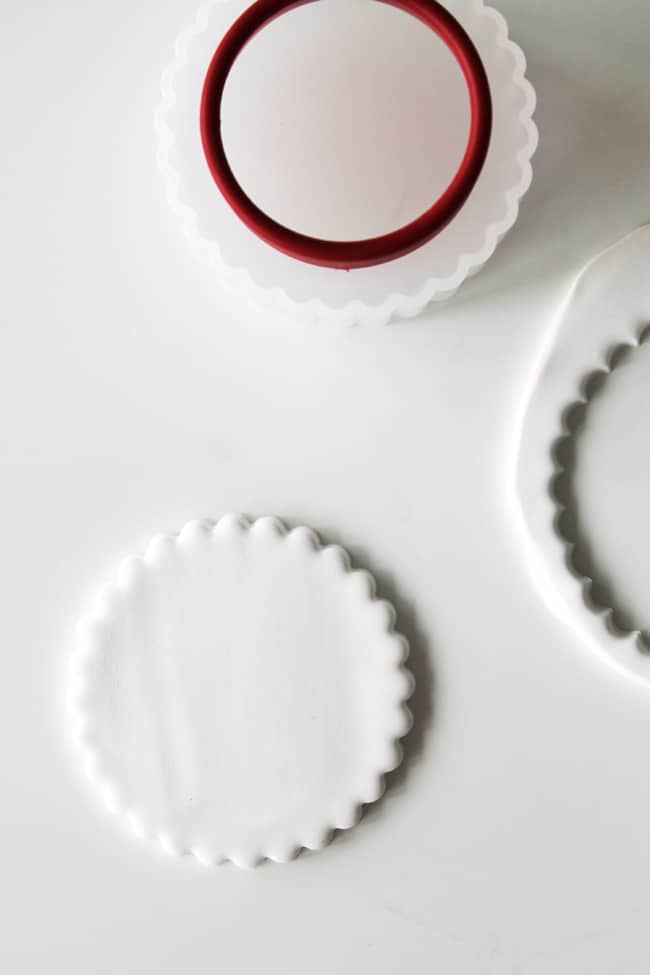
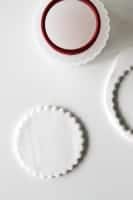
You'll start by rolling out your clay on a flat surface. You can use a cookie cutter to make your desired shape or freehand it for a more organically shaped dish.
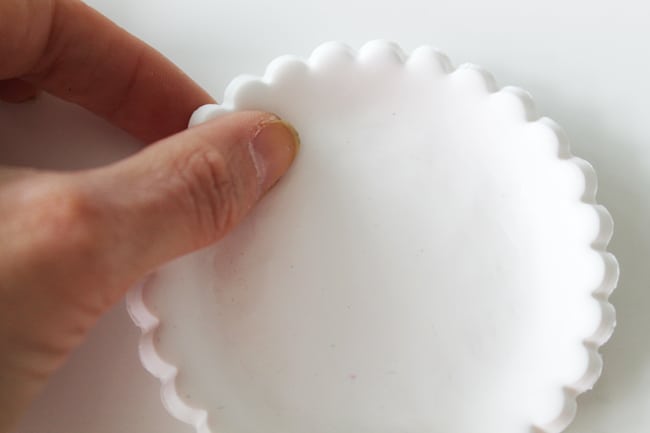
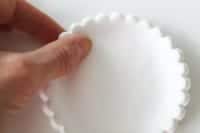
Using your fingertips, gently press all around close to the edges to give them a little lift.
Place in the oven and bake according to the manufacturer's instructions. Mine called for 30 minutes.
Once the dishes are finished baking, you'll want to let them cool for about an hour before decorating them. You can use this time to gather your supplies to make some embellishments!
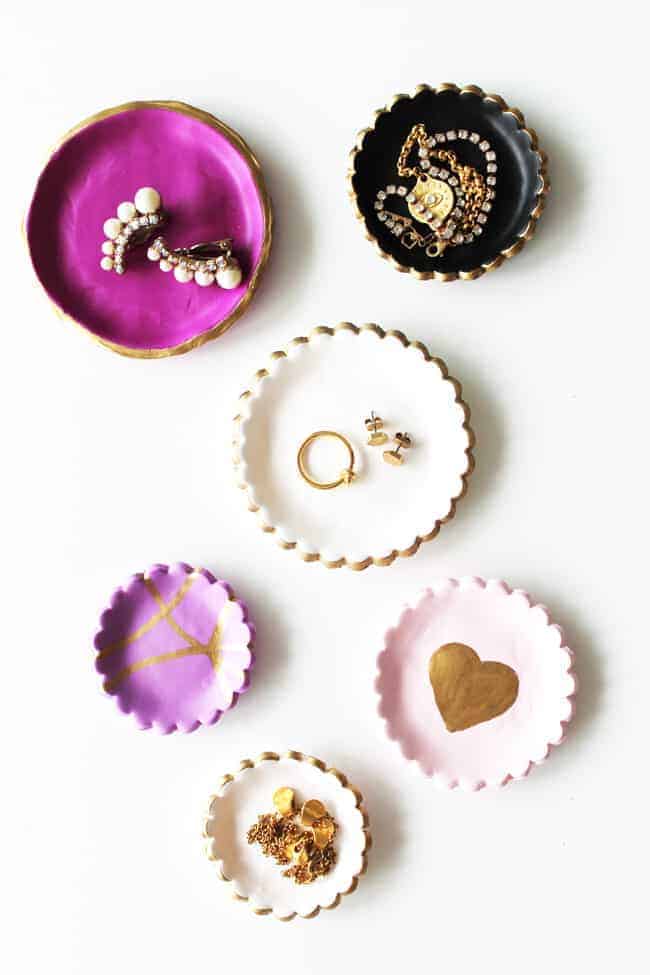
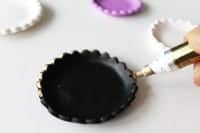
To decorate these, I used the gold leaf pen to paint the edges, make some drawings and fill in a heart. This is where the pencil comes in handy to sketch out a design first before fully committing with the gold leaf pen.
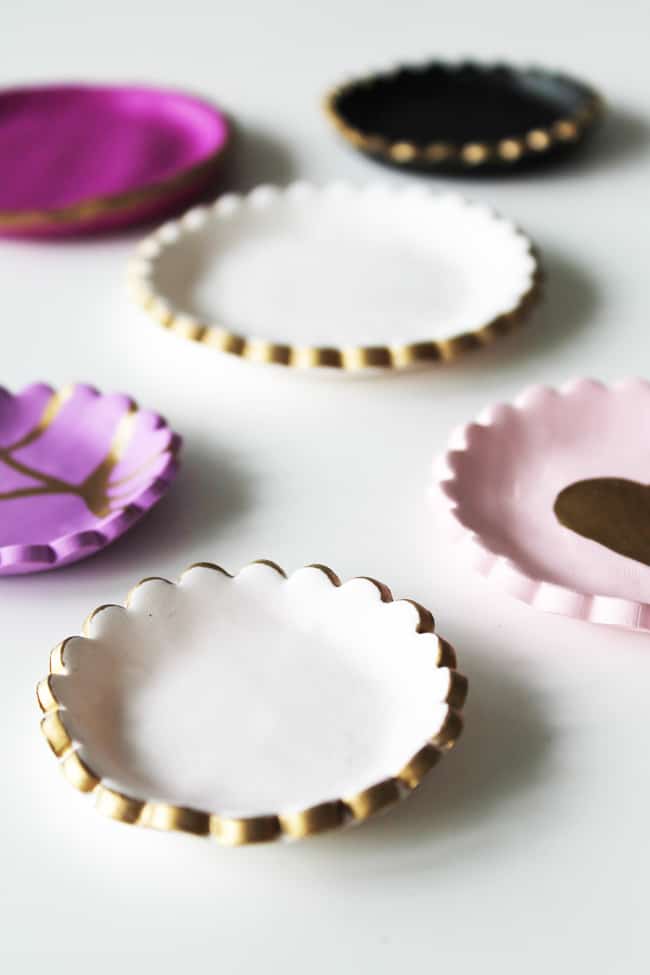
And if you need more jewelry to fill up all of your beautiful new dishes, might I suggest making your own essential oil bracelet with clay beads or aromatherapy diffuser necklace with clay charms? See?! The clay craft possibilities really are endless!
DIY Clay Jewelry Dishes FAQ
Can I make these DIY jewelry dishes with air-dry clay instead of oven-baked clay?
I prefer using oven-baked clay over air-dry clay to make these jewelry dishes for a few reasons. First, air-day clay can take awhile to completely harden and dry, and when it does, some shrinking or cracking can occur.
Plus, unlike air-day clay, oven-baked clay is waterproof once it's baked. While you might not need these dishes to hold water, you won't have to worry if you accidentally spill something on your nightstand or splash water on a dish that you keep on the bathroom counter.
Can I use the rolling pin and other supplies I already have in my kitchen to make these dishes?
You'll find that most polymer clay is non-toxic, but I always prefer to be extra careful and not mix my kitchen tools with my crafting tools. My general rule of thumb is to not let any surfaces or tools that I use when crafting come into contact with food, just in case.
What if the edges of my jewelry dish come out rough or uneven after baking?
Once your dishes have cooled completely, you can use a nail file to smooth edges out.
DIY Gold-Decorated Clay Jewelry Dishes
Equipment
- Oven
- Pencil
- Rolling Pin
- Cookie cutters
Materials
- Oven-hardening polymer clay
- Gold leaf pen
Instructions
- Roll your clay out on a flat surface. Use a cookie cutter to make your desired shapes or a butter knife to freehand more organic shapes.
- Using your fingertips, gently press close around the edges to give them a little lift.
- Bake in oven according to manufacturer's instructions (mine called for 30 minutes).
- Let the dishes cool for about an hour while you gather supplies to add embellishment to them.
- Use gold leaf pen to paint the edges, make drawings or fill in a heart. You can use your pencil to sketch out a design first if you prefer.
- Let the ink dry completely before using dishes to store jewelry.

