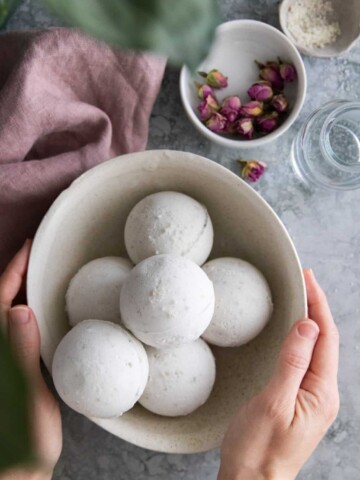
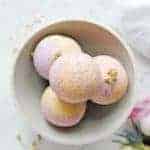
I have never met a bath bomb I didn’t like, but these shimmery, skin-soothing bath bombs might just be my new favorite. With a handful of ingredients, you can toss these colorful coconut oil bath bombs together in a matter of minutes, and you’ll be soaking away your troubles in less than an hour!
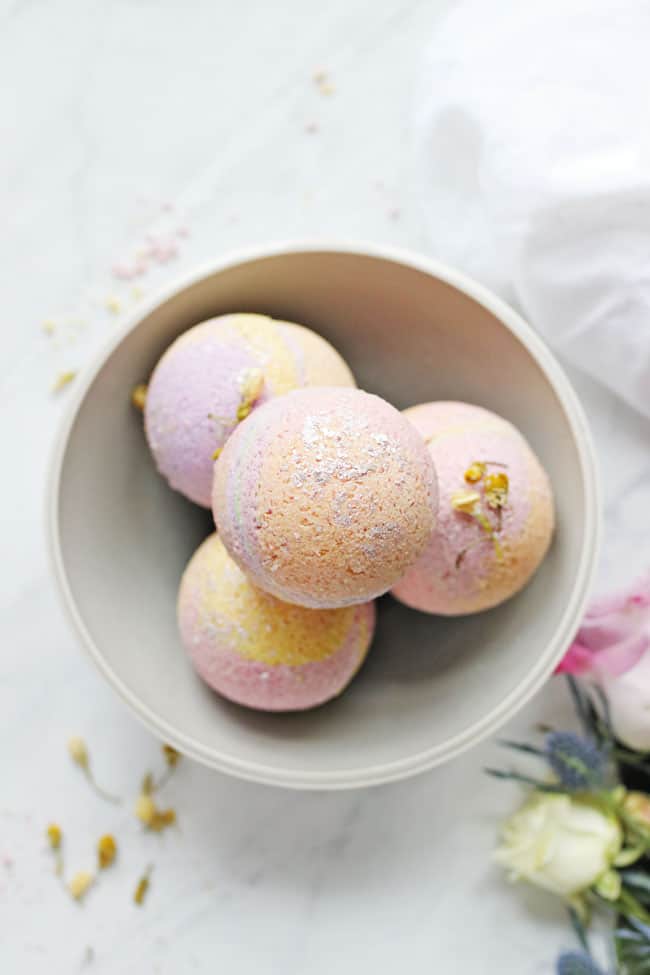
Not only are these beauties pretty to look at (insert heart eyes emoji here), but they’re super easy to make. Seriously! I know that a lot of homemade bath bomb recipes hardly ever turn out looking like the store-bought ones.
But these have a secret ingredient that actually helps them to pop out of the mold in one fell swoop. No breaking, crumbling, or sticking.
Jump to:
Ingredients
Coconut oil: Want to know what the not-so-secret ingredient is? (Just kidding, that's a trick question.) It's coconut oil.
Simply put your coconut bath bombs in the freezer for a few minutes, and the coconut oil hardens enough to prevent breaking. It's a game-changer. Plus, the skin-soothing benefits of coconut oil for bath bombs are endless.
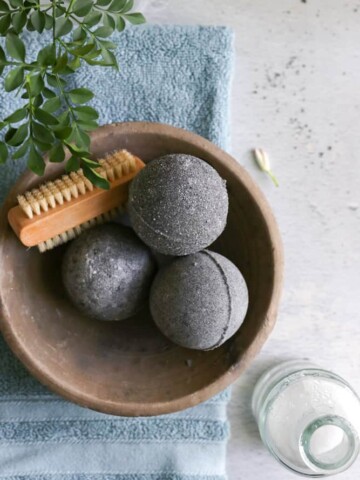
Epsom salt: Soothes achy muscles, relieves stress, and detoxifies the body.
Baking soda: Calms itchy, irritated skin.
Almond oil: Moisturizes dehydrated skin.
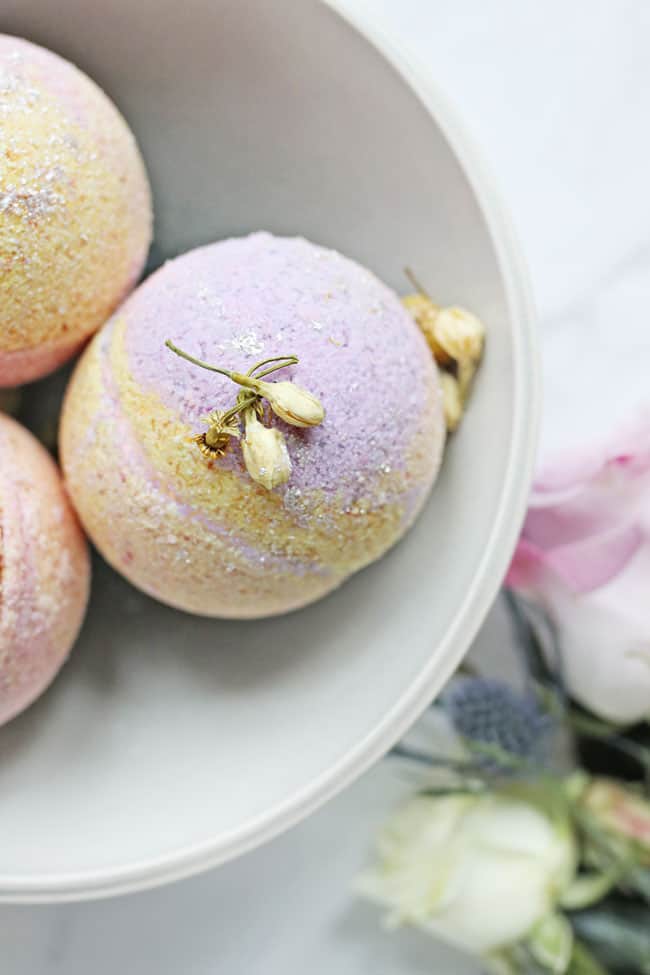
To get the pretty colors, I added a little vegetable-based food coloring to the mix. Just a couple drops were enough to create a soft pastel hue, plus a light touch means I don't have to worry about soaking my skin in dyes. Then I added a little pinch of silver mica, so they sparkle when the light catches them.
See recipe card for quantities.
Instructions
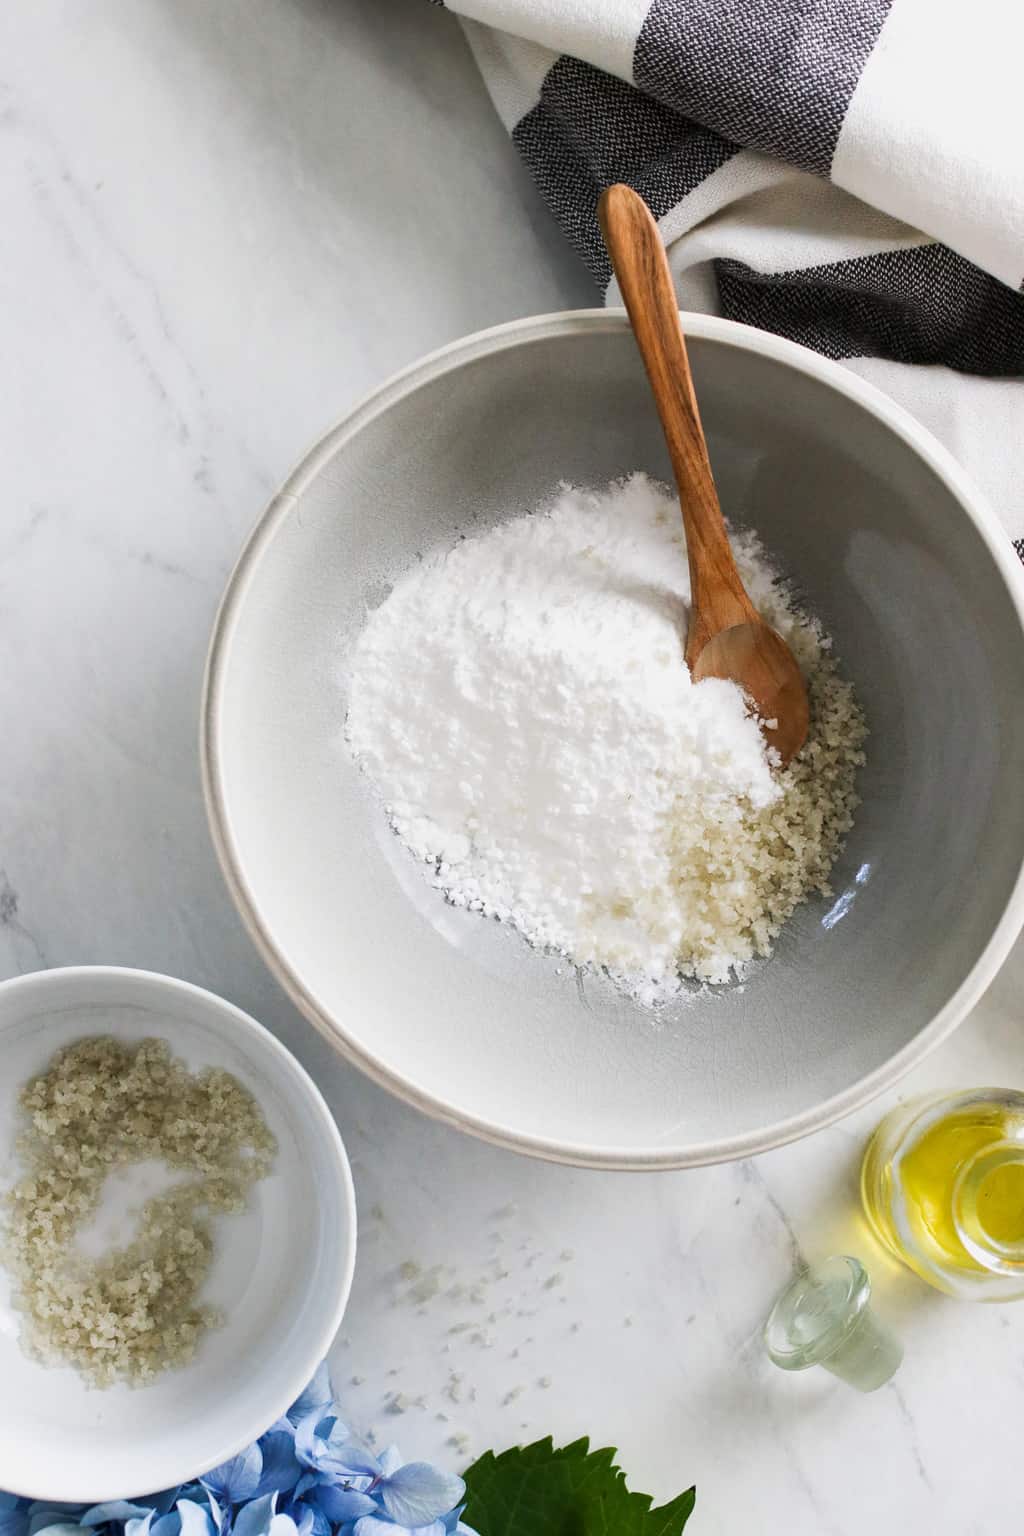
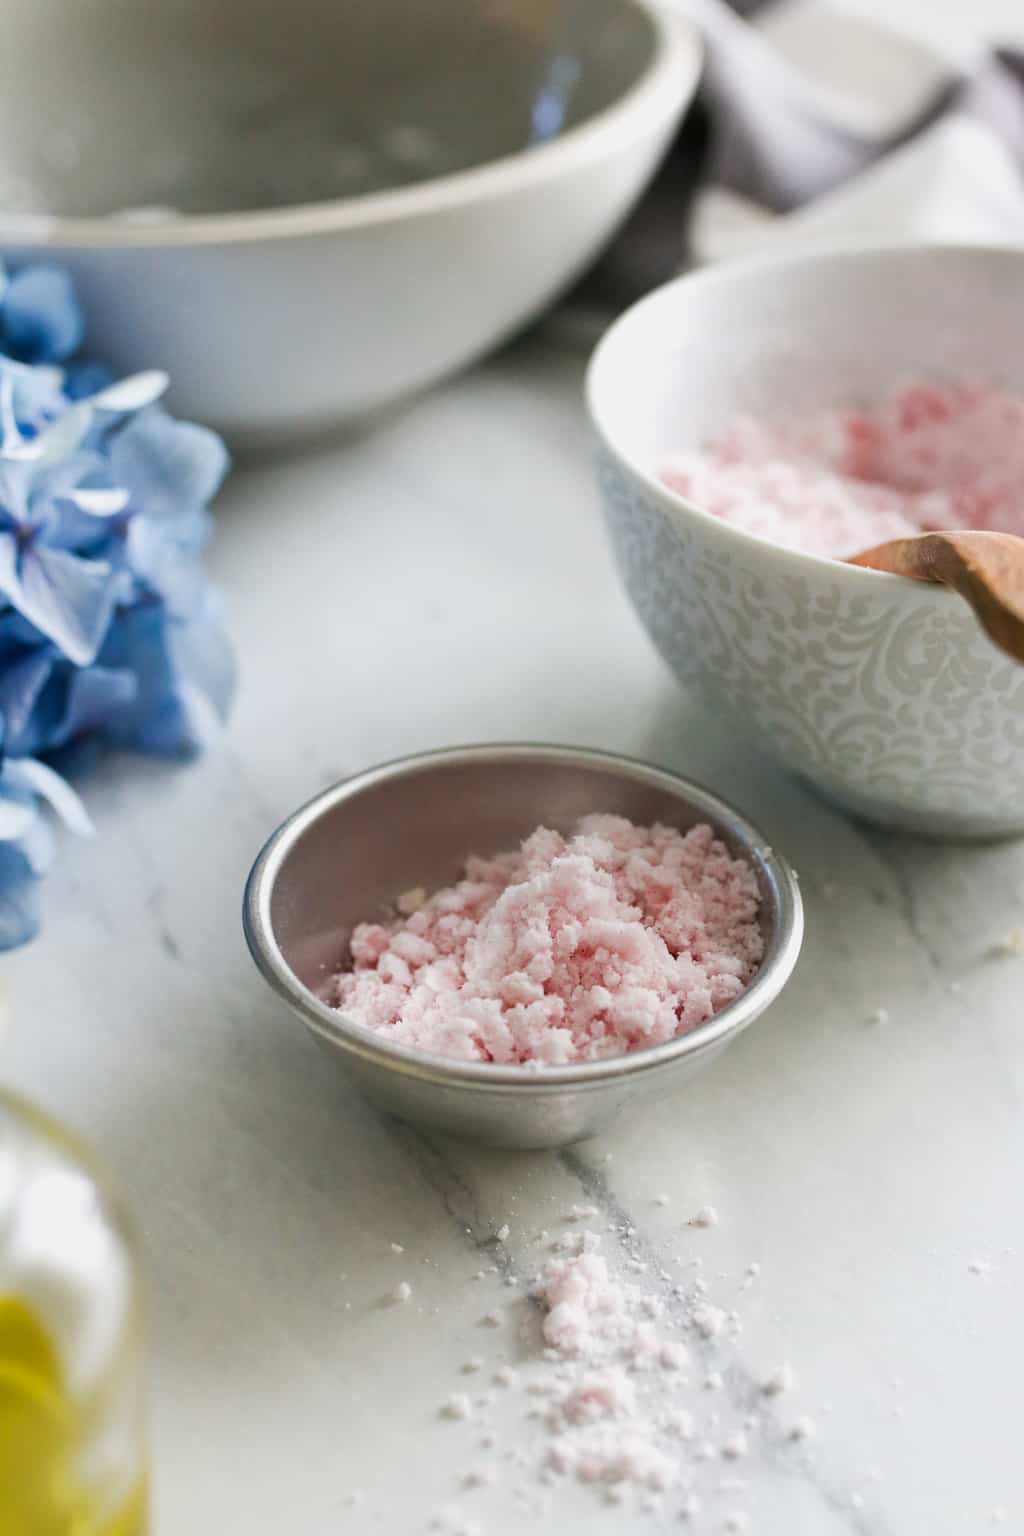
Step 1 | Combine + divide dry ingredients
In a bowl, combine the dry ingredients and stir well. Then divide evenly into 3 smaller bowls.
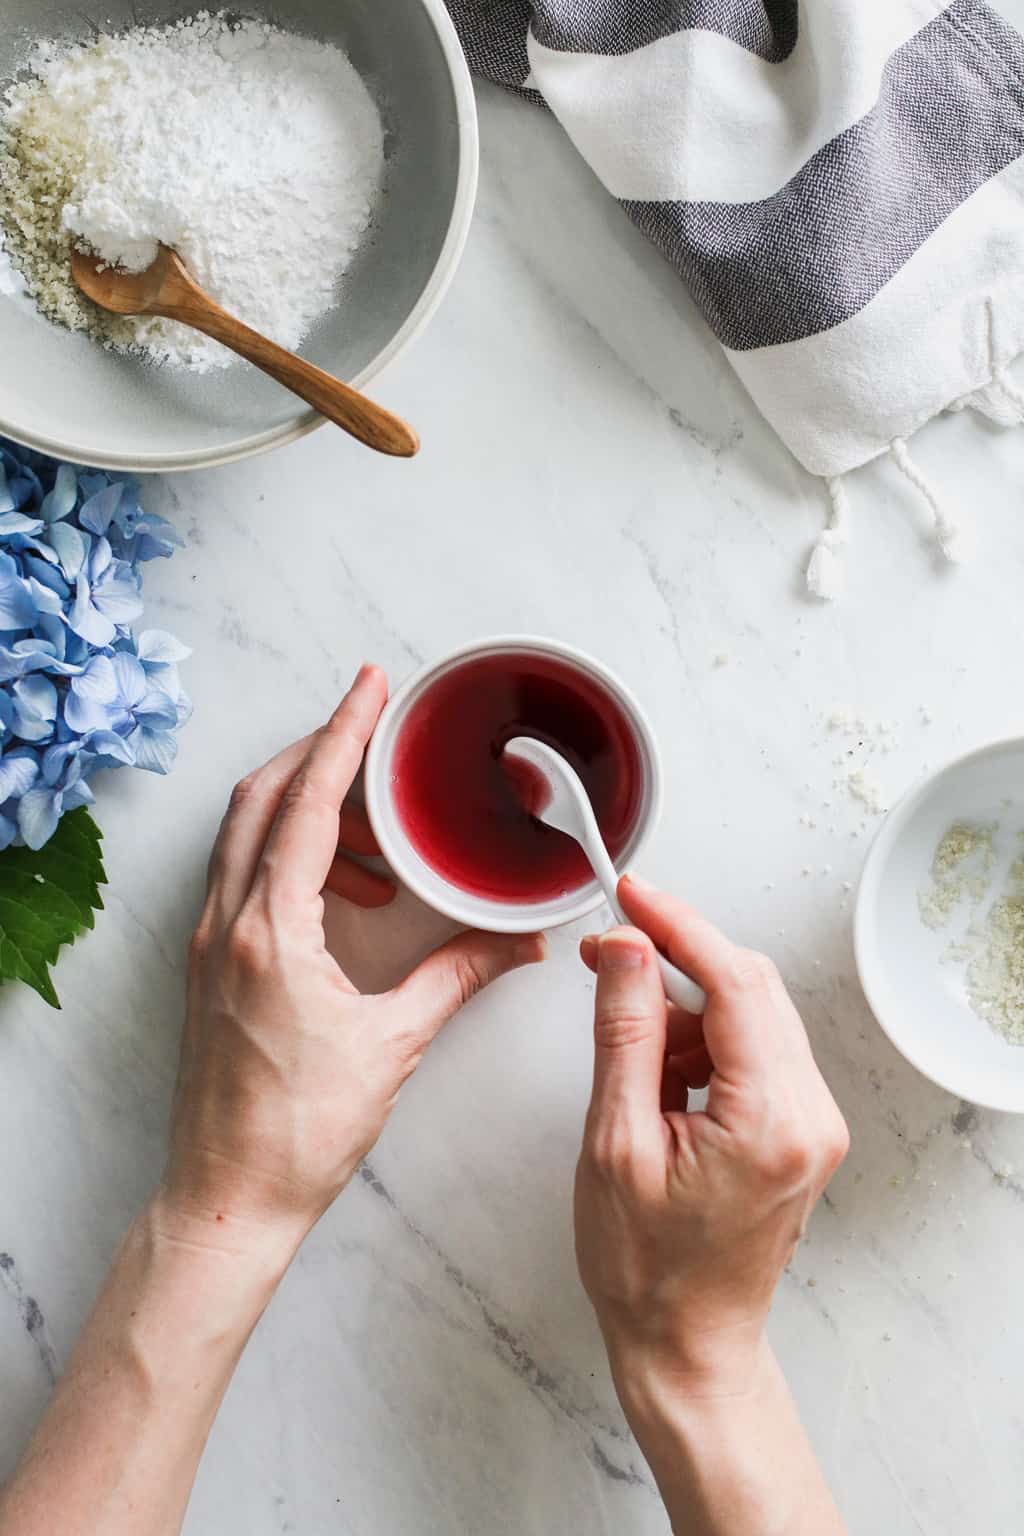
Step 2 | Add color to coconut oil
Combine 1 tablespoon melted coconut oil and 2–3 drops of food coloring. Add approximately ¼ teaspoon almond oil and 5 drops of essential oil. Stir well.
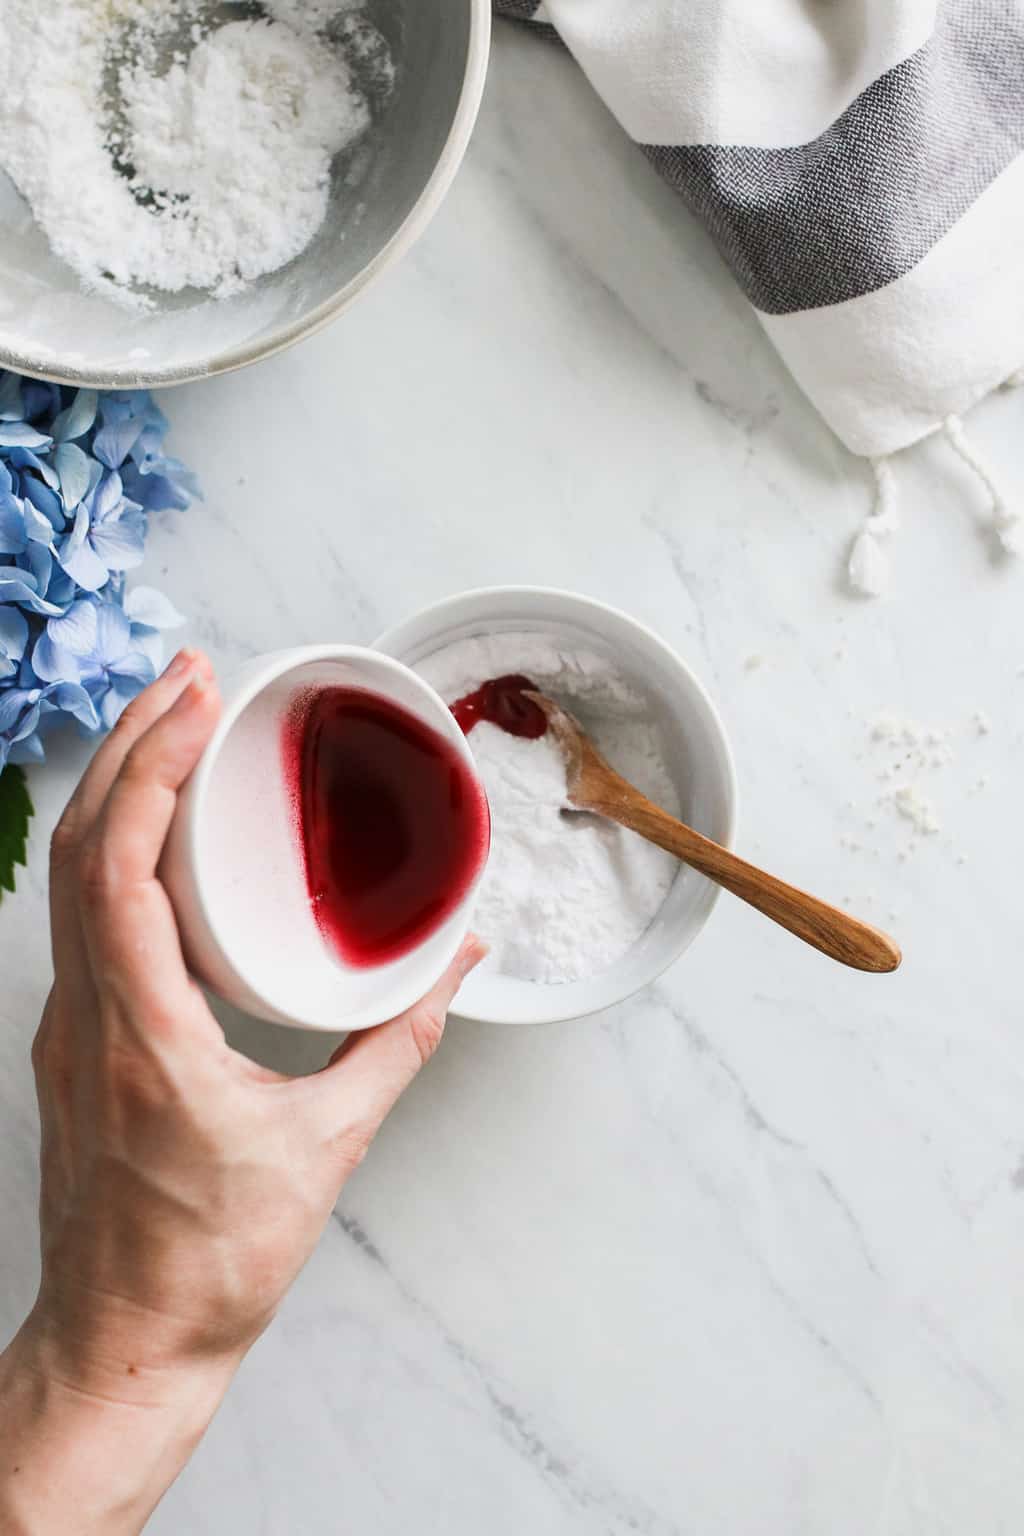
Step 3 | Pour coconut oil into 1 bowl of dry ingredients
Pour the coconut oil mixture into one of the bowls of dry ingredients. Use your hands to mix it all together, breaking apart chunks as you go.
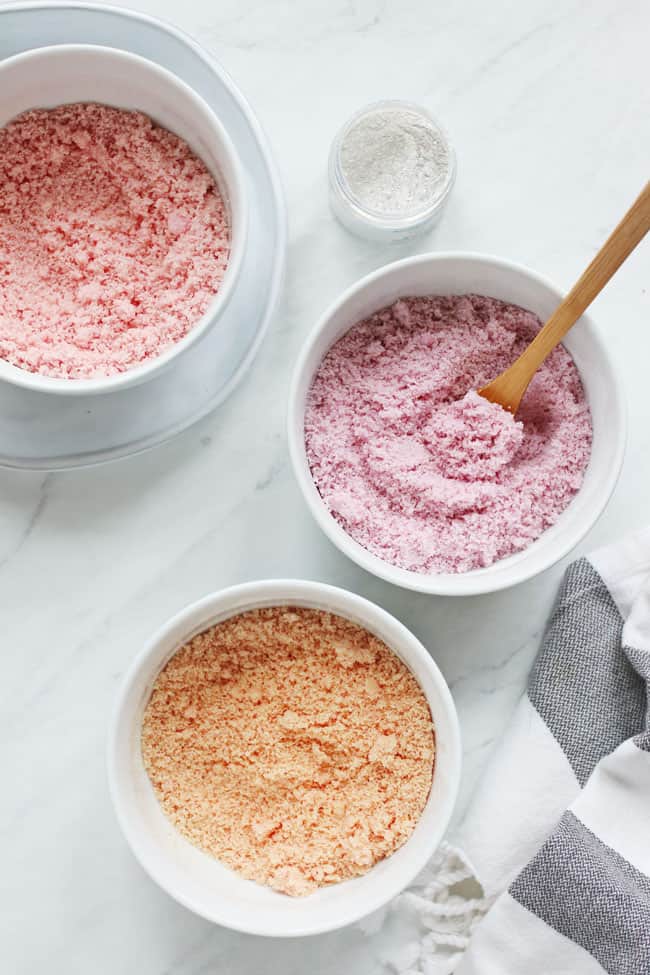
Step 4 | Repeat color process
For the two remaining bowls, repeat the process using different food coloring or essential oils, if desired.
Step 5 | Layer colors into molds
Pack the mixture into whatever mold you like (you can find my bath bomb mold here) Layer the colors on top of each other and along the sides of the mold. Pack each side until overflowing, and squeeze both halves together to close.
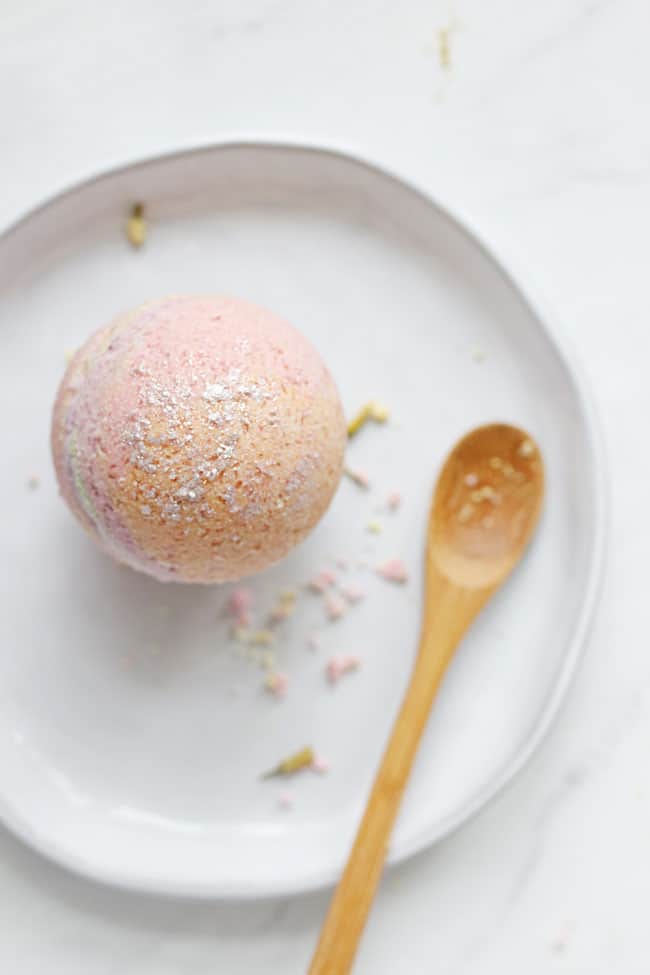
Step 6 | Freeze + remove from mold
Freeze for 20 minutes. To remove the bath bomb from the mold, warm the sides of the mold with your hands (this will help melt the coconut oil) until the bomb pops out. Dust with a small pinch of mica for a little shimmer.
Hint: If you would like to adjust the color, melt a little bit more coconut oil and stir in the dye, then pour it into your bath bomb mixture and continue mixing.
Substitutions
- Carrier oil: Any liquid-at-room-temperature oil will work. I love jojoba, avocado, or olive oil for baths.
- Cornstarch: Feel free to leave it out or replace it with an equivalent amount of baking soda.
- Cream of tartar: Add a pinch of cream of tartar to increase the fizziness of your bath bombs.
- Colors: Find out more ways to color bath bombs here. For natural colors, you can use turmeric, chlorella, or beetroot powder for color if you like.
Troubleshooting
My bath bombs came out very crumbly. What gives?
There are a few reasons this might happen, but here are some things you can do to prevent it:
Combine the coconut oil with the dry ingredients while the oil is still warm and in its liquid form, then mix everything together very quickly. If the oil hardens before you’ve had a chance to evenly disperse it throughout the mixture, you’ll have a clumpy mess that won’t stick together properly.
If #1 wasn’t the problem, you might need to add a bit more coconut oil. Simply put everything back in a bowl (microwave for 10 seconds if your bombs have hardened), add more warm coconut oil and stir well. The mixture should then hold together like wet sand before you even pop it in the freezer.
Pack the bath bomb mixture tightly into your molds to help everything hold together.
I added too much coconut oil, and now my bath bombs won’t come together at all. What can I do?
Just add 2 parts baking soda and 1 part citric acid until you get back to a wet sand consistency.
Variations
Experimentation is part of the fun when making bath bombs. Mix and match these variations to create unique bath bombs:
Scent Variations:
- Lavender Bliss: Use lavender essential oil for a relaxing and invigorating bath.
- Citrus Burst: Combine lemon, orange, and grapefruit essential oils for a refreshing and uplifting citrus scent.
Color Variations
- Rainbow Bath Bombs: Divide the mixture into different bowls, add a few drops of different food coloring to each bowl, and then layer the colors in your molds.
- Ombre Effect: Use varying amounts of food coloring to create an ombre effect within the bath bomb.
- Holiday Colors: Use orange coloring for Halloween or red and green coloring for Christmas.
Add Texture: Add dried flower petals, herbs, or even oatmeal for texture and visual appeal.
Shape Variations: Use different molds to create various shapes and sizes, such as hearts, stars, or seasonal shapes.
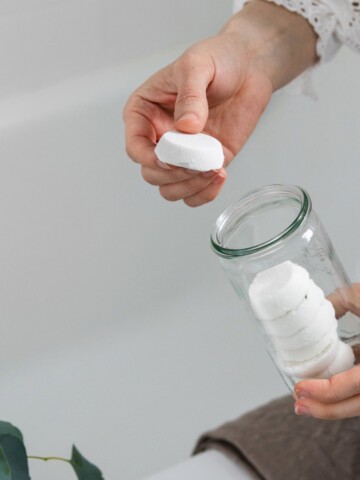
Storage
If you live in a warm climate, these bath bombs may start to fall apart if left out on the counter. In that case, I recommend storing them in an airtight container in the refrigerator until ready to use.
Do these have to dry out or cure overnight before wrapping and giving as gifts?
Since there’s no water in these, they don’t really need to cure, since sitting out overnight won’t help anything “dry.” But they do need to stay cool (below 76°F), or they will soften and crumble.
Using Coconut Oil in the Bath
Fill your tub with warm water and drop in the bath bomb. It will fizz and release the scent and all of its lovely skin-softening agents. Soak in the bath for 20–30 minutes.
Will coconut oil make my tub a slippery mess?
While there’s no way to really keep the melted coconut oil from leaving a slight film on the bottom of your tub, you can get rid of it (after your bath, of course) by sprinkling some baking soda on the tub floor and gently buffing it in. Then rinse everything down the drain.
And, as always, be super careful climbing in and out of the tub until you’re sure all oil has been completely washed away.
Do I need to add an emulsifier?
To help both the oils and colors mix into the water instead of sitting on top, add 1 tablespoon of polysorbate 80.
FAQ
Yes. Citric acid (along with the baking soda) is what makes your bath bombs fizz.
Nope! Just coconut oil. Adding water kicks off the fizzing reaction that causes most bath bombs to fall apart before they’ve had a chance to dry out. Spritz with witch hazel if you need more liquid to get the right consistency.
Sure. I would start by adding whole milk powder to make ¼ of a cup total. But be sure to add more coconut oil as needed until the mixture holds together like wet sand.
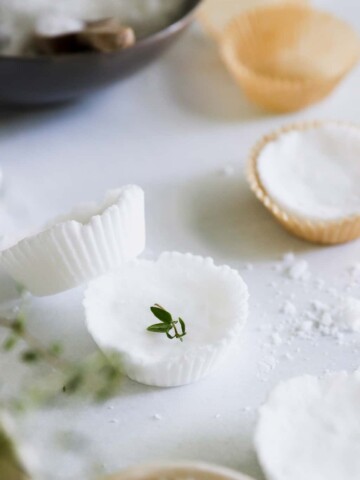
If you don't have a mold to make circle bath bombs, don't fret. You can pack the bath bomb mixture into a muffin tin or ice cube tray, and they will still work just fine. Use a silicone mold, if you have one, to make removing the bath bombs easier.
Coconut Oil Bath Bombs
Equipment
- Bath bomb mold
- Medium-sized bowl
Materials
- 1 cup baking soda
- ½ cup citric acid
- ½ cup cornstarch
- ½ cup Epsom salt or pure sea salt
- 3 tablespoons coconut oil melted and divided into 1-tablespoon portions
- 1 teaspoon almond oil
- Vegetable-based food coloring (or ground herbs such as turmeric, beetroot powder, etc.)
- 5 drops essential oil of your choice
- mica powder optional for dusting
Instructions
- In a bowl, combine the dry ingredients and stir well. Then divide evenly into 3 smaller bowls.
- Pour 1 tablespoon melted coconut oil in a cup and add 2–3 drops of food coloring. Stir well. You won't really be able to see the final color until its mixed with the dry ingredients, so just use your best guess. Add approximately ⅓ teaspoon almond oil (eyeballing it is fine!) and 5 drops of the essential oil of your choice into the melted coconut oil. Mix this well with a spoon.
- Pour the coconut oil mixture into one of the bowls of dry ingredients. Use your hands to mix it all together, breaking apart chunks as you go. If you would like to adjust the color, melt a little bit more coconut oil and stir in the dye, then pour it into your bath bomb mixture and continue mixing.
- For the two remaining bowls, repeat the process using different food coloring or essential oils, if desired.
- Pack the mixtures into whatever mold you like (I used bath bomb molds I found on Amazon—see Notes for the link), layering the colors on top of each other and along the sides of the mold. Pack each side until overflowing, and squeeze both halves together to close.
- Freeze for 20 minutes. To remove the bath bomb from the mold, warm the sides of the mold with your hands (this will help melt the coconut oil) until the bomb pops out. Dust with a small pinch of mica for a little shimmer.
Notes
This post was medically reviewed by Dr. Jennifer Haley, a board-certified dermatologist with extensive experience in medical, cosmetic, and surgical dermatology. Learn more about Hello Glow’s medical reviewers here. As always, this is not personal medical advice, and we recommend that you talk with your doctor.
692