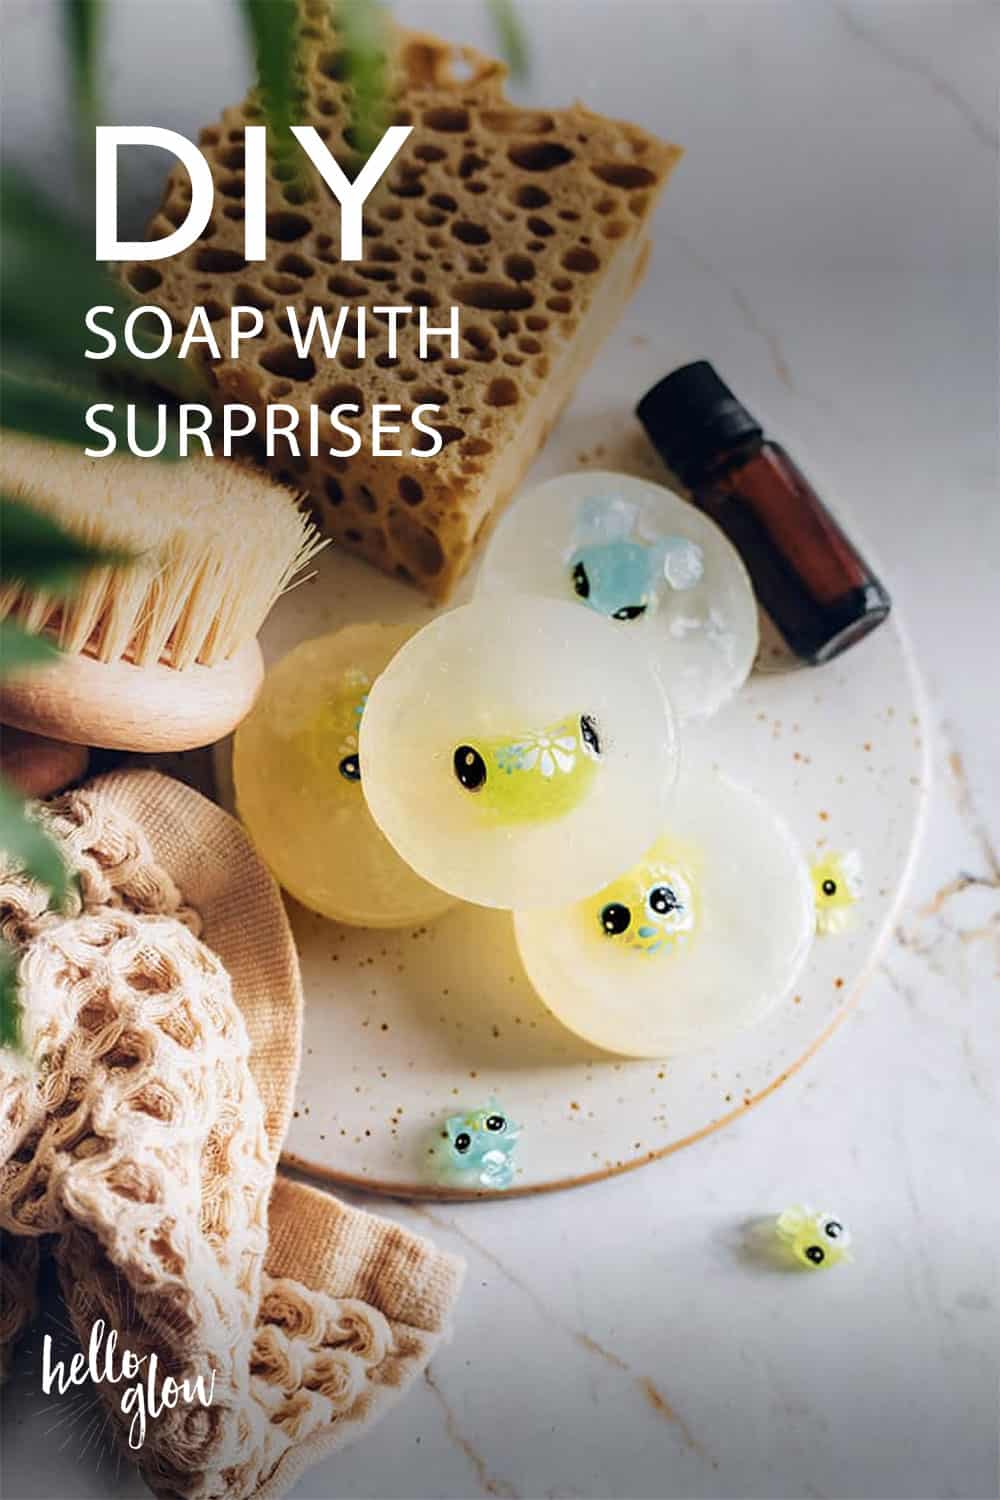
Okay, let's be honest, kids hate washing their hands. Why is it such a struggle? But with a little help from tiny toys, that, if we're honest, kids wouldn't give the time of day to if they weren't buried in layers of soap, hand washing can be kinda fun. Making homemade hidden treasure soap can be a fun and creative project. The surprise inside makes everything more exciting!
This is definitely a gift they won't be able to keep their grubby little hands off. No more sticky fingerprints around the house if you've got one of these easy-to-make melt-and-pour soaps at every sink!
Supplies
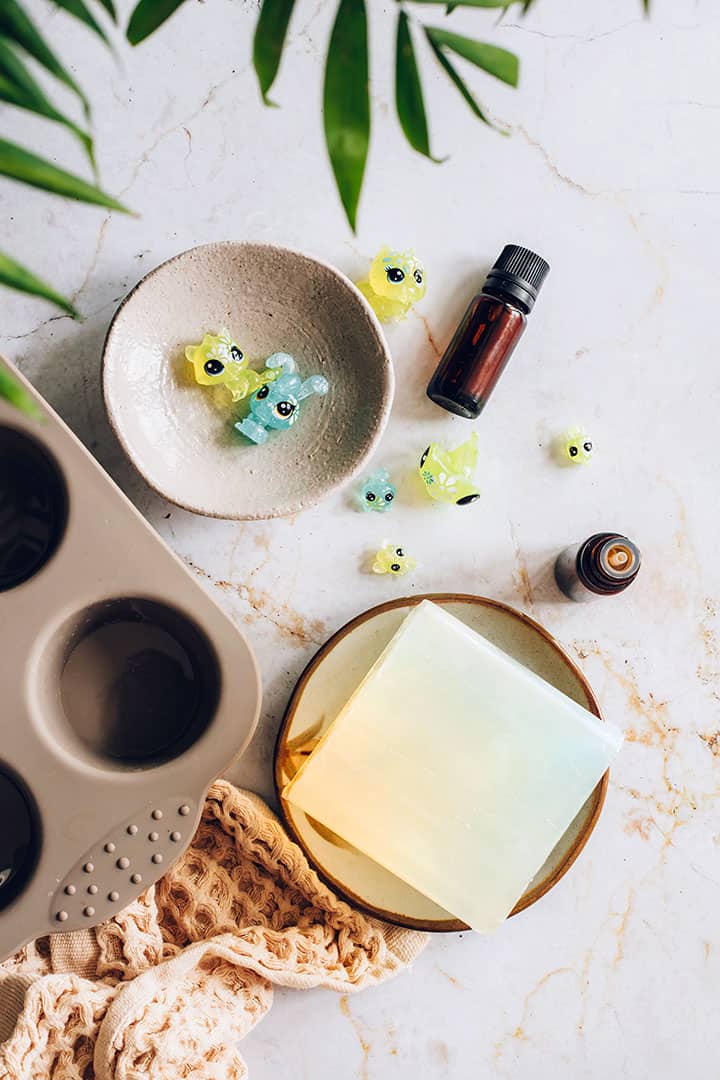
Glycerin soap — from the soap-making supply shop or just plain old glycerin soap repurposed works! The amount you need depends on the size and number of soaps you plan to make.
Rubbing alcohol
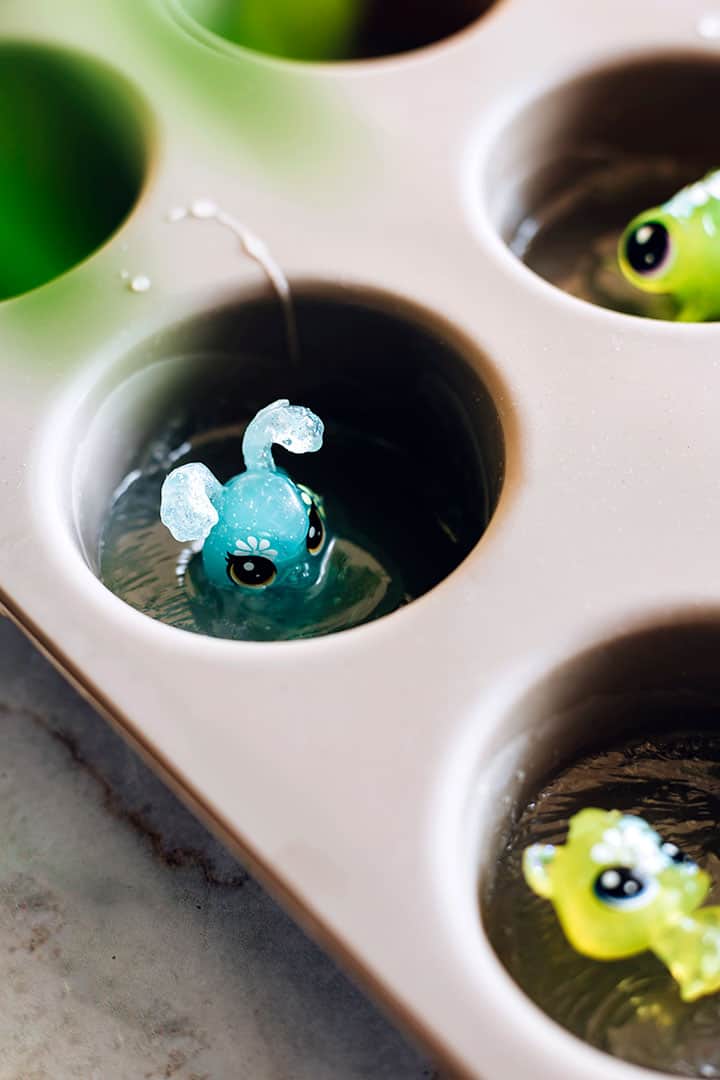
Small plastic toys—Collect small toys, trinkets, or objects that you want to embed within the soap. Make sure they are clean and safe for use.
Essential oils—optional
Instructions
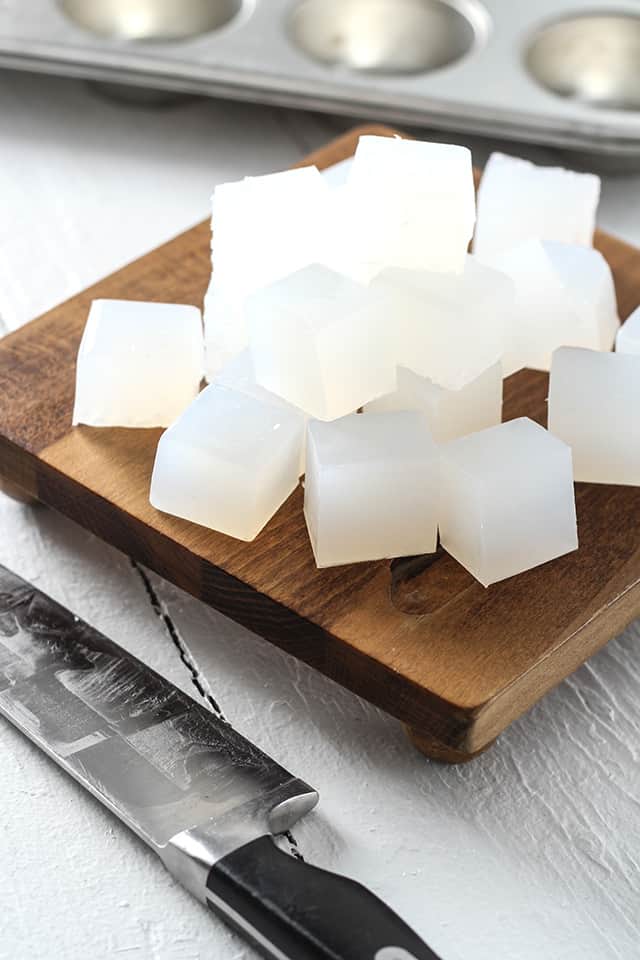
Cut the soap base: Cut up your glycerin soap into cubes to make the melting process faster.
Melt the soap base: Melt the soap base in a glass jar (or other microwave-safe container). Heat in short intervals, stirring between each. About 8 one-inch cubes melted in 1 minute for me.
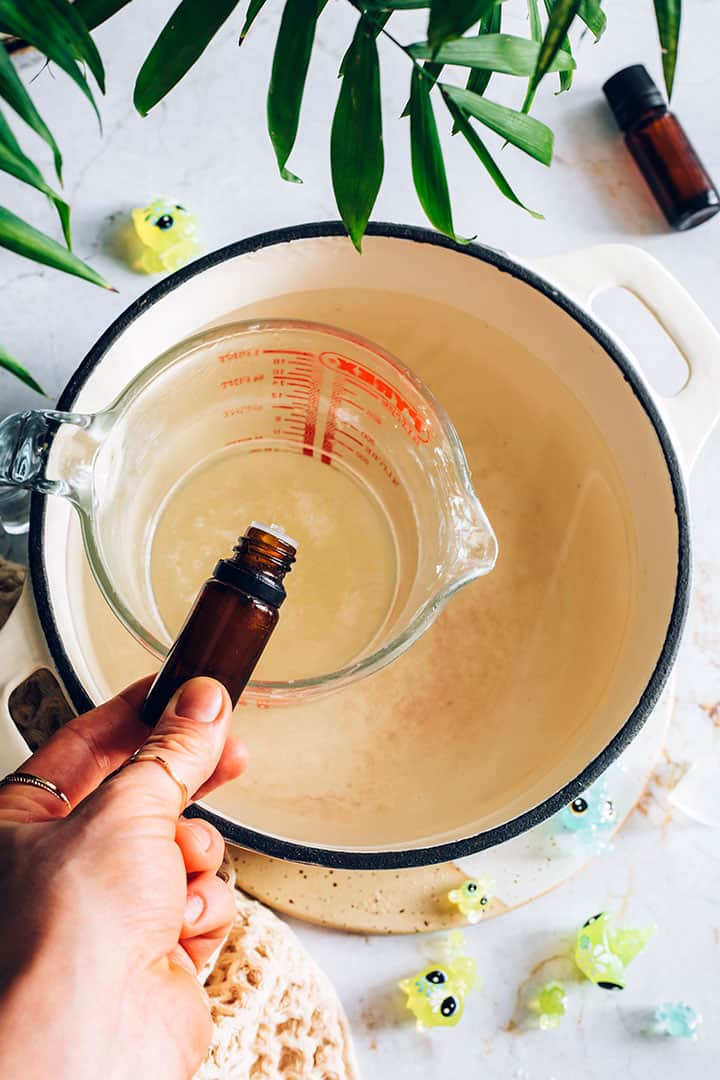
Color and scent: Once the soap base is melted, add soap colorants to achieve your desired colors.
You can also add a few drops of essential oils (or keep it scent-free). Stir well to ensure even color distribution.
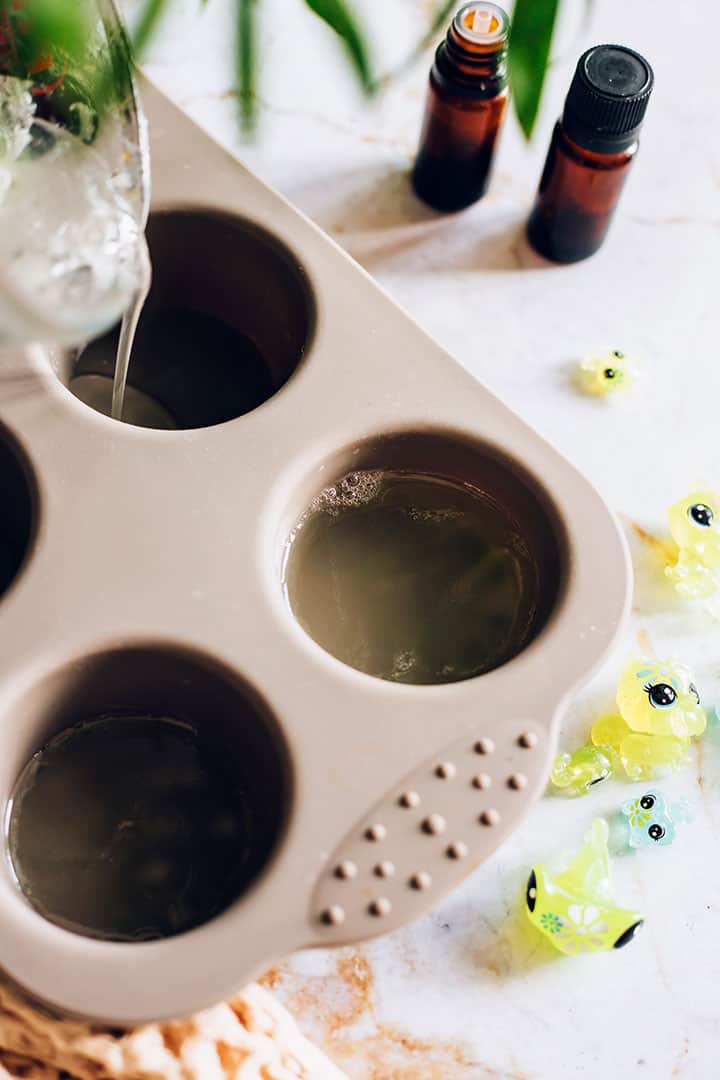
Pouring the first layer: Pour a thin layer of the colored soap into the molds. This will be the bottom layer of your soap. Pop the tray in the freezer for 15 minutes or until the soap has hardened.

Embed surprises: After the soap has hardened, remove the tray from the freezer and carefully place your small toys or objects onto the first layer of soap. Make sure they are positioned centrally and won't touch the sides of the mold.
Pouring the second layer: Melt more glycerin if you need to and pour it into the molds on top of the toys until the liquid reaches the top of the tin. This will cover the surprises and hold them in place. Place the tin back in the freezer for 15 minutes to cool.
Spritz with rubbing alcohol: Spritz the surface of the soap with rubbing alcohol to remove any air bubbles that may have formed.

Cool and set: Allow the soap to cool and harden. This can take a few hours to overnight, depending on the size of the soap and the room temperature.
Unmolding: Once the soap is fully set and hardened, the soap should easily pop out of the tin by simply turning it upside down and giving it a good shake. If you're having trouble, you can place the molds in the freezer for a short while to help release the soap.
Substitutions
- Toys—If some of the toys don't fit, don't fret! Toys coming out of the tops of the soap are just as fun! It gives the kids even more determination to get it out (and wash their hands properly!)
- Soap—You can use any melt-and-pour soap base but a clear soap (like glycerine) will make it easier to see the surprises inside.
- Essential oils—Since these soaps are meant for kids, use gentle essential oils like lavender or Roman chamomile.
Variations

Spooky soap—Bugs and spiders are fun additions for Halloween.
Holiday soap—You can bury seasonal items like cinnamon sticks and other dried herbs and spices for pretty seasonal soaps.
Equipment
Glass jars or measuring cups work well for melting soap because they are easy to pour from once the soap has melted.
Cupcake tins make excellent soap molds. Mini muffin tins are even easier for small hands. But soap molds will work as well, as long as they're deep enough to fit small toys.
Storage
Who doesn't love soap that your kids won't be able to keep their hands off? They'll love washing their hands every time to get closer to getting their new toy. I like to keep a few stashed under each sink around the house, so there's absolutely no excuse to not wash dirty hands.
Top tip
I have one more sneaky mom tip: When kids forget about a new toy, scary critters from Halloween, for example—add it to the pile of toys to go into the next batch of soap. It'll save you from buying new toys every time, plus it stops them from ending up in the landfill.