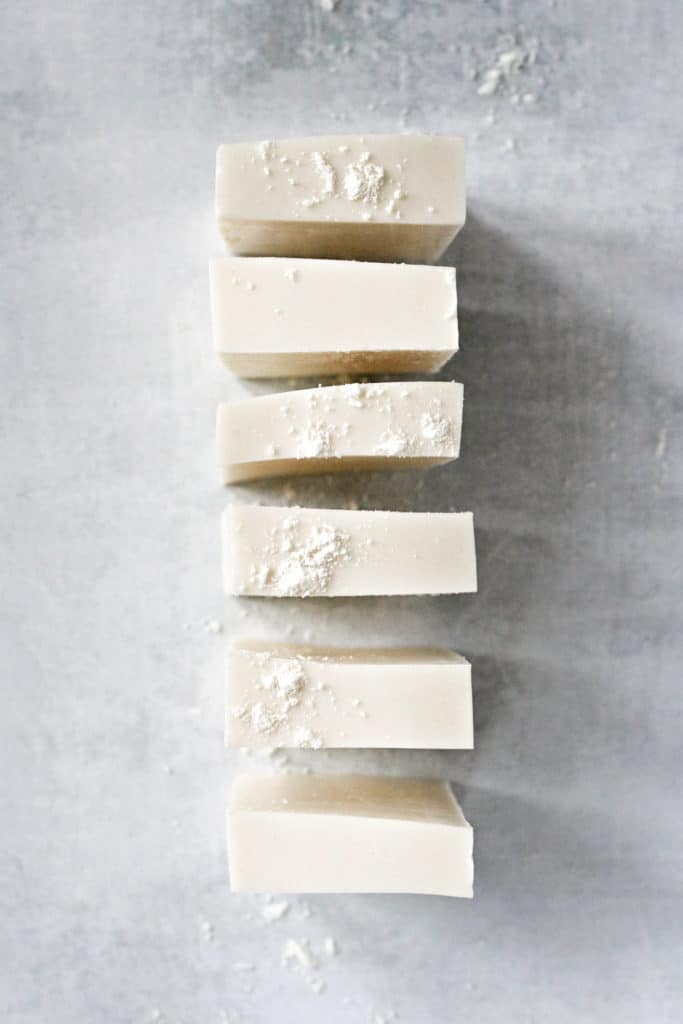
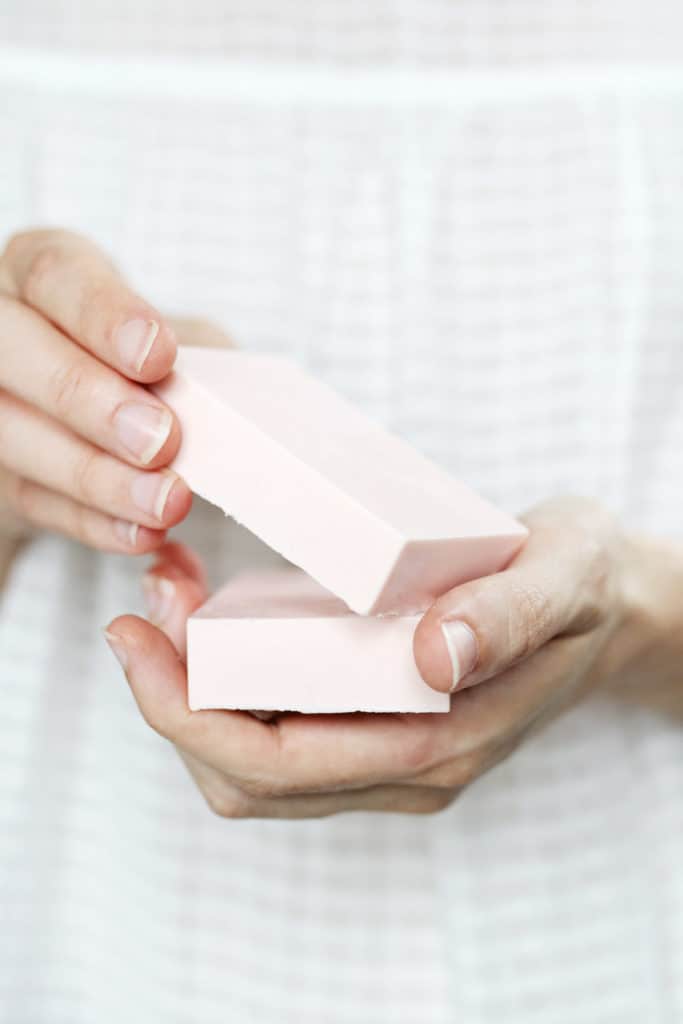
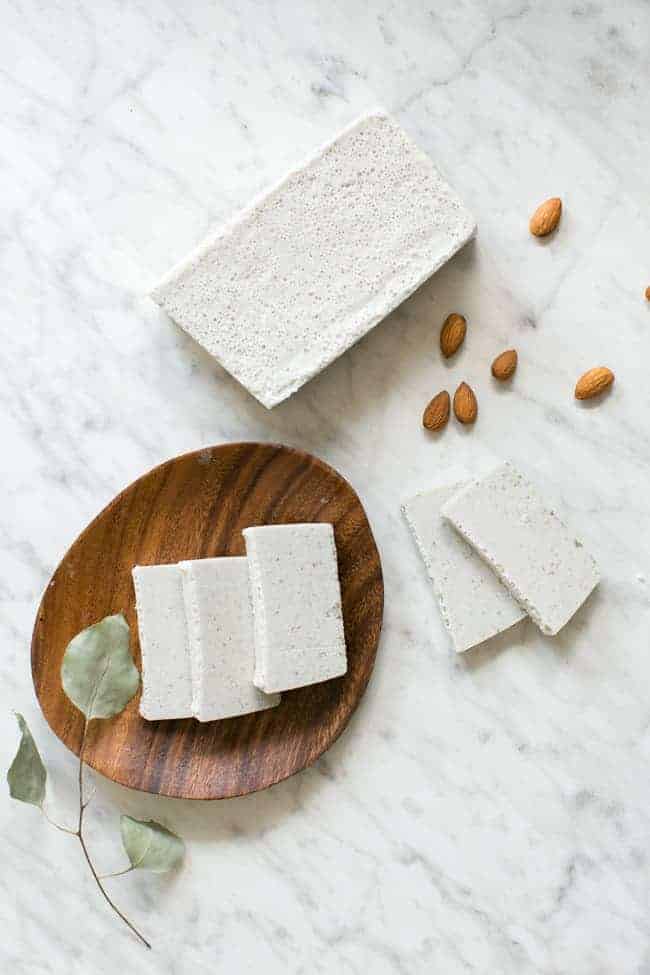
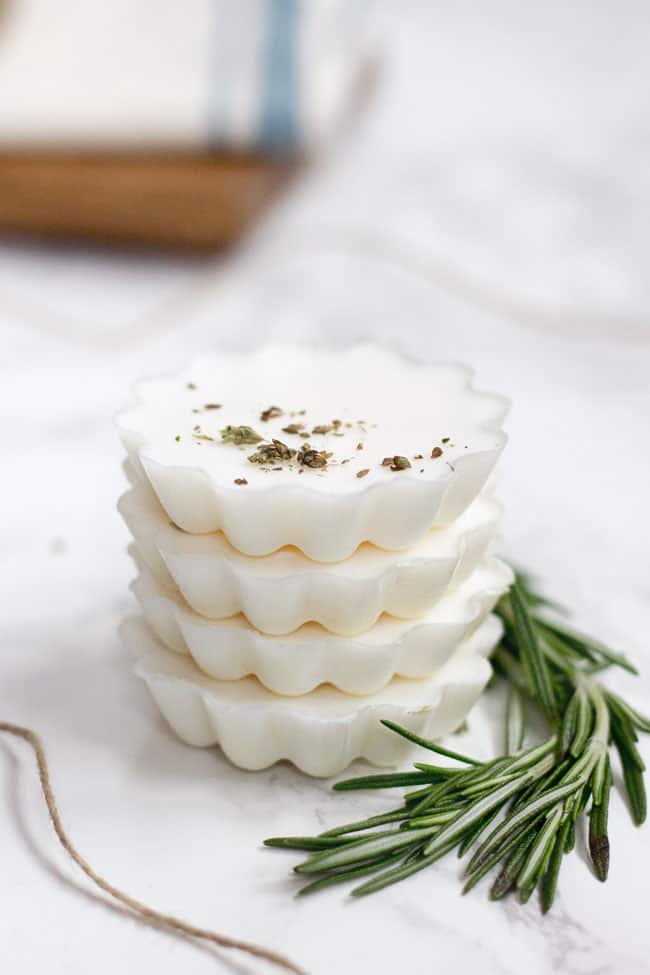
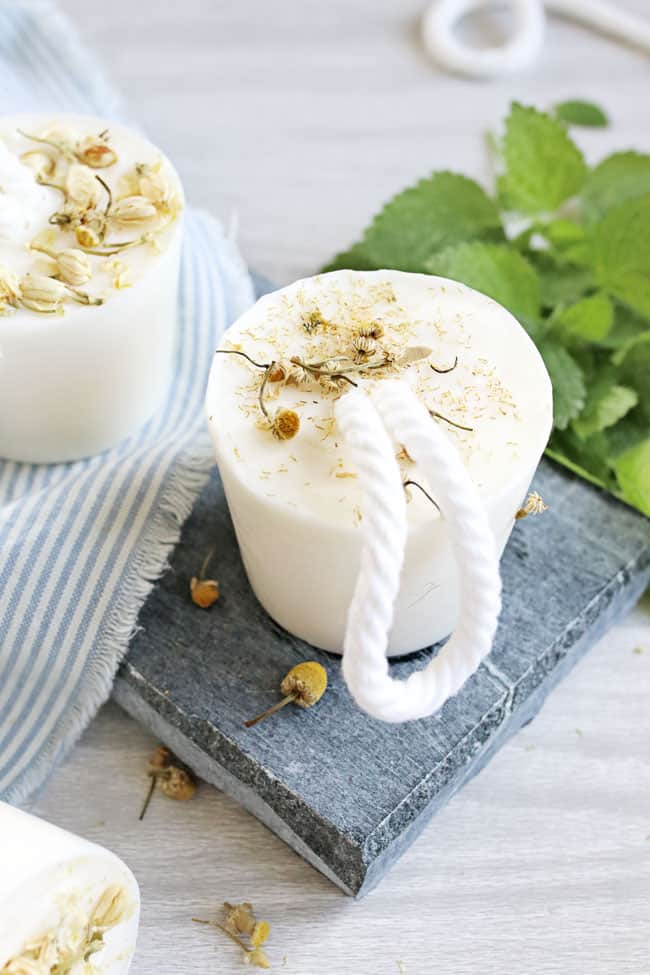
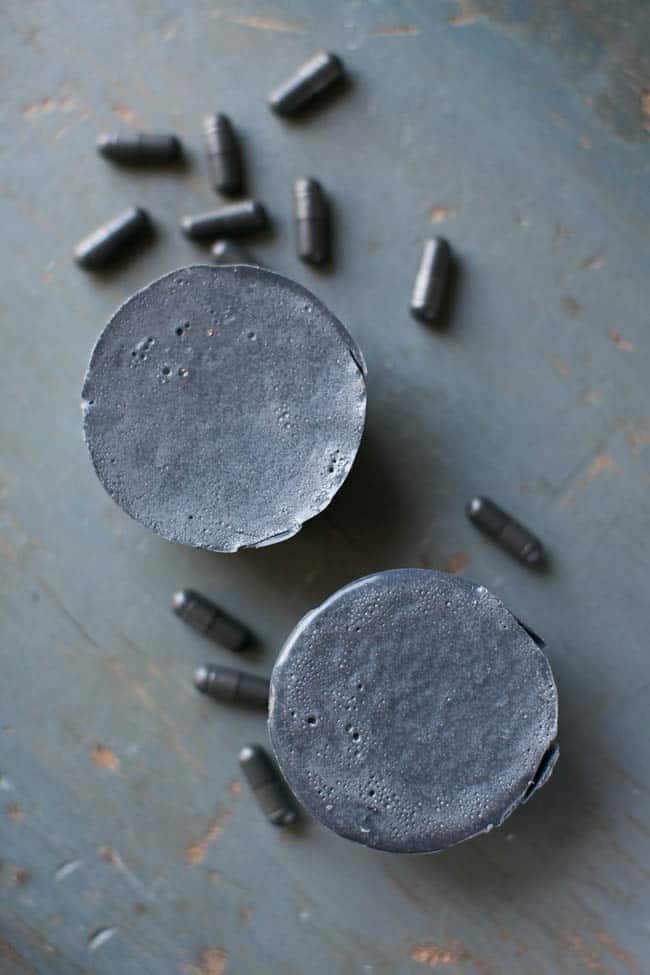
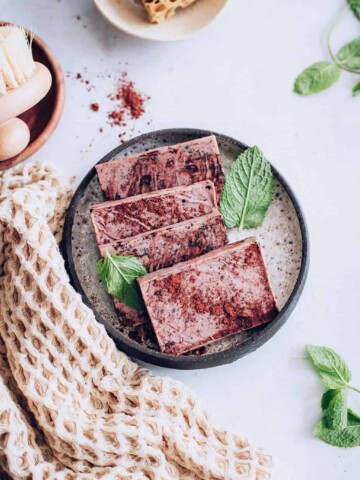
We love ourselves some homemade soap around here. Over the years, we’ve made almost every kind of soap we can think of (herbal, flower petal, soap on a rope, and pink clay soap, to name a few), and we’re not even close to calling it quits just yet. That’s because melt-and-pour soap takes the pain out of soap making and lets you focus on the more creative aspects, like choosing colors, scents, shapes, and more. The sky’s the limit!
But despite its simplicity, we’ve picked up a few tips and tricks along the way that make melt-and-pour soap even easier. Here’s our complete guide to using melt-and-pour soap.
DIY Guide to Using Melt-and-Pour Soap
What is melt-and-pour soap?
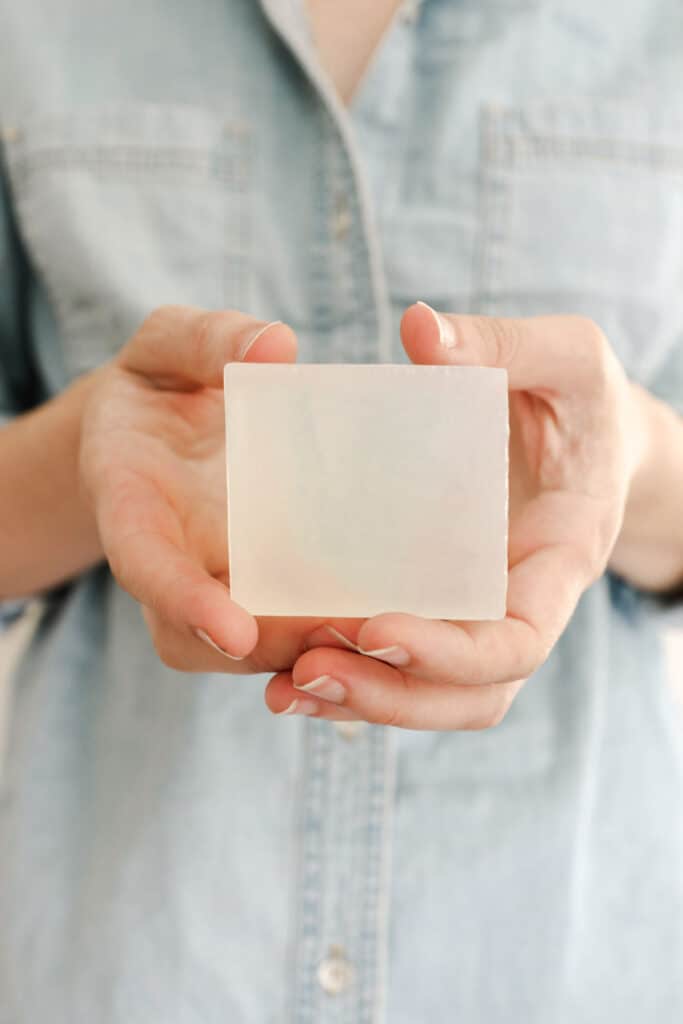
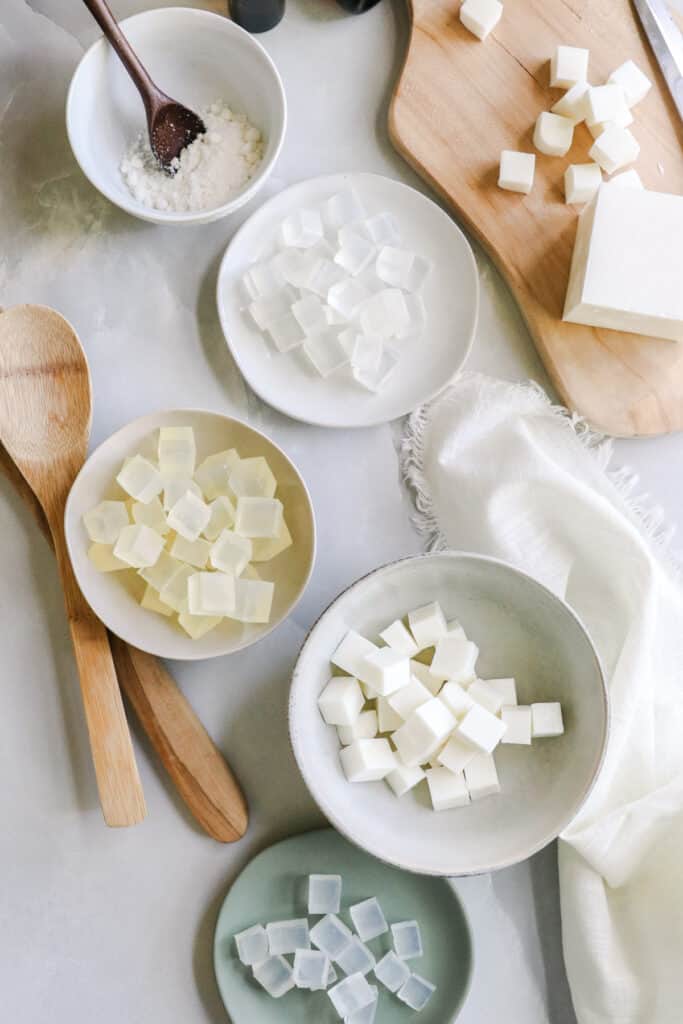
Melt-and-pour soap, also known as soap base, is simply pre-made soap that you can melt down in the microwave, add scent and colorants to, and let harden using your own molds.
This soap is made using a combination of oils and lye, just like traditional soap, but it has already gone through the curing process, so you don't need to worry about handling some of the more caustic chemicals (like lye) or purchasing safety gear. And because it’s already been through the full saponification process (the chemical reaction that makes lye safe for skin), you can enjoy your soap immediately.
Melt-and-pour soap is especially great for DIY soap makers because it requires less time and equipment to make while freeing you up to focus on the more enjoyable aspects, such as scents, colors, and shapes.
Is melt-and-pour soap base safe?
Yes, melt-and-pour soap base is generally safe to use, but it's important to use it with caution and follow the instructions closely. Melt-and-pour soap base contains oils that can burn or become unsafe to use if exposed to high heat, so it's really important that you don't overheat the soap base.
Additionally, you only want to use soap-safe colorants, fragrances, and other additives to avoid skin irritation or other health issues. As with any soap or skincare product, it's a good idea to test the soap on a small patch of skin first to make sure you don't have an allergic reaction.
I love this one because it uses all natural ingredients without any fillers or chemicals, but there are lots of other brands out there. Feel free to try a few and see which one works best for you.
Melt-and-Pour Soap Bases
The first step to using melt-and-pour soap is choosing the base. All melt-and-pour soaps primarily consist of vegetable oil, glycerin, water, and sodium hydroxide (lye). From there, things like goat milk, shea butter, and other natural ingredients are added to make the different bases.
Glycerin (Clear) Melt-and-Pour Soap
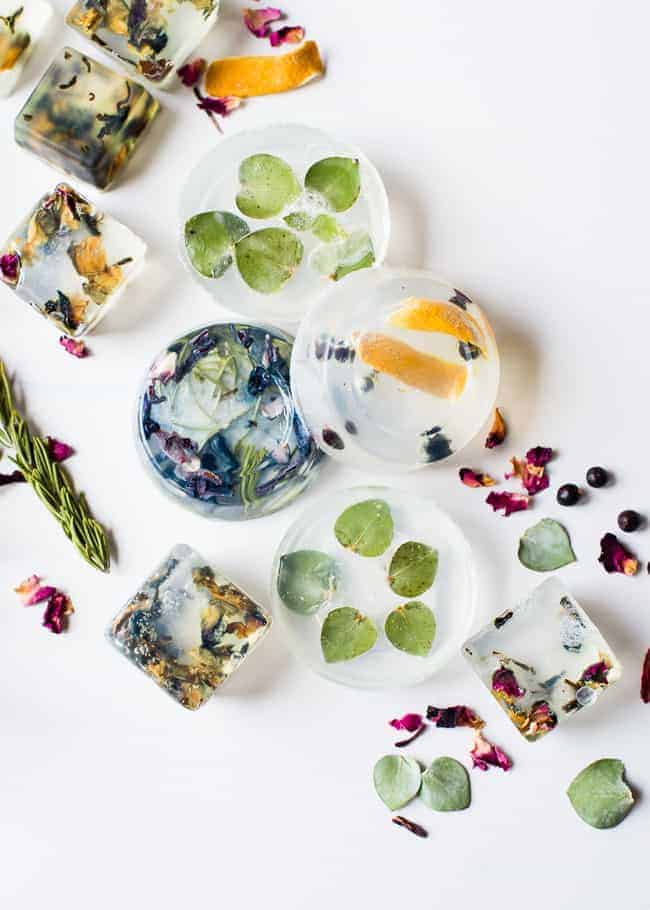
Glycerin melt-and-pour soap is a clear soap base that doesn’t contain any of the other additives like shea butter or goat milk. Because it dries clear, it’s perfect for coloring and for embedding objects such as flower petals, herbs, or other kinds of soap.
Without the moisturizing additives, it may dry out skin more than other types of soap base, especially when combined with dry air and super hot showers. That being said, glycerin soap base is considered gentle and non-irritating, making it a good choice for people with sensitive skin or allergies.
Here are some of our favorite glycerin soap recipes:
Shea Butter Melt-and-Pour Soap
Most shea butter soap bases contain about 5% shea butter, which gives them a smooth, creamy consistency and an off-white color. Because it’s so creamy, shea butter soap base doesn’t always lather as well as the others, but it’s still just as effective.
It holds colors and scents well. But I’ve found that it’s naturally soft, so adding too much additional oil (even essential oils) can make it dissolve more quickly.
Here are our favorite shea butter soap recipes:
Goat Milk Melt-and-Pour Soap
Goat milk soap is a soft white soap that has been infused with real goat milk. It’s chock full of vitamins, proteins, and minerals that nourish dry skin and support overall skin health.
Goat milk contains alpha-hydroxy acids that help to reduce inflammation and irritation in the skin when used in low concentrations [source], making it a good choice for people with conditions such as eczema and psoriasis.
Although it melts the same as glycerin soap, its opaque color can make it more difficult to achieve a deep, rich hue using natural colorants.
Here are two goat milk soap recipes we swear by:
Specialty Soap Bases
Honey, oats, aloe, hemp seed oil, and olive oil are considered more “specialty” forms of soap base. They’re easy enough to make yourself simply by adding those ingredients directly to melted soap base. Or you can save a step (and maybe some money) by buying a base with it already included. It’s up to you!
Colorants for Melt-and-Pour Soap
There are plenty of options for coloring melt-and-pour soap. While artificial colorants are available to choose from, they may irritate skin and aren’t recommended for bath and body products.
Instead, I recommend using all-natural micas, herbs, and iron oxide pigments. They're easy to use, look great in the finished soap, and are nontoxic, so you don’t have to worry about toxins or skin irritation.
My favorite easy-to-find soap colorants are herbs and spices that you can add directly to your melted soap base. Because they’re powders, they sometimes sink to the bottom as the soap cools and don’t always give you a uniform color throughout.
That doesn’t bother me (even when I’m giving soap as gifts), and I much prefer it to artificial colors. Here’s what I use most often:
- Turmeric powder (yellow)
- Beet root powder (pink or red)
- Matcha powder (light green)
- Spirulina powder (dark green)
- Iron oxide powder (rusty red)
- Indigo powder (deep blue)
- Mica powders (there are lots of different colors to choose from)
- Clay powders (pink, red, green, and yellow)
You should never use crayons or food coloring for your soap. Not only are they toxic and shouldn’t be applied directly to skin, but they’re not colorfast—so they are more likely to fade quickly.
Fragrance for Melt-and-Pour Soap
Fragrances aren’t a necessity, but they can make your soap more enjoyable to use. Like with colorants, it's best to choose skin-safe, nontoxic fragrances that won't irritate your skin.
Essential oils for soap
My personal favorite, essential oils for soap have skin-soothing properties and also give your soap aromatherapy benefits. Choose your oils based on your particular skin type, favorite perfume, or the aromatherapy benefits you’d like to enjoy. If you’re giving your soap as a gift, tailor the fragrance to your recipient.
Some of my favorite essential oils for soap are:
A good rule of thumb is to use about 2 teaspoons (0.3 oz) of scent per pound of soap base. If using essential oils, make sure to let your base cool slightly before adding your essential oil, or you might degrade the fragrance.
Fragrance Oils
Fragrance oils are skin-safe fragrances made specifically for use in bath and body products. While most are said to be “all-natural,” brands don’t often disclose their ingredients—so I’m skeptical. I prefer to stick with essential oils since it’s easier to tell exactly what’s in them.
Note that potpourri, craft, or candle fragrances should never be used in soap.
Molds for Melt-and-Pour Soap
You’ll need to choose a mold that can withstand higher temperatures so it doesn’t melt from the heat of your soap base. You'll also want to look for materials that make it easy to remove the soap once it's cooled, like silicone, plastic, or parchment-lined molds.
Metal baking tins, muffin pans, silicone molds, and wooden soap molds are the types most often used in soap making.
Silicone Molds
I prefer silicone molds with individual bar-sized cavities because they’re flexible, meaning you can easily pop out the cooled bars. They also come in fun shapes and sizes that are perfect for storing in a glass jar in the bathroom or giving as gifts during the holidays. While silicone soap molds are also available, I often look for silicon baking or ice molds as well for variety.
Wood and Metal Molds
Baking or muffin tins are perfect for making your own soap. Simply pour your melted soap base into the individual tins, and allow it to cool completely.
If your soap doesn’t pop out easily, place the tin in the freezer for 20 minutes, then try again. You can also use large wooden or metal soap molds if you would like to create bars of soap with layers, marbling, or patterns.
Repurposed Molds
You don't necessarily need to go out and buy special molds for making your soap. Many common household items can be used as soap molds without spending a dime.
Old yogurt containers, Pringles canisters, soap dishes (ceramic or plastic), small cardboard boxes, or even empty milk containers make great molds. Just make sure to wash food containers really well and dry them thoroughly before using them to make soap.
How to Use Melt-and-Pour Soap
As the name suggests, it’s as simple as just melting your soap base and pouring it into a mold. But there are a few basic supplies you might need:
- Microwave-safe bowl
- Soap base
- Spoon
- Essential oils and herbs/pigments
- Mold of your choosing
- Non-serrated knife
Step 1 | Cut your soap base
Cut your soap base into small chunks, and place them in a microwave-safe bowl or a microwave-safe measuring cup.
Step 2 | Melt slowly and carefully
Microwave your base in 30-second intervals until melted. Stir in between to break up clumps.
Step 3 | Add colors, fragrances, and other add-ins
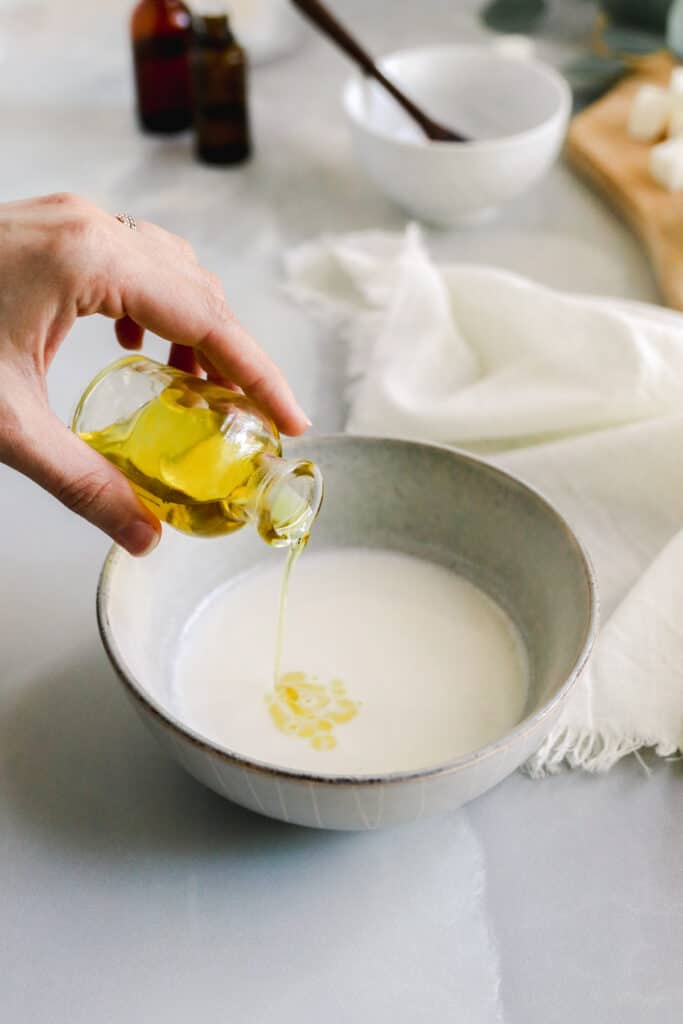
Let the soap cool for a couple of minutes before adding fragrances and colorants. Stir to combine.
Step 4 | Pour into the mold
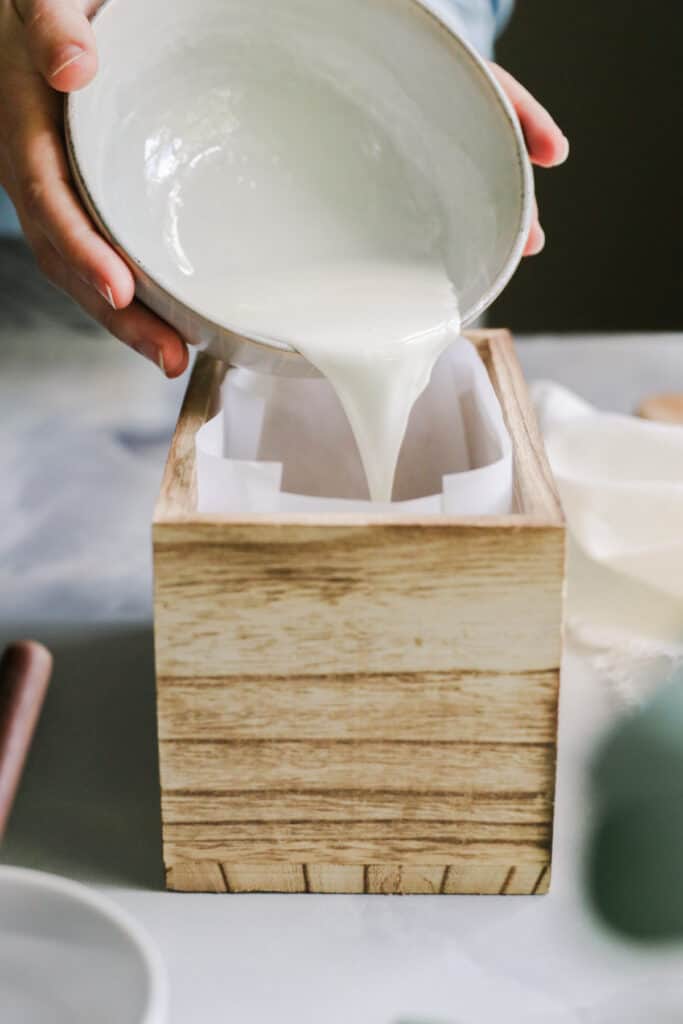
Pour the soap into your mold of choice and let cool completely.
Step 5 | Let cool several hours or overnight
When the soap is hardened, pop it out of your mold, cut it down to size and start using it right away!
Other helpful tools
- Scale – for measuring the exact amount of soap
- Cutting board – for cutting your soap base into manageable cubes
- Measuring spoons – for adding oils or colorants
- Metal whisk – for mixing powdered additives
- Mixing bowls in various sizes – for keeping bases and colors separate
- Rubbing alcohol in a spray bottle – a light spritz can help keep bubbles from forming on top of your soap
- Rubber spatula – to get the last little bit of soap out of your mixing bowl
- Cloths and paper towels – for cleaning up spills
Melt + Pour Soap FAQs
How long does it take for melt-and-pour soap to harden?
The time it takes for melt-and-pour soap to harden depends on a variety of factors, such as the size of the mold and the ambient temperature. In general, it can take anywhere from a few hours to overnight. To speed things along, placing your soap in the refrigerator for an hour should do the trick.
Can I make layered soap with melt-and-pour soap base?
Yes, you can make layered soap with melt-and-pour soap base by pouring different colors or fragrances of soap into the mold in stages, allowing each layer to harden before adding the next.
How long does melt-and-pour soap last?
The shelf life of melt-and-pour soap can vary depending on the ingredients and how it's stored. Generally, melt-and-pour soap can last up to 2 years when stored in a cool, dry place and kept in its original packaging.
However, if the soap has been exposed to moisture or stored in a warm, humid environment, its shelf life may be shorter. Added fragrances and colors may fade over time, so if you notice any changes in the appearance or smell of your soap, it may be time to replace it.
Does soap base contain lye?
While lye is used in the production of melt-and-pour soap base (the chemical reaction between the lye and oils is what makes soap), it's not present in the final product itself. This makes melt-and-pour soap a safe and easy option for those who want to try making soap at home without having to work with lye.
Is melt-and-pour soap good for skin?
Melt-and-pour soap can be a good option for your skin, depending on the ingredients used in the soap base. Many melt-and-pour soap bases contain natural oils and additives that can soothe the skin, such as shea butter, coconut oil, and goat milk. These ingredients can also help to moisturize and nourish the skin, leaving it feeling soft and smooth.
More Melt-and-Pour Soap Recipes
You'll quickly realize that melt-and-pour soap is magic. You buy it, melt it, add color or texture or scent, and pour it into shapes. Done!
If you find yourself with way too much soap on your hands, gift away. Homemade soap makes great gifts, and we think these recipes will inspire you to plan a trip to the craft store ASAP.
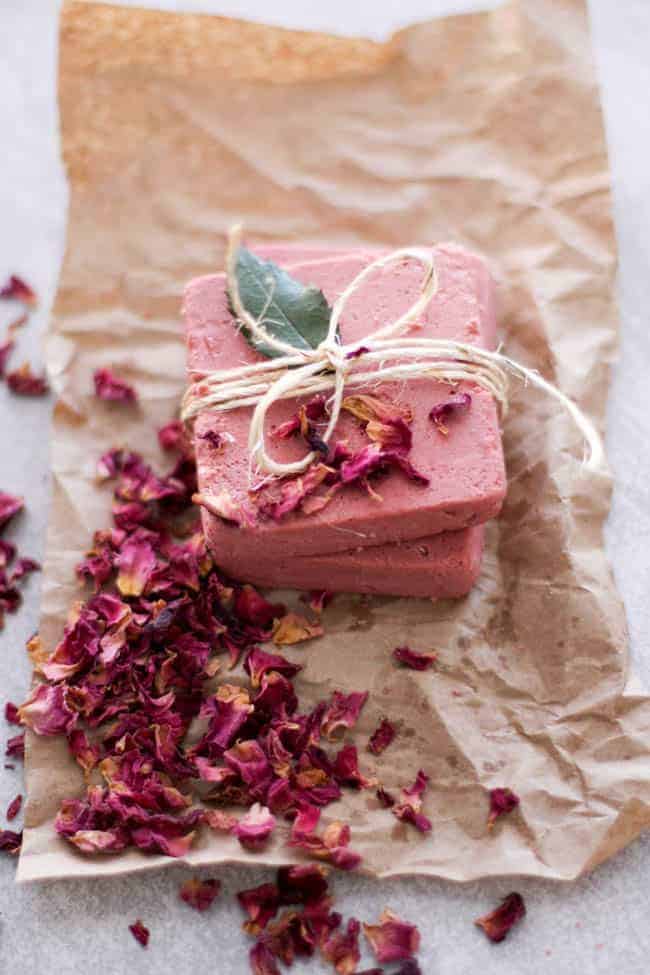
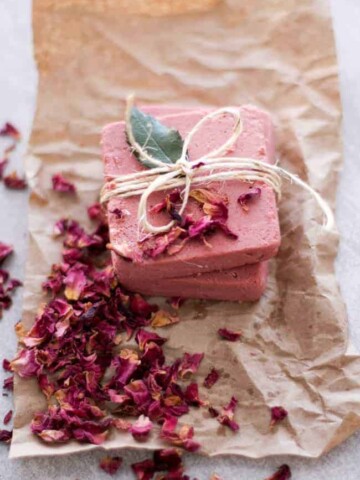
1. Rosewater + Pink Clay Soap
Made with rosewater and pink clay, this luscious-looking soap is also good for the skin. Use it on your face and body to help fight acne, oil, and debris.
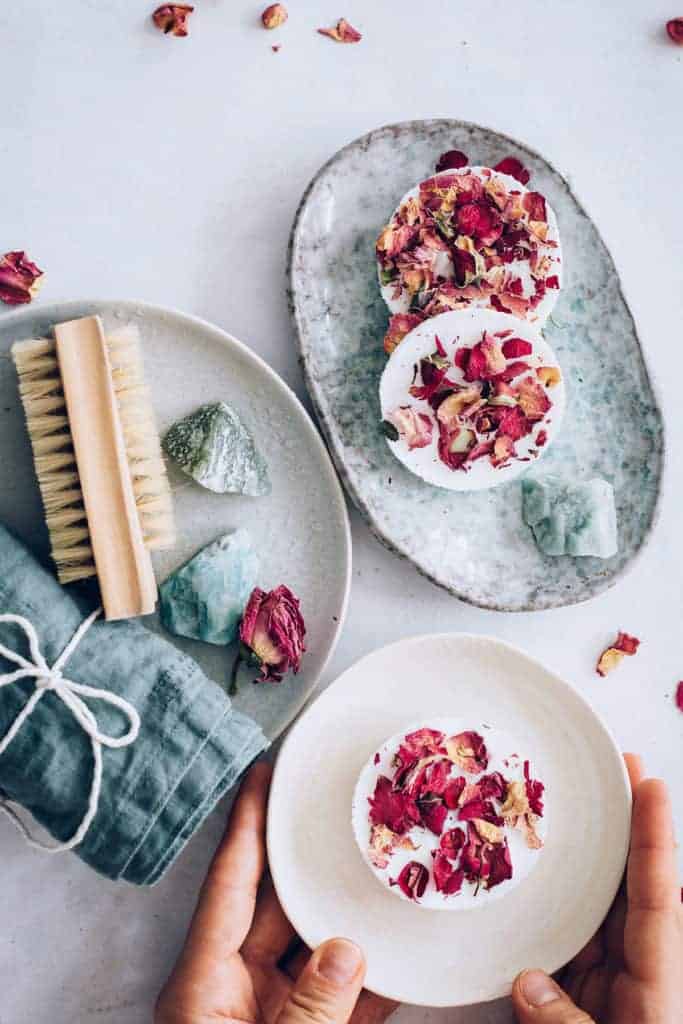
2. Shea Butter Soap with Roses and Vanilla
Rose petals and a vanilla scent make this soap totally giftable. The shea butter soap base also makes it super moisturizing, anti-inflammatory [source], and all in all, good for your skin.
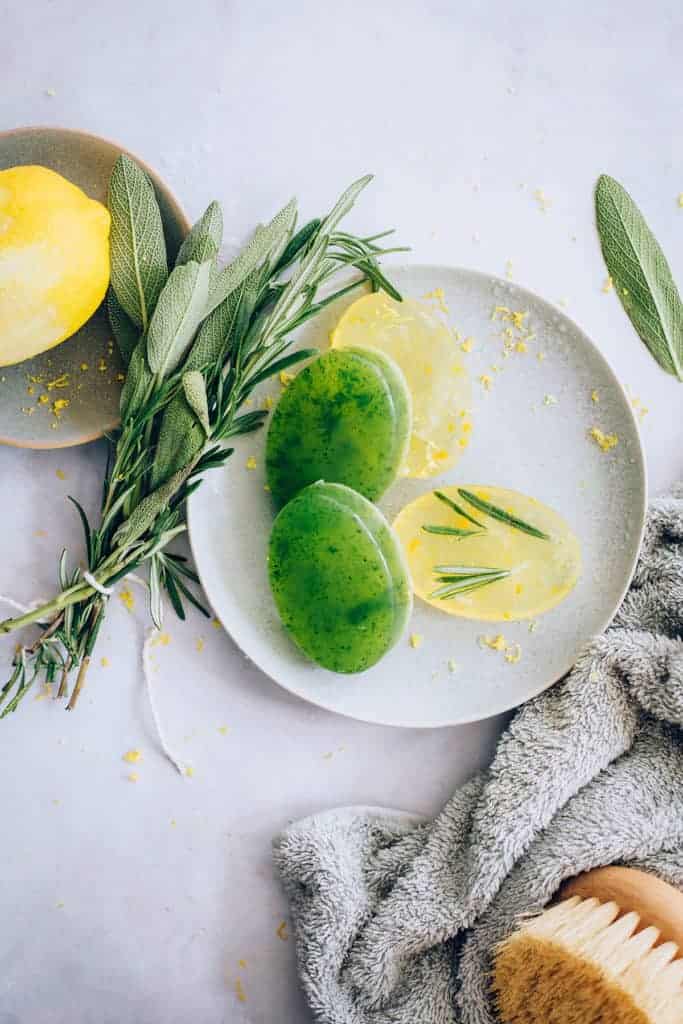
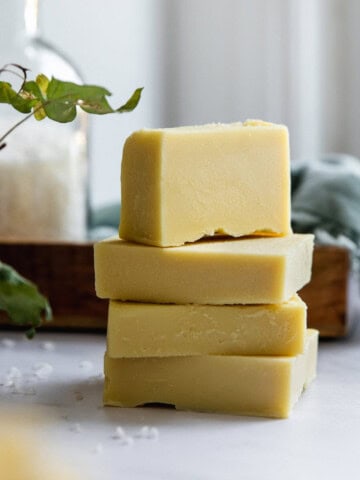
3. Glycerin Soap with Herbs + Citrus
Fresh herbs like mint and rosemary will add a beautiful scent to your soap, not to mention how pretty they’ll look! Glycerin soap base is perfect for showing off the add-ins, as it's naturally transparent.
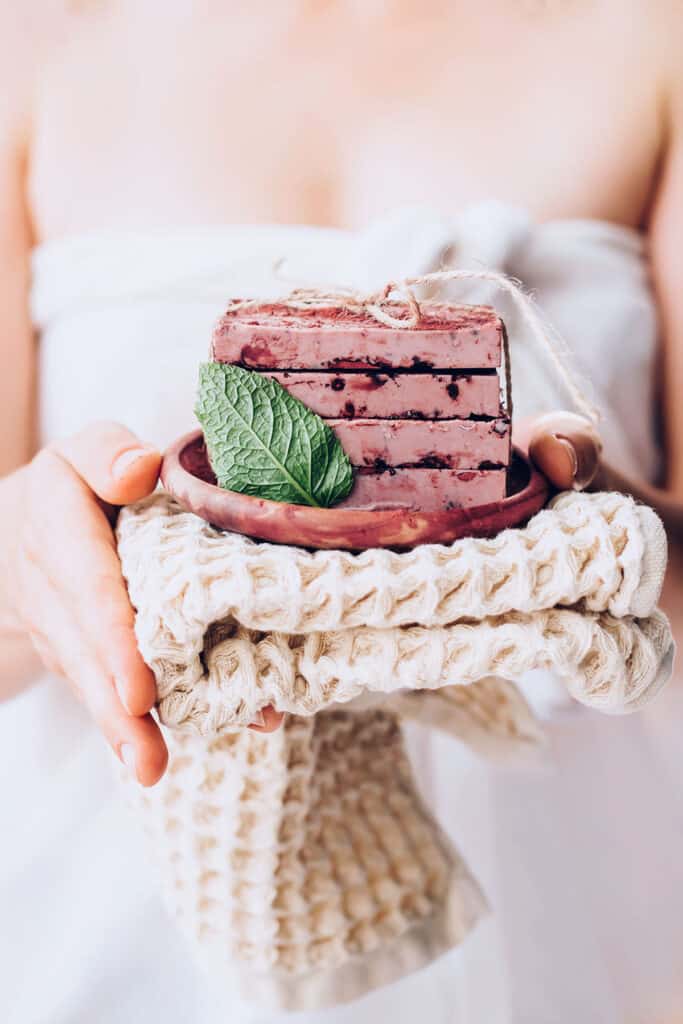
4. Cocoa Mint Soap
This soap is like the embodiment of mint chocolate chip ice cream! It smells good enough to eat, and it's made with a rich, moisturizing shea butter base that's absolutely dreamy.
5. Goat Milk Soap
Goat milk balances skin pH, fights infections, prevents premature aging, and soothes sunburns, but it's also great for sensitive skin and even eczema. Use powdered goat milk to make this wonderful soap for the face and body.
6. DIY Fresh Farmacy Soap
This healing calamine and chamomile soap is meant for sensitive skin, and it's a blessing for dry, itchy winter skin. It’s perfect for easing those troubling conditions back into balance and taking care of cracks, flakes, and hot spots.
7. Herb + Spice Glycerin Soap
The winter holidays are a great excuse to make these soaps. You can customize them with different herbs any time of the year. They are great for using around the house—but you can gift them, too!
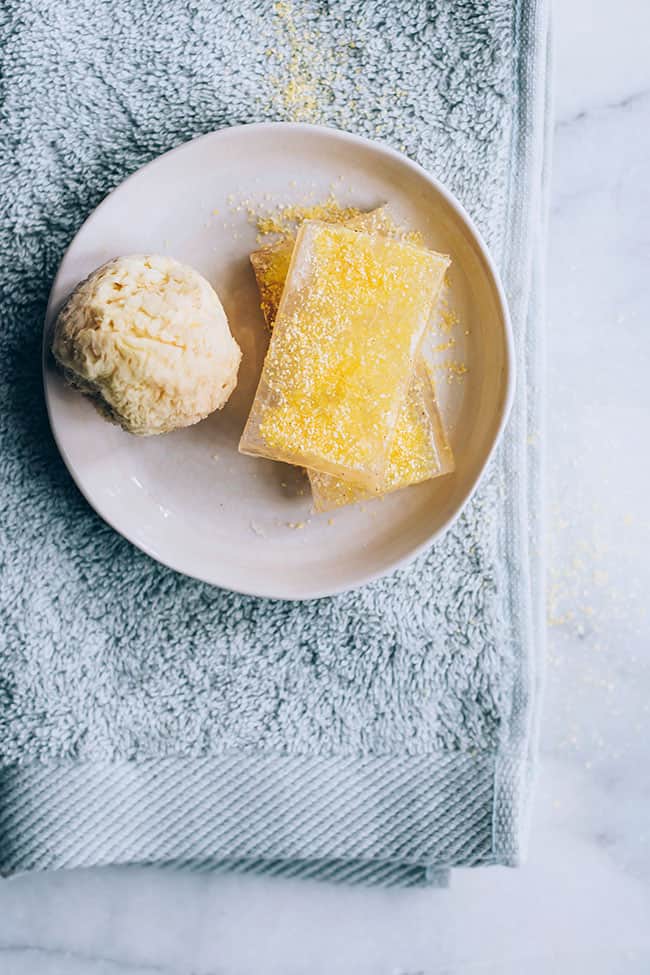
8. Homemade Exfoliating Soap 6 Ways
Exfoliation is the solution to more skin problems than you would think! Remove dry and dead skin and moisturize with any of these homemade exfoliating soaps: chia seeds, cornmeal, oatmeal, or coffee grounds.
9. Almond Vanilla Clay Face Soap
This goat milk soap with soft bentonite clay, almond oil, and vanilla soothes as well as cleanses. It also shows that you don't need fancy molds to make soap—a simple almond milk carton will do!
10. Rosemary + Eucalyptus Shea Butter Soap
Not only are these rosemary and eucalyptus soaps moisturizing and luxurious, but they’re so inexpensive and easy to whip up that you’ll wonder why you waited so long to make them.
11. Soap on a Rope
Before you throw away that yogurt container, have you considered using it as a mold? It's actually the perfect shape to make DIY soap on a rope!
12. DIY Tea Tree + Activated Charcoal Soap
A power combo for the face! This soap detoxes and helps acne-prone skin with the aid of activated charcoal, tea tree essential oil [source], and a shea butter soap base.
13. DIY Soaps with Surprises
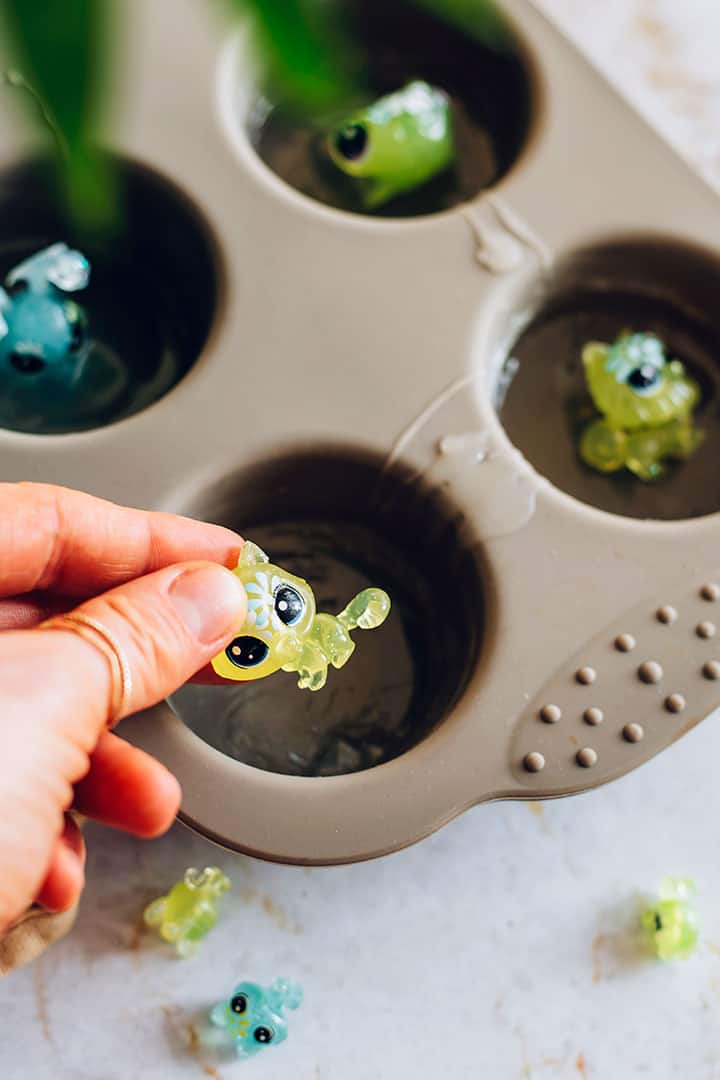
If convincing little ones to wash their hands is taking too much of your time, make some of these hidden toy soaps. They're guaranteed to make hand-washing something they can’t wait to do!
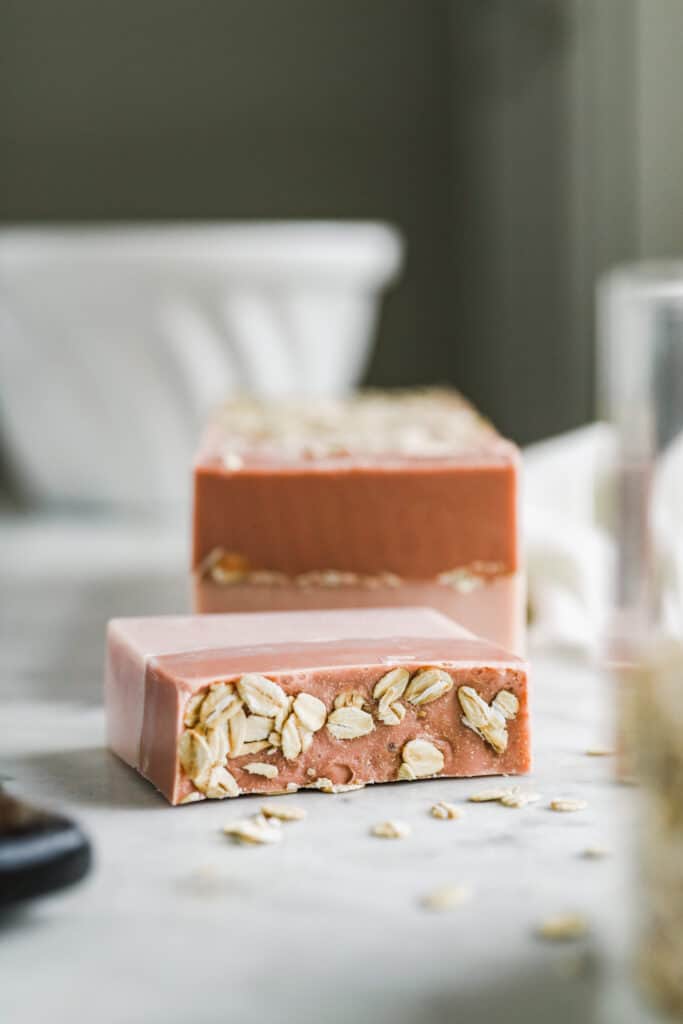
14. Oatmeal Soap with Raw Honey + Goat Milk
Combine skin-soothing oats with moisturizing ingredients like goat milk powder and honey [source], and you’ve got yourself a hydrating soap your dry, itchy skin will love.
References:
1. Tang SC, et al. Dual effects of alpha-hydroxy acids on the skin. Molecules. 2018.
2. Lin TK, et al. Anti-inflammatory and skin barrier repair effects of topical application of some plant oils. Int J Mol Sci. 2018.
3. Ilnytska O, et al. Colloidal oatmeal (Avena sativa) improves skin barrier through multi-therapy activity. J Drugs Dermatol. 2016.
4. Carson CF, et al. Melaleuca alternifolia (tea tree) oil: a review of antimicrobial and other medicinal properties. Clin Microbiol Rev. 2006.
5. McLoone P, et al. Honey: a therapeutic agent for disorders of the skin. Cent Asian J Glob Health. 2016.
This post was medically reviewed by Dr. Jennifer Haley, a board-certified dermatologist with extensive experience in medical, cosmetic, and surgical dermatology. Learn more about Hello Glow’s medical reviewers here. As always, this is not personal medical advice, and we recommend that you talk with your doctor.
996
