Without fail, every time I shop for essential oils, I always walk away with sticker shock. I know that a massive amount of time and resources go into making oils, you get what you pay for, and all that. But still, I mourn what could have been—like a well-stocked oil closet with all the oils I ever wanted. That is until I discovered that you can, in fact, make essential oils at home without any fancy equipment or crazy chemicals.
How? With a slow cooker!
It’s easy and quick compared to other methods, and you don’t need a lot of gadgets—just a little patience and a lot of plants.
So, if you’re ready, read on and I’ll show you how to make your own essential oils at home.
How to Make Essential Oils
There are two clean ways to make essential oils:
Expression – this entails squeezing the plant material to release the oils
Distillation – a somewhat complicated process that involves steaming the plants and separating the oils from the water vapor (usually with the help of a still)
When it comes to making essential oils at home, distillation is usually the method of choice because you can buy a mini distiller online for a couple hundred bucks. But if you’re not that serious about making oils, or you’re just getting started and don’t want to have to purchase the fancy equipment, there is another way: the slow cooker.
But if you don’t have a slow cooker, any large pot with a well-fitting lid will do the trick. Just steam your herbs over low heat, and keep a close eye on it to make sure the water doesn’t boil off. And remember, getting things too hot can affect the quality of your oils, so you can’t set it and forget like you can with a slow cooker.
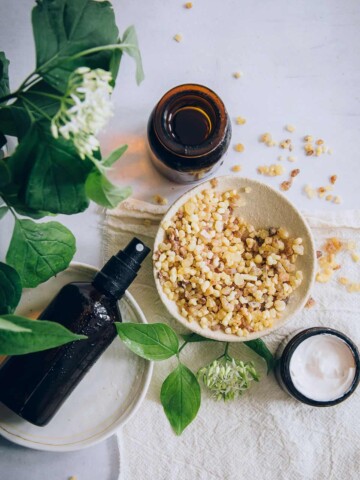
Plants to Use for Essential Oils
Practically anything! The best thing about making your own oils is that you can use interesting plants to make oils that you wouldn’t normally find at the store.
For starters, try:
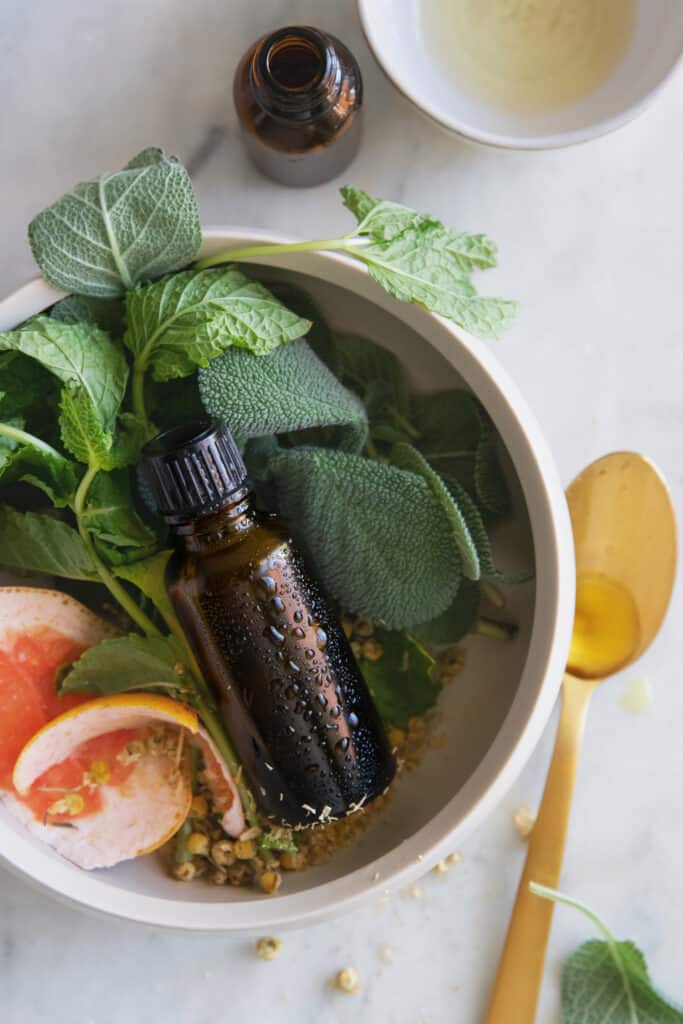
Citrus peels – lemon, grapefruit, orange, lime, pomelo, bergamot, Buddha’s hand
Flower petals – violet, rose, lavender, neroli, geranium, calendula, chamomile
Herbs – peppermint, sage, lemon balm, bay laurel, thyme, rosemary
Spices – cacao nibs, cinnamon, star anise, ginger, vanilla, black pepper
Miscellaneous – pine, cypress, carrot seed, parsley seed
But that’s just to name a few. Honestly, the only way to know for sure whether a plant is good for oil-making is to try it out.
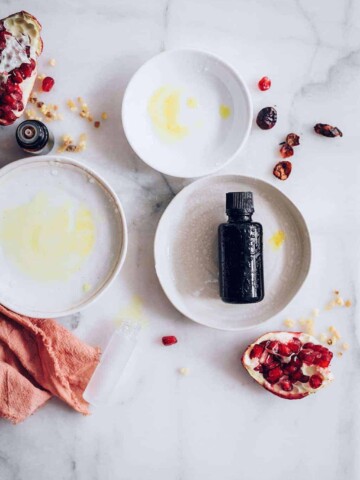
Supplies
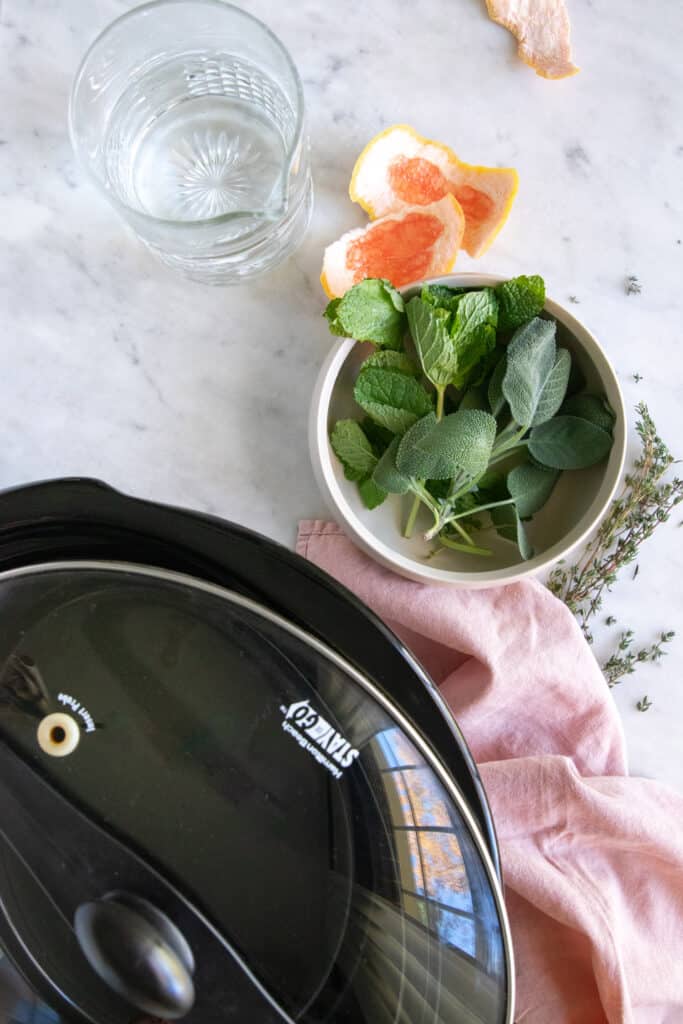
-4+ cups fresh herbs, flower petals, or citrus rinds, chopped
-Enough distilled water to fill ¾ of the slow cooker
-Slow cooker or large pot with lid
Instructions
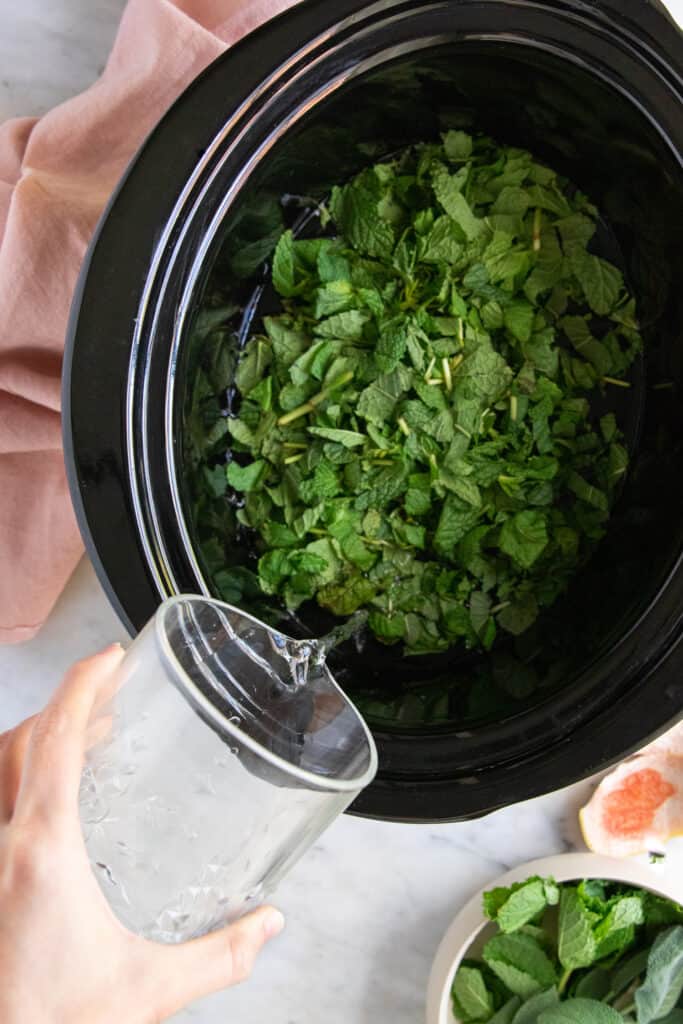
Place the chopped plant material in the slow cooker and fill ¾ of the way with distilled water. Stir well to ensure the plant material is evenly covered.
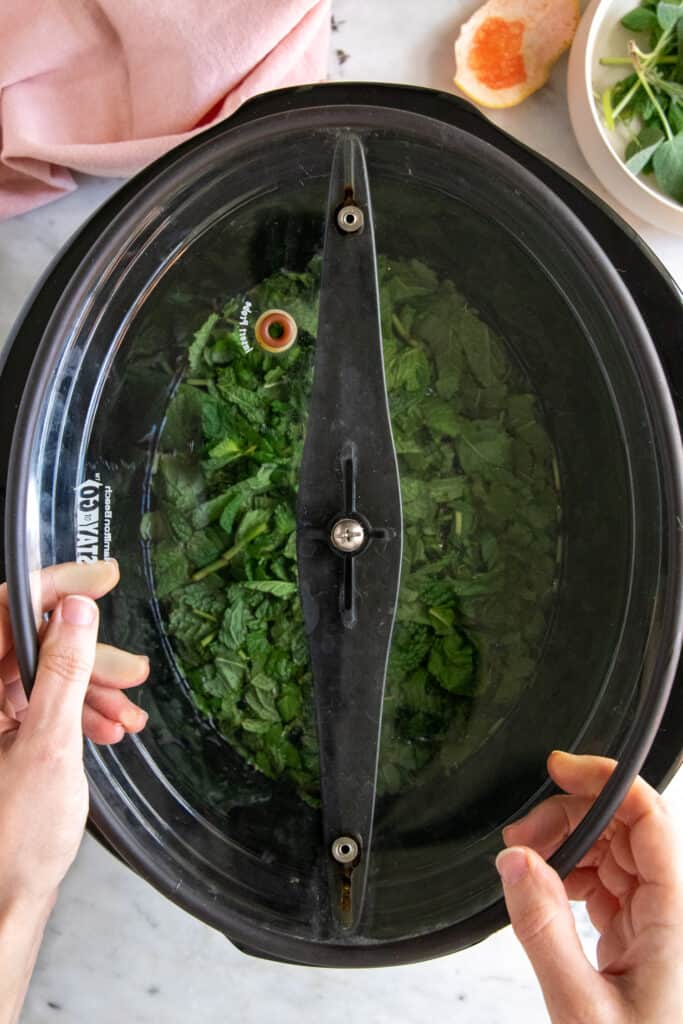
Place the lid upside down on the slow cooker. This allows the steam to condense and drip back into the pot rather than evaporate out.
Simmer on low for 5 hours, then cool and place the slow cooker insert in the refrigerator overnight.
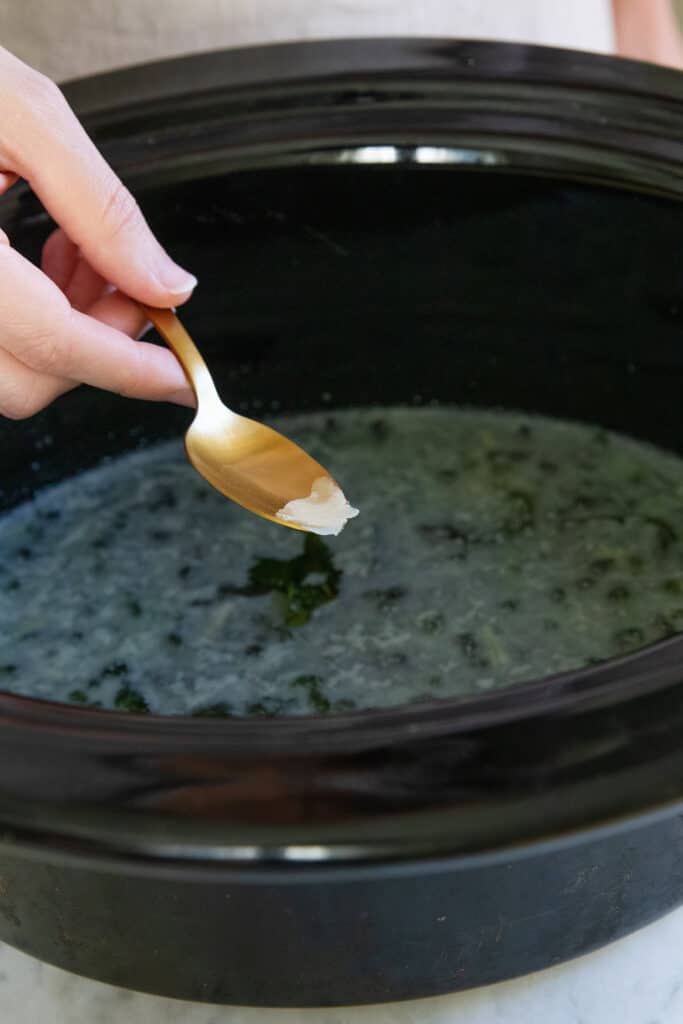
The next day, skim the oil that’s risen to the top and allow it to soften at room temperature. NOTE: If you have trouble getting the oil because it hasn’t risen up, pop the slow cooker insert in the freezer for several minutes. Don’t leave it in too long or it will form ice, but a few minutes can help the oils firm up so they’re easier to skim off.
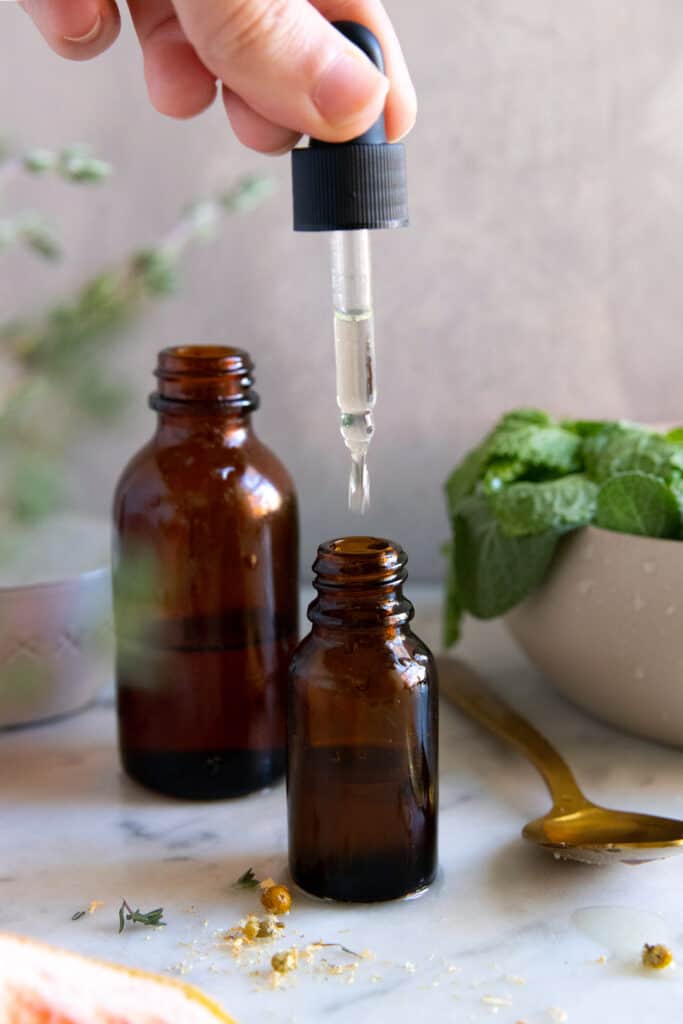
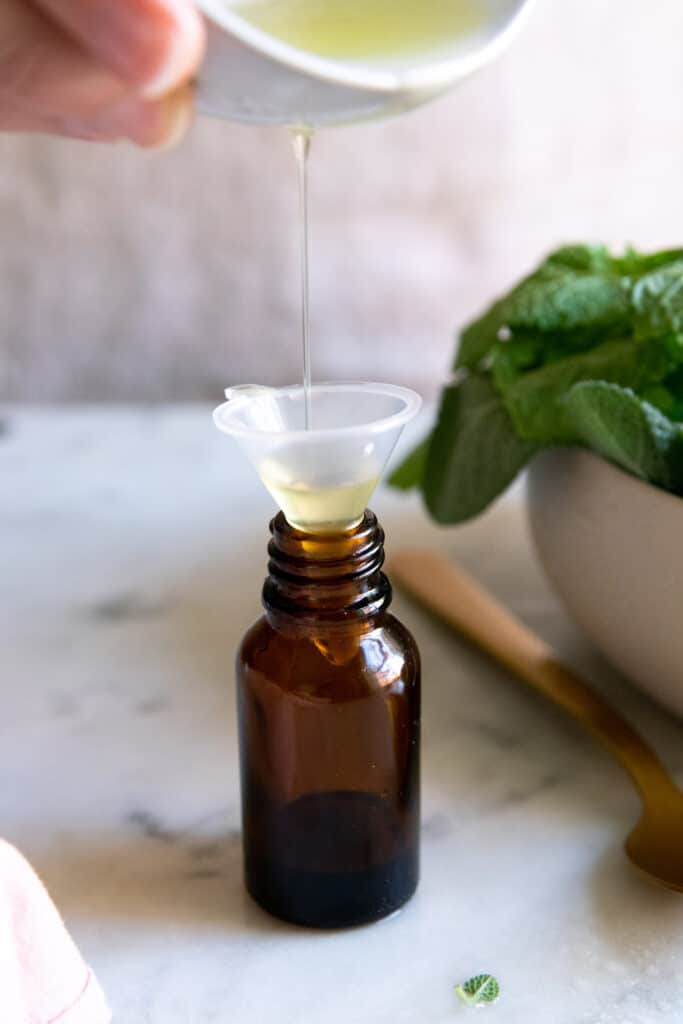
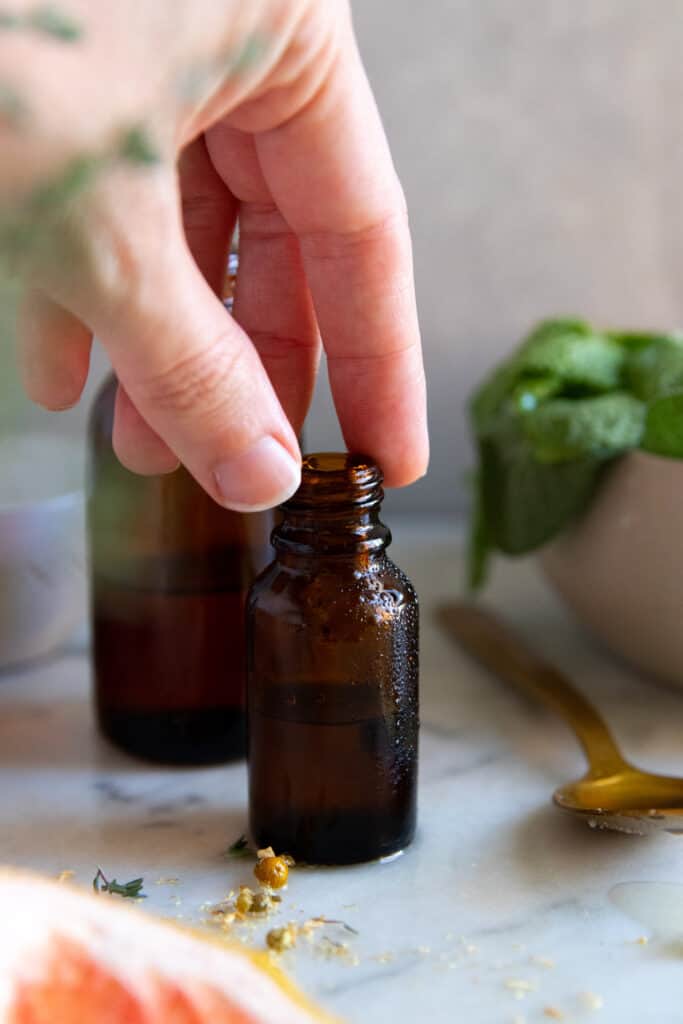
Let the oils soften at room temperature before straining out the plant material and transferring it to an amber bottle.
Use the essential oil within 2 to 3 weeks.
Essential Oil Tips:
Since we’re not using a distiller, there will inevitably be some water in your oils. There’s nothing technically wrong with this, other than the fact that water will cause your oils to mold if they’re not used quickly enough. To get rid of the water, gently heat your oil over low heat until it has all evaporated (yes—this may affect the quality of your oils).
Use your homemade oils quickly. Even without water, there may be some lingering plant material in your oils, which can cause issues with mold. Use your homemade oils within 3-ish weeks, if you can. What you can’t use immediately, make sure to store in the refrigerator.
You can use the leftover water from the oil-making process like a hydrosol. Depending on the herbs you used, strain out the chopped plant material and pour the water into a lidded glass bottle. Use it as a facial toner, hair rinse, or as an ingredient in any homemade beauty products. Store in the refrigerator and use it within 2 to 3 days.
Making Essential Oil FAQs
Can I combine two plants together when making my oils?
I don’t recommend it because plants cook down and release oils at different rates. And if you combine two or more plants at the start, you won’t really know how much of each oil you’ve ended up with.
Can I use dried plants instead of fresh?
Fresh plant material contains more oils than dried plant material, so you’ll get more essential oils by using fresh. But if you’re feeling adventurous, feel free to try this process with dried plants and let us know how it goes in the comments.
Why am I not getting a lot of essential oil from my plant?
Plants contain different amounts of oil. The more natural oils contained in a plant, the more essential oil you’ll get from the distillation process. To get more oil, simply use more of the fresh plant to start.
This article was medically reviewed by Dr. Gina Jansheski, a licensed, board-certified physician who has been practicing for more than 20 years. Learn more about Hello Glow's medical reviewers here. As always, this is not personal medical advice and we recommend that you talk with your doctor.
119