If you're new to the world of scented wax melts, the idea may take a while to warm up to (see what I did there?). At least it might if you're a certified candle-obsessed weirdo like me. But if an open flame isn't your cup of tea, learning how to make wax melts is the perfect fire hazard-free DIY for fragrance lovers.
Jump to:
What Are Wax Melts?
Unlike candles, wax melts don’t require an open flame to melt the wax. Instead, they use a wax warmer to gently heat the soy wax just enough to melt it and diffuse the scent throughout your home.
While you don’t get that pretty, candlelit ambiance, no flame means no fire hazard or worrying about small hands. And learning how to make soy wax melts is a super easy 10-minute DIY, which is a win in my book!
Why Use Wax Melts
Easy and safe to use: All you have to do is add wax, turn it on, and enjoy the scent without flame, soot, or other pollutants.
Eliminates odor: Use wax melts to get rid of any funky odors in kitchens or bathrooms and add a soft scent to bedrooms or offices.
Perfect night light: At night, it emits a warm light and fragrance to help you fall asleep easier. Wax warmers that use lightbulbs (not flames) can be used as night lights.
Wax Melt Supplies
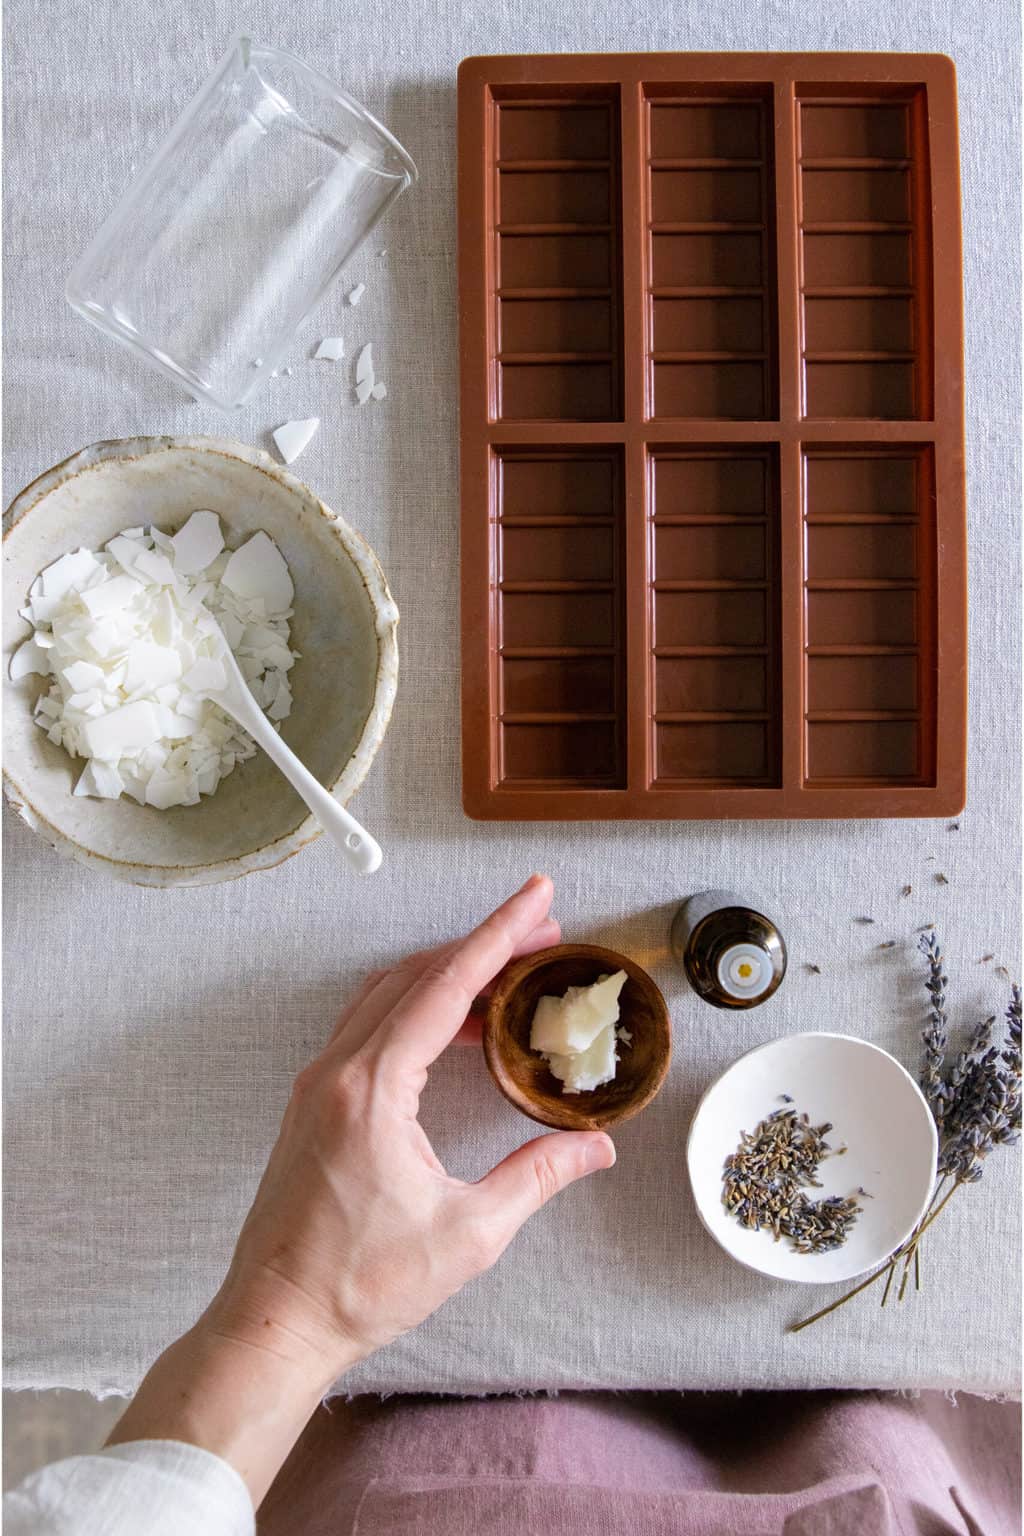
You only need 3 ingredients for making DIY wax melts:
—2 cups soy wax flakes
—½ cup coconut oil
—4 tablespoons essential oil or fragrance oil
—Dried flower petals (optional)
Best Wax for Wax Melts
Unlike candles, wax melts use an indirect heat source, so you need to use soft wax with a low melting point. My personal favorite is soy wax because it’s clean and inexpensive. It also cools quickly, has a neutral scent, and is easy to clean up with nothing more than soap and water.
To make my soy wax softer, I also add a bit of coconut oil to my melts. You can skip this step, but it does help ensure that your melts liquify over low, indirect heat.
If you’re not a fan of soy wax, the other alternative is paraffin wax. It has a low melting point, a neutral scent and it’s easy to clean up, but I avoid it whenever possible because it’s a petroleum byproduct.
I would avoid using hard waxes, such as beeswax or candelilla wax, because they may not melt fully over indirect heat.
How To Make Wax Melts
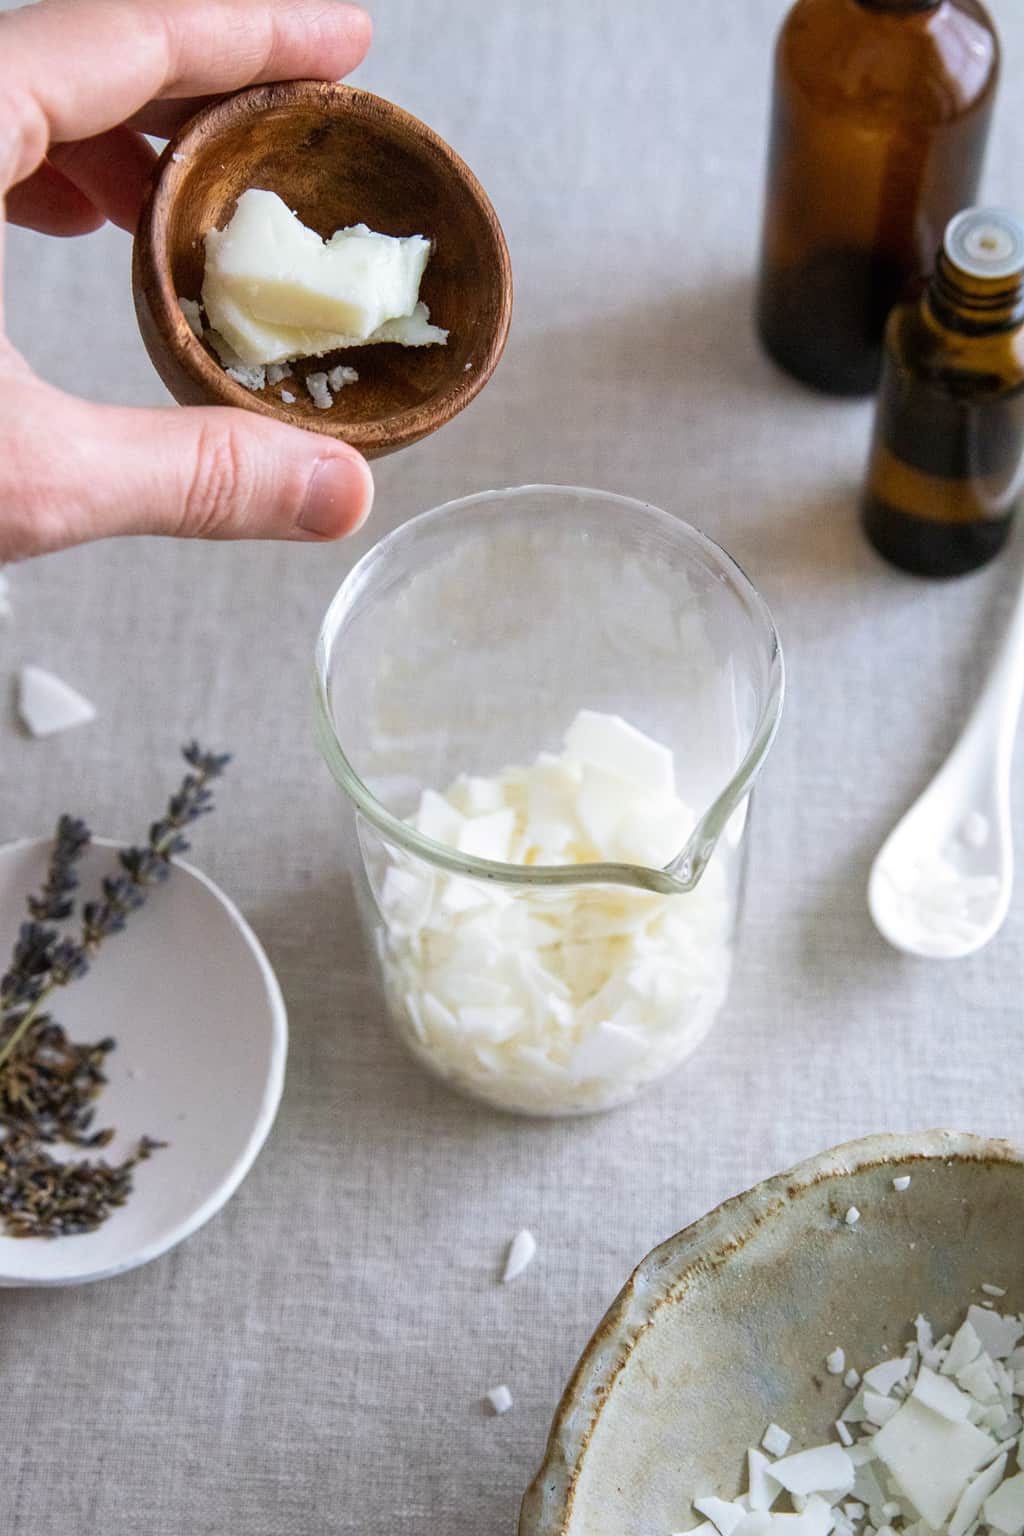
Step 1 | Melt wax and oil
Combine the soy wax and coconut oil in a microwave-safe bowl or measuring cup. Microwave in 30-second intervals until melted (or if you have a double boiler, you’re free to use it instead).
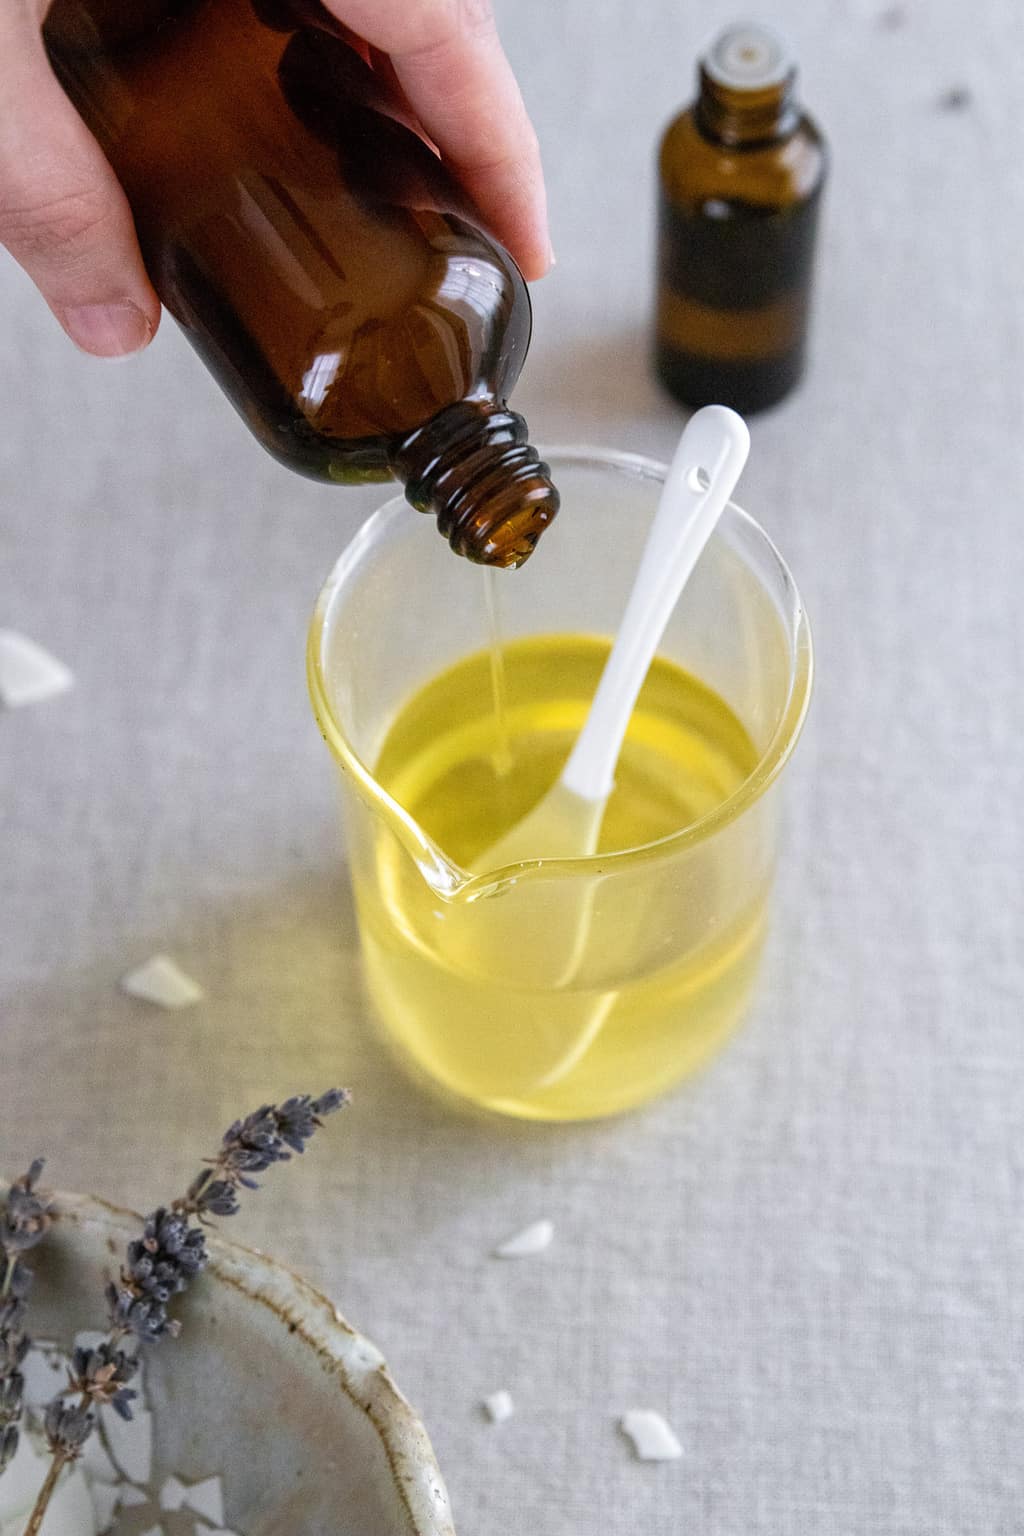
Step 2 | Add fragrance
Let the wax cool for 3-4 minutes before adding your essential oils (heat can break down the oils and interfere with the scent, so the cooler the better). Stir well. If you’re adding turmeric, beetroot powder, or another natural colorant, add it now and stir well.
Best Essential Oils for Wax Melts
Essential oils are the cleanest fragrances you can use for wax melts. But be forewarned, the scent dissipates rather quickly, often leaving you with a lackluster scent throw. One way around this is to use a lot of oil in your melts.
A 10% oil-to-wax ratio is ideal, meaning if you use ½ cup of melted soy wax, you’ll need about 1 tablespoon of essential oil. But even that might not be enough to give you much of a scent, depending on the brand.
Since essential oils are pricey, I recommend using inexpensive oils with a strong fragrance, such as:
—Citrus oils (Lemon, Sweet orange, Grapefruit)
—Cinnamon or Clove
—Vanilla (smells heavenly with coffee essential oil)
—Ylang ylang or another floral oil
—Lavender
—Pine or Rosemary
—Peppermint
How To Make Wax Melts Smell Stronger
We love essential oils but the key to making wax melts more fragrant is using fragrance oils instead of essential oils. Fragrance oils are a mixture of essential oils and synthetic aromas that are made specifically for candles, wax melts, and diffusers.
Since they’re meant to be diluted, they’re highly concentrated and have a better scent throw than essential oils. But they are also synthetic and may not be as safe or as clean as essential oils.
If you decide to go with fragrance oils, I recommend choosing a phthalate-free brand, like Makesy.
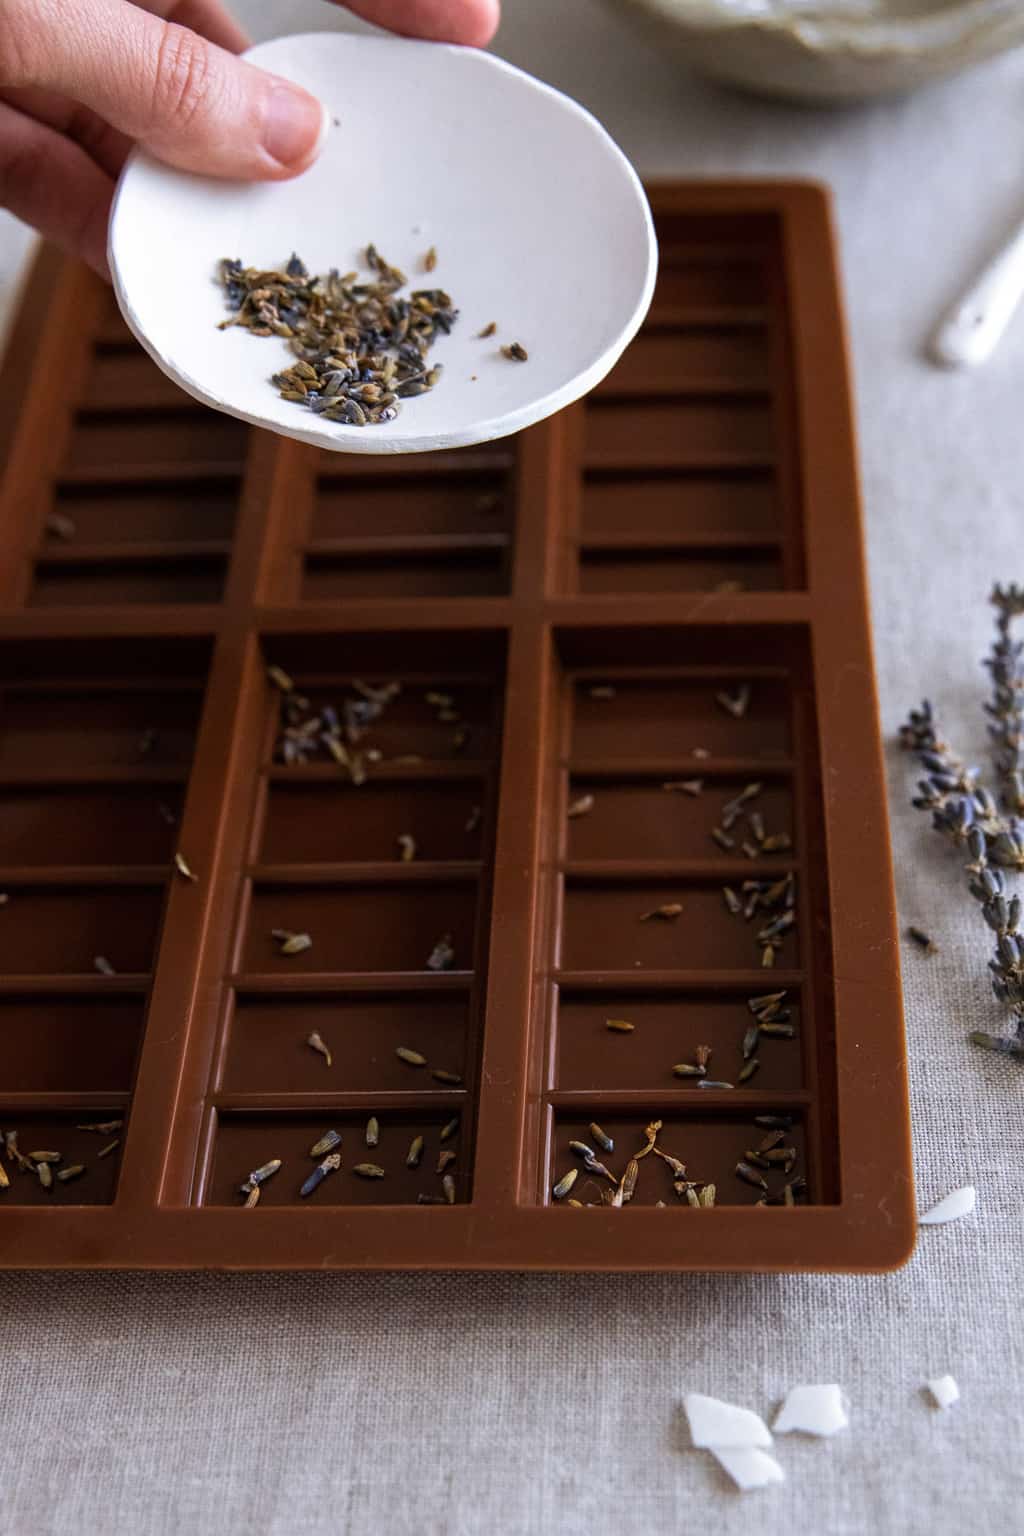
Step 3 | Add other fun ingredients
The beauty of wax melts is that they don’t have a wick, so you can add things like flower petals, herbs, and powdered spices without messing up the flame.
I sprinkled dried lavender and calendula petals into my molds before pouring the wax and I love how they turned out. As they melt, the petals float around the wax pool and the scent mingles with the essential oils.
Some ideas:
—Dried rose petals or lavender buds
—Pieces of cinnamon sticks
—Star anise or cloves
—Dried chamomile or calendula
—Mint
—Rosemary
—Beetroot or turmeric powder (great for color)
Or any other herbs and flower petals you have.
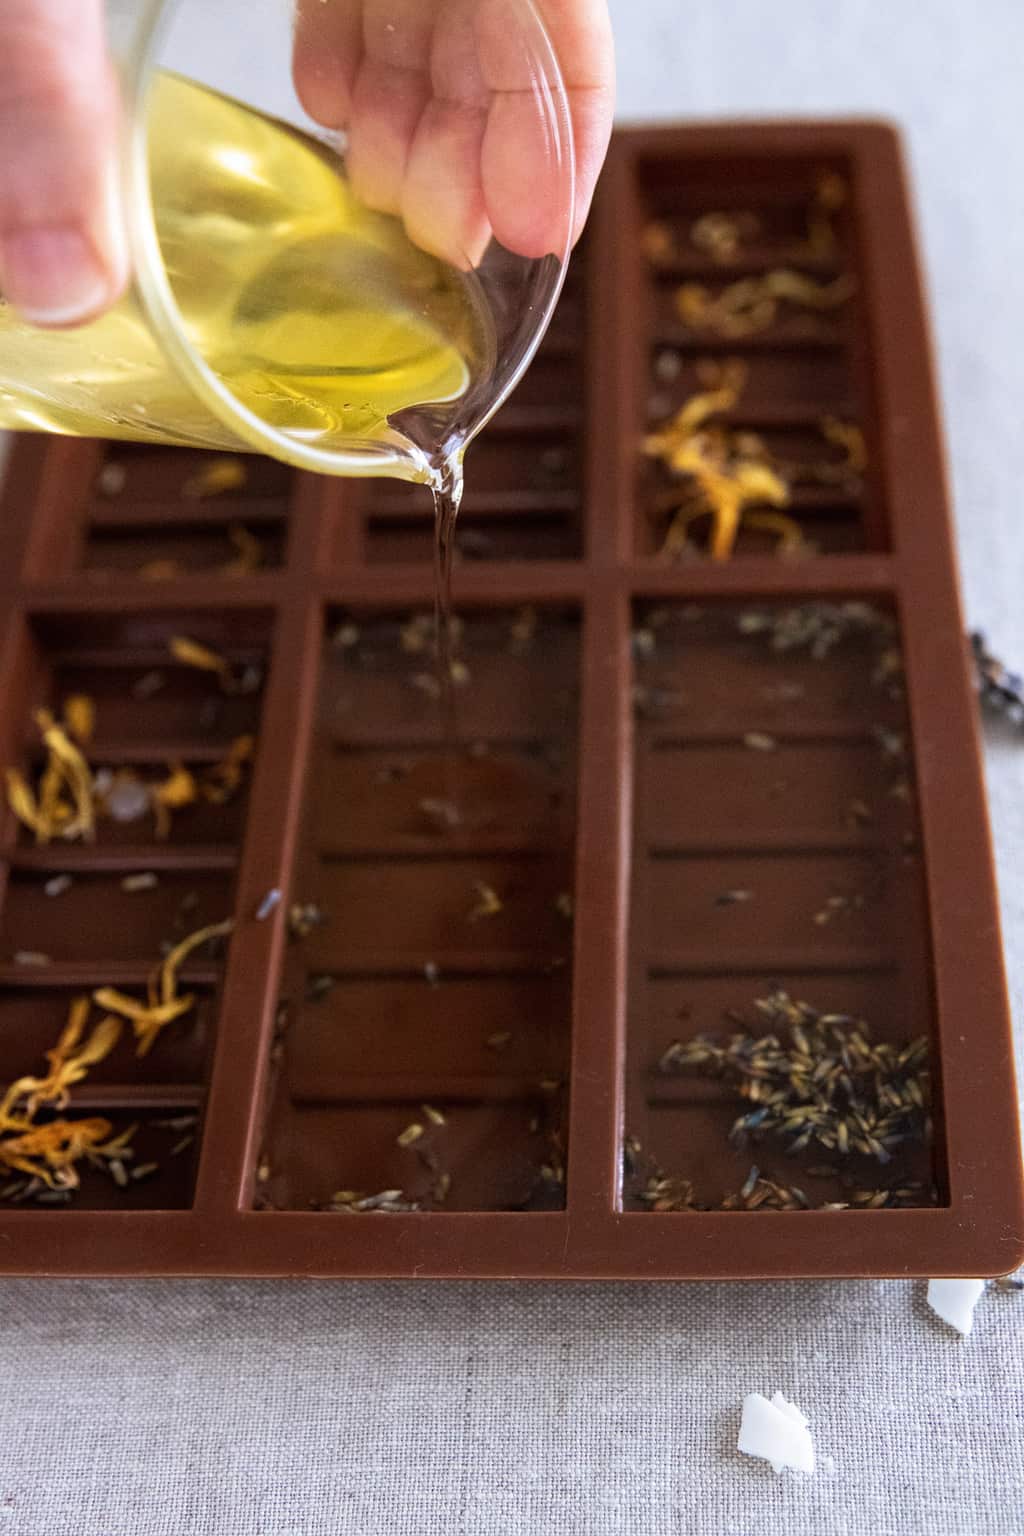
Step 4 | Pour the wax into molds
Pour in the wax, then, twist the mold side to side to evenly disperse it.
Best Molds for Wax Melts
If you’re not looking to spend a lot of money, ice cube trays make perfect molds. You can also use mini muffin tins, paper muffin liners, gummy bear molds, small measuring cups, or anything else you can find that’s roughly 1-2-inches wide.
I’m personally a fan of these silicone break-apart molds because they create professional-looking wax melts that are perfect for gifting. And when you’re done you can also use them in the kitchen or for homemade bath and body projects.
If you plan to sell or give away wax melts, you can always find wax melt molds on Amazon. Just pour in the wax and let it cool before securing the lid and wrapping them up. Easy as pie.
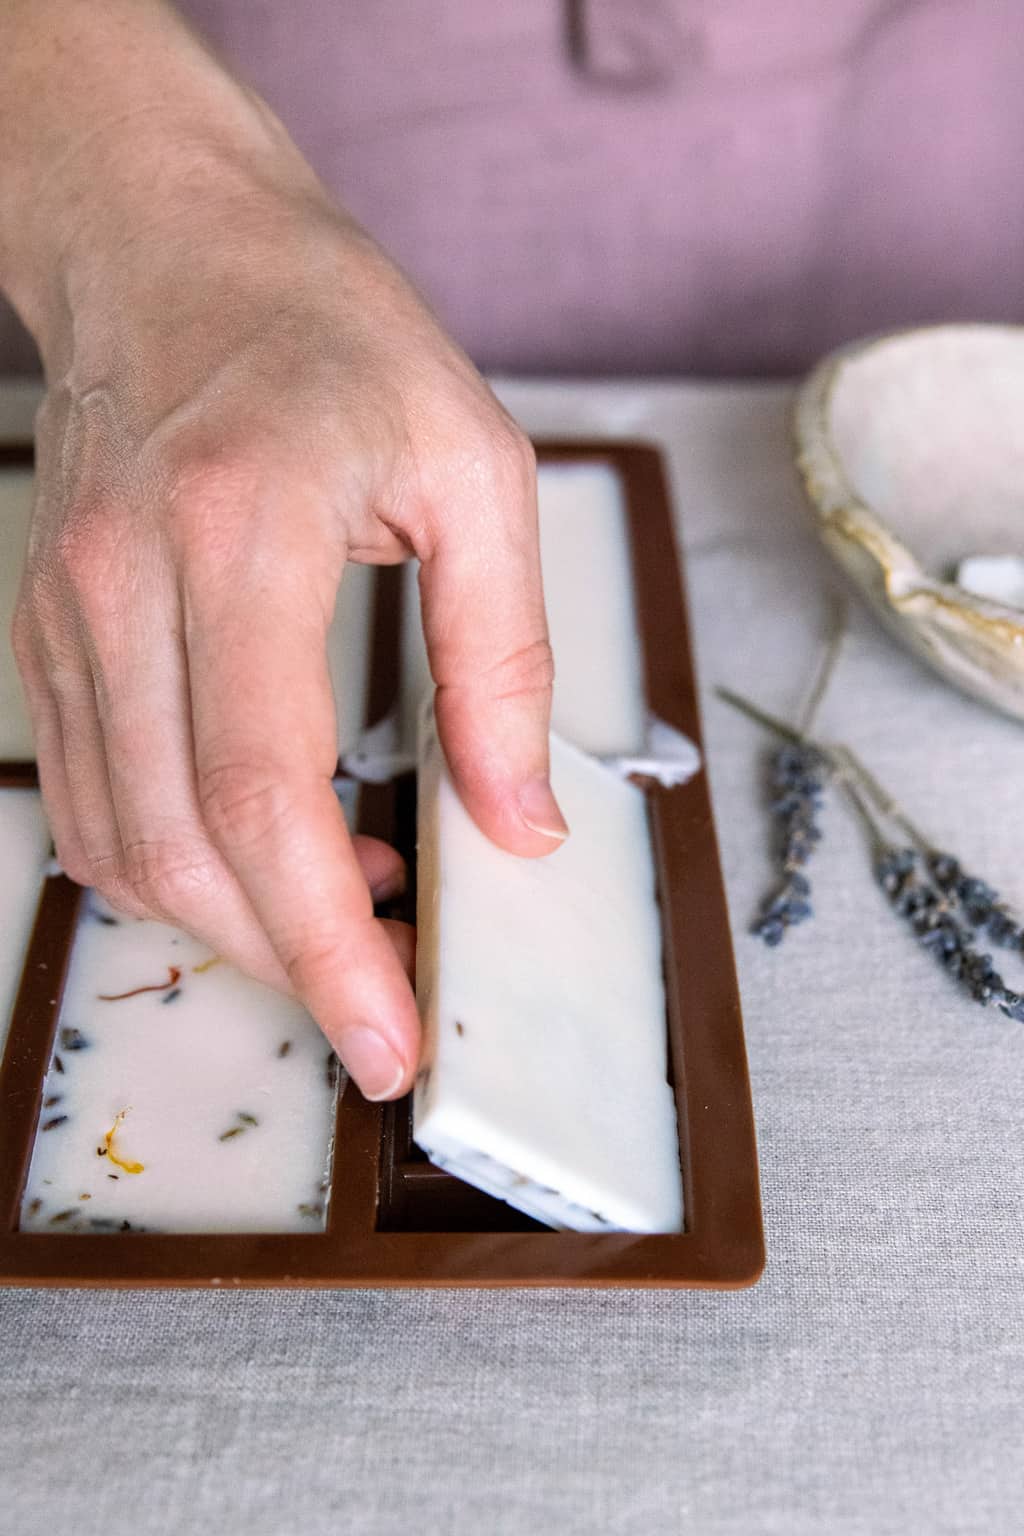
Step 5 | Let wax melts cool
Let the wax harden completely before removing your wax melts. Then continue cooling overnight before using.
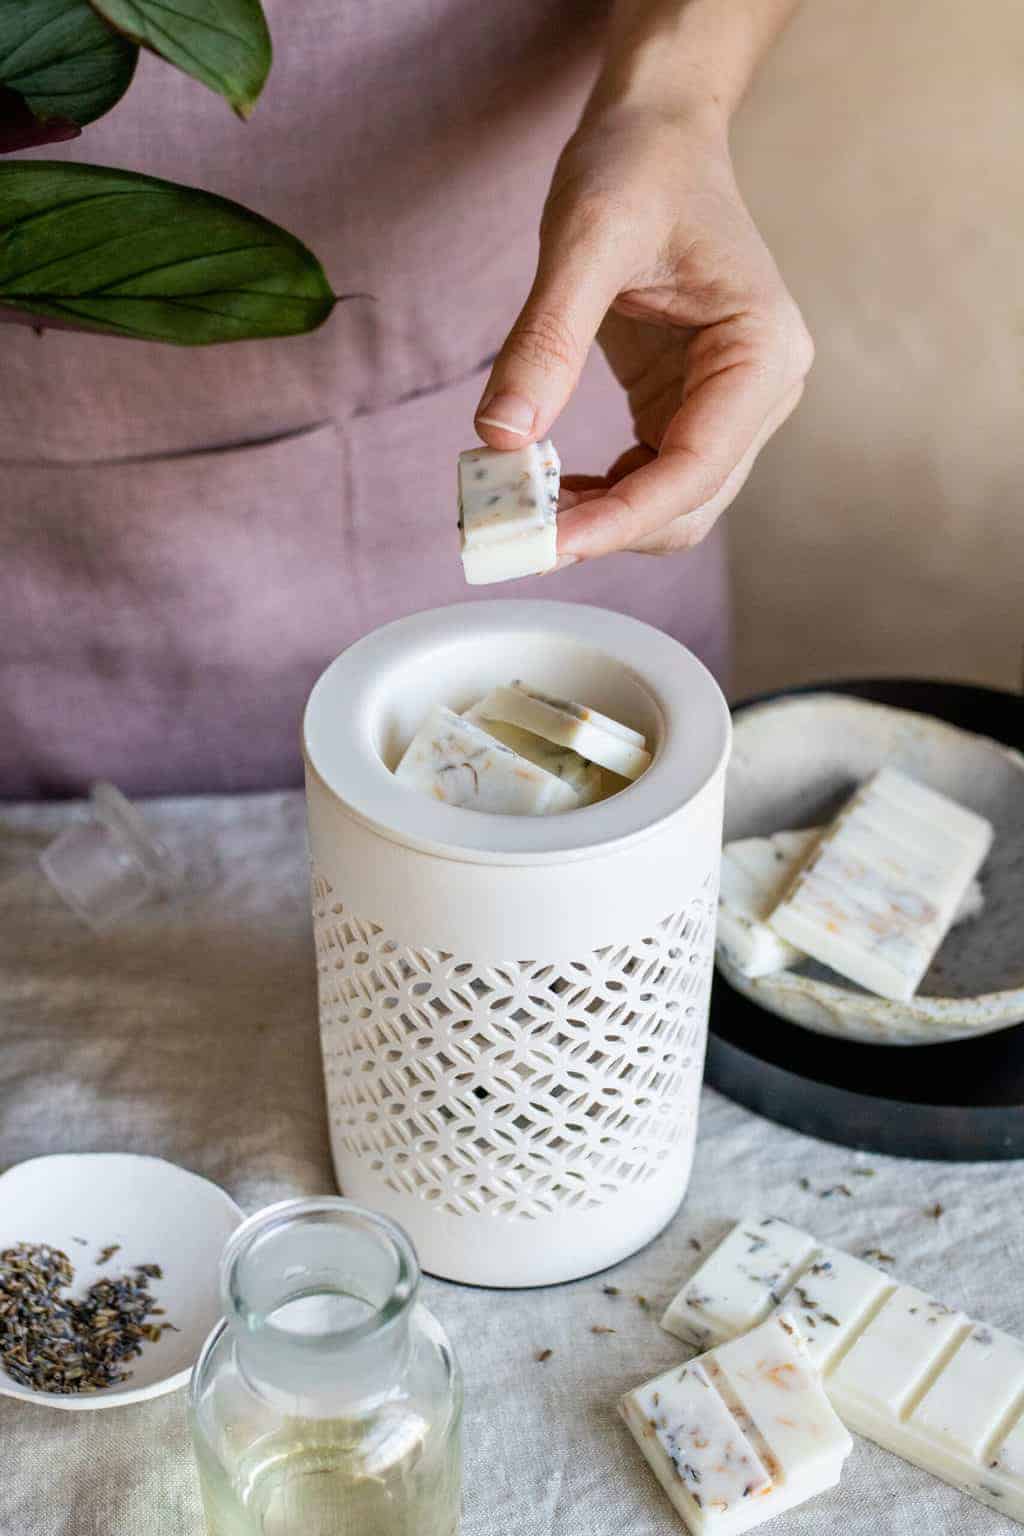
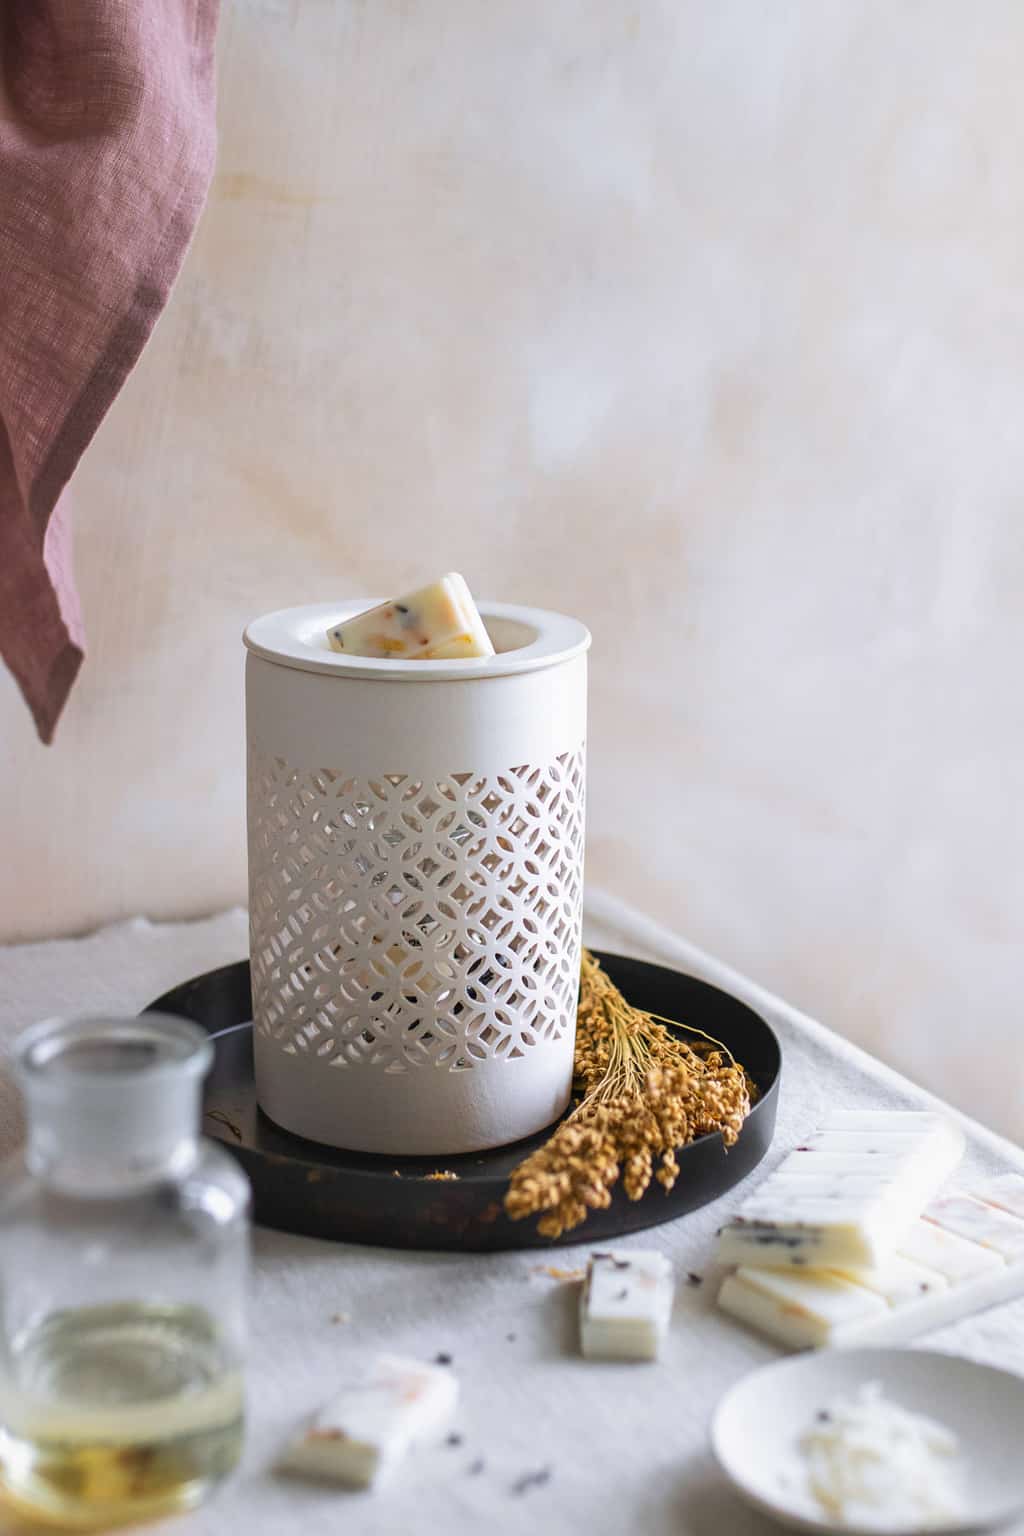
How To Use a Wax Warmer
If you don’t already have a wax warmer, you can find them online or at places like Target or Home Goods. Most, like mine, use a lightbulb to warm up the wax, but some use a tea light candle as the heat source.
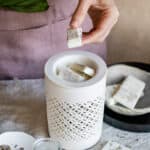
Put the warmer in your bedroom, bathroom, living room, kitchen, basement, office, studio, or any other frequently visited spots. Then add 3-4 wax cubes to the warming dish, plug in power, turn on the side switch, and the fragrance will soon spread throughout the room.
After each use, the wax will cool and solidify and can be reused. Add additional wax cubes as needed.
How To Clean a Wax Warmer
Cleaning your wax warmer is easier than you think!
Turn on your warmer and let it sit for several minutes to melt any remaining wax. If there’s a lot of melted wax, pour it into an empty aluminum can and let it cool before throwing it away.
Then take a paper towel and, being careful not to burn yourself, wipe out any waxy residue left in the warmer bowl. If your warmer has a removable bowl, then gently wash it with soap and water and blot dry.
FAQ
It typically takes a few hours for wax melts to harden completely. However, leaving them overnight ensures they are fully set.
The longevity of wax melts depends on factors such as the type of wax, fragrance load, and the size of the melts. On average, each melt can last several hours in a warmer.
Soy wax is popular for its clean burn and eco-friendly properties. Paraffin wax is another common choice due to its excellent scent throw.
Calendula + Lavender Wax Melt Recipe
Equipment
- Spoon or popsicle stick
- Microwave-safe measuring cup
- Silicon mold or wax melt mold
Materials
- 2 cups Soy wax flakes
- ½ cup Coconut oil optional; helps soften the soy wax
- 4 tablespoon Lavender essential oil or fragrance oil
- Dried flower petals optional
Instructions
- Combine the soy wax and coconut oil in a microwave-safe bowl or measuring cup. Microwave in 30-second intervals until melted (or if you have a double boiler, you’re free to use it instead).
- Let the wax cool for 3-4 minutes before adding your essential oils (heat can break down the oils and interfere with the scent, so the cooler the better). Stir well. If you’re adding turmeric, beetroot powder, or another colorant, add it now and stir well.
- Sprinkle flower petals or herbs into your mold.
- Pour in the wax, then, twist the mold side to side to evenly disperse it.
- Let cool for 30 minutes before removing your wax melts. Then continue cooling overnight before using.