I know I’m a little late to the game, but I recently became obsessed with making my own herbal tinctures. It’s not that I didn’t believe they would work or that I poo-poo anything other than Western medicine. It’s just that I never really had the time to figure it out.
Then I received a medicinal herb garden kit for Christmas—a sign from the universe if you ask me—and I took the hint. While I also like to make teas, syrups, and salves, I find that herbal tinctures give the most bang for my herbal buck. They’re incredibly easy to make, easy to take, and highly concentrated, so a little goes a long way.
Here’s how to make them, when to use them, and some simple recipes for herbal tinctures to get you started with the process.
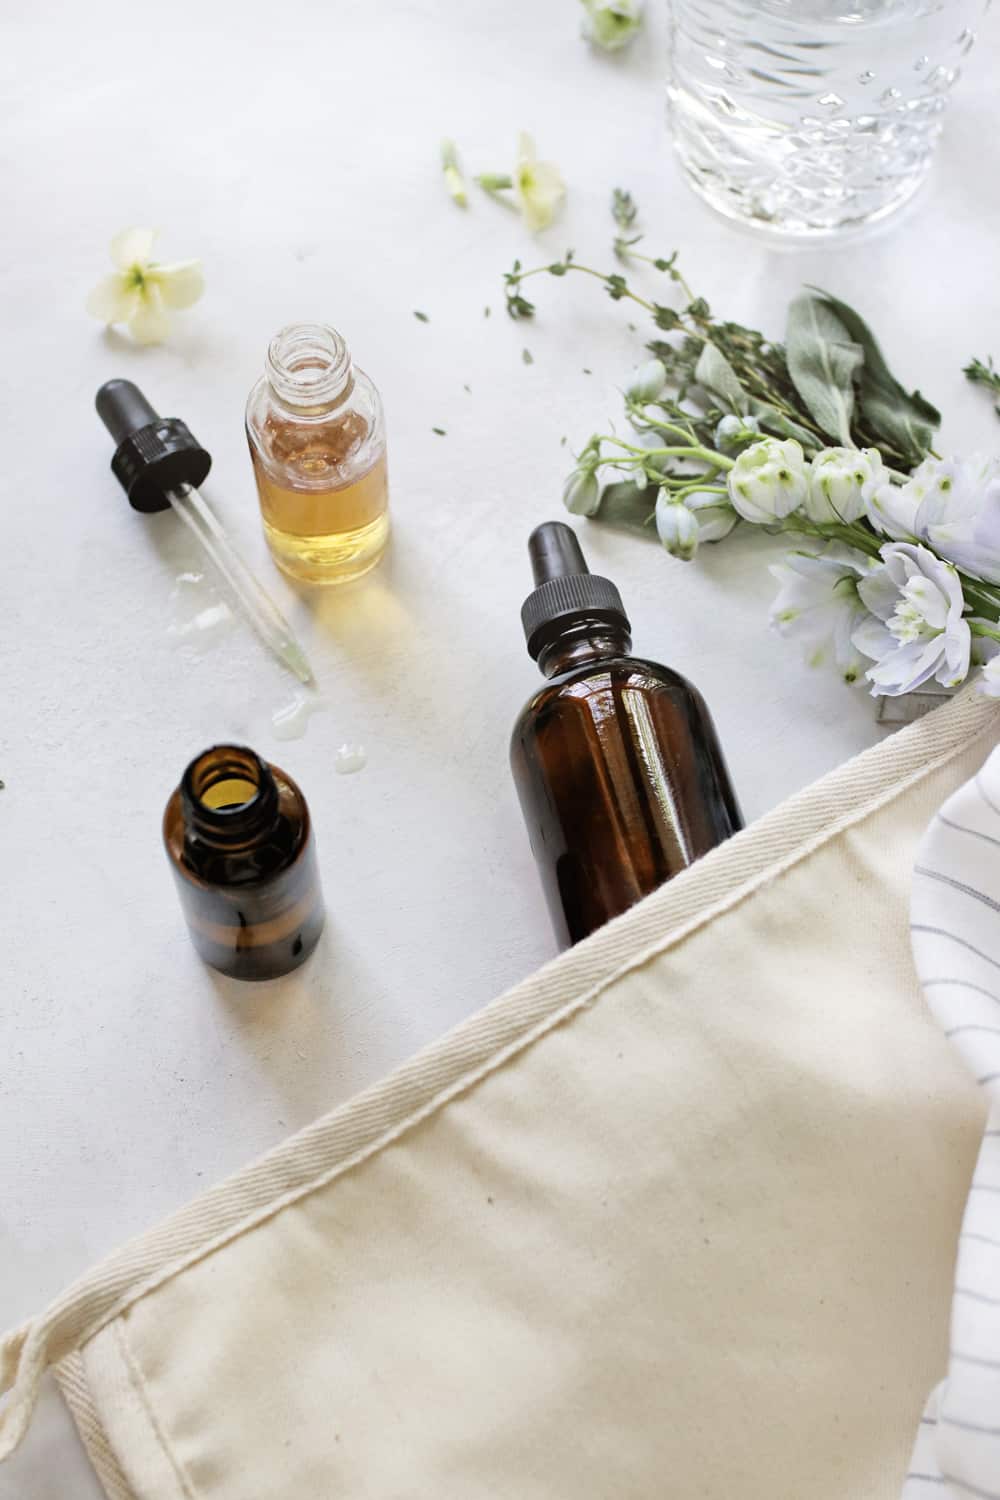
Jump to:
What Is a Tincture?
Don’t let the word intimidate you. A tincture is just a concentrated herbal extract made with alcohol, which can be taken straight or diluted in tea or water. In short, it’s another way of extracting the active components from an herb, except you’re using alcohol instead of water, vinegar (that's an oxymel), or glycerin as the solvent.
In other words, herbal tinctures are concentrated extracts of plant material often used as herbal medicines to support various aspects of health and well-being. You can use fresh or dried herbs in herbal medicines, making it easier than you might think!
As opposed to herbal teas or capsules, tinctures are easy to use, portable, and more potent than other herbal remedies. Whereas you might need to prepare 4 or 5 cups of tea to get the benefits of an herb, you may only need a dropper or two of herbal medicine. Plus, thanks to the alcohol, tinctures have a long shelf life and can often last up to 5 years or more.
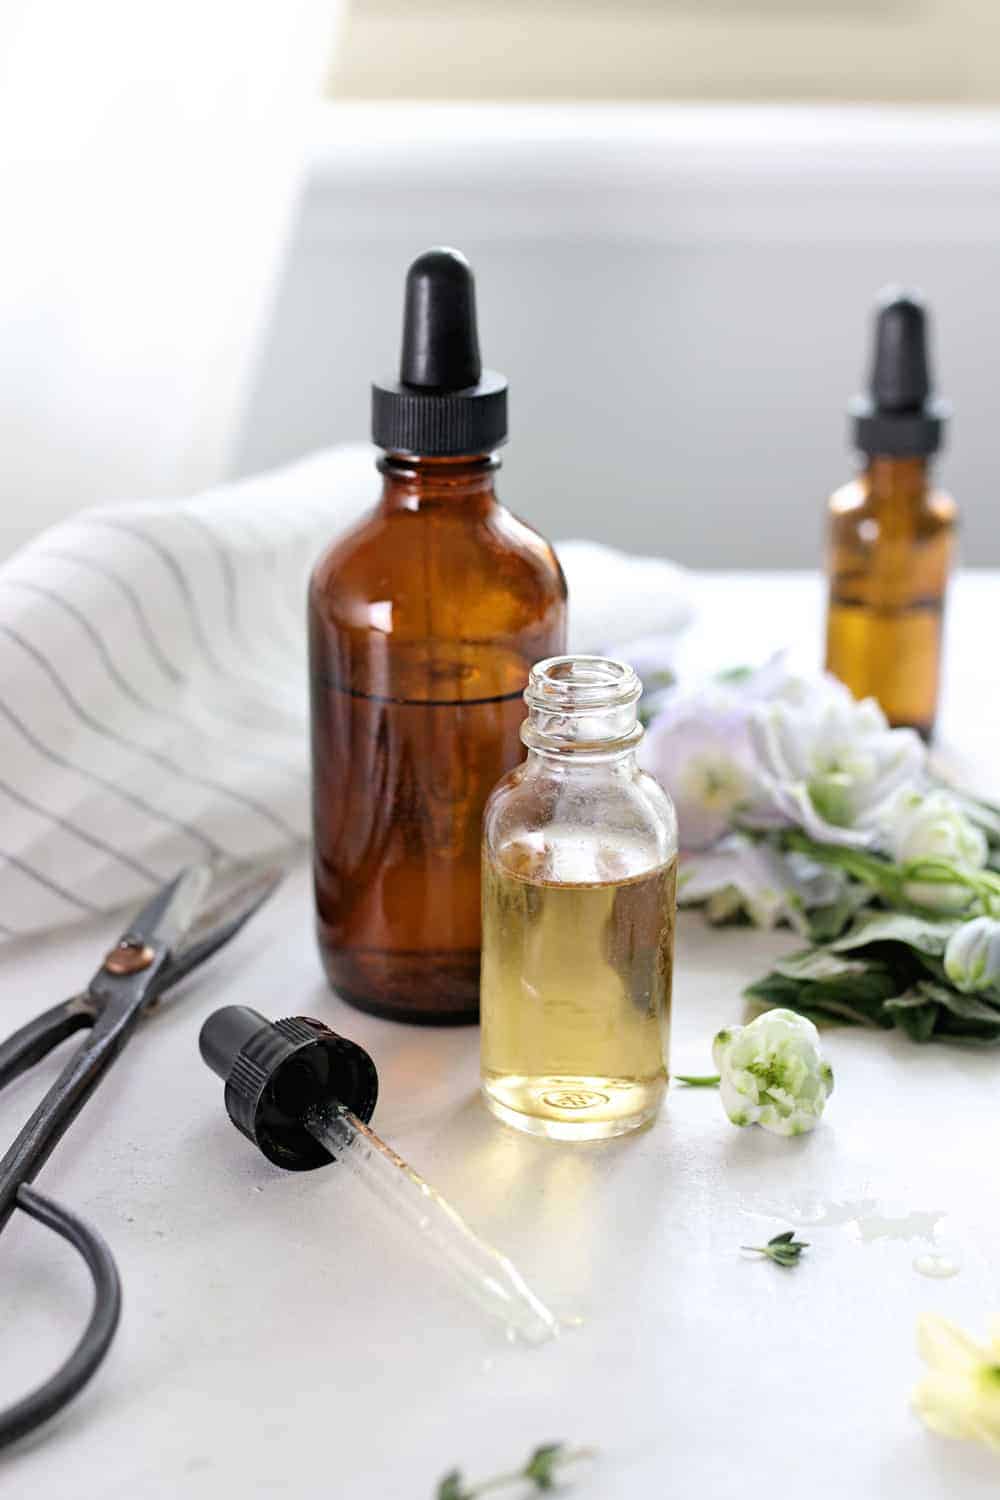
Making an Herbal Tincture
To make an herbal tincture, you’ll need to start with high-quality plant material such as dried herbs or fresh plants. Some common plant materials used for making herbal tinctures include roots, medicinal herbs, leaves, flowers, and bark. The choice of plant material will depend on the intended use of the herbal medicine.
Once you’ve made that choice, you can begin the tincture-making process. One common method involves soaking the plant material in a high-proof alcohol such as vodka or brandy for several weeks. The alcohol extracts the active constituents from it, creating a potent and long-lasting herbal tincture.
Another option is to use apple cider vinegar as the solvent instead of alcohol. It’s a mild acid that can extract the medicinal properties of the plant material while preserving the nutritional value of your medicinal herbs.
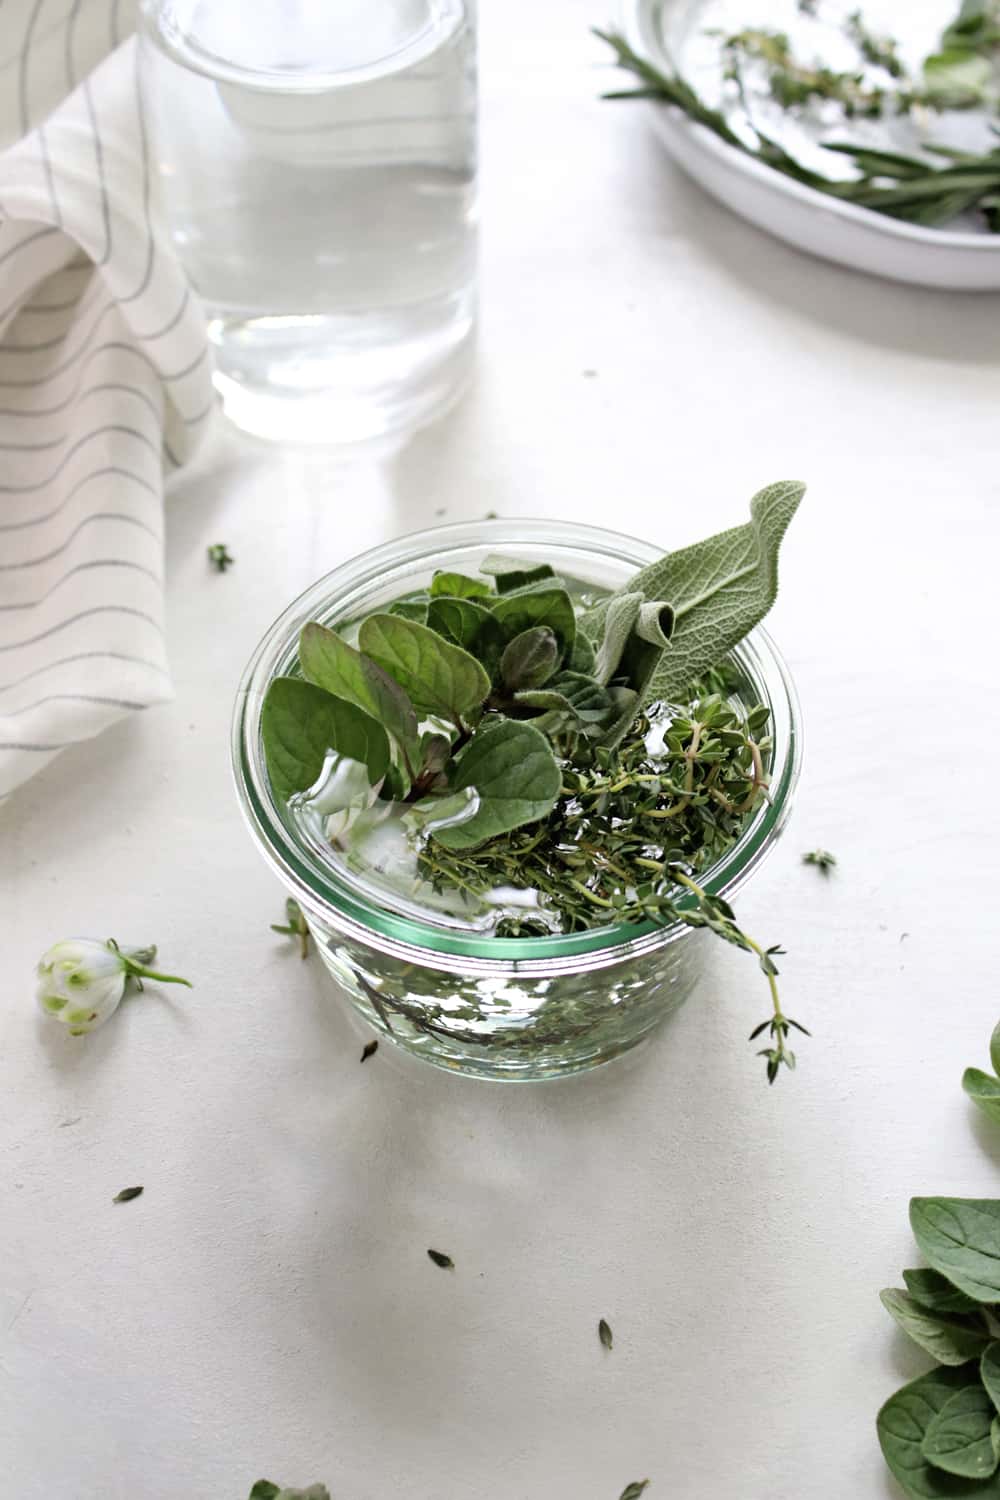
To make an apple cider vinegar herbal tincture, you’ll need to chop the plant material and place it in a jar. Pour apple cider vinegar over it, making sure it’s completely covered. Seal the jar and let it sit for several weeks, shaking it daily to ensure the plant material is evenly distributed. After several weeks, strain the mixture and store the herbal tincture in a dark glass bottle.
Ingredients
Tinctures really only require 3 things: herbs, alcohol, and a glass jar.
1. Choose your alcohol
Alcohol is the solvent that extracts the compounds with medicinal properties from the herbs. You can use any type of alcohol you like, but I typically use vodka because it has a more neutral flavor than other alcohols (although I have heard that rum works just as well).
While standard 80 proof vodka is good for most fresh and dried herbs, choosing a higher proof will help draw out more of the plant juices. Note: there are also several ways to make tinctures without using alcohol, and this will be discussed further below.
Here’s how to use different proofs when making tinctures:
80 proof vodka: Considered standard for most tinctures, 80 proof vodka should be used on fresh and dried herbs that don’t have a high moisture content (such as bay, dill, fennel, sage, and thyme).
80 proof vodka + 190 proof grain alcohol (use a 1:1 ratio): A higher alcohol content helps extract more volatile plant compounds, especially when using herbs with a higher moisture content (such as oregano, parsley, basil, cilantro, mint, and sage).
190 proof grain alcohol: Grain alcohol is typically used for dissolving gums and plant resins found in barks and dried plant matter. While it more easily extracts essential oils and aromatics in plants, it also makes for a stronger-tasting tincture, which some people find hard to take. It may also dehydrate your herbs, affecting the quality of your tincture in the long run.
Alternative methods without alcohol
You can use both fire cider vinegar and food-grade glycerin in place of alcohol. When you do this, it is then no longer called a tincture but an extract. Follow these instructions for extracting with vinegar here.
Note that the shelf life of these extracts is shorter, so make sure to label the bottle with the date you set it up, as well as the expected expiration date, according to which type of extract you make.
2. Choose your herbs
Tinctures can be made with fresh or dried flowers, leaves, berries, or bark—basically, any plant material that has a therapeutic benefit. Since my medicinal herb garden is thriving, I usually use fresh herbs for my tinctures.
But you may find that dried herbs are easier to get your hands on, especially since you can order them online in bulk. I highly recommend anything by Frontier Co-op because their herbs are organic, fair trade, and super economical. But use whatever is easier and works best for you.
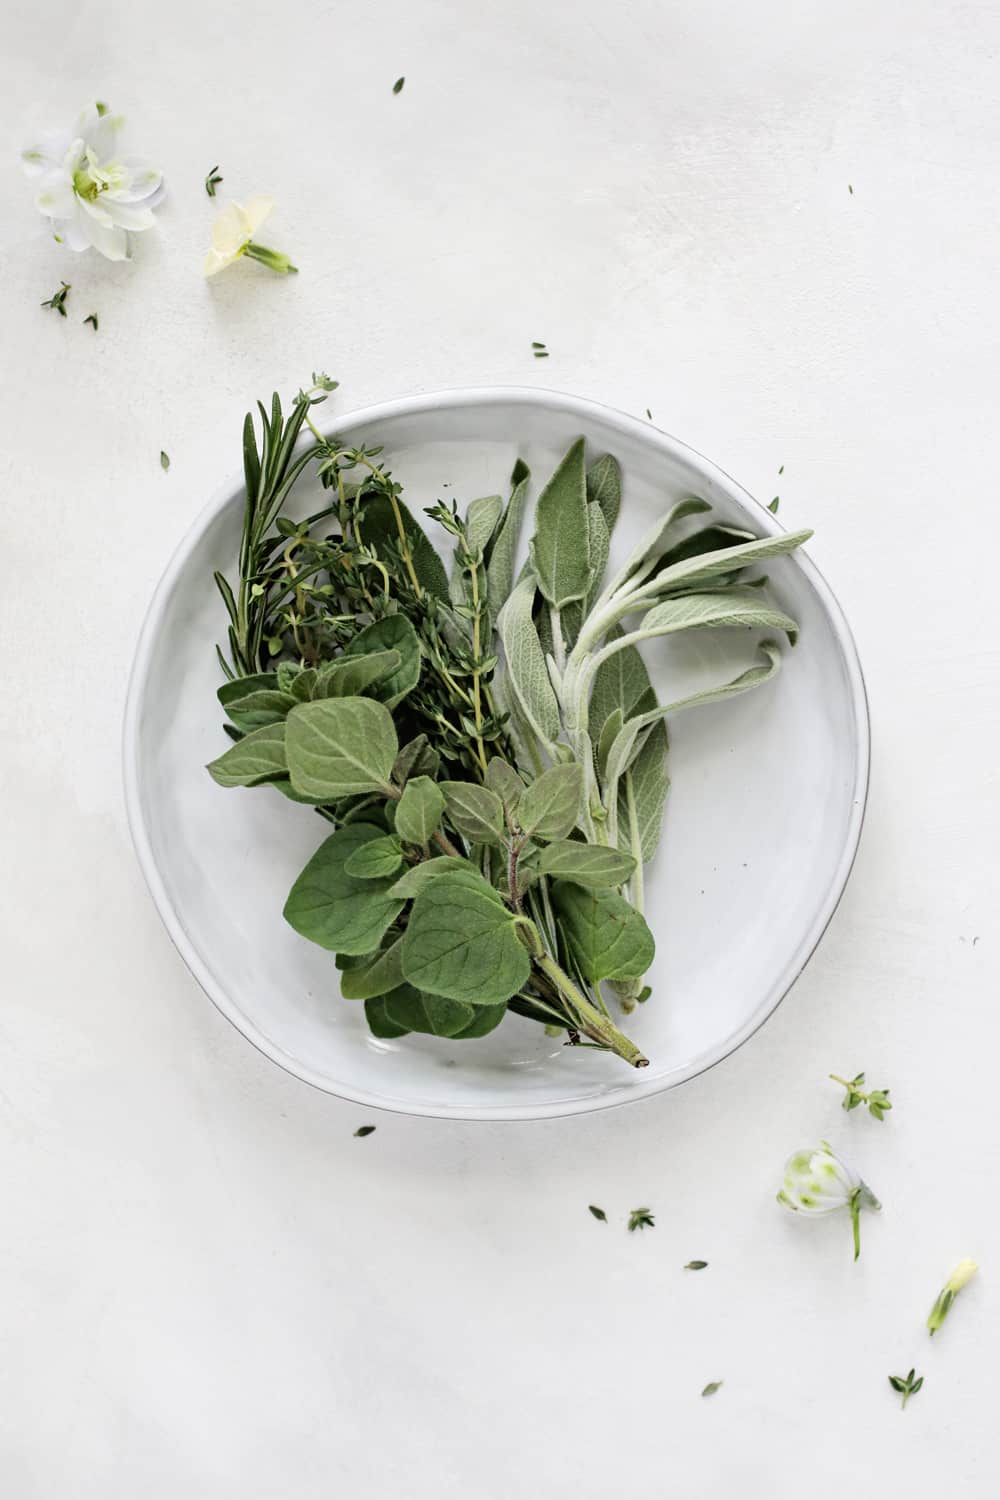
In addition to the standard garden herbs, such as rosemary, thyme, and sage, some of my favorite plants to use for tinctures are:
For a brief overview of different herbs and what they can be used for, I usually refer to Mountain Rose Herbs. Not only do they give you a description of each herb and how it is best used, but they also explain the preparation and any precautions.
Measure your herbs
You can always weigh your herbs to determine the exact strength of your tincture, but I’ll be honest: I just eyeball it. Here’s a quick rule of thumb for how much plant material to use in your tincture:
- Fresh herbs: Fill the jar ⅔ full
- Dried herbs: Fill the jar ½ full
- Fresh and dried roots/berries: Fill the jar ⅓–½ full
Do not pack down your herbs. Just place them in the jar, and leave plenty of breathing room for the alcohol.
Instructions
You'll need:
- A pint-sized glass jar with lid
- Vodka, grain alcohol, or rum (at least 80 proof)
- Herbs of choice
- Piece of parchment or plastic wrap
Here’s a quick video showing you how to make your tincture. Or skip to the instructions below.
1. Finely chop or grind your herbs with a mortar and pestle and place them in the jar. This gives them more surface area to dissolve into the liquid [source]. Sometimes, I’m lazy and don’t do this (just toss it in! is my motto), but I definitely notice a difference in the strength of my extract when I do.
2. Once you have filled your jar according to your recipe with the desired ratio of herbs, you’ll want to fill it the rest of the way with alcohol to completely cover the plants. To keep your herbs from molding, you need to make sure there’s about an inch of space above your herbs (that’s filled with alcohol) and that your herbs stay submerged. Anything poking up above the alcohol can mold. (I didn’t show this in the pictures, but do as I say and not as I do!)
3. Screw on the lid. If using a jar with a metal lid, you’ll need to keep it from rusting by placing a piece of parchment or plastic wrap over the mouth of the jar prior to screwing on the lid. Place your jar in a cool, dry, dark cabinet to start the extracting process.
4. Shake the jar every couple of days and check to see that the alcohol hasn’t evaporated too much. If the herbs are no longer totally submerged, top it off with more of the same type of alcohol (this is what keeps your herbs from molding).
5. Let the mixture extract for about 8 weeks.
6. When the extraction process is over, place a funnel into an amber dropper bottle with a fine mesh strainer on top. Pour the tincture into the bottle, and this will strain out the herbs. To extract more of the tincture, remove the remaining herbs and wrap them in cheesecloth, then squeeze whatever liquid is left in the herbs.
7. Label each bottle with the herbs used, the type and percentage of alcohol, and the date, and store it in a dark cabinet until it’s needed.
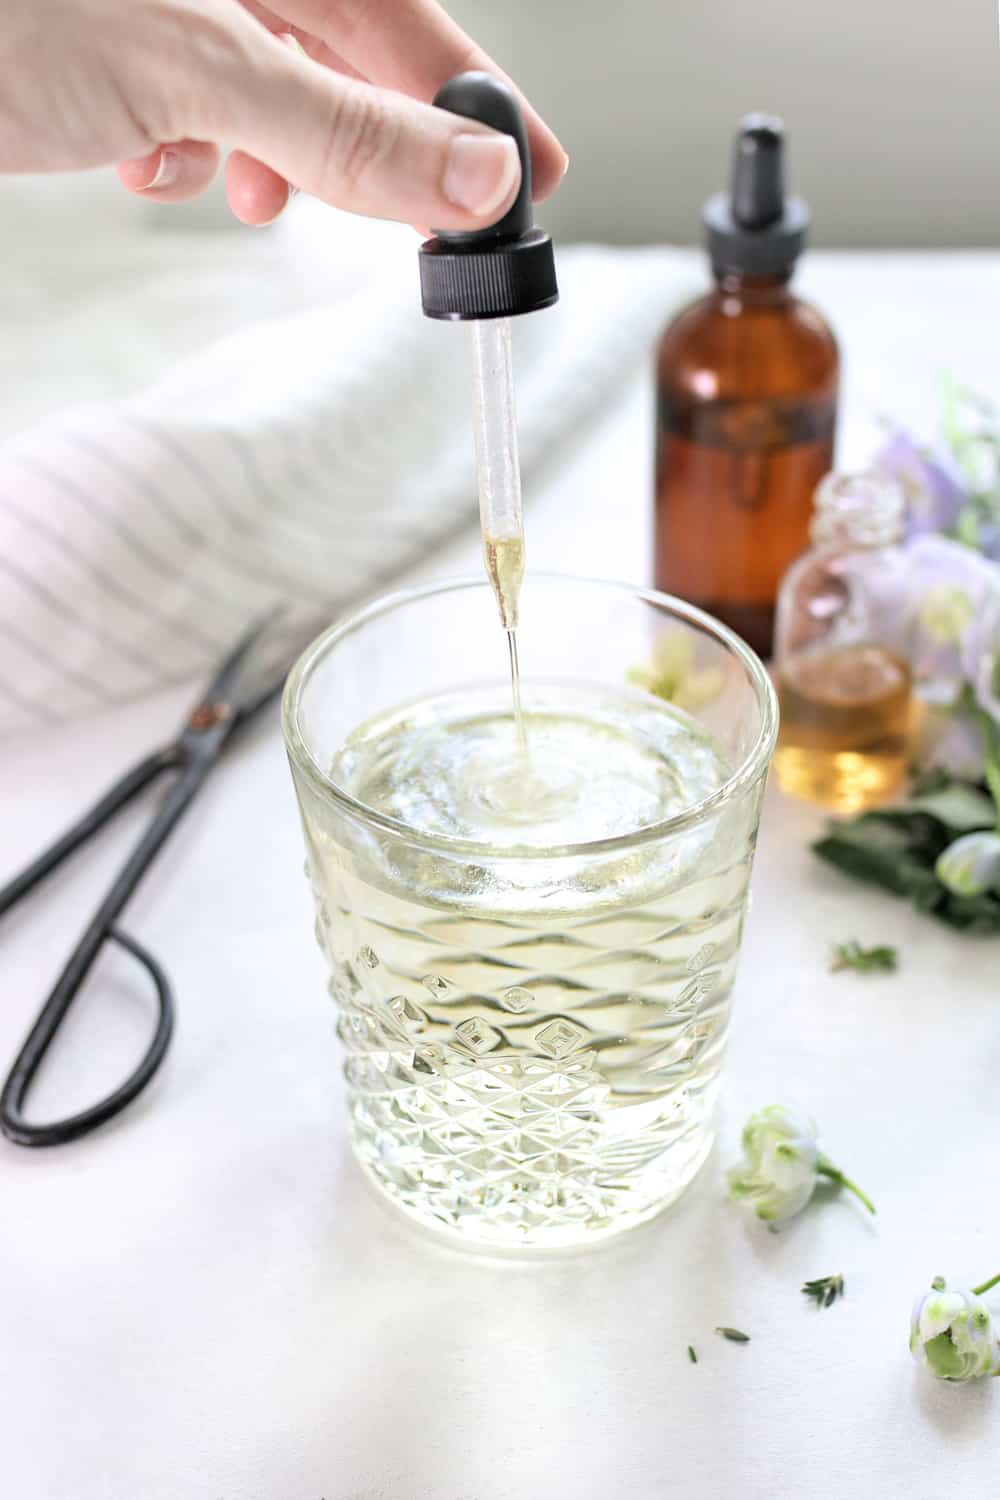
8. To take your tincture, either place a few drops directly under your tongue, or squeeze a dropperful into a glass of water or tea up to 3 times a day. The actual amount you’ll want to take depends on the strength of your tincture, the herbs used, and your body chemistry. I usually start with half a dropperful.
When to Use Tinctures
Due to the alcohol present in tinctures, the herbal extracts are more quickly absorbed into the bloodstream, with the effects being noticeable within about an hour. Because they’re fast-acting, tinctures are perfect for things like pain, tummy troubles, anxiety, and insomnia.
I like to keep a few different blends on hand for whenever acute aches and pains crop up. And I always have a toning tincture at the ready for PMS, hormonal acne, or other signs of hormonal imbalances.
But aside from acute illnesses, you can use a tincture for anything that you might use an herbal tea for, like:
- Sleeplessness
- Stress
- Indigestion
- Cold and flu relief
- Allergies
Herbal Tincture Recipes
Here are some of my favorite recipes to get you started. Don’t worry too much about getting the ratios exact. Just eyeball the herbs as you place them in the jar.
1. Cleansing Tincture
- 2 parts nettle leaf
- 1 part dandelion leaf
- 1 part lemon balm leaf
2. PMS Tincture
- 3 parts red raspberry leaf
- 1 part stinging nettle leaf
- 2 parts peppermint leaf
- 1 part ginger root
3. Sleep Tincture
- 1 part chamomile flowers
- 1 part lavender flowers
4. Stress Tincture
- 2 parts dandelion root
- 2 parts ginseng
- 1 part astragalus root
- ½ part cardamom seeds
5. Mood Boost Tincture
- 2 parts lemon balm leaf
- 1 part passionflower
- 1 part ginger root
6. Breathe Well Tincture
- 1 part ginger root
- 1 part marshmallow root
- 1 part licorice root
FAQ
Unless you have a way of removing the air pocket underneath the lid, there will always be the potential to develop mold in your tincture. Mold won’t form within the alcohol mixture, but it will grow on any herbs that poke out above the alcohol.
The best way to prevent this is to keep the herbs completely submerged at all times. If you have herbs that tend to float, I find it helps to put a layer of leafy herbs, like sage, on top of them, creating a kind of barrier that weighs the other herbs down.
While the herbs are infusing, I store my tincture in the back of part of a kitchen cabinet where it won’t be exposed to heat (even heat from appliances like the oven or refrigerator can affect it) or direct sunlight.
No, not really. Although eventually, all the plant compounds will have been extracted from your herbs. So continuing to steep after that point won’t make much of a difference in terms of strength or effectiveness.
Store your tincture in a cabinet away from heat (even appliances), excess moisture, and direct sunlight, and it should last for several years.
This is a kind of a judgment call. Personally, I think the benefits of alcohol-based tinctures far outweigh the costs.
If you think about it, a 1-ounce bottle of tincture contains the same amount of alcohol as one glass of wine or beer. And if you consume 1 dropperful, 3 times a day, a 1-ounce bottle of tincture should last about 7 days.
All in all, a single dose contains about the same amount of alcohol as you’d find in a bottle of kombucha or an overly ripe piece of fruit.
Yes, there are links for explanations for how you can use both vinegar and food-grade glycerin in place of alcohol in the article above. I haven’t made tinctures with either of these myself, so I recommend doing a little research on how to do this if you have any questions.
But there a few reasons I recommend sticking with alcohol if you can:
—It’s faster-acting than the alternatives
—It’s a powerful extractor, especially when it comes to the compounds and active ingredients that aren’t water-soluble, such as essential oils, alkaloids, and resins
—The body can absorb alcohol quickly, and it’s highly potent, so you need to take less of it
—It’s a preservative that gives your tincture a longer shelf-life
Herbal Tincture Recipe + Instructions
Equipment
- Pint size glass jar with lid
- Glass dropper bottle
- Parchment paper or plastic wrap
Materials
- Vodka, grain alcohol, or rum (80-proof or higher)
- Herbs of choice
Instructions
- Finely chop or grind your herbs with a mortar and pestle, and place them in your jar. (Sometimes I’m lazy and don’t do this, but I definitely notice a difference in the strength of my extract when I do.)
- Once you have filled your jar with the right ratio of herbs, you’ll want to fill it the rest of the way with alcohol to cover the plants completely. To keep your herbs from molding, you need to make sure there’s about an inch of space above your herbs that’s filled with alcohol and that your herbs stay submerged.
- Screw on the lid. If using a jar with a metal lid, you’ll need to keep it from rusting by placing a piece of parchment or plastic wrap over the mouth of the jar prior to screwing on the lid. Place your jar in a cool, dry, dark cabinet.
- Let the mixture steep for 8 weeks, shaking every other day. If the herbs are no longer totally submerged, top it off with additional alcohol.
- At the end of 8 weeks, strain out the herbs and pour the tincture into a dropper bottle. To extract more of the tincture, wrap the herbs in cheesecloth and squeeze the remaining liquid from the herbs.
Video
Notes
Cleansing Tincture
- 2 parts nettle leaf
- 1 part dandelion leaf
- 1 part lemon balm leaf
PMS Tincture
- 3 parts raspberry leaf
- 1 part nettle leaf
- 2 parts peppermint leaf
- 1 part ginger root
Sleep Tincture
- 1 part chamomile flowers
- 1 part lavender flowers
Stress Tincture
- 2 parts dandelion root
- 2 parts ginseng
- 1 part astragalus root
- ½ part cardamom seeds
Mood Boost Tincture
- 2 parts lemon balm leaf
- 1 part passionflower
- 1 part ginger root
Breathe Well Tincture
- 1 part ginger root
- 1 part marshmallow root
- 1 part licorice root
Reference
How to make tinctures and tonics, guide to homemade medicine. Academy of Culinary Nutrition website.
This article was medically reviewed by Dr. Gina Jansheski, a licensed, board-certified pediatrician who has more than 20 years of practice experience. Learn more about Hello Glow’s medical reviewers here. As always, this is not personal medical advice, and we recommend that you talk with your doctor.
14
Corry says
Thank you Stephanie! Great article and easy instructions. Going to make some tinctures now :)
Frank Spiteri says
Hi, the herbs you are using in the video, what are the benefits of that mix please, thanks
Michael Jon says
I was wondering what would be the result of making an extract, and then letting some (say, 50%) of the alcohol evaporate off.
Do you think you'd lose some of the active ingredients, or would it make it 50% more potent by volume?
Eileen says
Hi :)
I'm looking for a tincture for cold and flu but I don't seem to be able to see what herbs would be used for those. Can you tell me please?
Thanks - Eileen :)
Alyssa says
My recipe for ImmuniTEA
1 part each
Rose hips
Elderberries
Slippery elm
Raspberry leaf
Echinacea
1+ part peppermint (to taste, for flavor)
Grind and infuse as directed above. Use a few drops under the tongue or 10 drops in tea (which also helps keep a body hydrated).
Annie says
Is there a benefit to of the 1:1 ratio (80 proof + 190 proof) vs. diluting the 190 proof grain alcohol with distilled water?
Michael Jon says
No.
Most alcohol comes out of the still at 125 to 150 proof. The distiller then adds water to reach the desired alcohol content.
190 proof just takes a bit more distillation and can be diluted down to any proof you desire.
Sherryl says
Will a tincture with vodka after 24 hours an you put it
in the refrigerator for the next 2-8 weeks depending on
what you are tincturing?
Jackie says
Even though I shake my tinctures 1-2 times daily, I'm always afraid of the product molding. Would sealing the jar [airtight] prevent this?
Also, after straining the mixture, I plan to store in a separate, large amber glass bottle with a cap in my apothecary closet. Would I have to worry about it going bad after straining? Or after the removal of the herb, am I safe from that?
Charles Bikas says
I just finished making my first tinctures. I put the final product in mason jars with metal lids. What is the correct way to store them (i.e. light or no light, temperature, etc...). If it helps I used 80 proof vodka. And it's a Lemon Balm tincture.
Lorraine says
I believe she said to put parchment or some buffer between jar and metal lid? Enjoy, I can't wait to do!
Anushi Patel says
Lovely post!
Is it possible to keep a tincture steeping for too long? I have a lavender one that’s been infusing for two weeks and it seems like it’s ready. Could it go bitter if I leave it in for too long?
Linda Pickern says
Thanks so much for explaining in such an easy way of ways of making tincture.
I always thought it was so much more complicated!
Blessings to you...