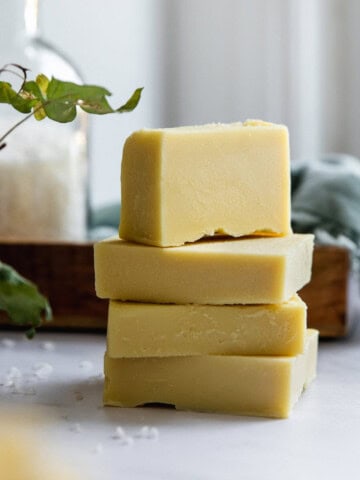
Fun fact: Soap made with just olive oil, water, and lye is what we usually refer to as “Castile” soap. Yes, like that Castile soap that comes in a giant jug and is made by a doctor (or something).
While our Castile soap isn’t liquid, it is gentle, creamy, and amazing at everything from moisturizing dry skin and washing your hair to spot treating laundry stains and sudsing up a dirty dog. I’ll even go so far as to say that if you’re not usually a fan of bar soap, this DIY olive oil soap will have you singing a different tune.
But to get the real deal, you need to make it from scratch—no melt-and-pour soap base here! Don’t sweat it, though. We’ll walk you through the process every step of the way.
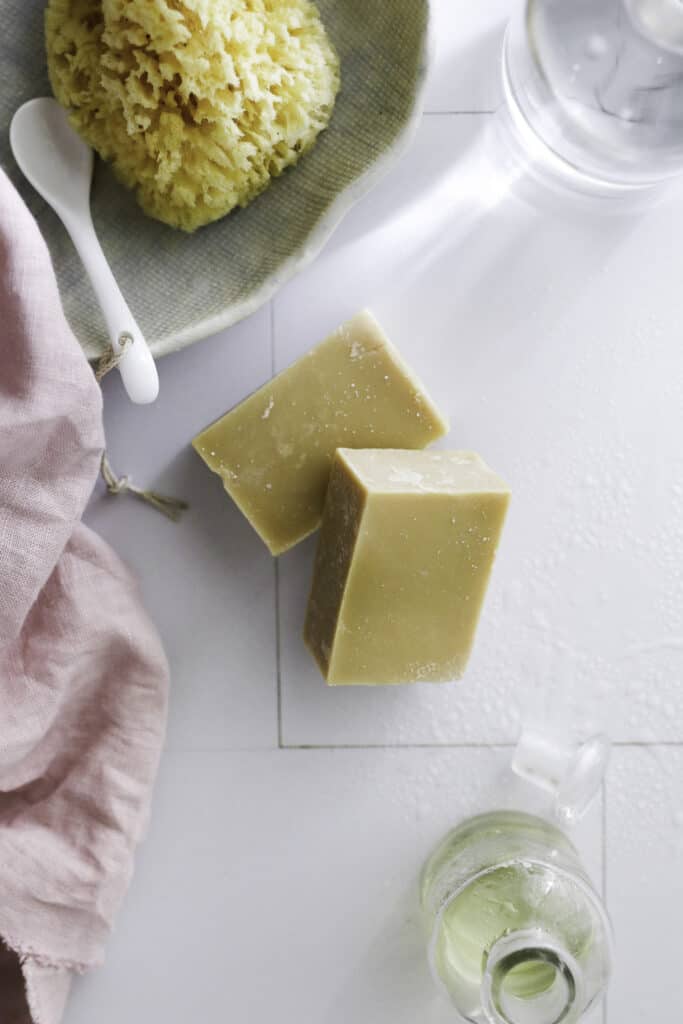
How to Make Olive Oil Soap
Before you get too freaked out at the thought of making soap with lye, I want you to know that this recipe is a great place to get your feet wet. Unlike other cold process soaps, it has a very short list of required ingredients. And once you have all the supplies, you can make it as many times as you want on the cheap.
As someone who swore she’d never make soap again after that first batch, I’m now obsessed. So, just give it a chance! You might be surprised by how fun it is.
A couple things to be aware of:
Olive oil soap takes a while to thicken when you’re mixing it (come to “trace”) and harden in the mold.
If you’ve made cold process soap before, you might be surprised at how long everything takes to come together. But there are a couple of things you can do to cut down on the time:
Use a water discount. Less water means less drying time. Easy, right? This recipe uses less water than what’s traditionally called for (this is called a “water discount” in soap speak), which helps the soap cure faster.
Use sodium lactate. Sodium lactate is a food preservative that’s often used to help cold process soap harden more quickly. I didn’t use it in mine because, well, I didn’t want to spend the extra money. Plus, I’m not in a hurry to start using my soap, so what’s a few weeks of cure time? If you’re in a rush, go ahead and buy the sodium lactate.
Insulate your soap as it cools. Placing a warm towel or heating pad around your soap speeds up the saponification process and encourages the ingredients to gel more quickly.
If you want to keep things simple, then do what I do and just wait it out. You can still make olive oil soap without the fancy ingredients and supplies. You’ll just need to give it time.
Ingredients
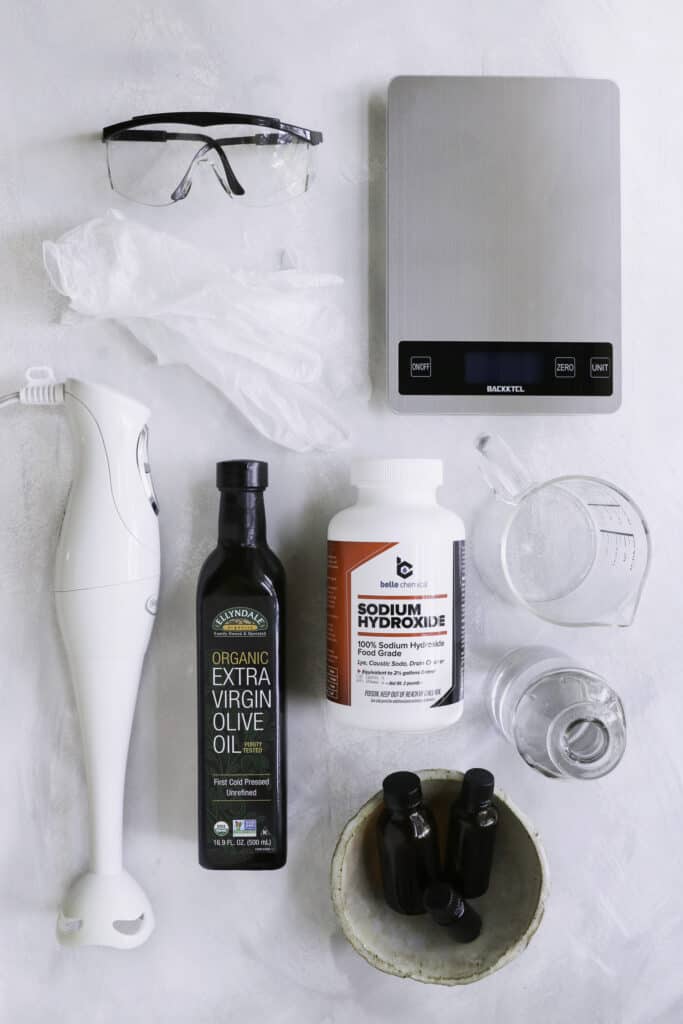
- 35 ounces olive oil
- 5 ounces sodium hydroxide lye
- 2 ounces distilled water
- 2 ounces essential oil (optional for fragrance)
- 2 teaspoons sodium lactate (optional to help soap harden quicker)
Tools
Since you don’t want to be eating lye later, it’s best to buy tools you can use entirely for soap making. I found a lot of inexpensive options on Amazon and linked them below. After the initial investment, the cost won’t sting as much. I promise.
- Safety goggles, gloves, long sleeve shirt
- Crockpot or some other non-reactive pot
- 1-quart glass jar (I use this 2-liter Weck jar to keep splatters to a minimum)
- Kitchen thermometer
- Silicone soap mold
- Immersion blender
- Kitchen scale
- Long wooden spoon
- Glass measuring cup for weighing ingredients
- White vinegar (for neutralizing spills and cleaning up your tools)
Step 1
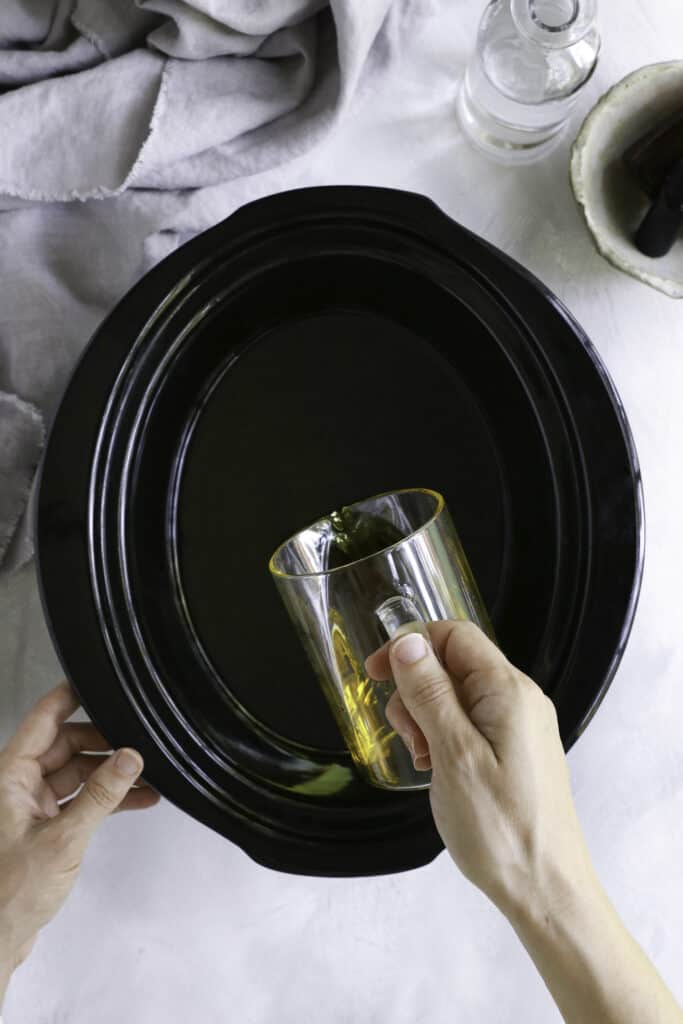
Weigh your olive oil using a kitchen scale. Pour oil into a crockpot and set it to low.
While the oil heats up, put on your gloves and measure out your lye and water (I measure my lye in a dry measuring cup and my water directly in my 1-quart jar).
Step 2
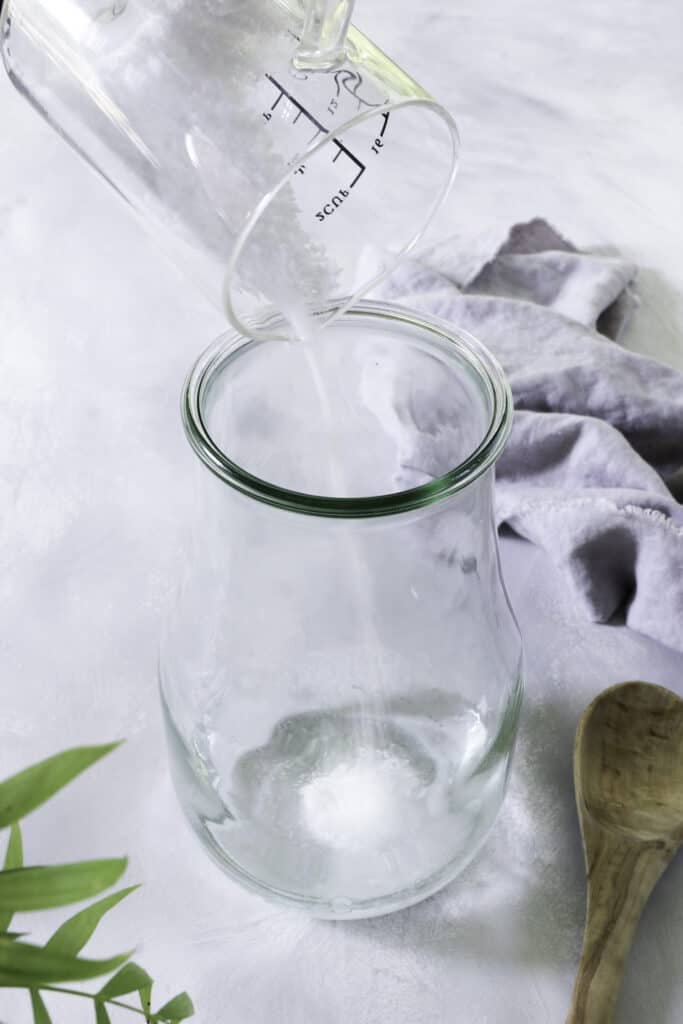
Wearing your protective gear of gloves, goggles, and long sleeves, go outside and slowly and carefully add the lye to the water. The lye will create a chemical vapor, and the jar will get hot, so be very careful.
Stir gently with a long wooden spoon until the lye has fully dissolved and the liquid is clear. Set aside to cool for 15 minutes. If using sodium lactate, add 2 teaspoons to the lye water once it has cooled.
In the meantime, keep an eye on your olive oil. When you combine the oil and lye water, you want them each to be about 125°F—and within 10 degrees of each other—when you combine the two.
Step 3
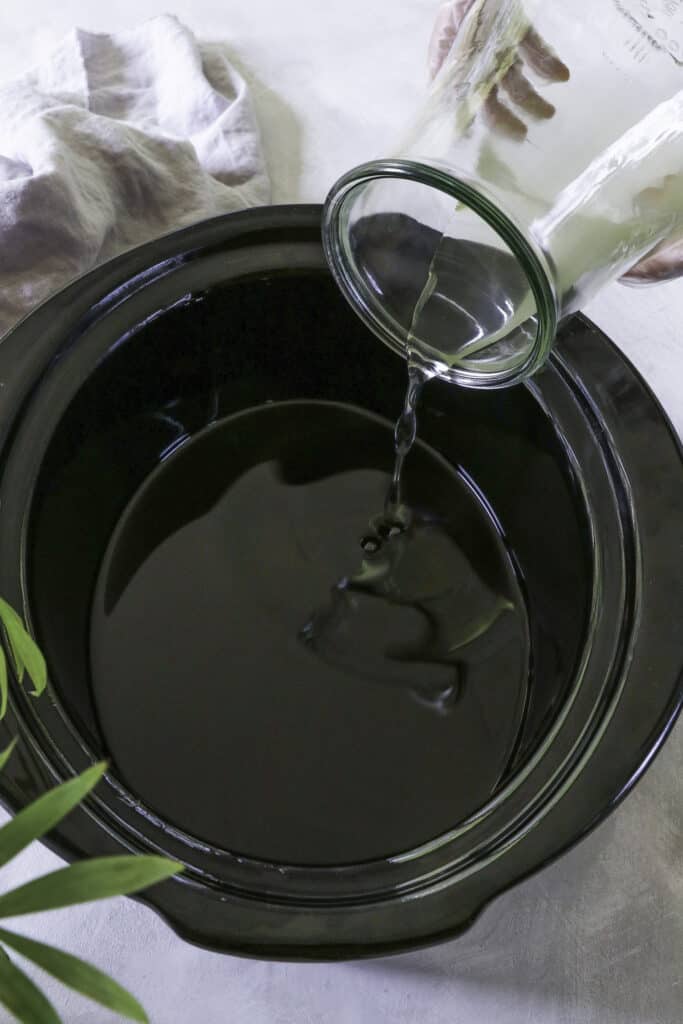
Once the oil and lye water are roughly the same temperature, slowly add the lye water to the oils (I do this part outside while wearing my protective gear to be safe).
Step 5
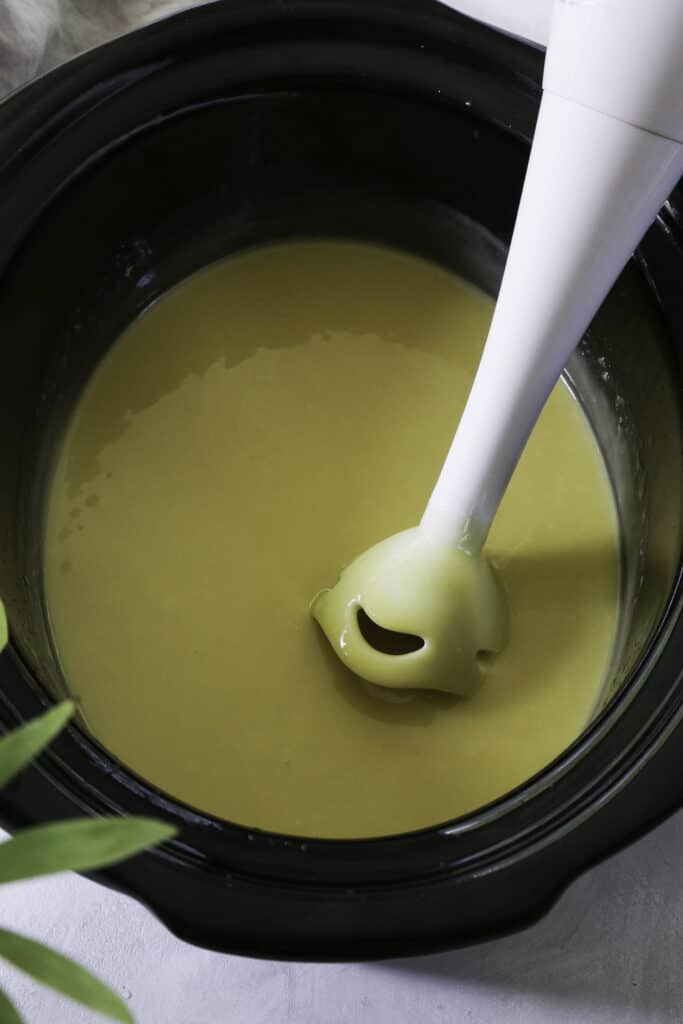
Use a stick blender to mix the solution until you reach a light trace, which is a cake batter consistency. Since this recipe is 100% olive oil, it may take about 4–5 minutes to come together, so give it time. If using an essential oil, add it once the mix reaches trace, and use the stick blender to combine.
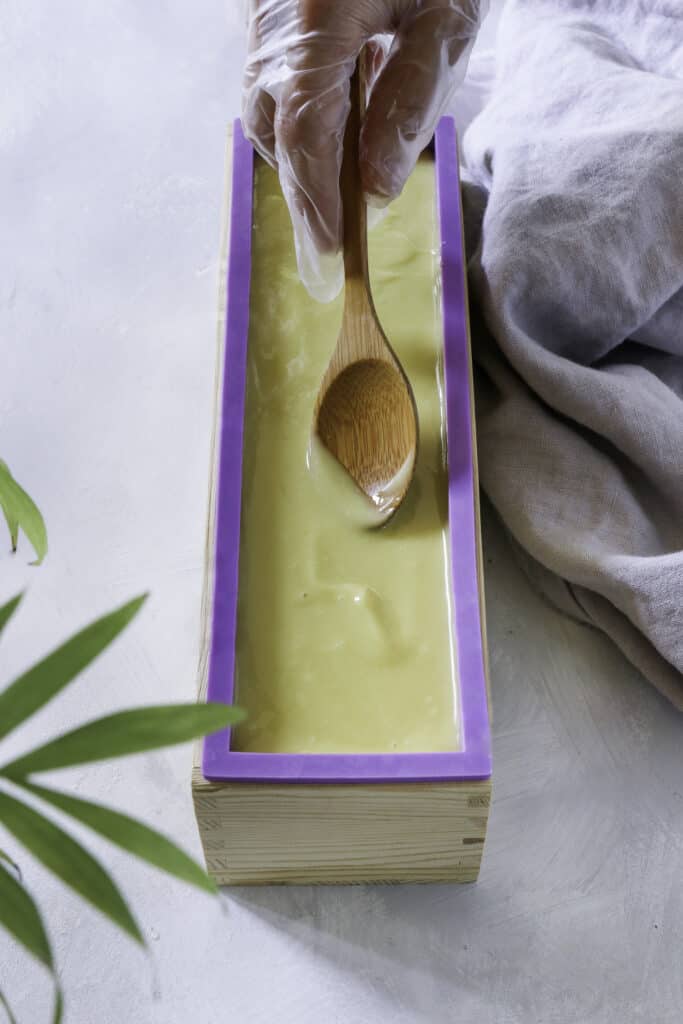
Pour the soap into the mold, and use a wooden spoon or spatula to even out the top. Tap the mold on the counter to get rid of any bubbles.
Cover the mold with wax paper and wrap it with towels to help insulate it as it cools. Place it somewhere it won’t be disturbed to harden for 2–3 days.
Step 6
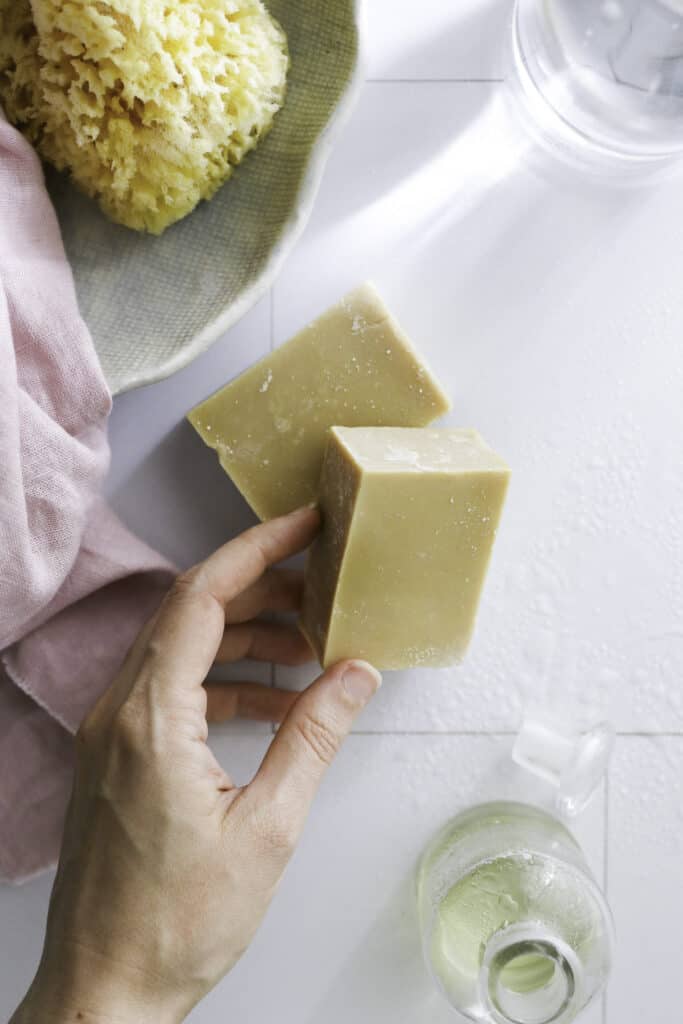
Once the mold can be pulled away from the sides of the soap with little resistance, carefully remove it and cut into bars. For me, this took 3–4 days.
If you used sodium lactate, you might be able to remove it from the mold sooner. In some cases, it can take upwards of 2 weeks, so be patient!
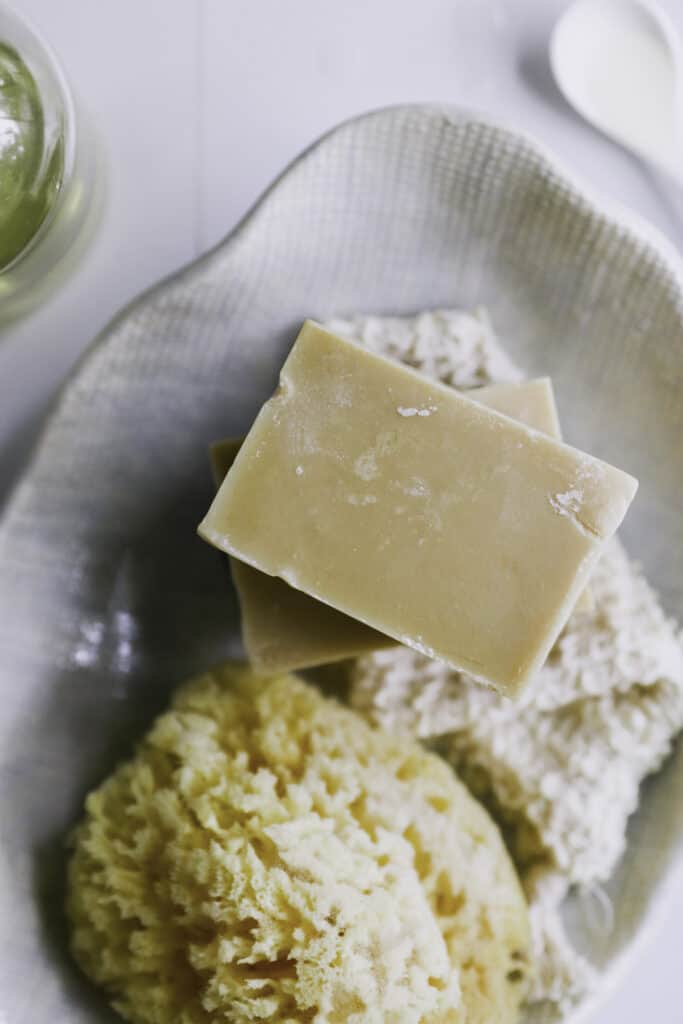
Place the bars somewhere with good airflow and allow them to cure for 4-6 more weeks before using.
Olive oil soap making tips
1. If you are not using an essential oil, replace it with 2 additional ounces of olive oil.
2. Some people like to allow Castile soap to cure for much longer, like 6 months to a year! The longer the cure time, the more lather you’ll get.
3. Once your bars have cured, store them unwrapped in a clean, dry place such as a shelf in the linen closet.
How to Clean Your Soap Making Tools
Because the lye and oils haven’t saponified yet, you’ll want to wear thick, high-quality gloves while cleaning your tools. Otherwise, the lye can burn you.
1. Wipe up any drops of lye water or dry lye granules. Take your glass jar, wooden spoon, measuring cup, and anything else that came in direct contact with lye outside and rinse them out really well (I use the hose behind the house).
2. When it comes to any tools with raw soap on them, scrape as much soap batter as you can into the trash to help protect both you and the kitchen drain.
3. Fill a sink with hot water and a good grease-cutting dish soap. Using a sponge specifically for washing soapy tools, scrub the bowls and containers. Rinse well to ensure all soap is removed.
4. To be safe, I then wash all soap-making tools (except for my immersion blender) a second time in the dishwasher. But you don’t have to be this thorough if you don’t want to.
5. Once finished, scrub the sink completely using dish soap.
6. Let the hot water run for several minutes to flush any lingering oils from your pipes.
Olive Oil Soap FAQs
Can I use another kind of oil besides olive oil?
Because soap making requires a very strict fat to lye ratio, I don’t recommend substituting another oil in place of the olive oil.
What’s the shelf life of homemade castile soap?
About 2 years.
Why doesn’t my homemade soap lather or create suds?
Castile soap isn’t known for creating bubbles, and this homemade olive oil soap is no different. While you might get more suds if you let the bars cure for several months, the difference will be subtle.
This article was medically reviewed by Dr. Gina Jansheski, a licensed, board-certified physician who has been practicing for more than 20 years. Learn more about Hello Glow's medical reviewers here. As always, this is not personal medical advice and we recommend that you talk with your doctor.
64
