
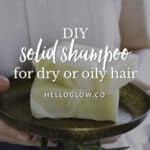
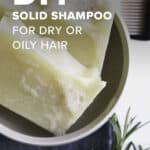
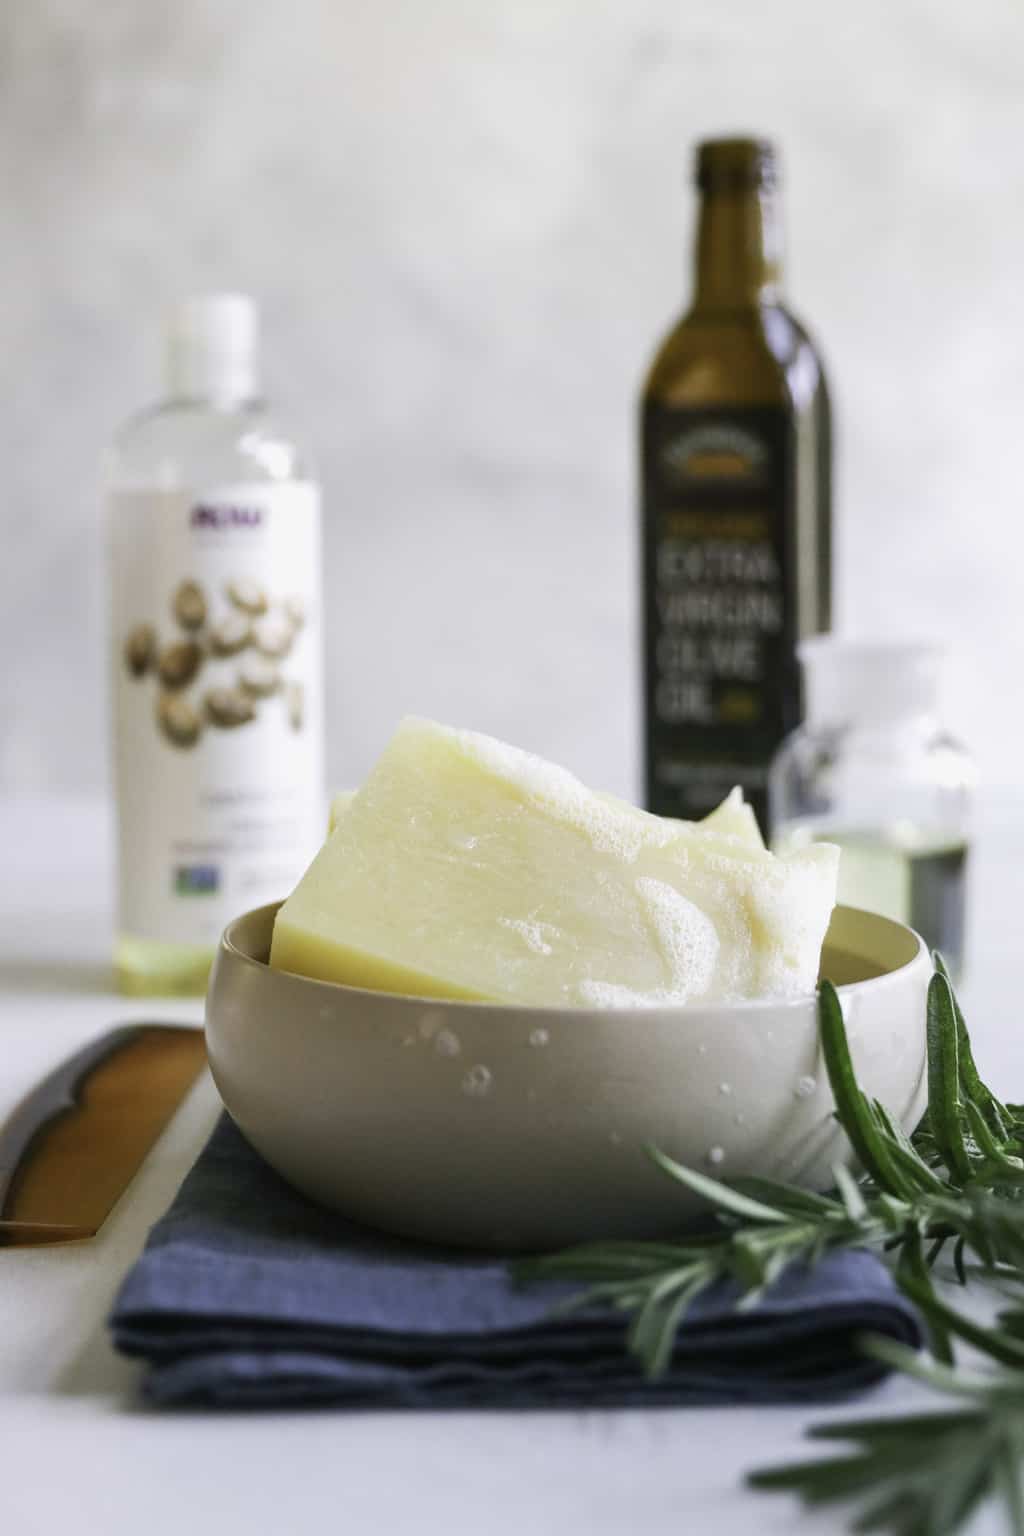
Looking to streamline your shower situation? Green your hair routine? Save money on bath and body products? It may sound too good to be true, but shampoo bars really do it all. And even better, making your own shampoo bar recipe means you can customize it for your hair type.
Not your typical bar of soap, shampoo bars are formulated with super nourishing ingredients that clean hair without stripping it or drying it out. And in many cases, they can act as a conditioner, body wash, or even face wash, to boot.
But since I’m not someone who’s content buying my shampoo bars (we’re obsessed with DIYs around here), we tested making our own using clean ingredients and high-quality oils. The best shampoo bars are made from scratch with lye.
Why Switch to Shampoo Bars?
Shampoo bars create less waste.
Unlike liquid shampoo, shampoo bars don’t require any packaging for travel or storage, so they create less waste.
While the ingredients do come with their own packaging, you’re free to choose ingredients with recyclable packaging, like glass, paper, or certain plastics, to cut down on the trash. (And in case you’re curious, all of the ingredients we used from NOW have recyclable packaging via the Terracycle program. Just one more reason I love them!)
Shampoo bars last longer.
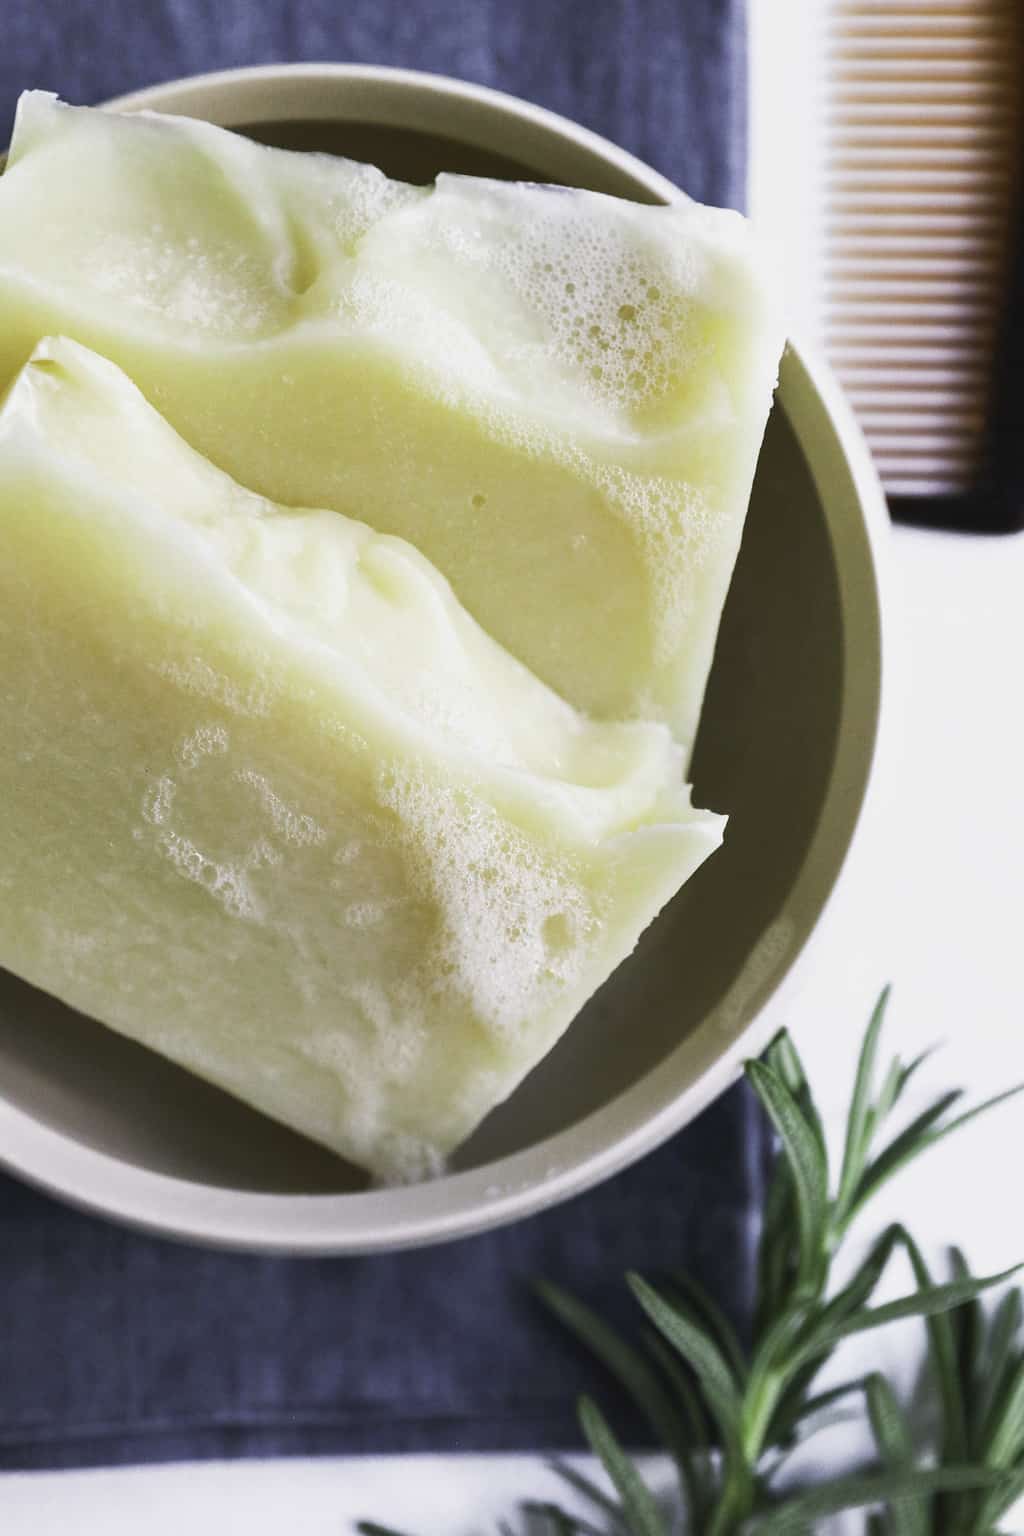
Once bar soap has cured completely, it’s rather hard and doesn’t dissolve easily. That means you use a lot less soap per wash than with liquid shampoo. The ingredients are also concentrated, so a little soap goes a long way. From my own experience, each shampoo bar should last 2 to 3 months if you let it dry out between uses.
Shampoo bars are perfect for travel.
When traveling, I like to cut an unused shampoo bar down so it measures about 2 inches × 2 inches. Then I just toss it in my toiletry bag, and I’m on my way. I use it as shampoo, body soap, face wash, and even laundry soap in a pinch, and I just toss it in the trash when I’m done.
Shampoo bars are better for your hair.
Because homemade shampoo bars don’t use any harsh surfactants, chemicals, or fake fragrances, they’re much better for your hair—and your health!
Shampoo bars are customizable for your hair type.
Different oils create different types of shampoo bars. That means you can—and should—choose your oils based on your hair type. I used a bunch of carrier oils, like olive, coconut, and castor, that are good for fine, oily hair because they’re light and won’t weigh down your locks.
If you’d like to customize your oils for your hair type, leave the ratio of oils the same, but swap in oils that are good for your hair.
Making Bar Shampoo for Different Hair Types
If you're up for making your shampoo bars from scratch with lye instead, this cold process is the way to go! (If you want to make melt and pour shampoo bars we won't judge!) To customize your shampoo recipes, choose oils based on your own hair type.
Shampoo Bar Recipe for Oily Hair
A trio of lightweight hydrators makes this creamy bar a perfect choice for hydrating thin hair without weighing it down.
Carrier oils for oily hair: nettle, coconut, olive, and hazelnut oil
Essential oils for oily hair: geranium, juniper berry, lemon, cedarwood, cypress, and eucalyptus
—10 ounces tallow
—13.7 ounces water
—5.1 ounces lye
—10 ounces coconut oil
—10 ounces extra virgin olive oil
—6 ounces castor oil
—1 tablespoon neem oil
—50 drops geranium essential oil
—½ tablespoon jasmine absolute oil blend
Shampoo Bar Recipe for Dry Hair
Carrier oils for dry hair: avocado, castor, jojoba, and cocoa butter
Essential oils for dry hair: palmarosa, sandalwood, lavender, geranium, ylang ylang
—6 oz (170g) coconut oil
—4 oz (113g) olive oil
—2 oz (57g) castor oil
—2 oz (57g) shea butter
—2 oz (57g) cocoa butter
—2 oz (57g) avocado oil
—2 oz (57g) jojoba oil
—2 oz (57g) almond oil
—4 oz (113g) distilled water
—2.2 oz (62g) lye (sodium hydroxide)
—1 oz (28g) of your preferred essential oil
Shampoo Bar Recipe for Hair Growth
Carrier oils for fine or thinning hair: shea butter, cocoa butter, coconut oil, and olive oil
Essential oils for hair growth: rosemary, lavender, peppermint, tea tree, cedarwood
—10.5 oz (298 g) olive oil
—5 oz (142 g) coconut oil
—4.5 oz (128 g) castor oil
—2 oz (57 g) shea butter
—2 oz (57 g) avocado oil
—2 oz (57 g) almond oil
—1.5 oz (43 g) cocoa butter
—5.5 oz (156 g) distilled water
—2.2 oz (62 g) lye (sodium hydroxide)
—1 tablespoon rosemary essential oil
—1 tablespoon peppermint essential oil
—1 tablespoon cedarwood essential oil
Not sure how to make cold process soap? We've demystified the procedure in the step-by-step instructions below! You can also make shampoo bars with melt-and-pour soap or even a sea salt shampoo bar made with sodium coco sulfate, a blend of fatty acids found in coconut oil that's perfect for creating suds.
How to Make Cold Process Shampoo Bars
Follow proper safety precautions when working with lye. Always wear protective goggles and gloves, and work in a well-ventilated area.
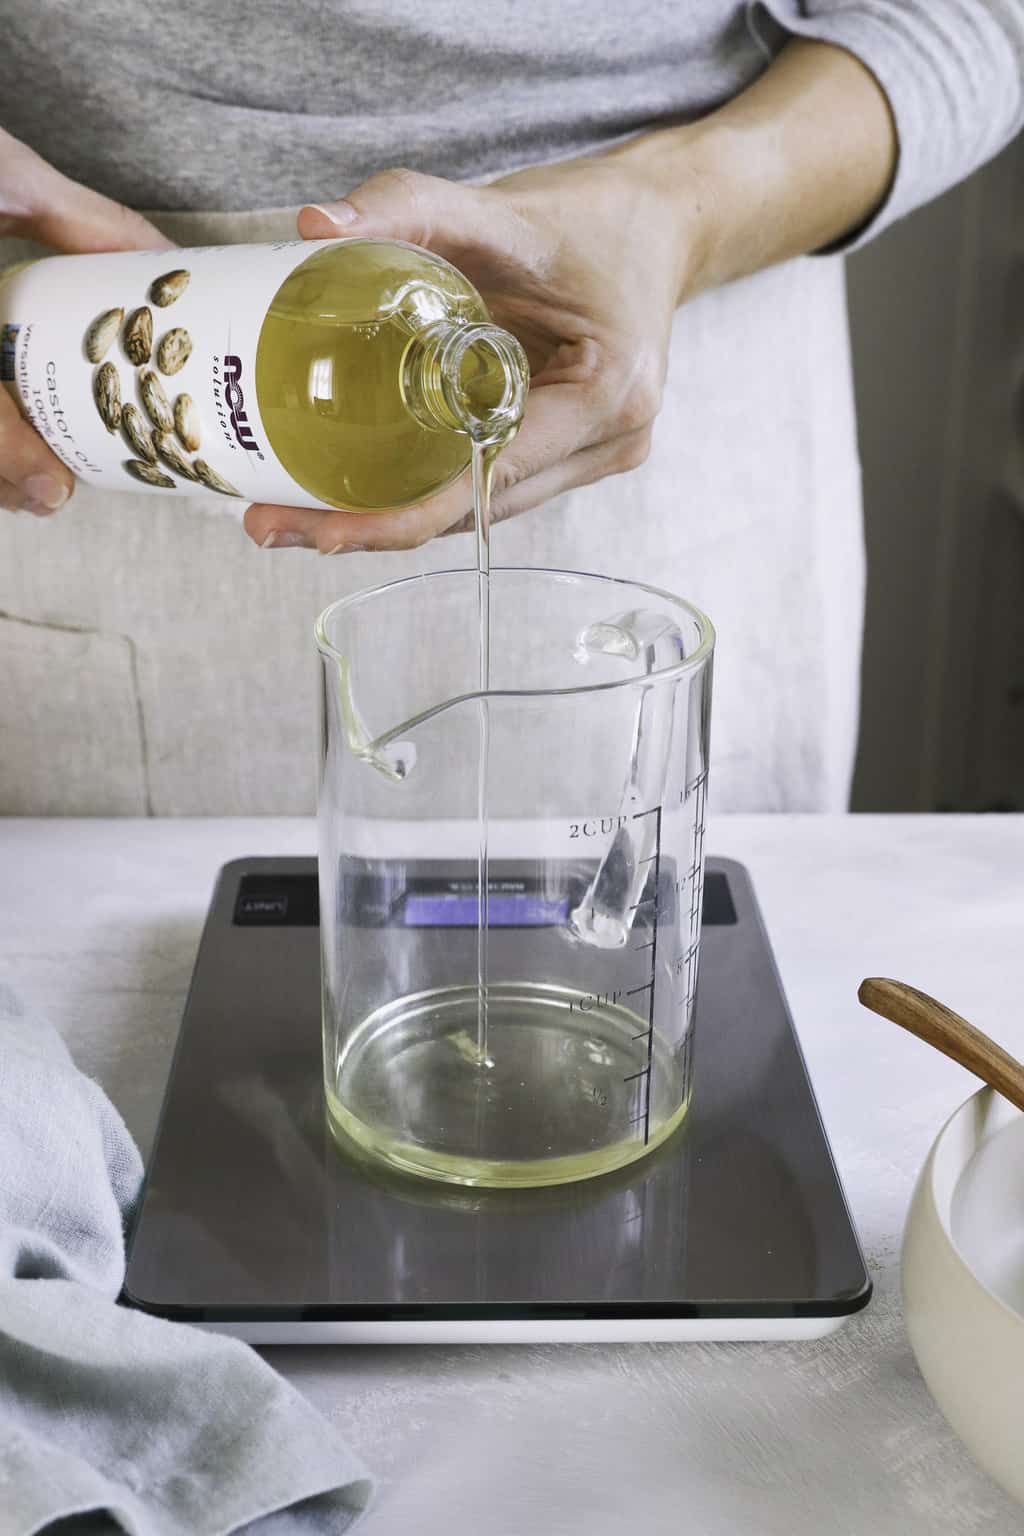
Step 1 | Weigh butters and oils
Weigh the tallow, oils, and butters that are in your recipe.
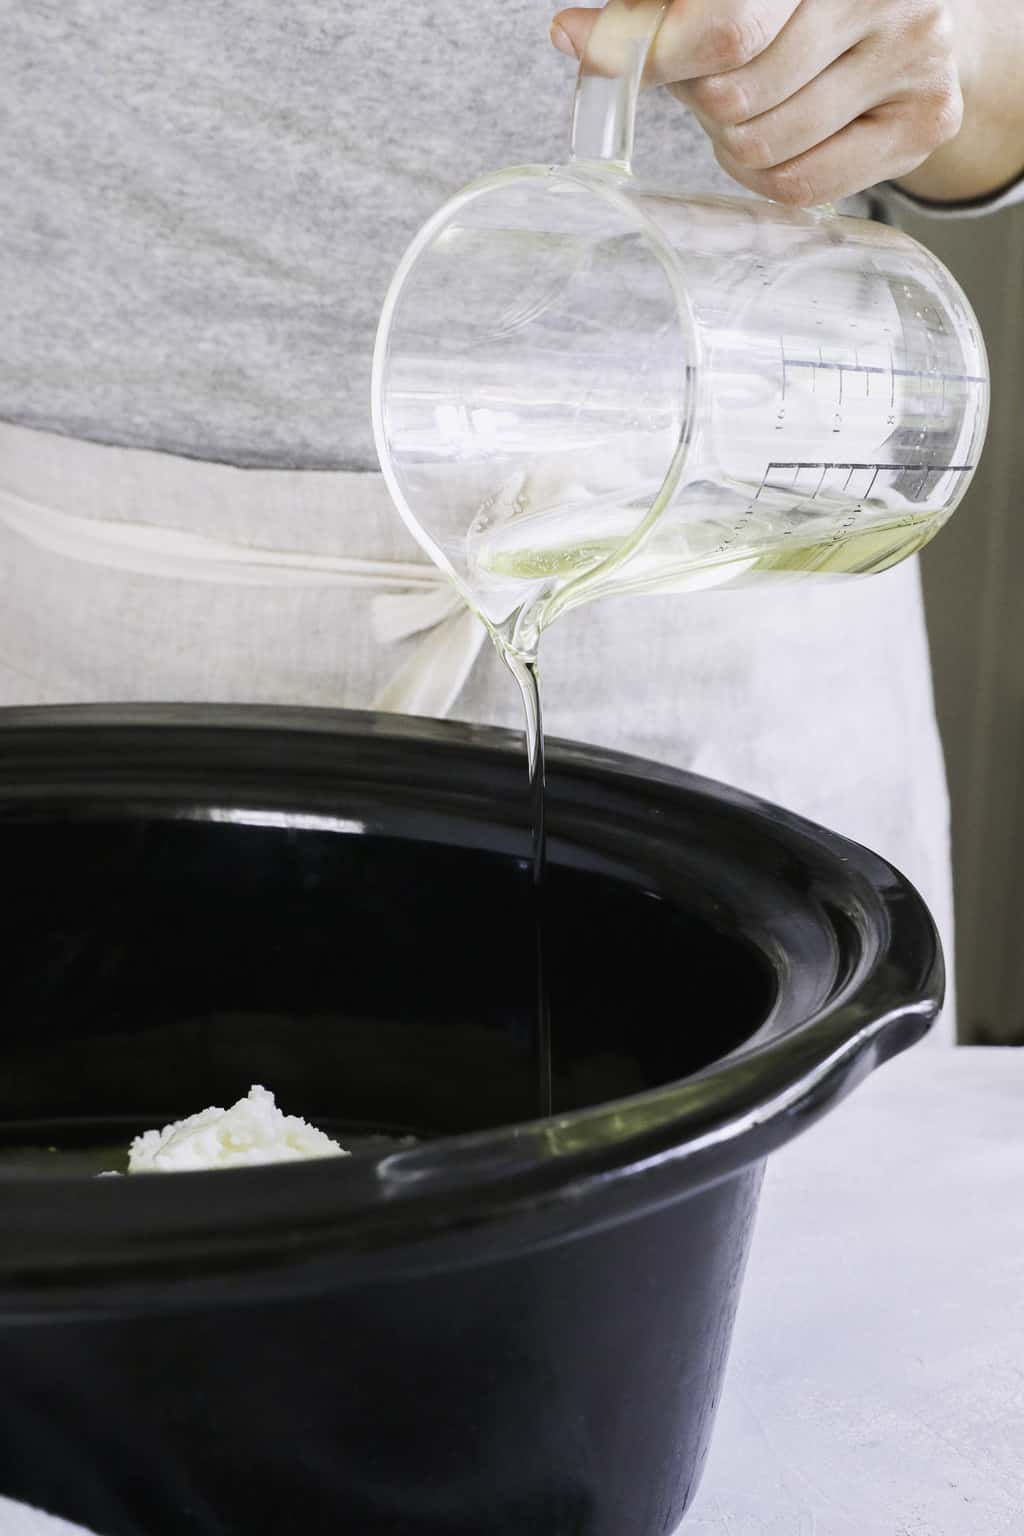
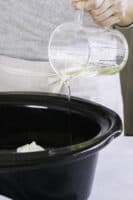
Step 2 | Heat oils
Combine oils and butters in a crockpot or a double boiler and melt on low heat.
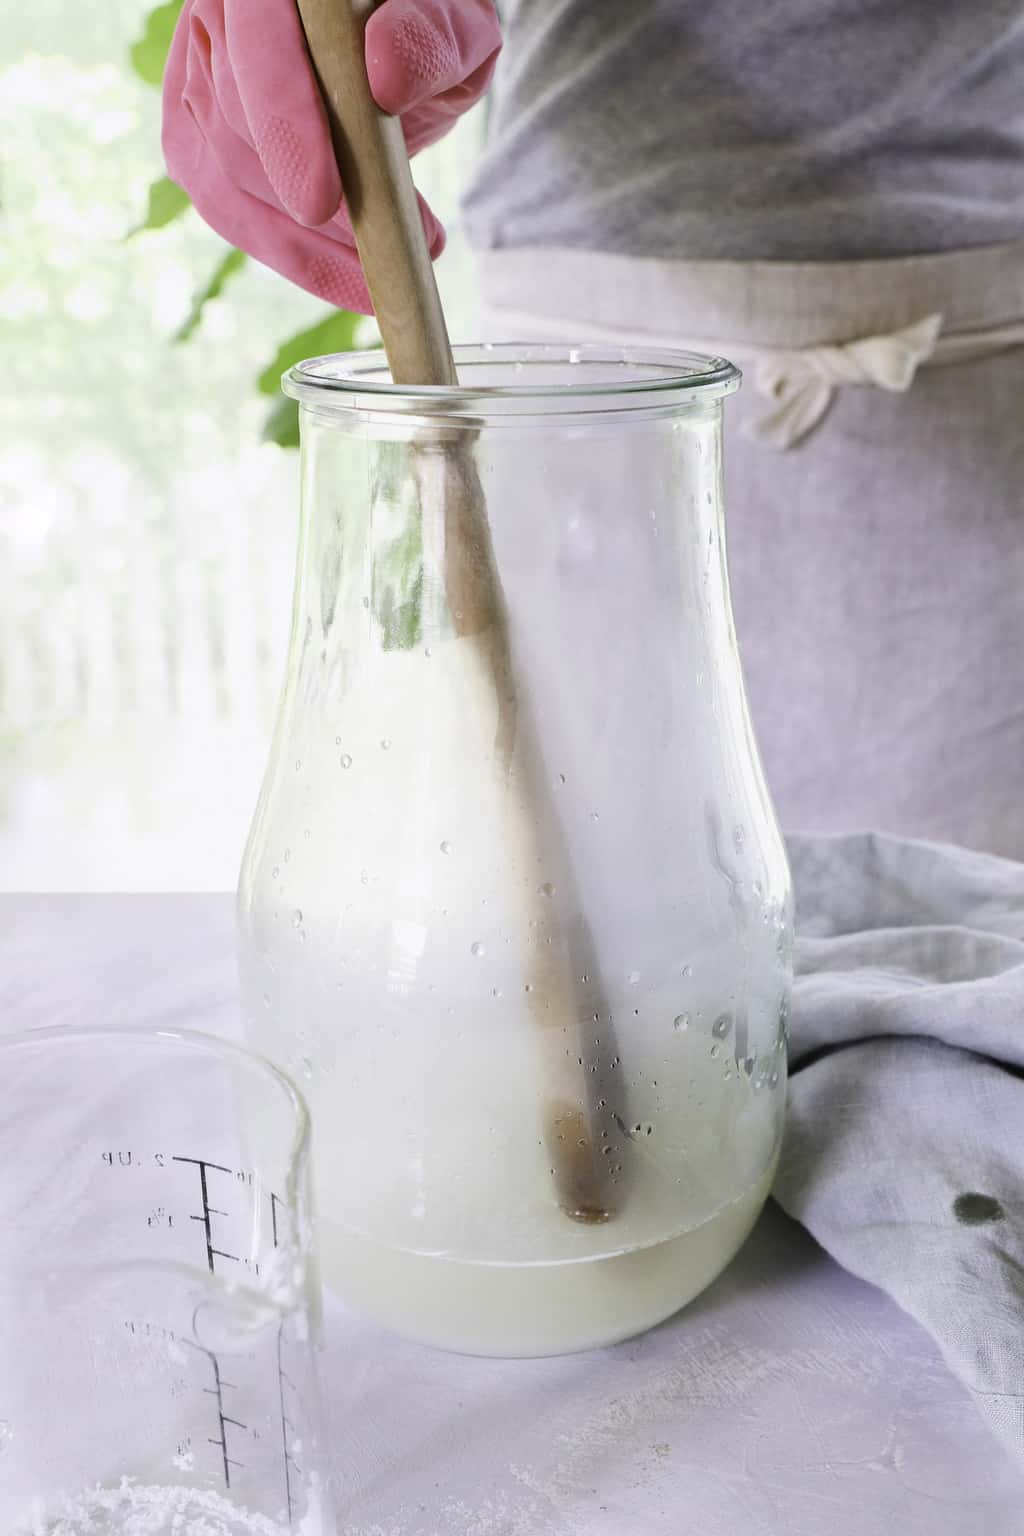
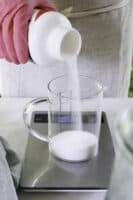
Step 3 | Make lye water
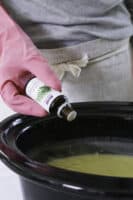
Work outside or in a well-ventilated area for this step. And put on your gloves and safety goggles.
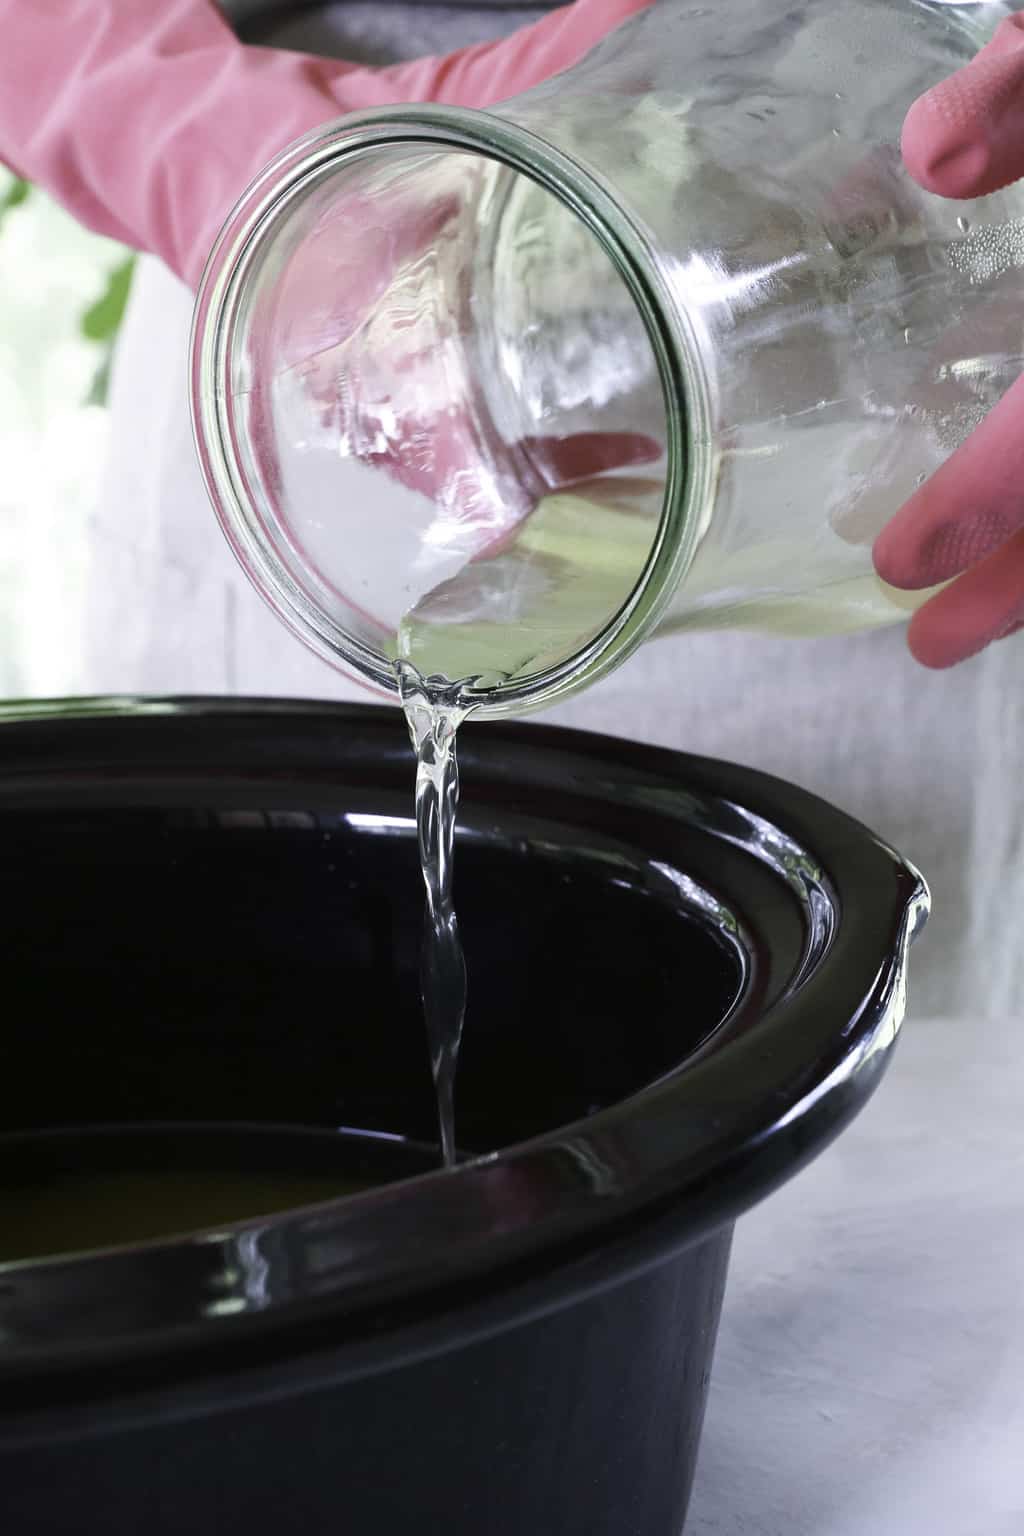
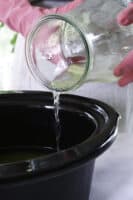
In separate heat-resistant containers, measure the distilled water and lye. Then carefully and slowly pour the lye into the water. Stir gently until the lye water turns clear, then leave it to cool for 10 minutes.
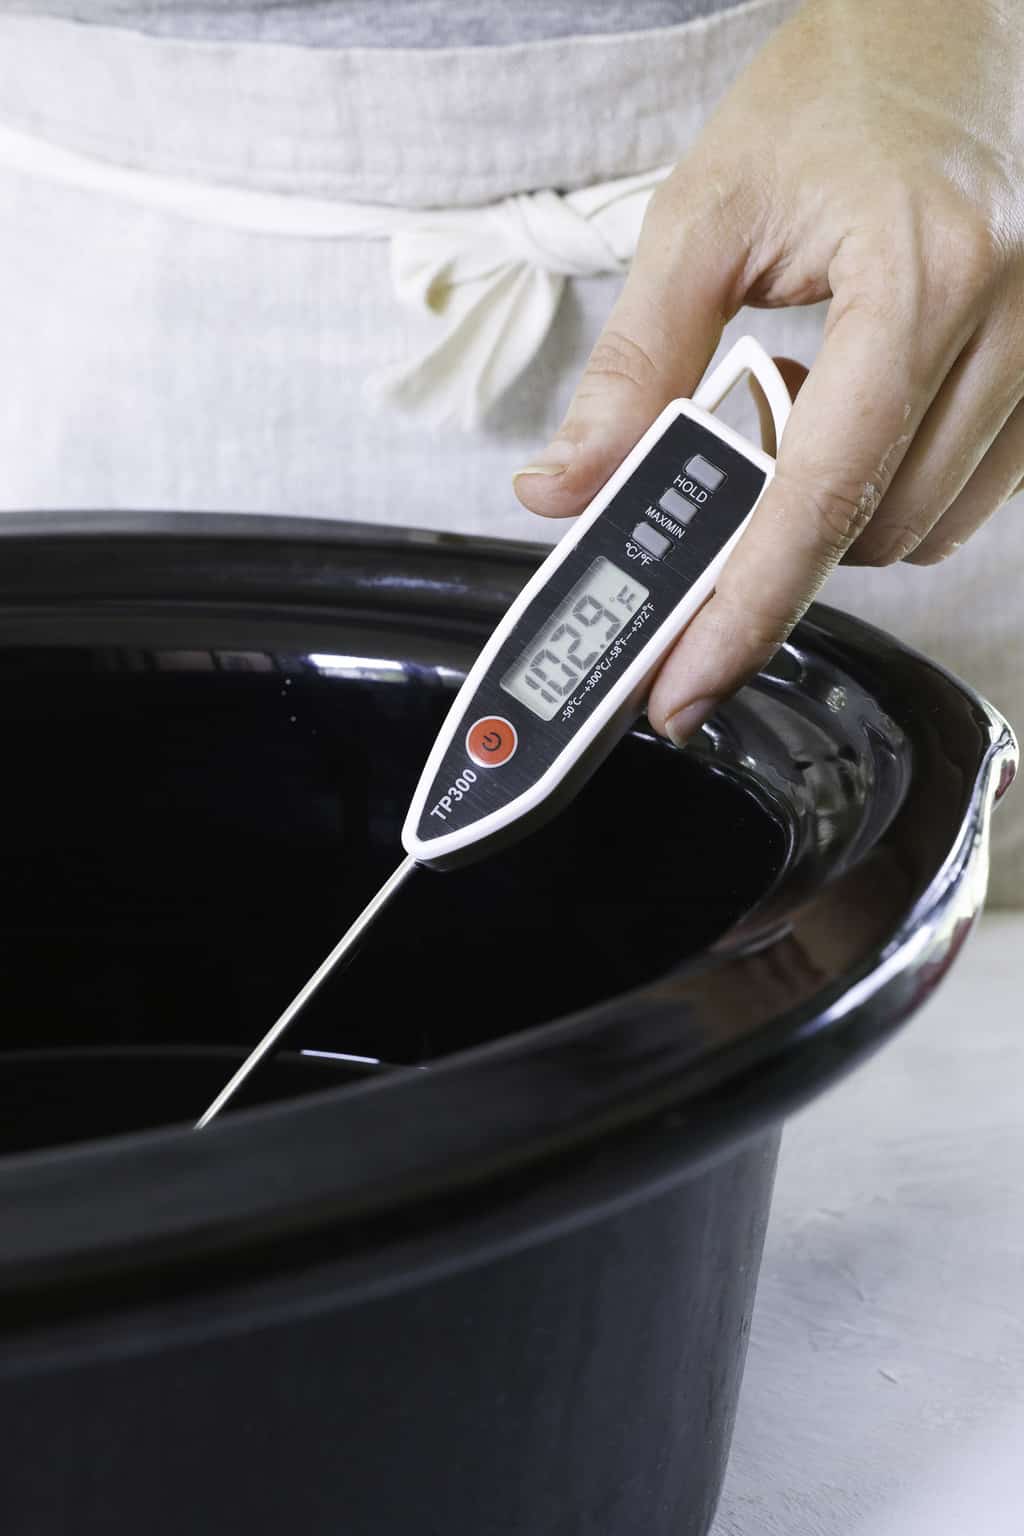
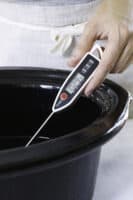
Step 4 | Heat to 100°F
Once the oils are melted (stir with a wooden spoon to help the tallow melt faster), check the temperature. You want the oils to be 100–110°F (38–43°C). Continue to heat or cool as necessary.
Step 5 | Add lye water
Once oils reach 100–110°F (38–43°C), remove from the heat. Carefully pour the lye water into the oil mixture, stirring continuously in one direction.
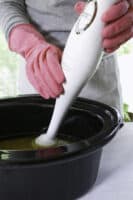
Step 6 | Blend together
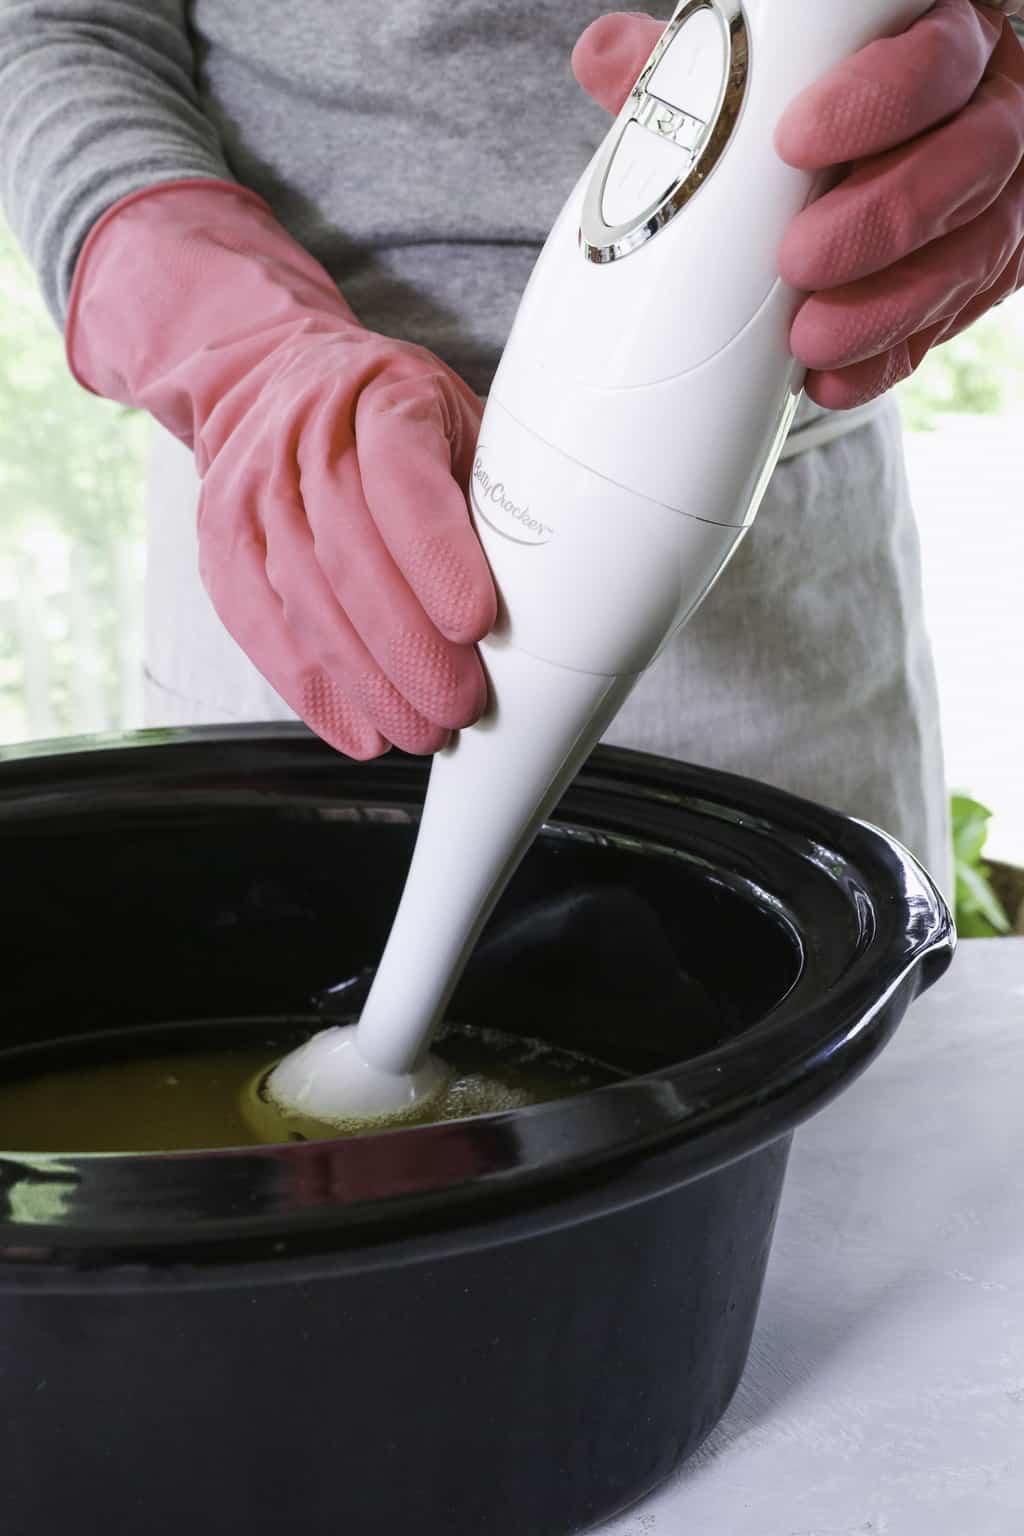
Blend the mixture using an immersion blender until it starts to thicken and becomes a light pudding consistency (this is called "trace").
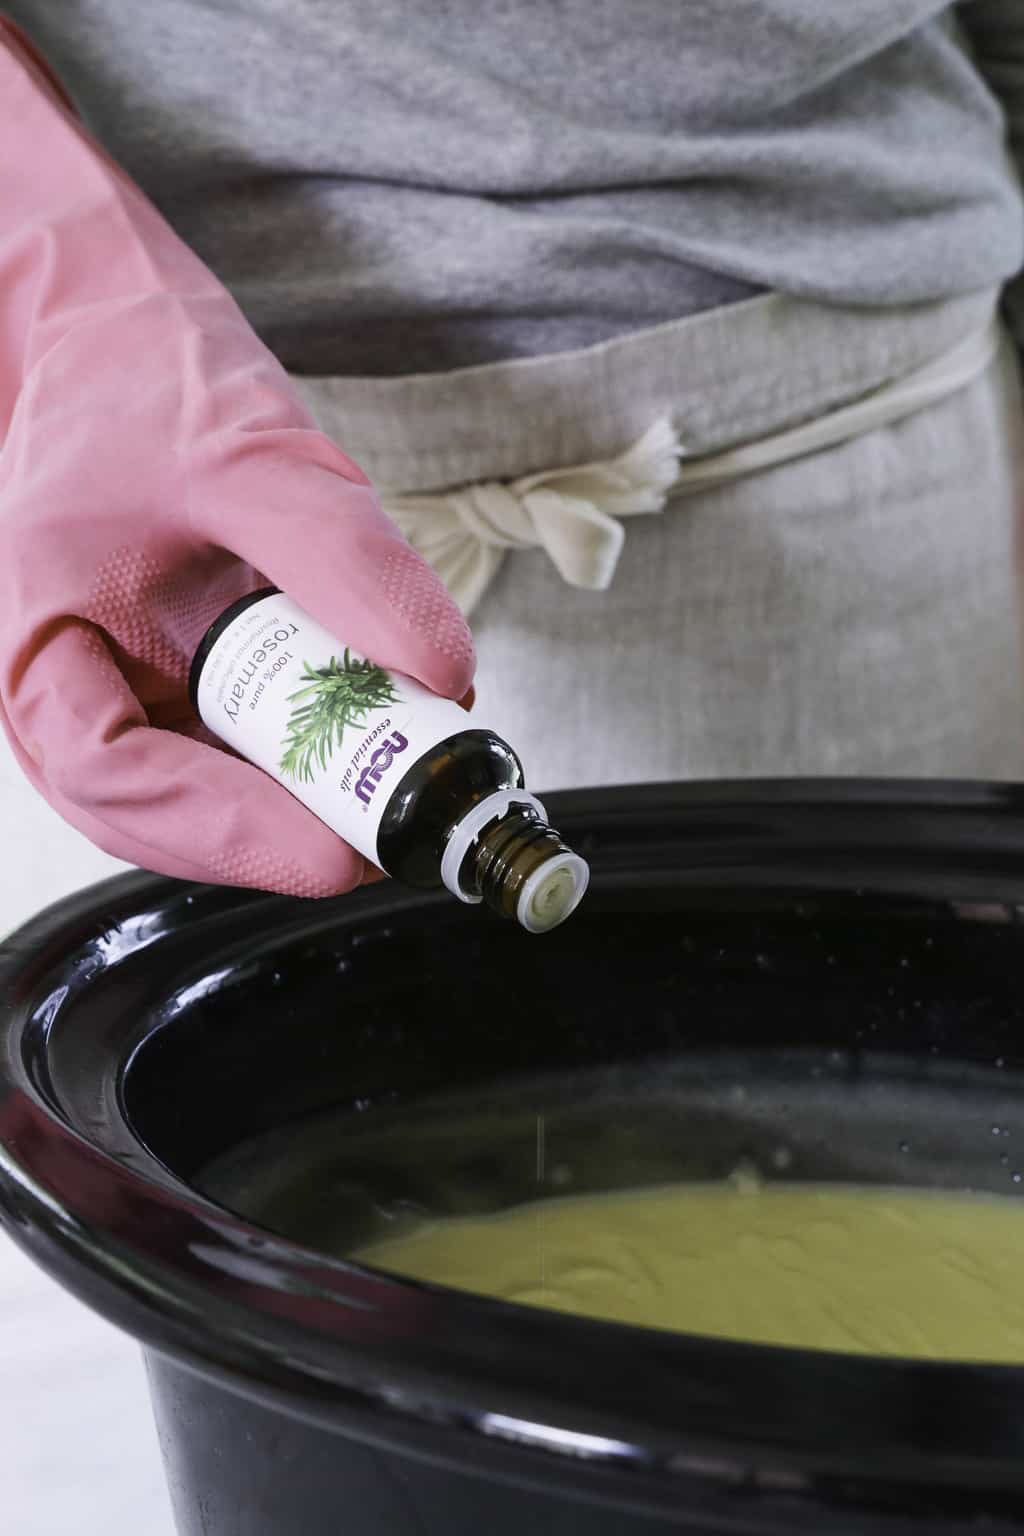
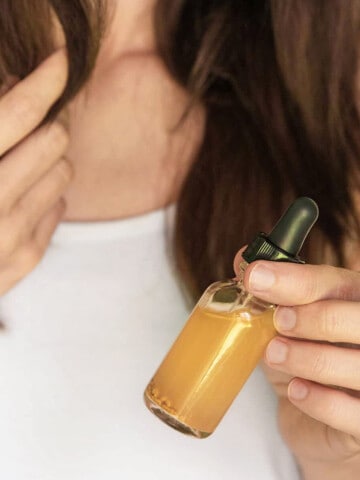
Step 7 | Add essential oils
Add the essential oils and blend again to incorporate.

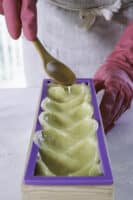
Step 8 | Pour into mold
Pour the soap into your mold or a lined loaf pan, and use a wooden spoon to create texture. Tap them gently to remove any air bubbles.
Then cover the molds lightly with wax paper and wrap them in towels. Then let them sit in a cool, dry place for 24–48 hours to harden and cure.
Step 9 | Cure
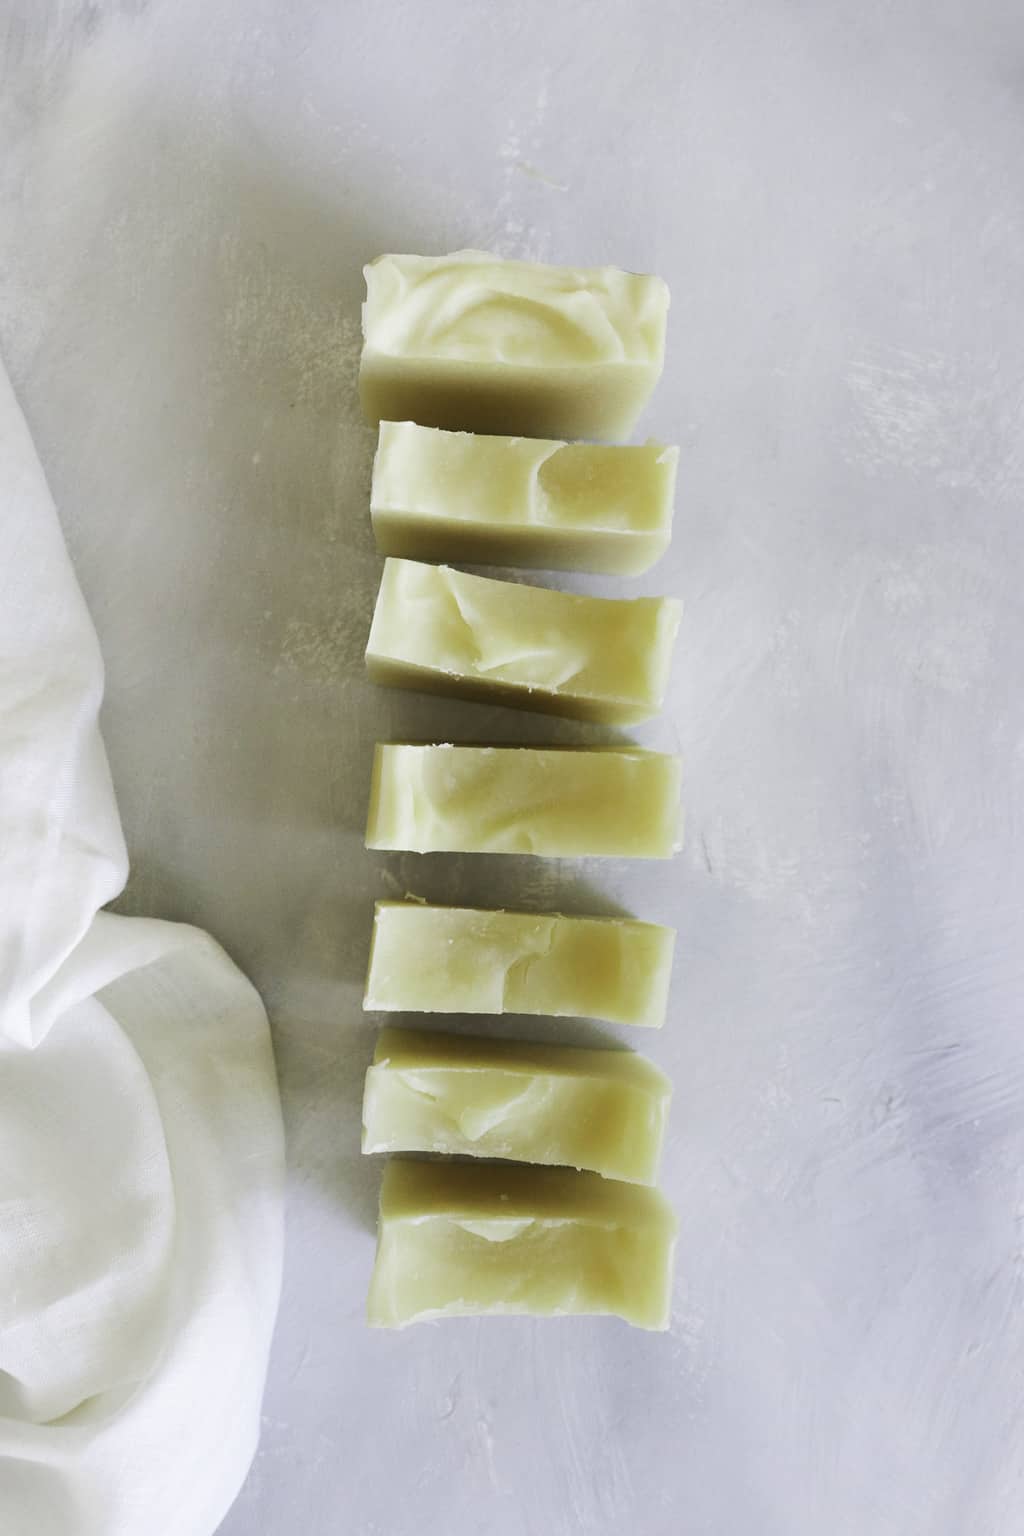
After 24 hours, remove soap from the mold and slice into bars. Space them out to allow good airflow and let them cure for an additional 4–6 weeks.
How to Use Shampoo Bars
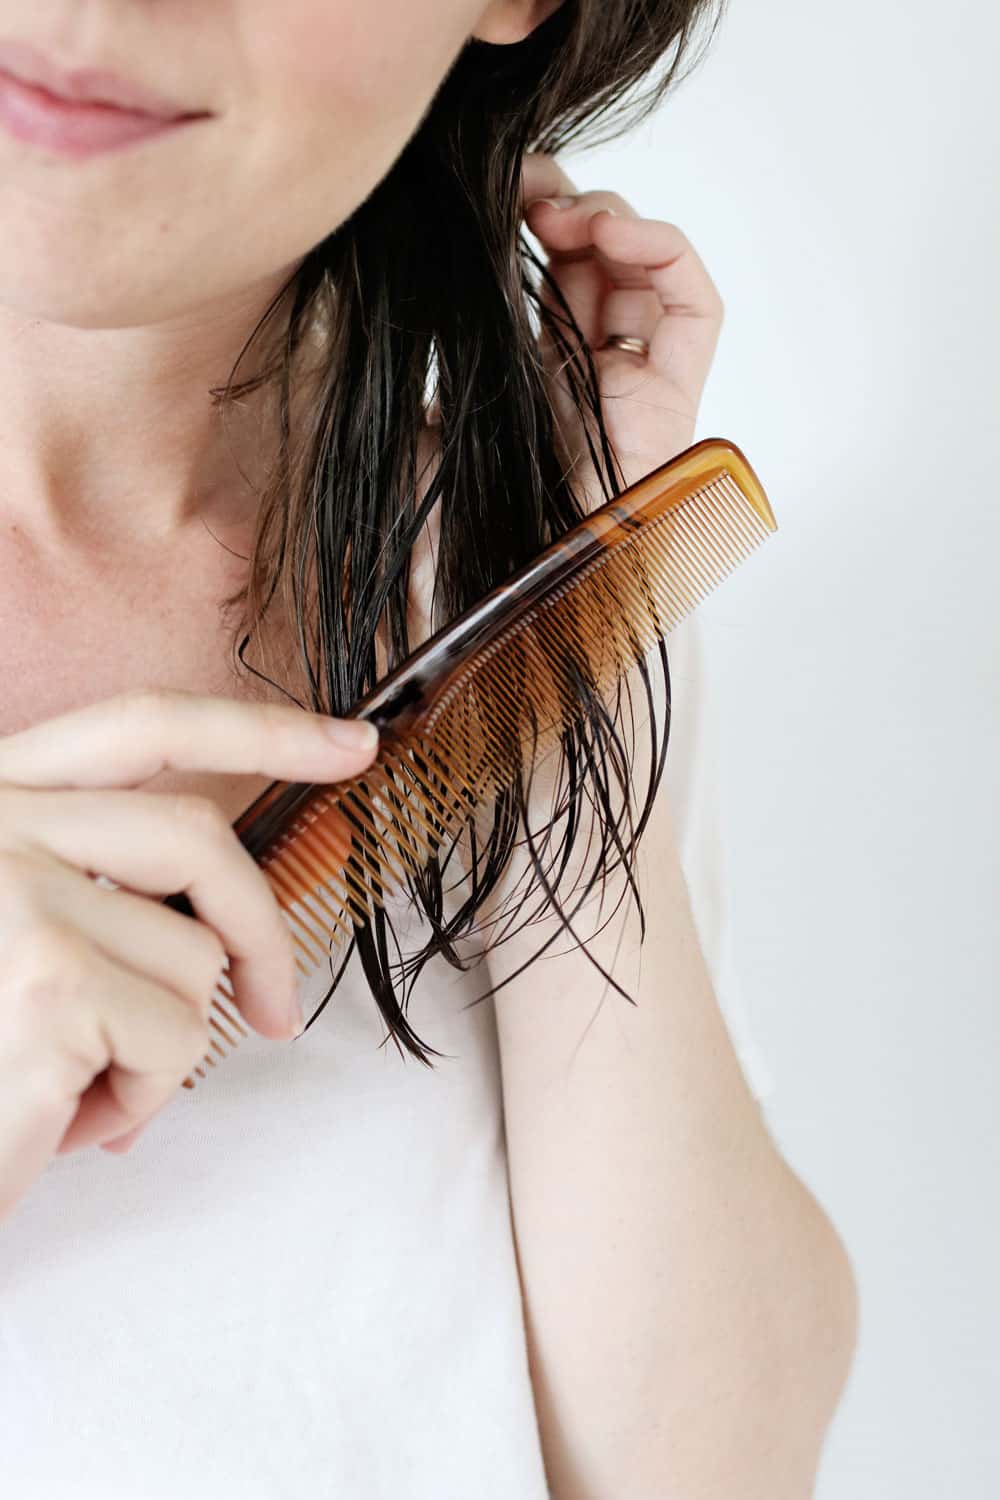
Get your hair nice and wet. The wetter your hair, the more lather you’ll get, so go ahead and get it really wet!
Wet the bar slightly. You don’t need to soak it or get it soft. Just a little water is enough to create a lather.
Lather up. Rub the bar between your hands and get a lather going. The amount of lather your shampoo bar creates depends on the oils you used. But even if it doesn’t lather much, it’ll still clean your hair nicely!
Massage your hair and scalp. Just like you would with traditional shampoo, rub your hands through your hair, focusing on your roots. Then work your hands through your hair from roots to tips to get rid of any lingering hair products.
Rinse well. Rinse your hair thoroughly to remove soapy residue.
Follow up with conditioner. Make sure to condition like you normally would, especially if you have dry hair or split ends.
How to Store Your Shampoo Bar
You can store it as you would any other bar soap, so leaving it in the shower is fine. But to help increase the longevity, let it dry out between uses by placing it on a soap dish with ample drainage or keeping it in the linen closet.
Store unused shampoo bars on a shelf in the closet. While you might want to wrap them loosely in wax paper to keep the dust away, letting them air out will ensure they last longer.
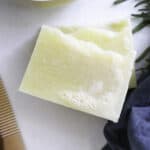
Cold Process Solid Shampoo Bars for Fine or Oily Hair
Equipment
- Immersion blender
- Crock pot for warming oils
- Digital Scale
- 1 quart mason jar for mixing lye and water
- Candy thermometer
- Silicone soap mold
- Wooden spoon
- Gloves and protective eyewear
- White Vinegar (in case of spills)
Materials
- 10 ounces tallow
- 13.7 ounces water
- 5.1 ounces lye
- 10 ounces NOW Foods Coconut Oil
- 10 ounces NOW Foods Organic Extra Virgin Olive Oil
- 6 ounces NOW Solutions Castor Oil
- 1 tablespoon NOW Solutions Neem Oil
- 50 drops NOW Rosemary Essential Oil
- ½ tablespoon NOW Jasmine Absolute Oil Blend
Instructions
- Weigh tallow, coconut oil, olive oil, and castor oil.

- Combine in a crockpot and melt on low.
- Note: I do the remaining steps outside because you have to work quickly and lye causes toxic fumes, so you need to be in a well-ventilated space Go outside and weigh lye in a dry glass or plastic container. Then weigh the water separately in your 1-quart mason jar.
- Once the oils are melted (stir with a wooden spoon to help the tallow melt faster), check the temperature. You want the oils to be 100°F. Continue to heat or cool as necessary.
- Once oils reach 100°F, put on your gloves and safety goggles (make sure you're outside for this part), then carefully and slowly pour the lye into the water. Stir gently until the lye water turns clears, then leave it to cool for 10 minutes.
- Carefully pour the lye water into the oil mixture.
- Note: If you don't have an outdoor power outlet or extension cord, you can do the remaining steps inside. I do them outside just to be safe.Using an immersion blender, blend the mixture until it starts to thicken and becomes a light pudding consistency (this is called "trace").
- Add the essential oils and blend again to incorporate.
- Pour the soap into your mold and use a wooden spoon to create texture. Then cover lightly with wax paper and wrap the mold in towels, so it can cool slowly and evenly.
- After 24 hours, remove soap from the mold and slice into bars. Space them out to allow good air flow, and let them cure for 4 weeks.


Kylene says
I just wanted to share that we created a video using your recipe as a foundation for our shampoo bars. https://youtu.be/Gm4SxhxlX5g I couldn't find a contact us to get your email. Hope you like the video!