Contrary to what you might think, the skin LOVES oil! Not only do oils provide wonderful moisture, but they’re also filled with vitamins and antioxidants that protect and feed the skin from the outside in. These DIY oil cleanser recipes combine nourishing skin oils with essential oils—perfect for cleansing, soothing, and softening skin.
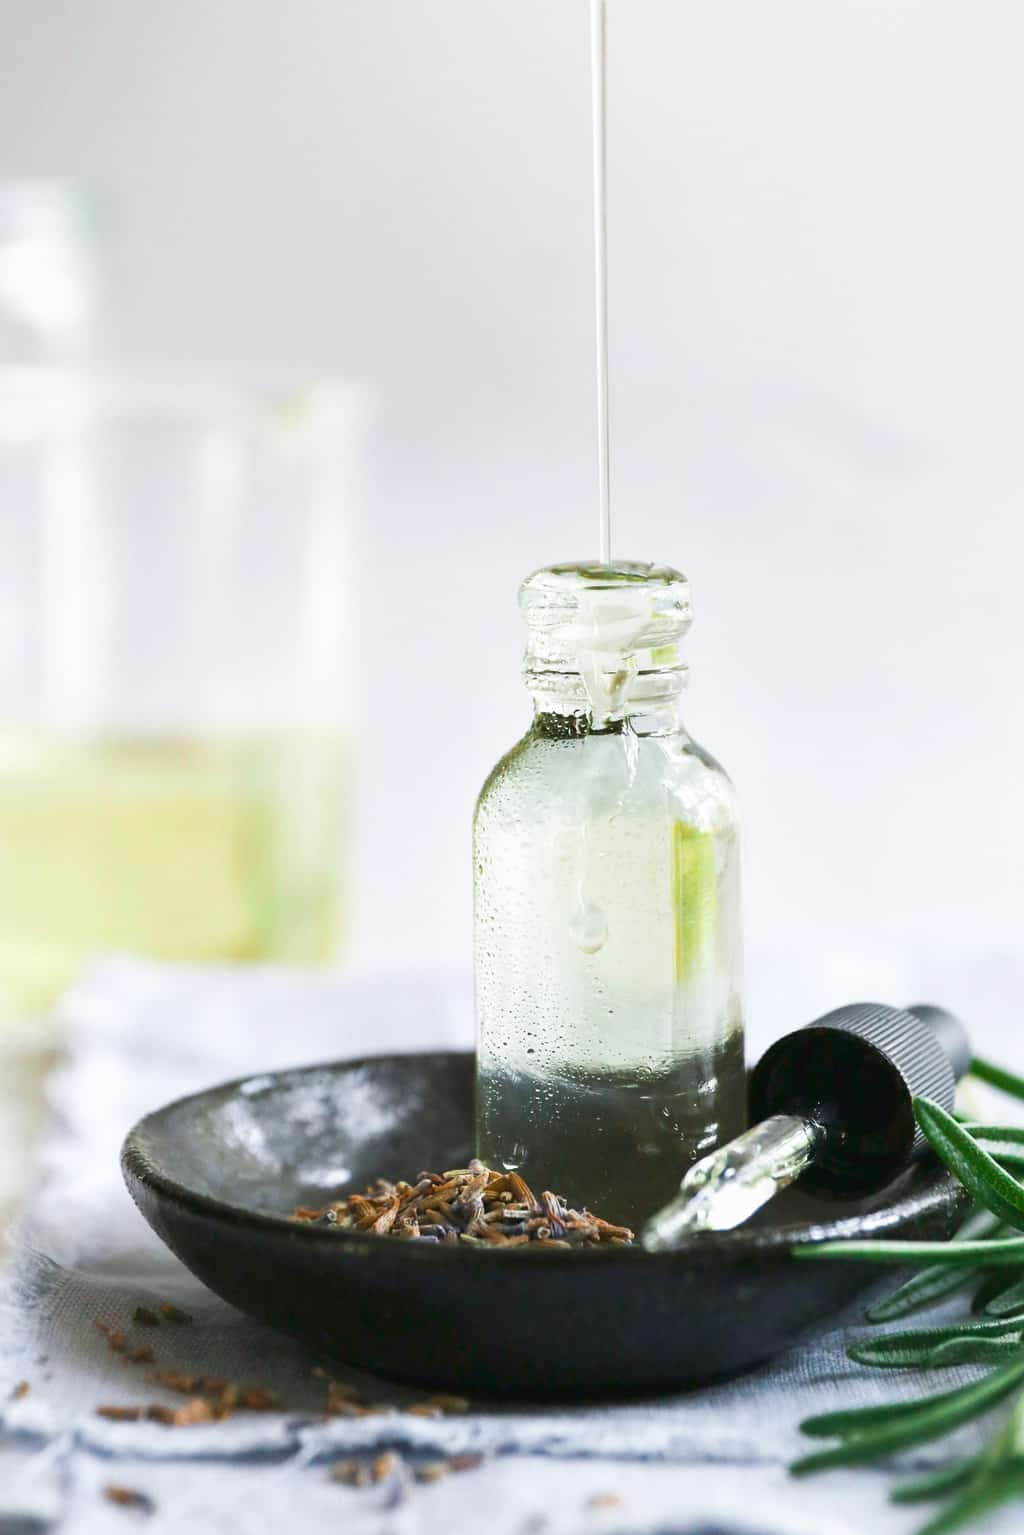
The Oil Cleansing Method is based on the principle of “like dissolves like,” which essentially means that water dissolves water and oil dissolves oil. When it comes to oil cleansing, the oil used to cleanse the skin dissolves the oil on the skin.
Now you may be scratching your head and thinking, “But I have acne. Won’t oil just clog my pores even more?”
Well, a zit is really just a sticky mess of sebum, dead skin cells, and dirt. And the Oil Cleansing Method can actually help to break up this sticky mess and clear it from the pores.
Yes, I just said oil can be used to CLEAN the skin!
Jump to:
Ingredients
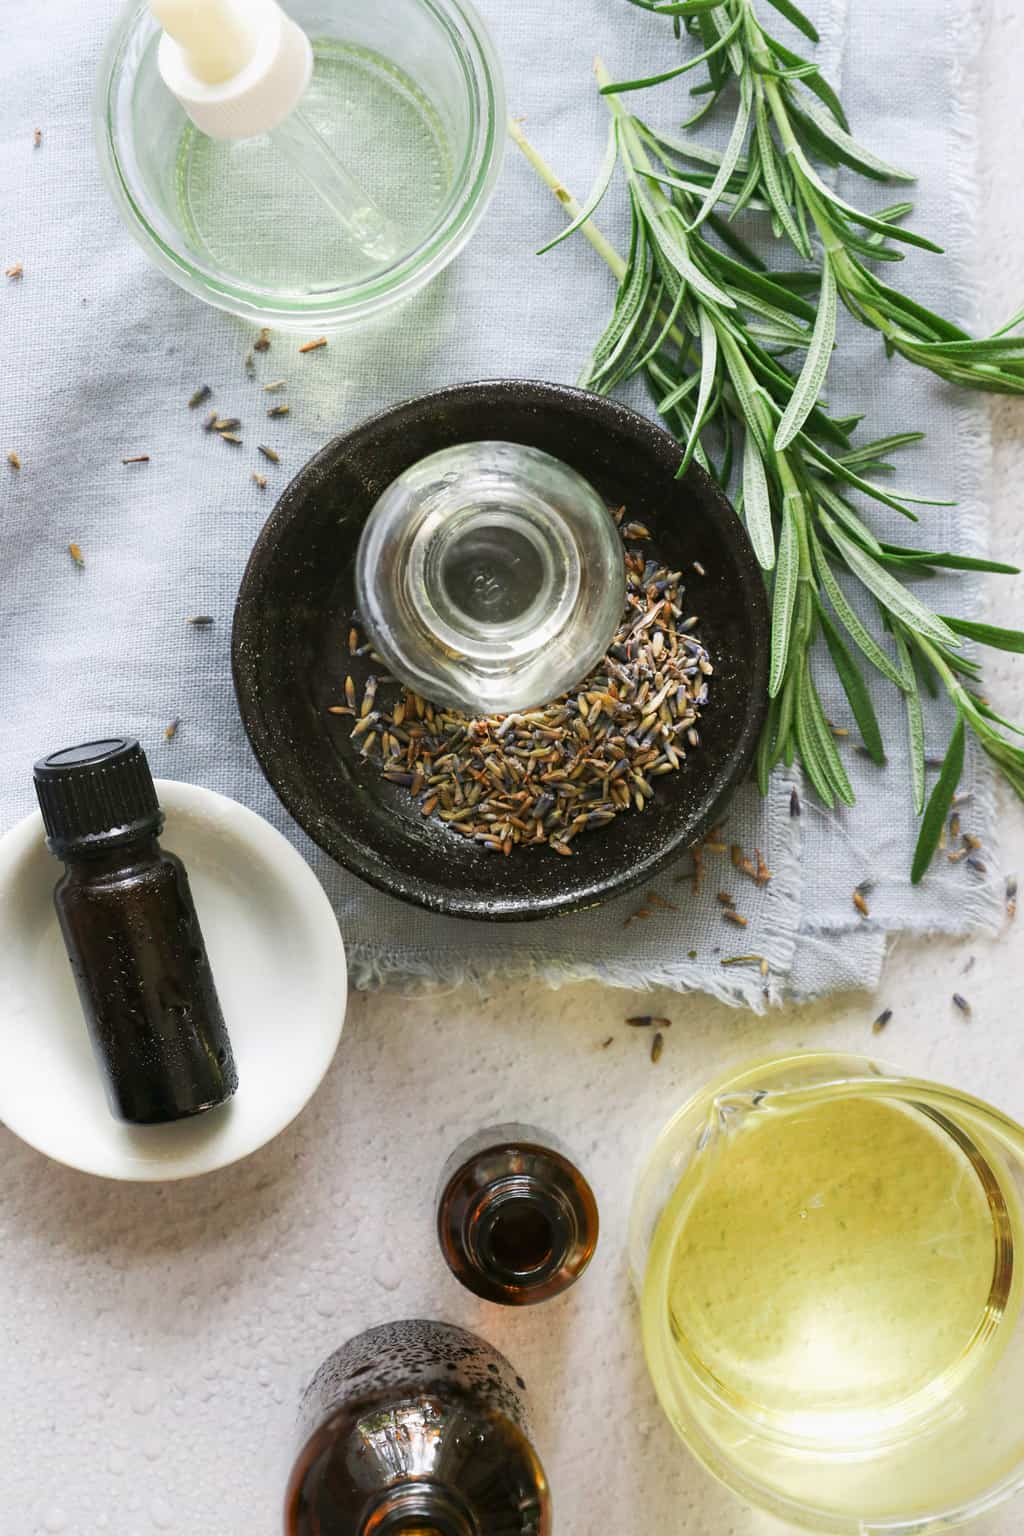
- Hazelnut oil is naturally astringent, making it the backbone of the recipe.
- Grapeseed oil is rich in polyphenols and other antioxidant compounds [source], easily absorbed, and beneficial for all skin concerns—from acne to aging.
- Avocado oil is anti-inflammatory and packed with richly moisturizing fats [source], balancing the other two oils, which are a little more on the drier side.
- Lavender, rosemary, and tea tree essential oils all help to keep skin clean.
See recipe card below for specific amounts.
Instructions
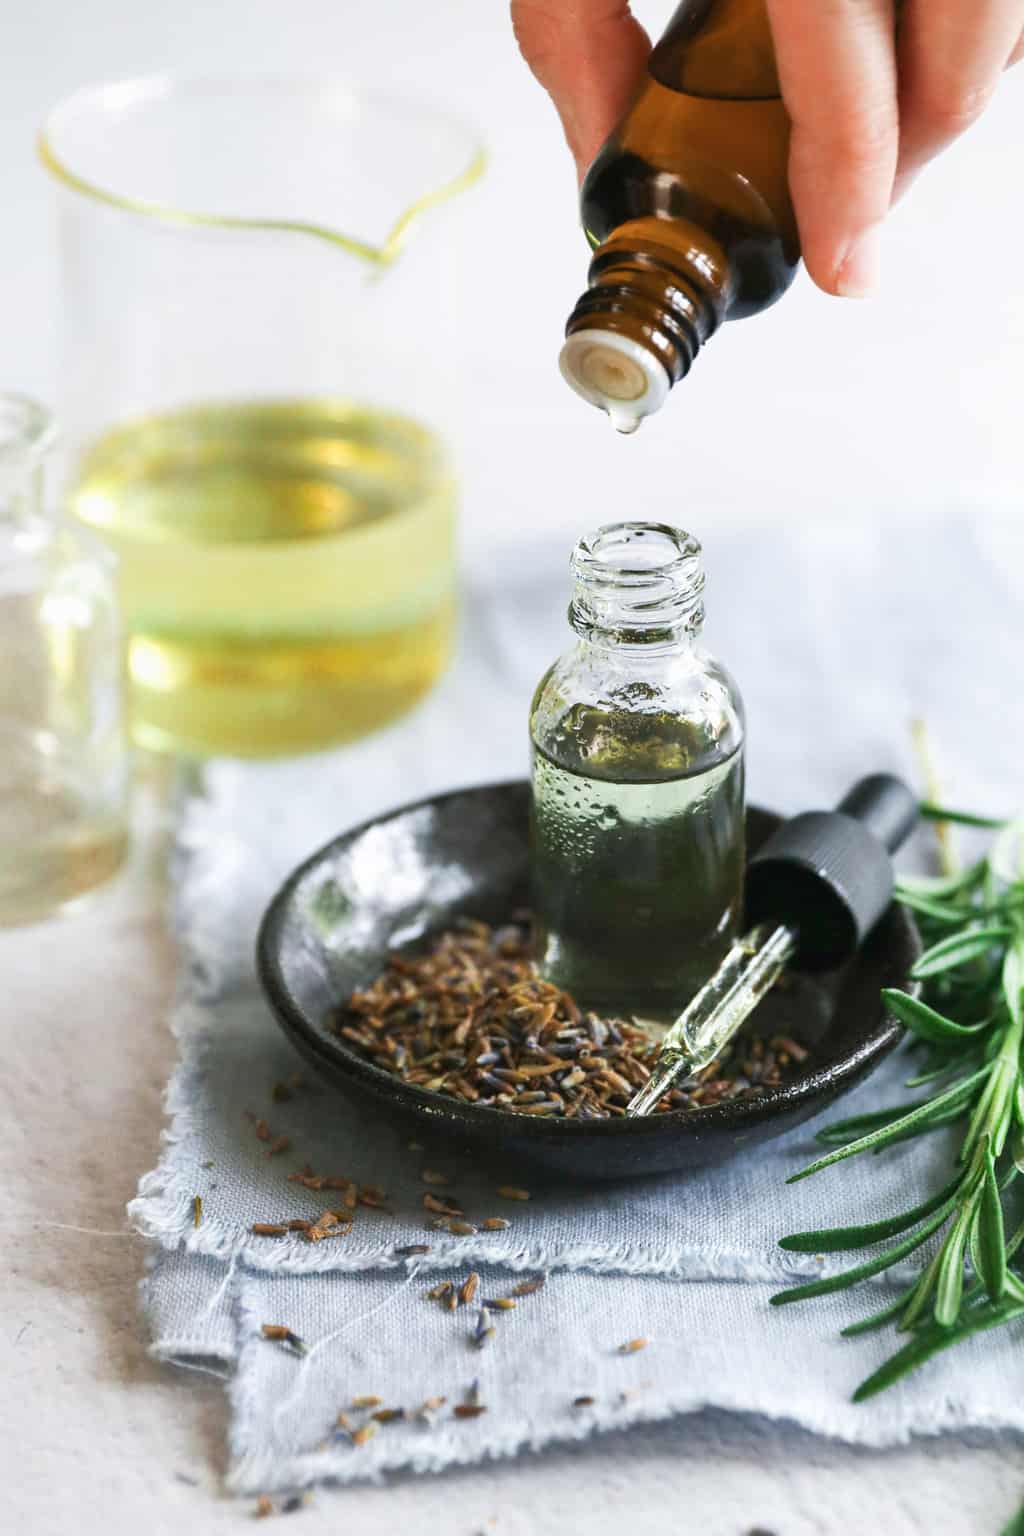
Step 1: Add carrier oils
Add grapeseed, avocado, and hazelnut oils to a 1-ounce dropper bottle.
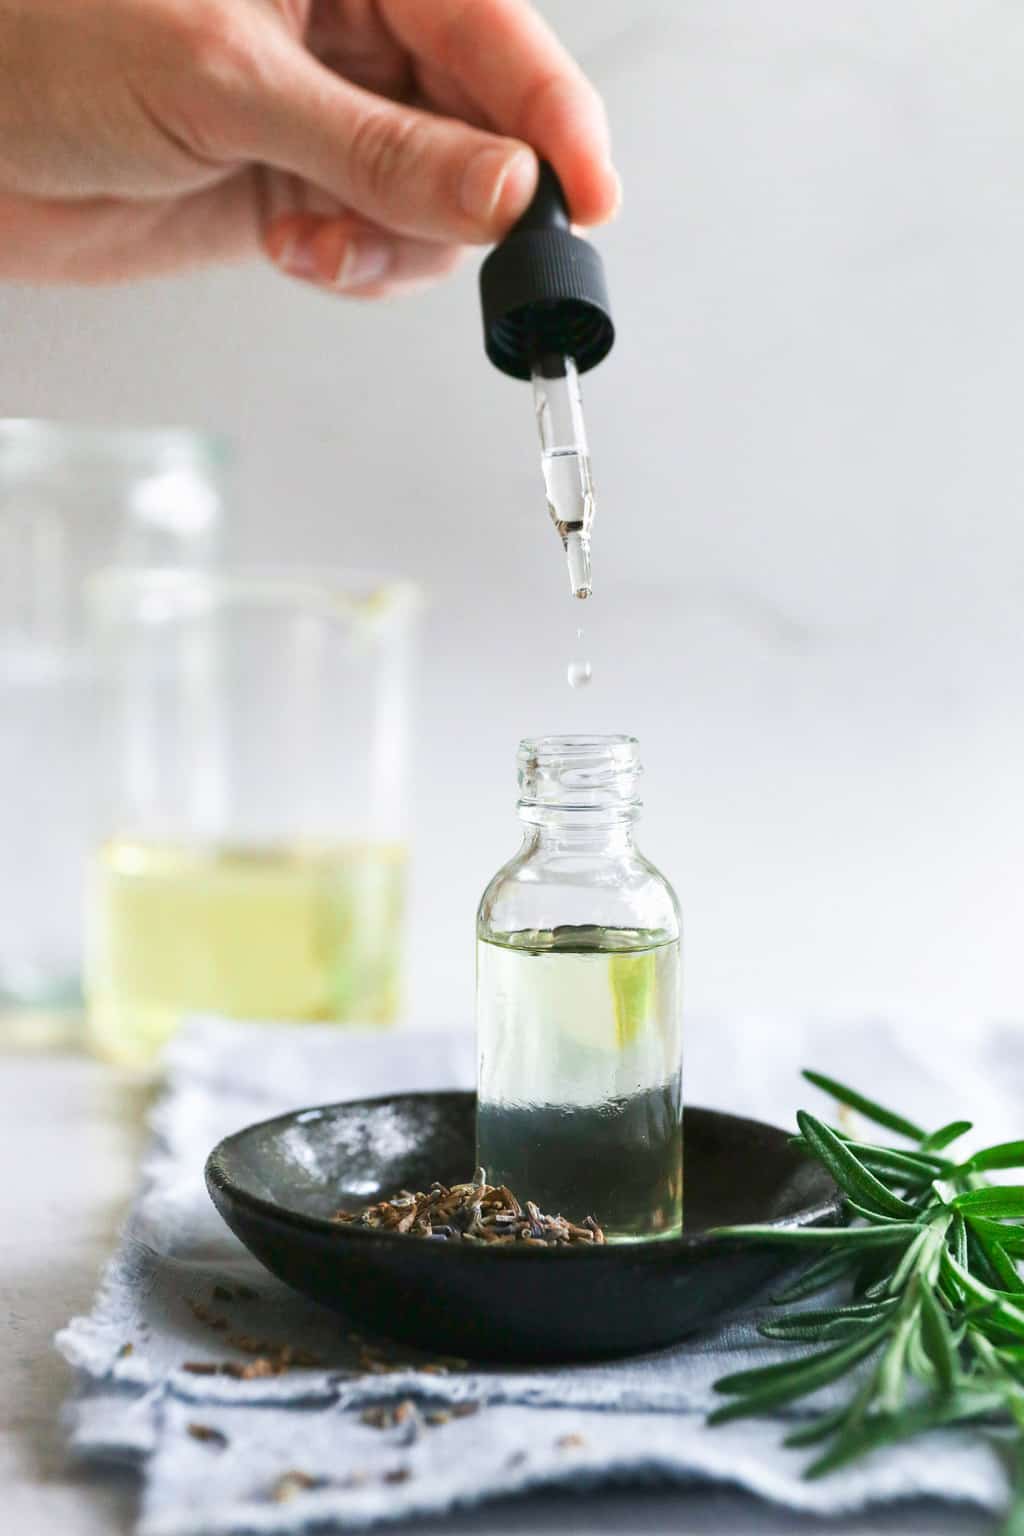
Step 2: Add essential oils
Add your essential oils then put the cap on and give it a good shake to blend everything.
Hint: If you have oily or acne-prone skin, swap out the avocado oil for more grapeseed oil, or try pumpkin seed oil instead.
Substitutions
Carrier oils — We’re big proponents of using oils that you already have, so try any of these oils if you have them on hand:
- Oily or acne-prone skin: Apricot, castor, grapeseed, jojoba, hemp seed, neem, pumpkin seed, tamanu, glycerin
- Normal to dry skin (not recommended for acne-prone skin): Sweet almond, argan, avocado, coconut, evening primrose, pomegranate, rosehip seed, sesame seed, shea butter
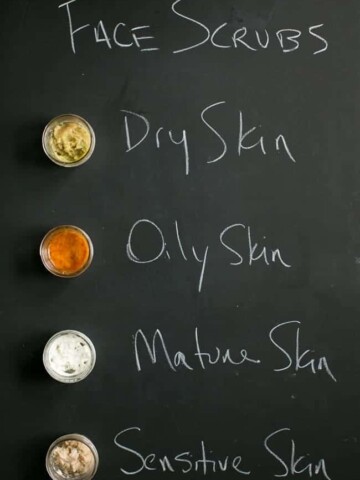
Oil Cleanser for Oily + Acne-Prone Skin
Acne-Prone Skin
- 1 tablespoon jojoba oil
- 2 teaspoons neem oil
- 1 teaspoon tamanu oil
- 9 drops frankincense essential oil
- 1-ounce dropper bottle
Combine oils in a 1-ounce dropper bottle. When cleansing, hold a washcloth under hot running water for several seconds. Wring out the washcloth and drape it over your face, allowing the steam to open pores and the oil to sink in. Remove oil with a warm, wet washcloth.
Oily Skin
- 1 tablespoon grapeseed oil
- 2 teaspoons hemp seed oil
- 1 teaspoon apricot kernel oil
- 9 drops tea tree essential oil (optional, for an astringent effect)
Combine all the oils in a clean bottle or container. If you like the 2-step face washing process, follow your oil cleaner with a foaming cleanser.
Don’t want to DIY?
boscia MakeUp-BreakUp Cool Cleansing Oil // If you’re battling signs of aging and acne (lucky you!), this is the cleanser for you.
Erno Laszlo Detoxifying Cleansing Oil // The addition of charcoal makes this cleanser ideal for drawing out impurities and fighting acne and breakouts.
Oil Cleanser for Dry + Aging Skin
Dry Skin
- 1 tablespoon sweet almond oil
- 2 teaspoons jojoba oil
- 1 teaspoon avocado oil
- 9 drops lavender essential oil (optional, for a soothing effect)
Mix all the oils in a clean bottle or container. Gently massage a small amount onto your dry face for a minute or two, focusing on areas with makeup and dirt. Rinse and pat dry.
Aging Skin
- 1 tablespoon rosehip seed oil
- 2 teaspoons pomegranate seed oil
- 1 teaspoon evening primrose oil
- 9 drops frankincense essential oil (optional, for anti-aging benefits)
Combine all the oils in a clean bottle or container. Gently massage a small amount onto your face for about a minute, paying attention to areas with fine lines and wrinkles.
Don’t want to DIY?
Burt’s Bees Facial Cleansing Oil // Moisturizing coconut and argan oil make this relatively inexpensive cleansing oil super nourishing for dry skin.
Sunday Riley CEO C+E Micro-Dissolve Cleansing Oil // With BHA, AHA, and vitamin C, this soothing cleanser is an anti-aging superstar.
Tata Harper Nourishing Oil Cleanser // The secret ingredient in this cleanser is sachi inchi oil, which is rich in antioxidants.
Meow Meow Tweet Makeup Remover & Cleansing Oil // This gentle cleansing oil, made with jojoba, coconut, and hazelnut oils, is great for removing every bit of makeup, no matter what your skin type is.
Oil Cleanser for Normal + Sensitive Skin
Normal Skin
- 1 tablespoon jojoba oil
- 2 teaspoons rosehip seed oil
- 1 teaspoon grapeseed oil
- 9 drops lavender essential oil (optional, for a soothing effect)
Jojoba oil is similar to the skin’s natural sebum [source], making it an excellent choice for normal skin. Rosehip seed oil provides high levels of antioxidants, essential fatty acids, and vitamins that promote healthy skin [source], while grapeseed oil is light and non-greasy, helping to balance the skin’s oil production.
Sensitive Skin
- 1 tablespoon apricot kernel oil
- 2 teaspoons calendula oil
- 1 teaspoon chamomile oil
- 9 drops chamomile essential oil (optional, for additional soothing properties)
Mix the oils in a clean bottle or container. Gently massage a small amount onto your face for about a minute, being careful and gentle with your sensitive skin. Rinse with warm water and pat dry.
Don’t want to DIY?
Caudalie Make-Up Removing Cleansing Oil // While this award-winning cleansing oil is great for every skin type, the addition of sweet almond oil is awesome for calming itchy, irritated skin.
Kopari Coconut Cleansing Oil // This coconut-based cleanser contains green tea oil, which fights inflammation and aging at the same time.
How To Use Oil Cleanser

Use at night: Cleansing with oil is recommended as the first step to remove makeup and break down dirt and sunscreen residing on the skin’s surface. This should be done at the end of the day, ideally before bedtime.
Start with dryer areas: Take a quarter-sized amount of oil and rub it between your hands. Apply it to your face in circular motions, starting at the outer edges and working your way toward the T-zone and eye area. This will keep the oil on the dryer parts of your skin the longest, such as the cheeks.
Damp or dry skin? There is some debate as to whether oil should be applied to damp or dry skin. I think it’s more a matter of preference than anything.
But since oil and water don’t mix well, if you want to apply it to a damp face, just make sure it’s not dripping wet. Gently damp from a washcloth or fingertips will suffice.
Massage in: Massage the skin for 1 minute to dissolve dirt and oil, focusing on areas that are acne-prone, dry, or covered in makeup.
Cleanse eye makeup: You can even cleanse your eyelids and lashes with the oil. In fact, oil is wonderful for removing eye makeup and conditioning the eyelashes. Just make sure your eyes remain closed the entire time, or you could experience some eye burning or visual cloudiness.
Rinse + remove: After a minute, splash your face with warm water to remove the oil and everything else that comes with it. Use a warm, wet cloth to wipe off any excess oil.
Repeat cleansing: If you don’t like the feeling of lingering oil, at this point, you can use a mild foaming face wash that won’t strip your skin of hydration.
Apply moisturizer: Follow up with your regular regimen of toner, serum, and moisturizer. Alternatively, you can rub a few drops of oil onto your fingertips and pat on the skin for added moisture.
Other Uses for Cleansing Oil
Besides being used just as an evening cleanser, here are some of the ways I like to add oil to my skincare routine:
Acne spot treatment: There are a lot of different kinds of oil you can use on the skin. While just about any oil cleanser can help keep pimples from popping up in the first place, adding anti-inflammatory and antibacterial ingredients, such as tea tree and lavender essential oils, can help make them disappear faster.
Dabbing a bit directly on pimples helps tame the redness and shrink inflammation.
Soothe dry spots: If you have combination skin, like I do, a cleansing oil made of jojoba oil, sweet almond oil, or even shea butter can do wonders for dry patches. Apply anywhere you consistently experience dry skin, and rub any leftovers into the hands, neck, and chest (all those forgotten spots!)
Under-eye serum: The under-eye area is particularly sensitive to neglect. But you don’t need a fancy cream to prevent wrinkles and bags.
An oil cleanser works just as well at keeping things in tip top shape. After cleansing your face, dab a few drops of oil under your eyes to replenish moisture.
Makeup remover: Eyeliner, mascara, lipstick, and concealer are particularly tricky to remove with soap and water alone. But cleansing oil can melt them in seconds.
When cleansing your face, simply rub a bit of oil onto your eyelids, lips, and anywhere else you might normally use makeup remover. Then rinse with warm water and blot with a clean washcloth. So easy!
Top Tip
One of the surprising things about oil cleansing is that it’s just as good for oily skin as it is for dry skin. That’s because when the skin is stripped of oil, the body produces more oil to help balance things out. But when you replace oil on the skin, the body doesn’t feel the need to make more, and your skin may feel less greasy as a result.
FAQ
Yes! Most soap-based facial cleansers strip the skin of moisture, making it feel drier and flakier with every wash. Instead, oil cleansers melt dirt and makeup without stripping the natural oils, so the skin stays moist and dewy while still getting clean.
You don’t have to. But if you suffer from exceptionally dry skin, following up with a moisturizer or even a few extra drops of cleansing oil can lock in additional moisture.
No. In fact, oil cleansing actually does the opposite: it preserves the skin’s moisture barrier, replenishes lipids, and supports the skin’s natural microbiome, which then keeps the skin happy and healthy.
No, it’s not necessary to create a fancy oil cleanser with multiple oils in order to reap the benefits. A simple cleanser made from just one carrier oil, such as jojoba or sweet almond, will do the trick. But combining different oils can help tackle various issues and create an oil specifically tailored to your needs.
It can take roughly 2 to 3 weeks for the beneficial effects of oil cleansing to kick in. It’s also worth noting that your skin may get worse before it gets better. That’s because there’s sometimes a detoxifying effect that accompanies oil cleansing.
As your skin adjusts to the cleansing oil, you may notice redness, irritation, and acne that wasn’t there before. But trust me, give it several weeks to balance out, and you’ll be thankful you did!
Few scientific studies have been done on oil cleansing and acne, but anecdotal evidence suggests that oil cleansing (with the appropriate types of oil) actually helps lessen the severity of breakouts. That’s because oil is said to sink into pores and dissolve the grease, sebum (the waxy stuff made by your skin’s sebaceous glands), and bacteria that soap and water can’t touch.
In my personal experience, as long as I used non-comedogenic oils, such as jojoba, oil cleansing helped clear up my skin and made my hormonal breakouts less severe.
Yes! Just like with your scalp, washing your face with soap every day strips the skin of much-needed oil and moisture. In order to compensate, your body often produces more oil to balance things out, leaving you on this oily skin hamster wheel.
But by replenishing oil through oil cleansing, you’re signaling to your body that it doesn’t need to make as much, and you may see oil production start to slow down.
Grapeseed and jojoba oils are non-comedogenic and won’t clog pores. Jojoba oil is quite similar to our skin’s natural sebum, anti-inflammatory, and known to help acne. So if you have sensitive skin, I would start there.
Hazelnut Cleansing Oil Recipe
Equipment
- 1 ounce dropper bottle
Materials
- 1 tablespoon grapeseed oil
- 2 teaspoons hazelnut oil
- 1 teaspoon avocado oil
- 6 drops lavender essential oil
- 6 drops tea tree essential oil
Instructions
- Add all ingredients to a 4-ounce dropper bottle, put the cap on, and give it a good shake to blend everything together.
- To use: Pour roughly 1–2 teaspoons of the oil into the palm of your hand. Rub your hands together and gently pat the oil into dry skin.
- Massage the skin for 30 seconds to dissolve dirt and oil, focusing on areas that are acne-prone, dry, or covered in makeup. If you have acne, lay a warm washcloth over breakouts for 1–2 minutes to open pores and encourage the oil to sink into the skin.
- Use a warm, damp washcloth to gently wipe the oil away and pat with a dry towel.
Notes
References
Lin TK, et al. Anti-inflammatory and skin barrier repair effects of topical application of some plant oils. Int J Mol Sci. 2017.
Flores M, et al. Avocado oil: characteristics, properties, and applications. Molecules. 2019.
Pazyar N, et al. Jojoba in dermatology: a succinct review. G Ital Dermatol Venereol. 2013.

