Say goodbye to store-bought cleansers filled with harsh chemicals, and embrace the natural goodness of a homemade foaming face wash. Whether you have dry, oily, sensitive, or combination skin, this nourishing DIY recipe provides a gentle cleanse that leaves you with a glowing complexion every day!
Cleansing isn’t just about detox diets and gut health—your skin needs cleansing too! There’s been a lot of discussion in the beauty industry about 2-step cleansing processes to keep skin looking healthy and young. As an esthetician, I’m just thrilled when my clients wash their faces every day!
However, if you’d like to kick your cleansing routine up a notch, I’ve done some research on what a 2-step cleansing process looks like and how it’s beneficial for your skin.
Learning how to make foaming hand soap is so incredibly easy. It has probably saved me hundreds of dollars over the years—no joke! I’ve been reusing the same foaming dispensers for over a decade!
Homemade foaming face wash is the same basic recipe (water + Castile soap), but it adds a few extra ingredients to customize for your skin type. For example, I love to follow oil cleansing with this simple face wash, but I don’t want it to dry out my skin, so I add extra oils. But my teenagers need extra acne-fighting help, so we add tea tree essential oil and honey.
Jump to:
Ingredients

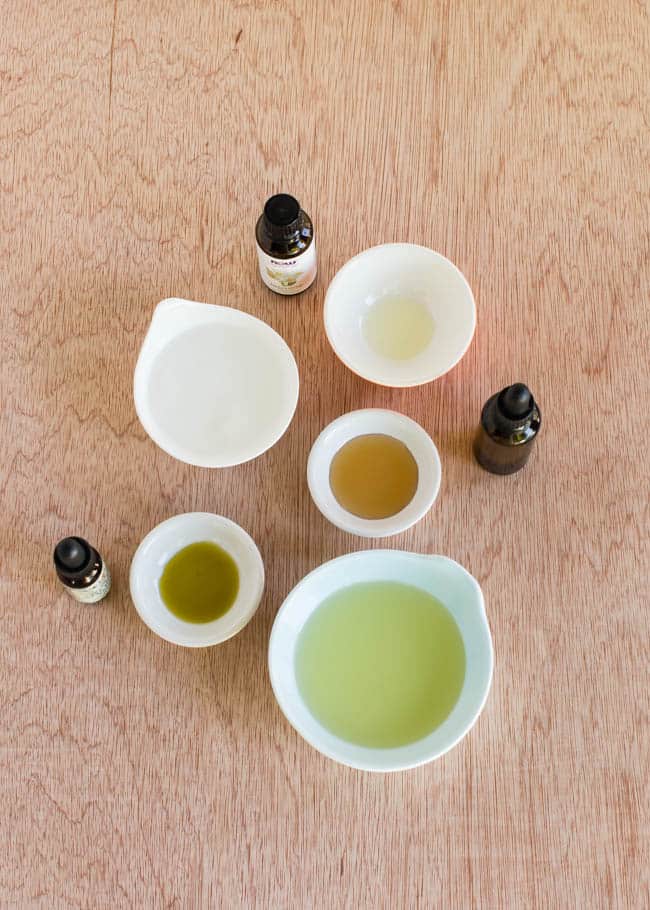
- Castile soap — Because Castile soap is concentrated, it’s crucial to dilute it properly to avoid excessive dryness or irritation. A good starting point is mixing 1 part Castile soap with 2–3 parts water or aloe vera gel. Adjust the ratio based on your skin type—less soap for dry or sensitive skin and slightly more for oily skin.
- Distilled water — Using distilled or filtered water for your face wash helps prevent skin irritation.
- Nourishing ingredients — To enhance the benefits of your face wash, consider adding nourishing ingredients. For example, olive oil can add moisture to the mixture for dry skin, while witch hazel can provide astringent properties for skin that tends to be more on the oily side.
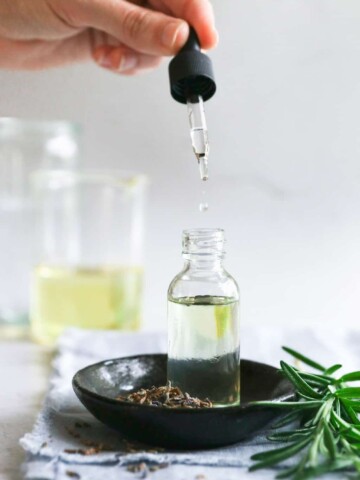
- 5–10 drops essential oils (optional) — Essential oils can provide a pleasant fragrance and additional skincare benefits. Some options include lavender for soothing properties, tea tree for acne-prone skin, or chamomile for sensitive skin. This guide is ideal for choosing an essential oil that works well for your skin type.
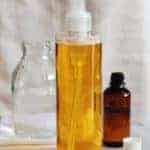
- An empty, clean foaming soap dispenser bottle
Instructions

In a foaming pump dispenser bottle, add the olive oil and essential oils. Then add water, followed by the Castile soap. (Adding the water first helps prevent bubbles.)
Replace the top and gently swirl to combine the ingredients.
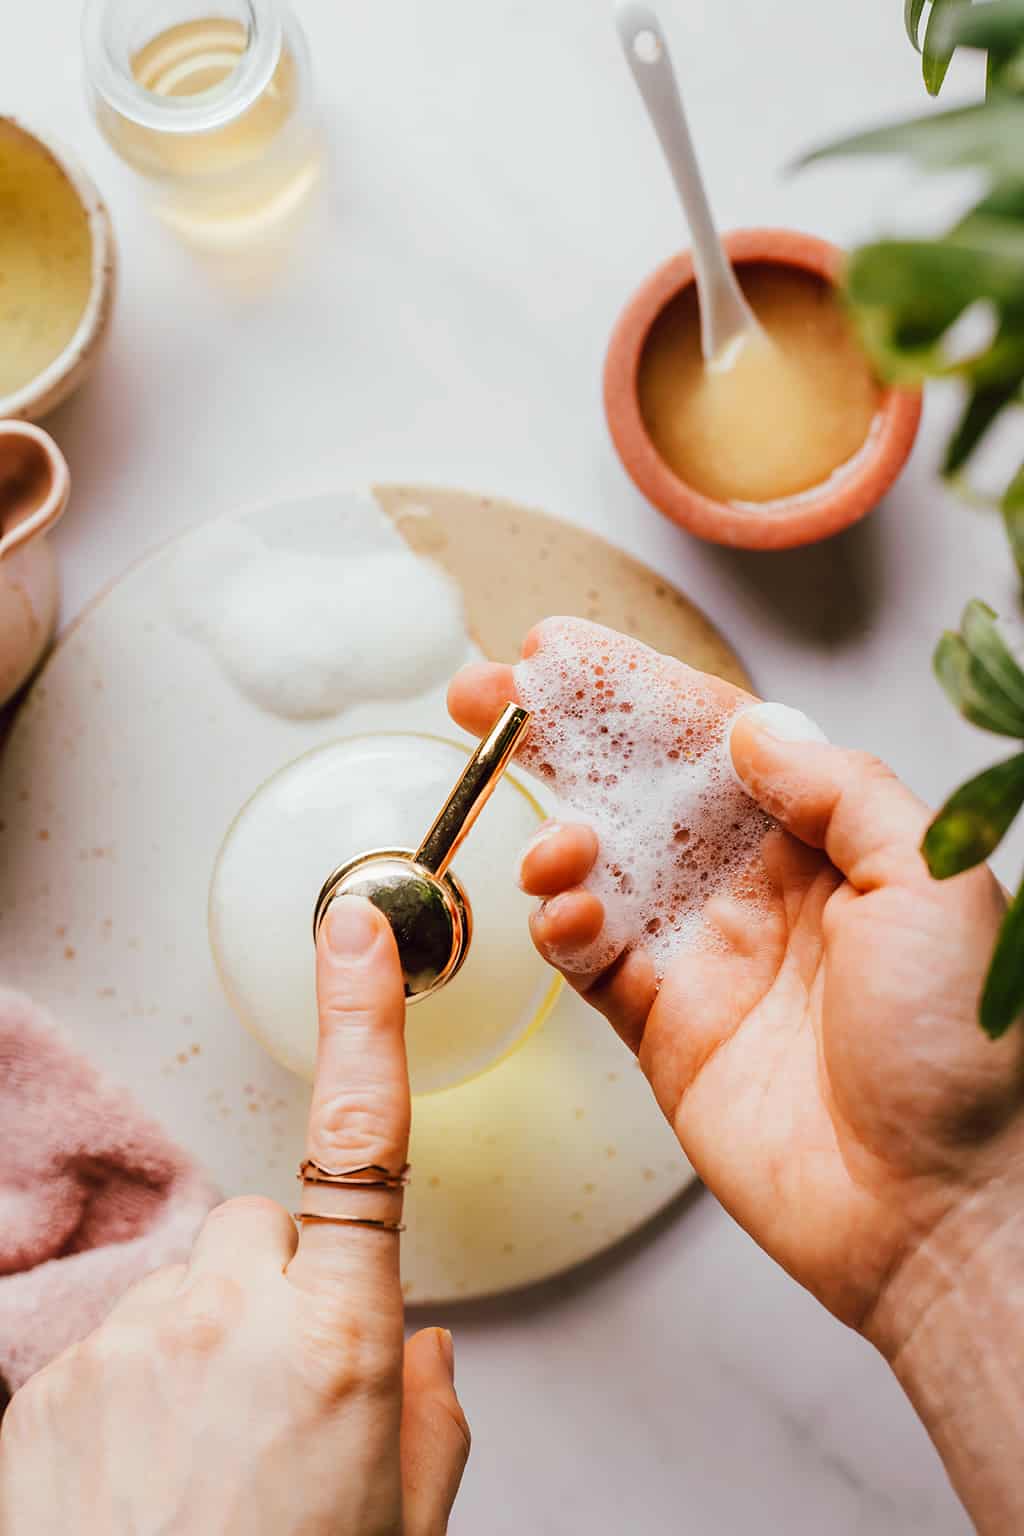
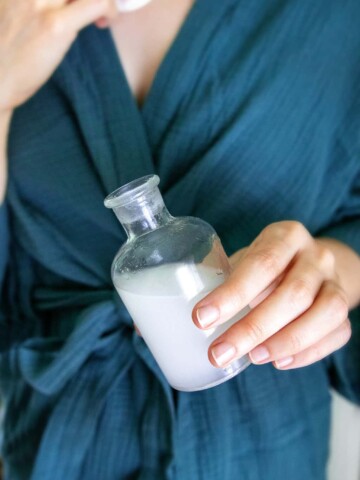
When you’re ready to use your face wash, swirl the bottle first to recombine the ingredients. Pump a small amount into your palm and apply to damp skin.
Working in circular motions, massage the skin as you cleanse. Rinse with warm water when you’re done.
Hint: Massaging your face while you clean is wonderful for lymphatic drainage, and you’ll even hit a few pressure points around the nose that can help clear the sinuses.
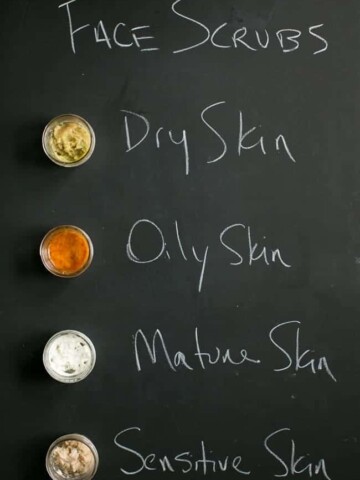
Customizing for Your Skin Type
To enhance the benefits of your face wash, consider adding these ingredients for your skin type:
To fight pimples: Replace olive oil with jojoba or grapeseed oil and add 10 drops of an essential oil for acne, like tea tree or lavender.
To reduce redness: Add 1 tablespoon of raw honey (use warm water to help dissolve) and add 10 drops of frankincense essential oil.
To soothe dry skin: Add a teaspoon of vitamin E oil and use an essential oil for dry skin, like lavender. You can also replace some or all of the ¼ cup of water with aloe vera gel.
To soothe inflammation: Substitute the water for brewed green tea or chamomile hydrosol, and use Roman chamomile essential oil or another essential oil for sensitive skin.
To balance oily skin: Replace ⅛ cup of distilled water with alcohol-free witch hazel and use an essential oil for oily skin.
Usage: 2-Step Cleansing
The best 2-step beauty routine only requires a couple of things: a nourishing oil and a gentle cleanser. From there, you can add serum, moisturizer, eye cream, or anything else you like to target trouble spots—but it’s optional.
Step One: Cleanse with Oil
Cleansing with oil is recommended as the first step to remove makeup and break down any dirt and sunscreen residing on the skin’s surface. This should be done at the end of the day, ideally before bedtime.
To start, you’ll want to choose an oil that’s appropriate for your skin. This guide can help determine which oil is right for you, but here are a few of our favorites:
Next, take a quarter-sized amount of oil and rub it between your hands. Apply it to your face in circular motions, starting at the outer edges and working your way toward the T-zone and eye area. This will keep the oil on the dryer parts of your skin the longest, such as the cheeks.
Massage for at least a minute or two; you can even cleanse your eyelids and lashes with the oil. In fact, oil is wonderful for removing eye makeup and conditioning the eyelashes. Just make sure your eyes remain closed the entire time, or you could experience some eye burning or visual cloudiness.
If you have acne or occasional breakouts, hold a washcloth under hot running water for several seconds. Wring out the washcloth and drape it over your face, allowing the steam to open pores and the oil to sink in.
After a minute, splash your face with warm water to remove the oil and everything else that comes with it.
Step Two: Use a Gentle Homemade Foam Face Cleanser
Now, you’ll want to do a second cleansing using this gentle foaming cleanser. This will remove any excess oil left on the skin.
Equipment
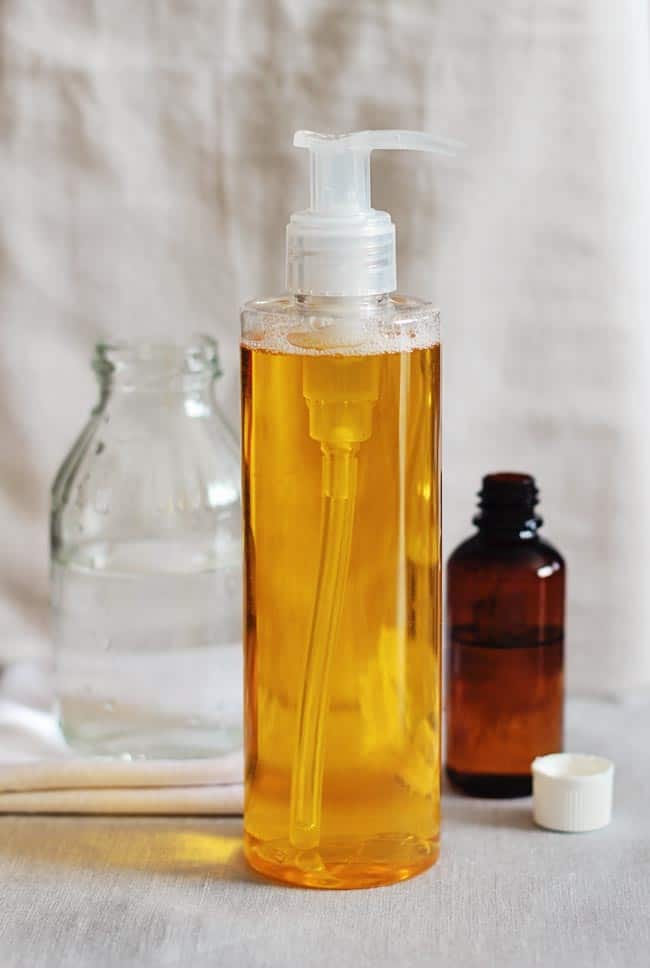
A foaming soap dispenser is a must-have for this recipe. Otherwise, the face wash will be the consistency of water.
They can be kind of pricey, but investing in a few dispensers is worth it. You can use them for everything from face wash to foaming hand soap or shaving cream. They do it all.
Storage
Store the face wash in a clean, airtight container and keep it in a cool, dry place away from direct sunlight.
Since homemade face washes lack preservatives, they have a shorter shelf life than commercial products. It’s best to make smaller batches and use them within 1 to 2 months.
Top tip
Avoid citrus oils: Citrus essential oils like lemon, orange, or grapefruit can be photosensitive and may cause skin reactions when exposed to sunlight. It’s best to avoid using them in your face wash.
FAQ
You can use the foaming face wash twice a day, in the morning and evening, as part of your regular skincare routine.
The effectiveness of makeup removal may vary based on the ingredients used. You can add cleansing oil or gentle makeup remover to the recipe for better results.
While primarily designed for the face, the foaming wash can be used as a gentle body wash, especially for those with sensitive skin.
Yes, you can add essential oils for fragrance, but it’s essential to choose oils that are safe for your skin type and dilute them appropriately. Some essential oils can be irritating to sensitive skin, so do a patch test the first time you use them.
Homemade Foaming Cleanser
Equipment
- Foaming soap dispenser bottle
Materials
- 2 tablespoons Castile soap
- ½ cup distilled water
- 1 tablespoon olive oil
- 10 drops essential oils (such as lavender or chamomile)
Instructions
- Combine the ingredients in a foaming soap dispenser bottle, secure the lid, and give it a good shake.
- Working in circular motions, massage the skin as you cleanse. Not only is it wonderful for lymphatic drainage, but you’ll also hit a few pressure points around the nose that help clear the sinuses. Rinse with warm water when you're done.