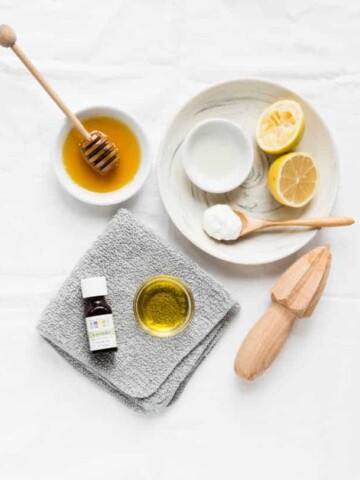
Unlike soap, oil cleansers naturally break down makeup and flush gunk from pores without stripping the skin of vital moisture. Use this shea butter cleansing balm recipe to remove stubborn makeup or just to give your face a gentle cleanse.
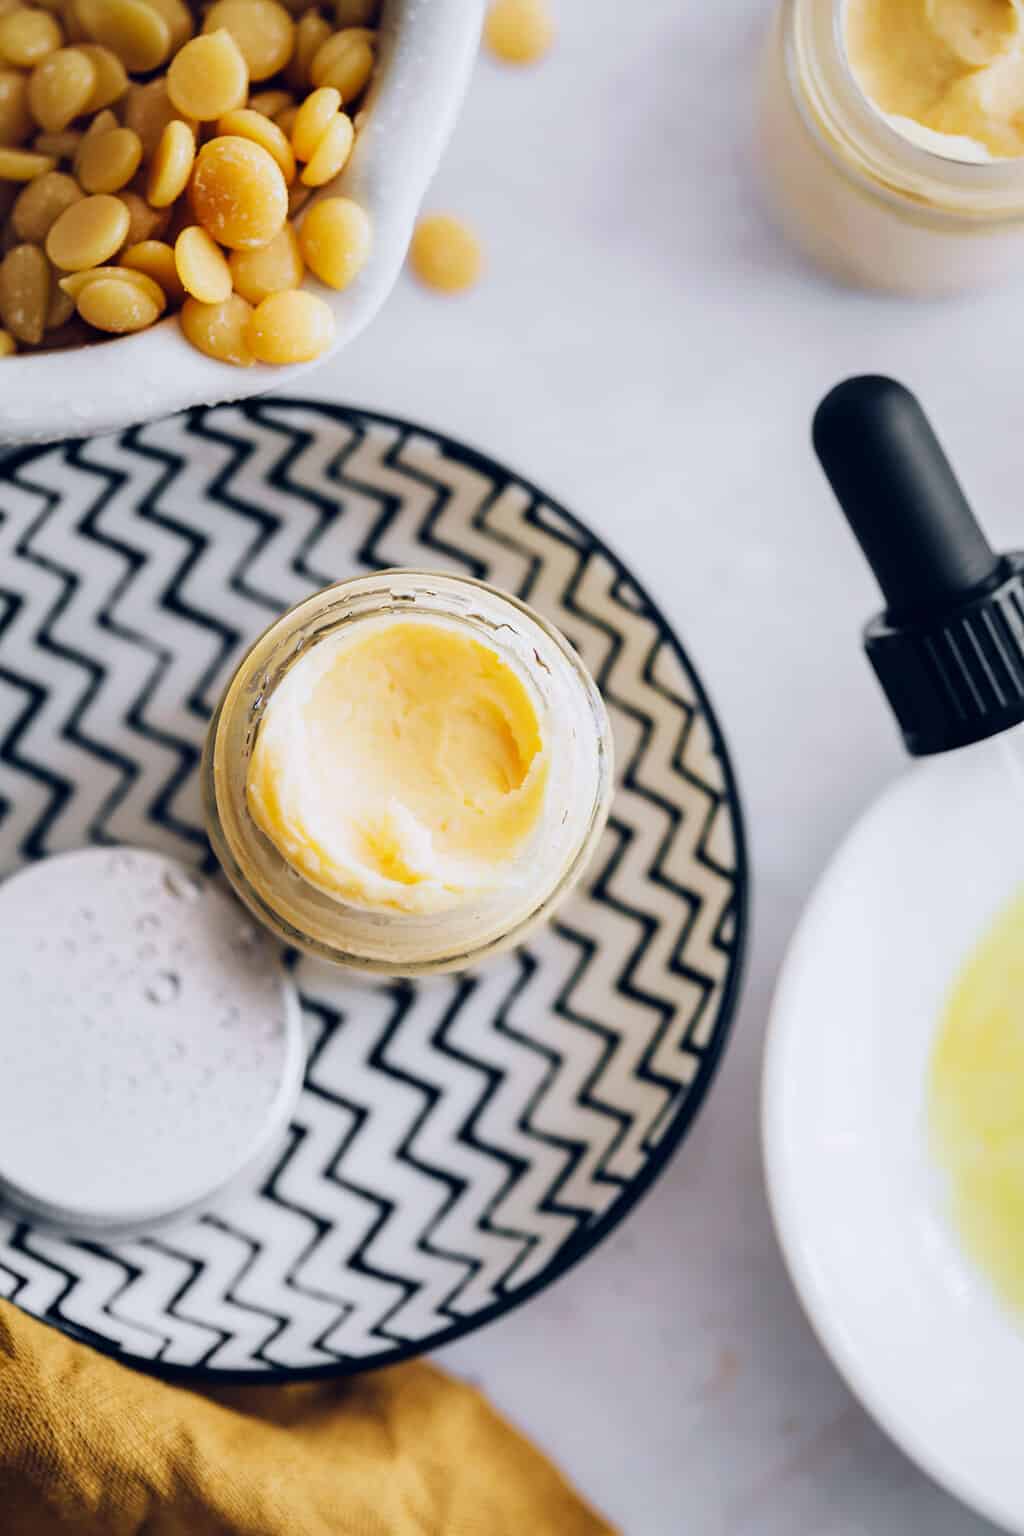
When I was in my teens and twenties, my objective when washing my face was to strip every last bit of oil from my face. Ah, those were the days. Matte was the thing to be back then.
Now that I’m in my late 30s, I’m more into the add-all-the-oil-to-my-face phase. That’s why I’ve been using oil cleansers as the first step of my skincare routine. But more recently, I’ve switched to this DIY Cleansing Balm from Ina De Clercq’s recent book, DIY Beauty, and I’m a total convert.
This DIY Cleansing Balm is a copycat recipe inspired by Goop by Juice Beauty’s Luminous Melting Cleanser. Which, FYI, is a whopping $90. That’s a lot for any budget! So why not make it at home for less?
Jump to:
Ingredients
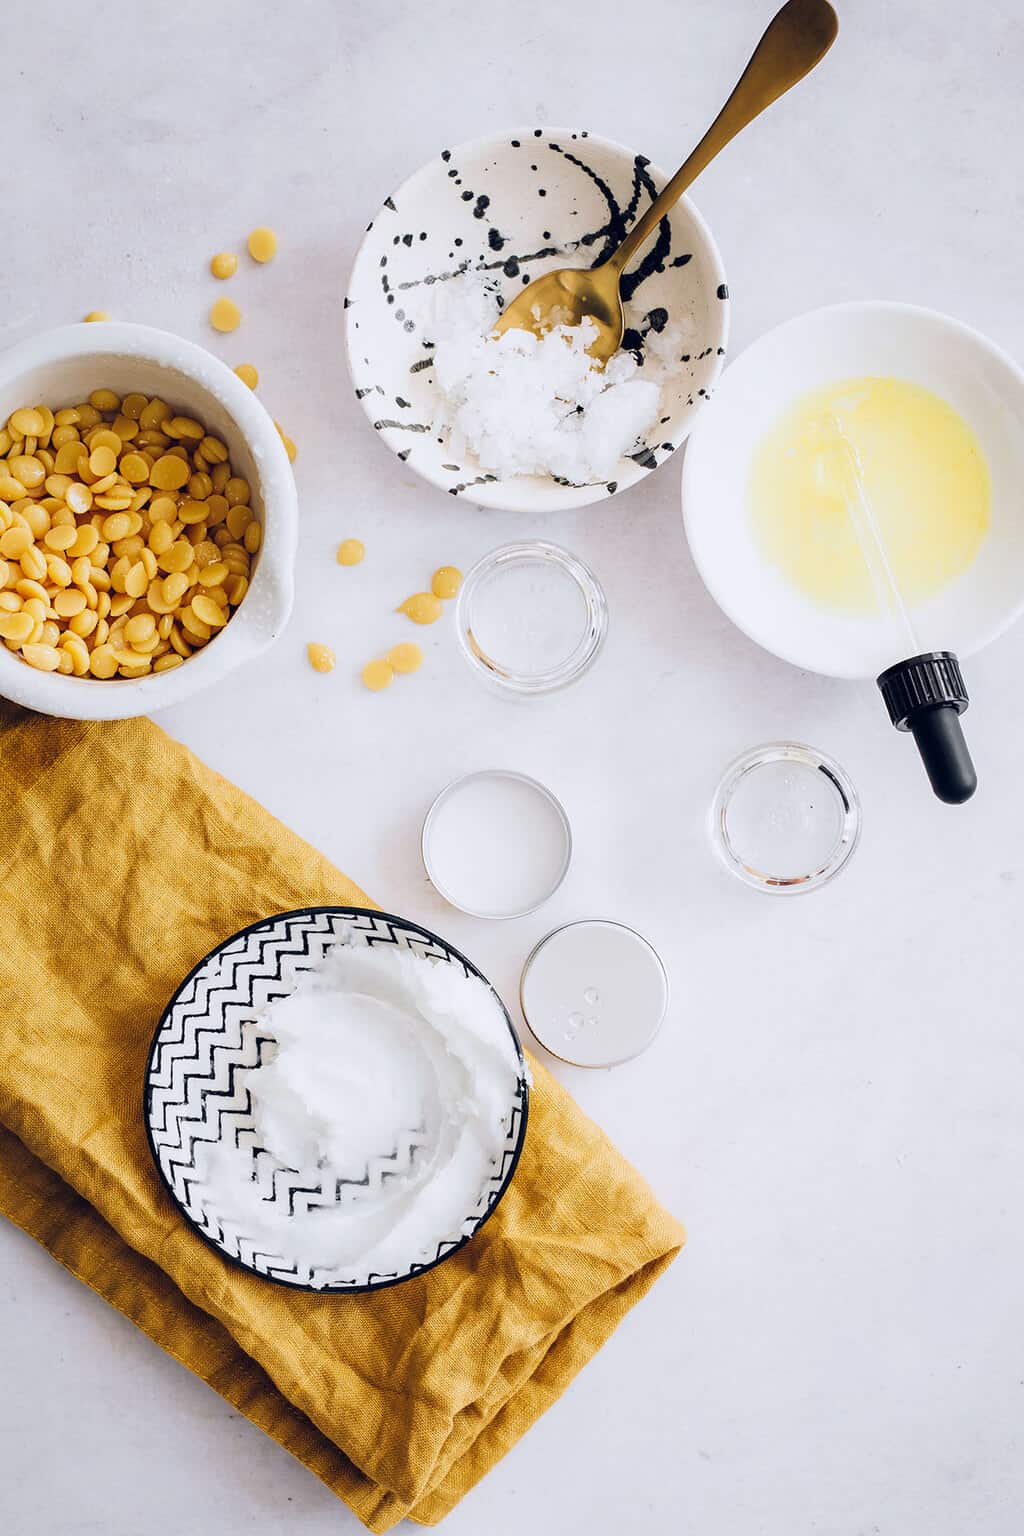
- 0.2 ounce beeswax pellets
- 1.5 ounces shea butter
- 0.4 ounce coconut oil
- 0.4 ounce olive oil
Instructions
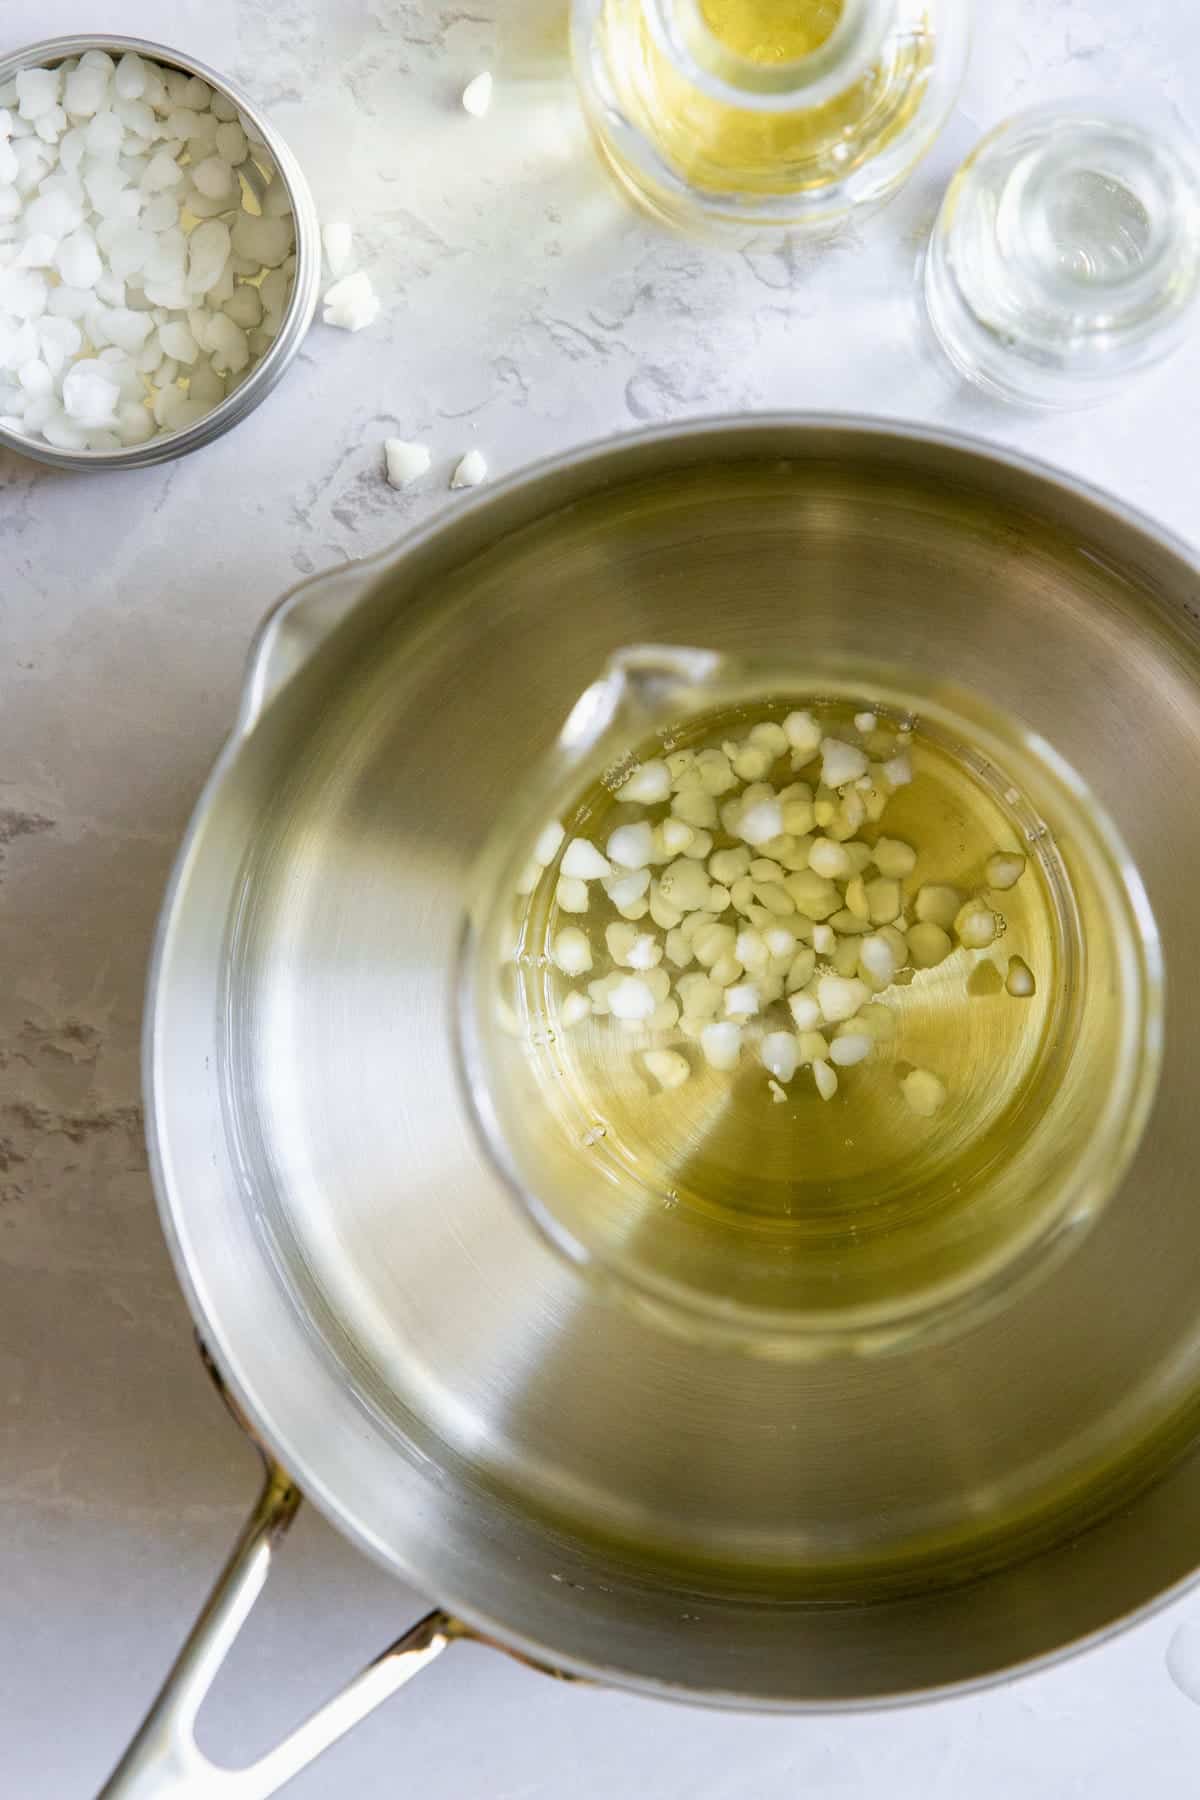
Melt beeswax, shea butter, and coconut oil in a double boiler over medium heat. Stir occasionally until the ingredients have melted.
Moisturizing shea butter is a key ingredient that helps to hydrate and soothe the skin while also providing a protective barrier against environmental stressors.
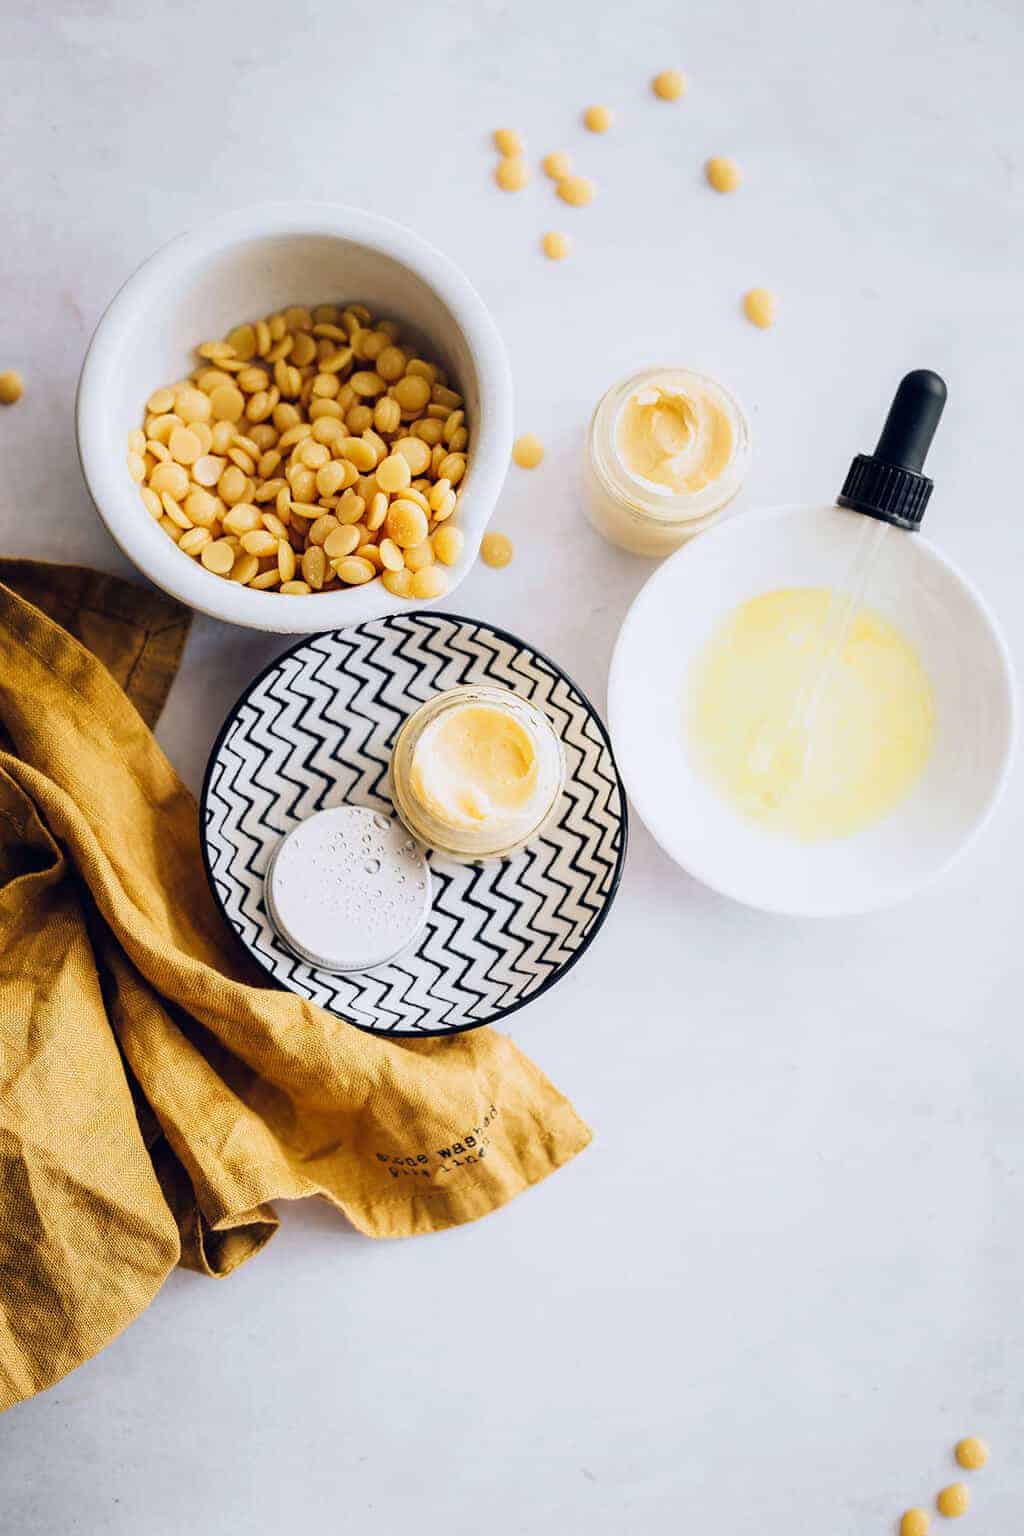
Take the double boiler off the heat and stir in olive oil.
Pour the melted mixture into an airtight container. Let the balm set for 2–3 hours before use. Place it covered in the refrigerator to quicken the cooling process.
Hint: Try adding baking soda for gentle exfoliation or a few drops of vitamin E oil for additional skin nourishment.
Essential Oils for Cleansing Balms
If you’re tackling a specific skin issue, you may want to add up to 15 drops of essential oil to the cleansing balm as you make it.
- Sensitive skin: Lavender essential oil can help reduce redness, irritation, and inflammation on the skin [source], making it ideal for sensitive or acne-prone skin.
- Breakouts: Try tea tree oil if you’re one of those unlucky people who deal with dry skin, inflammation, and breakouts at the same time [source]. (That would be me.)
- Oily or dry skin: Geranium essential oil is said to help balance oil production in the skin, making it suitable for both dry and oily skin types. It also has a sweet floral scent that adds a pleasant fragrance to the cleansing balm.
- Aging skin: Frankincense essential oil is known for its anti-inflammatory, rejuvenating, and healing properties [source]. It contains compounds that have been shown to relax the skin, softening fine lines [source].
If you are continuing to experience skin irritation, contact your dermatologist for further guidance.
Variation: Clay Cleansing Balm
- 2 tablespoons jojoba oil
- 1 teaspoon coconut oil
- ½ teaspoon beeswax
- 2 teaspoons bentonite clay
- 1 teaspoon baking soda (optional for a bit of exfoliating texture)
- 10 drops frankincense essential oil
Bring 2 inches of water to boil in a small saucepan. Reduce the heat to low.
Measure out the beeswax and put it in a heat-proof measuring cup or bowl. Place the dish in the saucepan and melt the beeswax.
Add the coconut oil and melt together. Remove from the heat and add the jojoba oil and stir. Add the clay, baking soda, and essential oil. Stir to combine and allow the mixture to cool slightly.
Transfer to a small container with a lid.
Storage
Store your cleansing balm in a 3-ounce container in a cool, dry place. Keep all water out of the container. This balm can keep for up to 6 months without needing refrigeration.
The shelf life of a DIY cleansing balm will depend on the ingredients you’ve used. To extend the shelf life, keep the balm in a cool, dry place away from direct sunlight, and make sure to use clean hands when applying.
Using Cleansing Balm
The best time to apply a cleansing balm is at night before bed to remove makeup and grime from the day. However, if you have dry or sensitive skin, you can also use it in the morning as part of your AM beauty routine. Just make sure to rinse well if you plan on applying makeup afterward.
Dampen your face with warm water. Then warm up a small amount of balm by rolling it between your palms and gently massage it onto your face.
The balm will melt into an oil as you massage it into your skin, and it will effectively dissolve any makeup or dirt that is on your skin.
Use a warm, damp washcloth or cleansing cloth to wipe away the balm and makeup residue. Follow with a mild toner or flower water to remove all traces of the cleansing balm. Or do a 2-step cleansing and use another mild foaming cleanser afterward.
Top Tip
Cleansing balms are a great option for those with dry or sensitive skin because they are gentle and do not strip the skin of its natural oils. They are also effective at removing even waterproof makeup, making them a versatile addition to any skincare routine.
FAQ
A DIY cleansing balm is a skincare product that is made at home using natural ingredients. It is used to remove makeup and impurities from the face while providing nourishment to the skin. A cleansing balm is typically made with a combination of oils, butters, and essential oils.
As we age, oil production lessens, and the result is drier skin. While breakouts tend to be fewer, the skin can look or feel parched due to this hormonal shift. So it is normal for a typically oily skin type to transform over the years into a combination or even dry skin type.
Sure, you can add a variety of essential oils. Frankincense is a beautiful anti-inflammatory oil to include in your balm recipe [source]. Geranium calms inflammation as well [source], along with chamomile [source].
Depending on the climate or temperature of the room you store the balm in, it could affect the firmness or liquidity. If you’re having trouble keeping your cleansing balm solid after the initial refrigeration, feel free to pop it back in the fridge to solidify it again.
The shelf life of a DIY cleansing balm will depend on the ingredients you’ve used. Typically, a balm made with natural ingredients and without preservatives will last around 3 to 6 months. To extend the shelf life, keep the balm in a cool, dry place away from direct sunlight, and make sure to use clean hands when applying.
Yes, you can remove eye makeup with a DIY cleansing balm, but it is important to be gentle and avoid getting any into the eyes. Use a small amount of the balm and gently massage it onto the eyelids and lashes before rinsing it off with warm water.
Whether or note a cleansing balm will clog your pores depends on various factors, including your skin type, the specific ingredients used, and how your skin reacts to those ingredients. Before using a new cleansing balm on your face, it's a good idea to perform a patch test on a small area of your skin, such as your jawline or wrist. This can help you determine if the product will clog your pores.
Shea Butter Cleansing Balm Recipe
Equipment
- 3-ounce airtight container
Materials
- 0.2 ounce beeswax pellets
- 1.5 ounces shea butter
- 0.4 ounce coconut oil
- 0.4 ounce olive oil
Instructions
How to Make:
- Melt beeswax, shea butter, and coconut oil in a double boiler over medium heat. Stir occasionally until the ingredients have melted.
- Take the double boiler off the heat and stir in olive oil.
- Pour the melted mixture into the airtight container. Let the balm set 2–3 hours before use. Place covered in the refrigerator to quicken the cooling process.
How to Use:
- Dampen your face with warm water. Take a chickpea-sized amount of balm out of the container using a spoon, a spatula, or clean, dry fingers.
- Apply the balm to your face and gently massage into the skin with your fingertips.
- You can use this balm to carefully remove eye makeup, too. Just make sure you don’t get any in your eyes.
- Use a warm, damp washcloth to wipe away the cleansing balm and makeup residue. Follow with a mild toner or flower water to remove all traces of the cleansing balm.
Notes
References
Cardia GFE, et al. Effect of lavender (Lavandula angustifolia) essential oil on acute inflammatory response. Evid Based Complement Alternat Med. 2018.
Malhi HK, et al. Tea tree oil gel for mild to moderate acne; a 12 week uncontrolled, open-label phase II pilot study. Australia J Dermatol. 2017.
Hamidpour R, et al. Frankincense (乳香 Rǔ Xiāng; Boswellia species): from the selection of traditional applications to the novel phytotherapy for the prevention and treatment of serious diseases. J Tradit Complement Med. 2013.
Qurishi Y, et al. Potential role of natural molecules in health and disease: importance of boswellic acid. J Med Plant Res. 2010.
Li XJ, et al. α-Pinene, linalool, and 1-octanol contribute to the topical anti-inflammatory and analgesic activities of frankincense by inhibiting COX-2. J Ethnopharmacol. 2016.
Narnoliya LK, et al. The phytochemical composition, biological effects and biotechnological approaches to the production of high-value essential oil from geranium. Essential Oil Research. 2019.
Lee SH, et al. Effect of German chamomile oil application on alleviating atopic dermatitis-like immune alterations in mice. J Vet Sci. 2010.

