Few makeup mishaps are more frustrating than bad eyeliner. Even the best eyeliner can streak, smear, and flake at the worst possible time. The good news is, if you’re looking for a homemade eyeliner that looks and acts like the pricey one you’re used to, your search is over. Read on to learn how to make eyeliner in 3 ways—from the classic precision of a pencil to the bold intensity of liquid to the versatile charm of pressed powder.
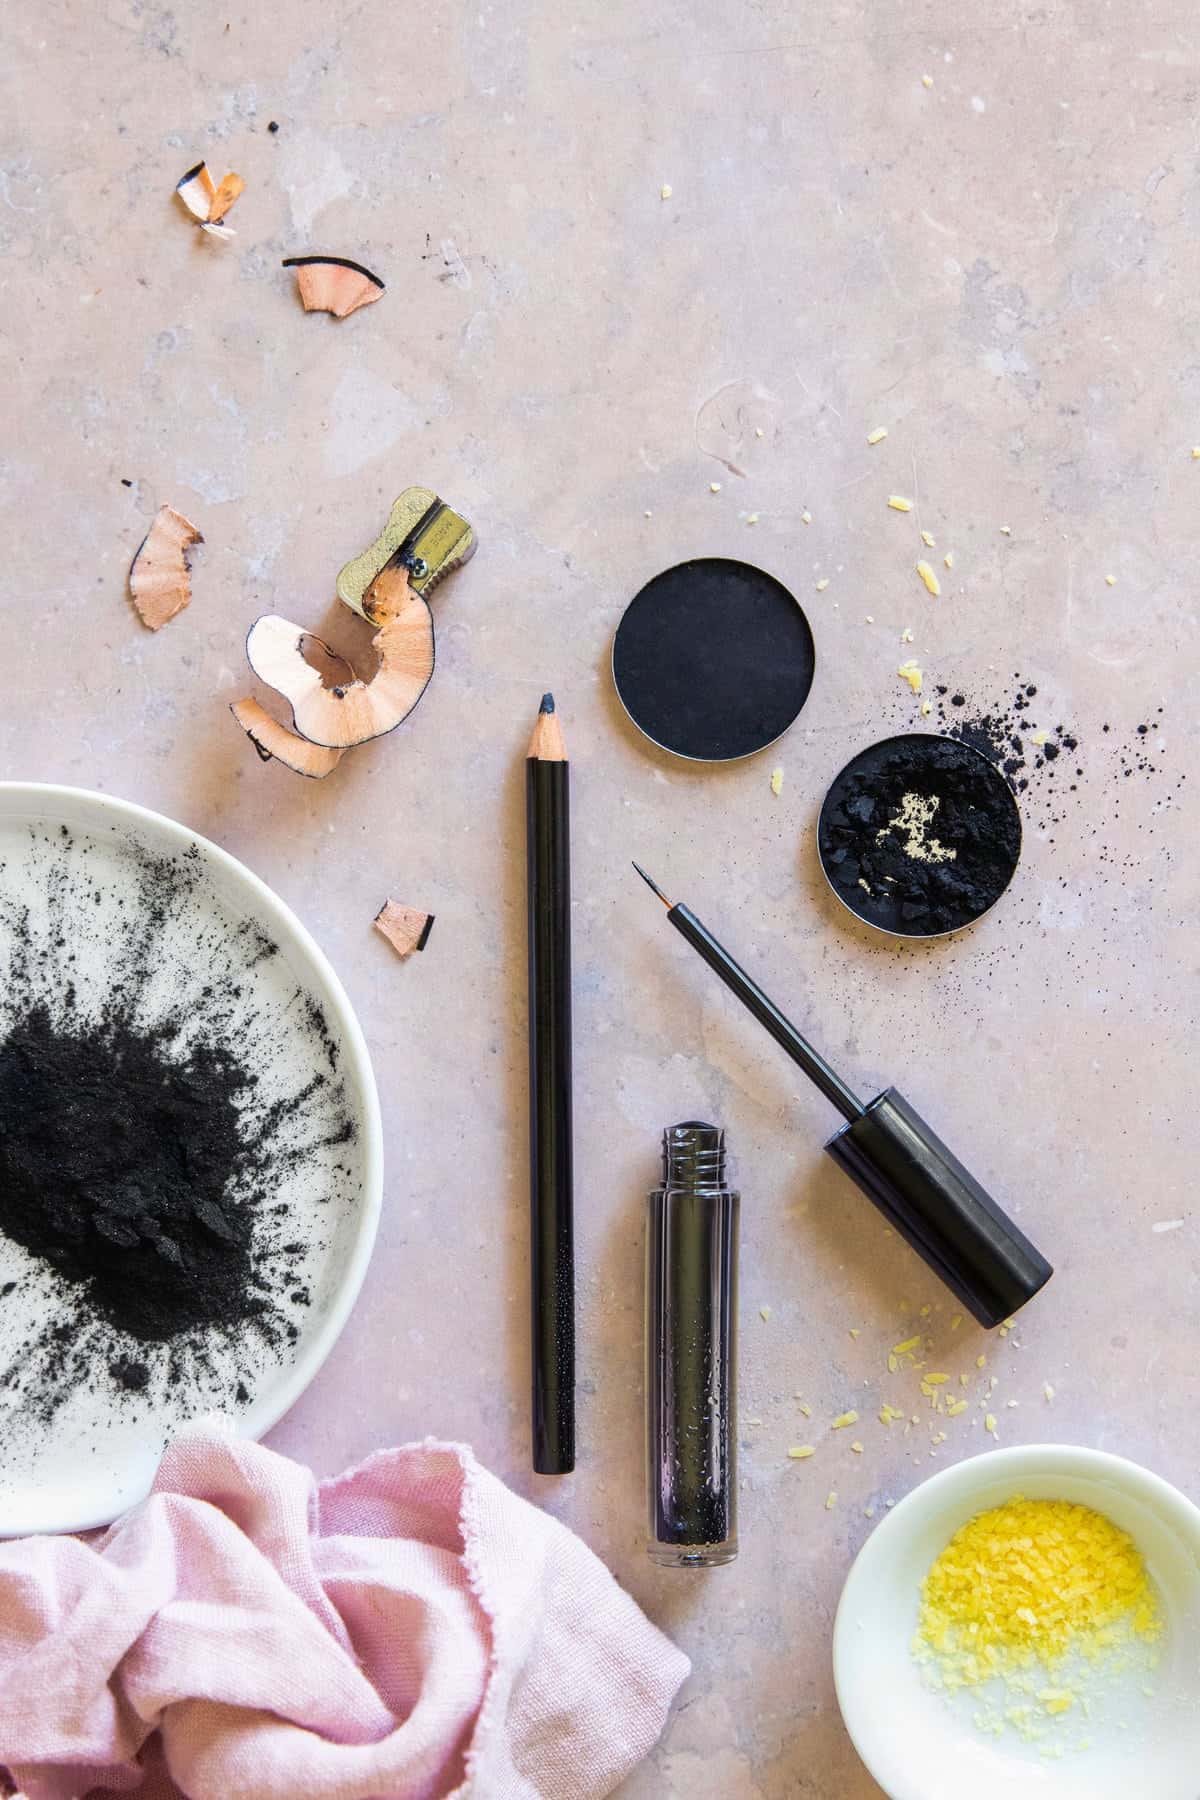
If you’re new to making your own makeup, I recommend starting with either the pressed powder eyeliner or the liquid liner since they require fewer supplies and know-how. Then, when you feel ready, try your hand at making eyeliner pencils and even homemade mascara.
And if you’re not ready to DIY, check out our clean eyeliner picks!
Jump to:
1. How to Make Eyeliner Pencil
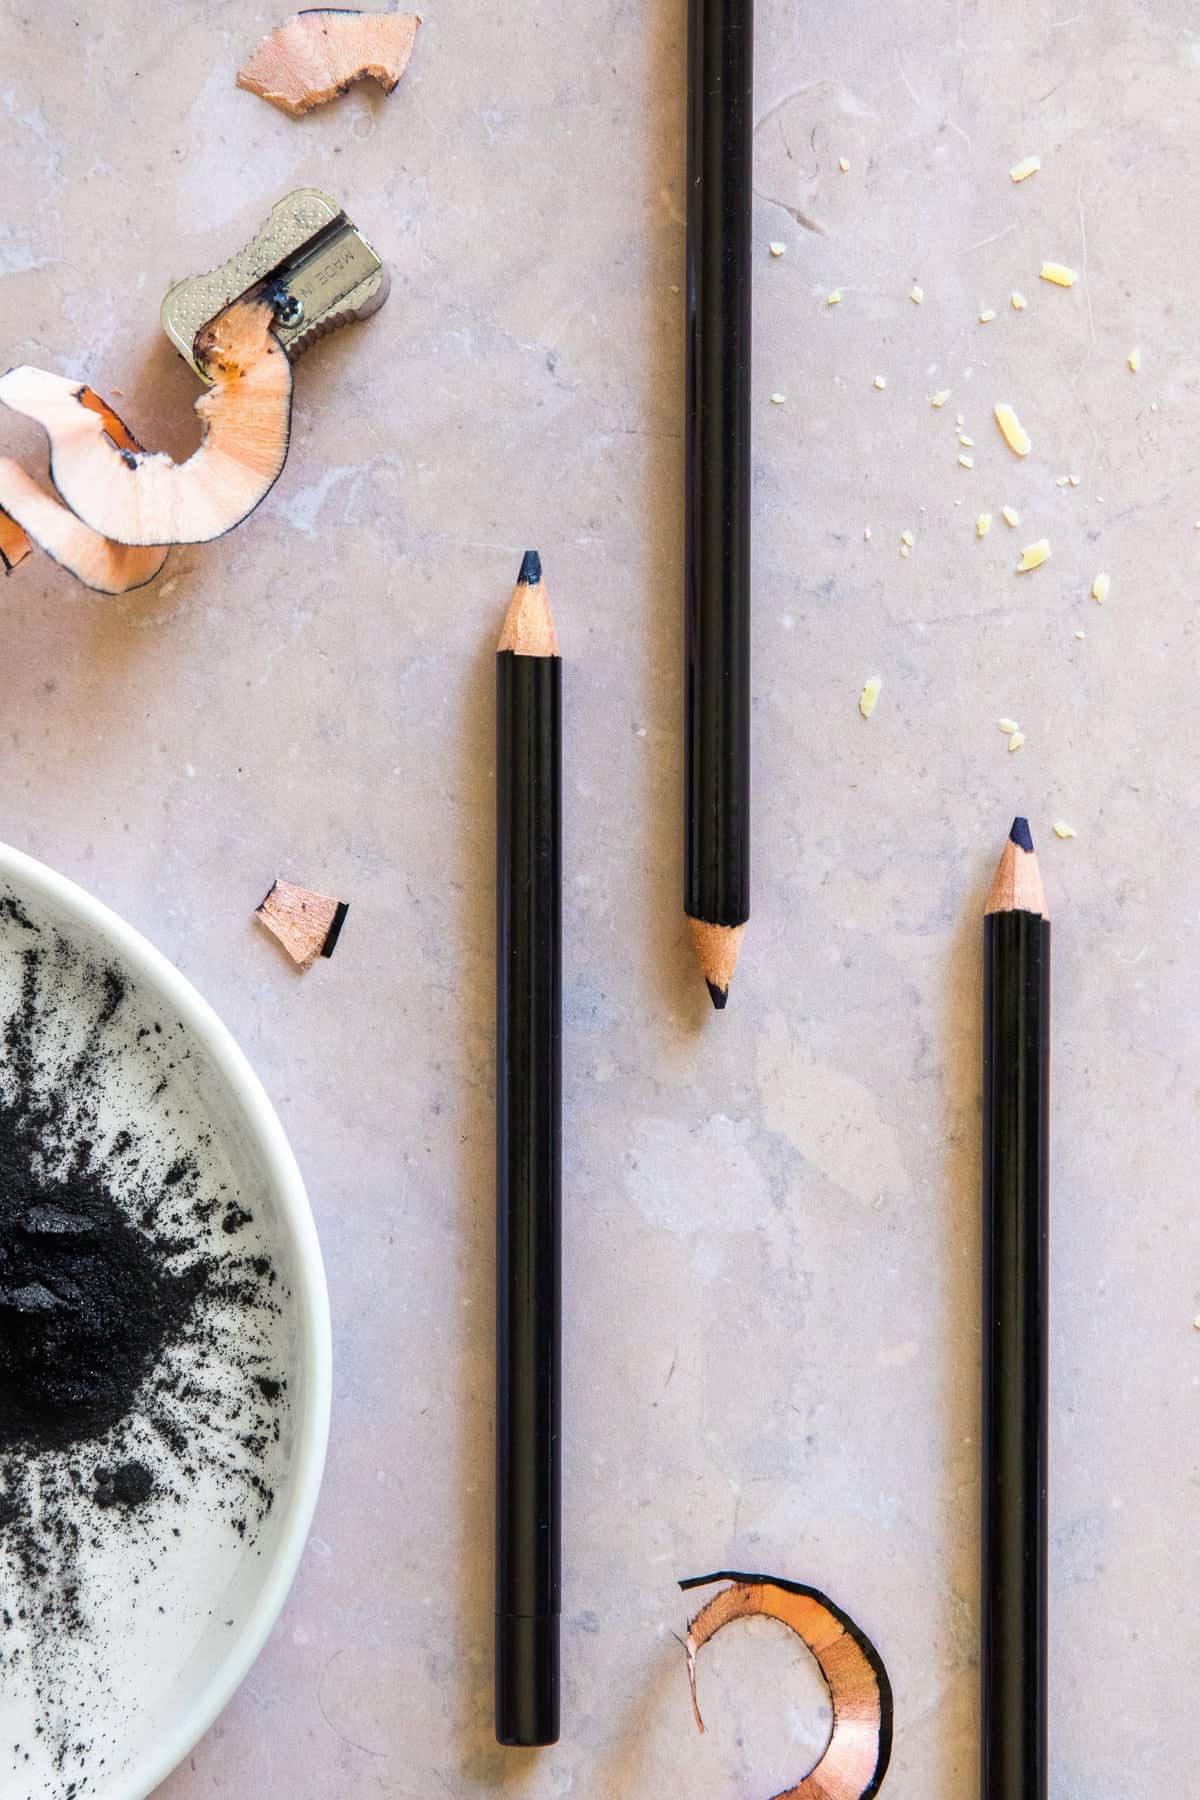
Making your own pencil eyeliner unlocks a range of benefits that go beyond simply detoxing your makeup routine. Using a variety of iron oxide powders, you can tailor the color to your own tastes and preferences.
And you can also customize the ingredients to meet your body’s needs. Allergic to a particular oil? Swap in any skin-safe oil of your choosing. Vegan? Replace beeswax with extra candelilla wax. Want some shimmer? Add a pinch of mica powder.
Just note that tweaking the recipe may affect the texture of the final product, so make sure to take thorough notes as you go.
Ingredients
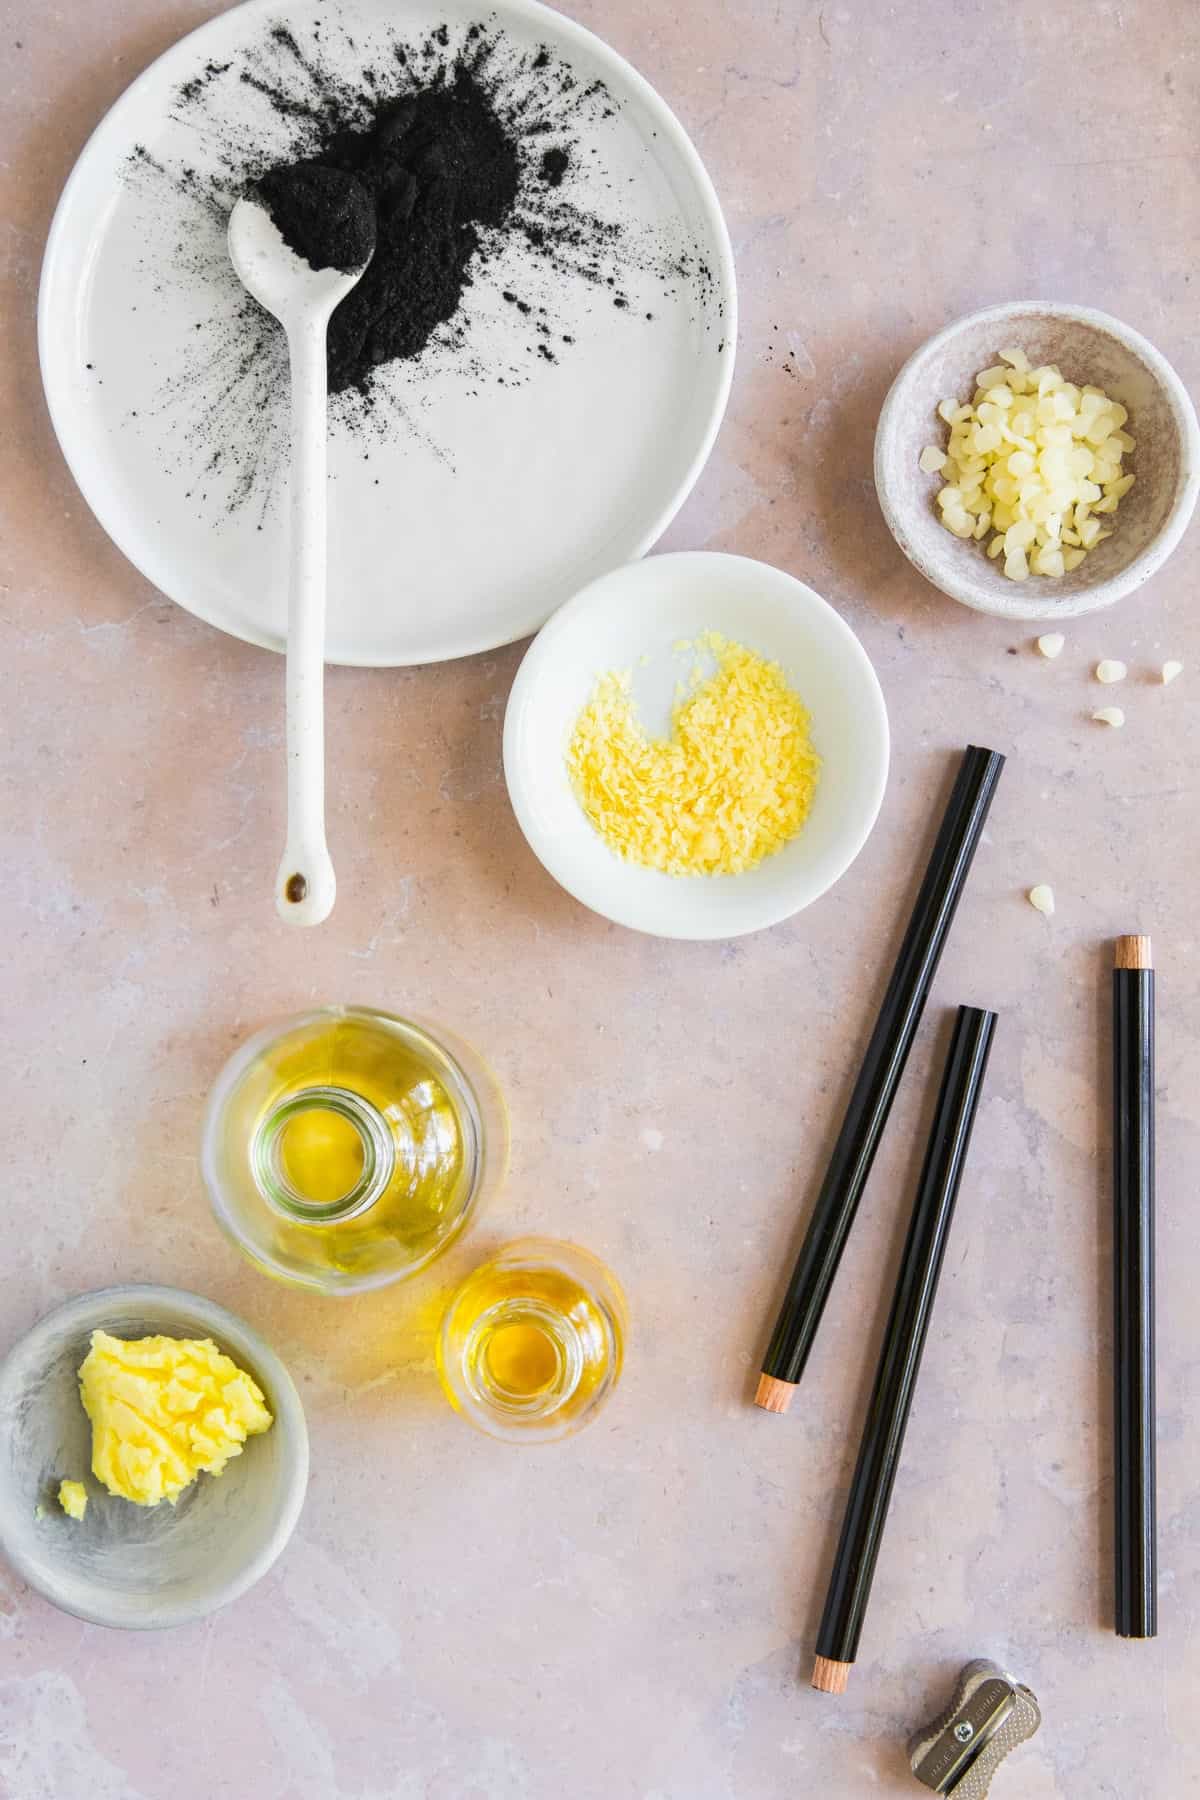
- 0.2 ounce beeswax
- 0.2 ounce candelilla wax
- 0.2 ounce palm shortening
- 0.2 ounce almond oil
- 0.2 ounce castor oil
- 0.1 ounce iron oxide (or activated charcoal)
- 0.01 ounce vitamin E oil
- Microwave-safe bowl
- Spoons
- Precise kitchen scale
- Syringe without the needle
- Empty eyeliner pencils
- Paper towels
Makes 3–4 pencils
Instructions
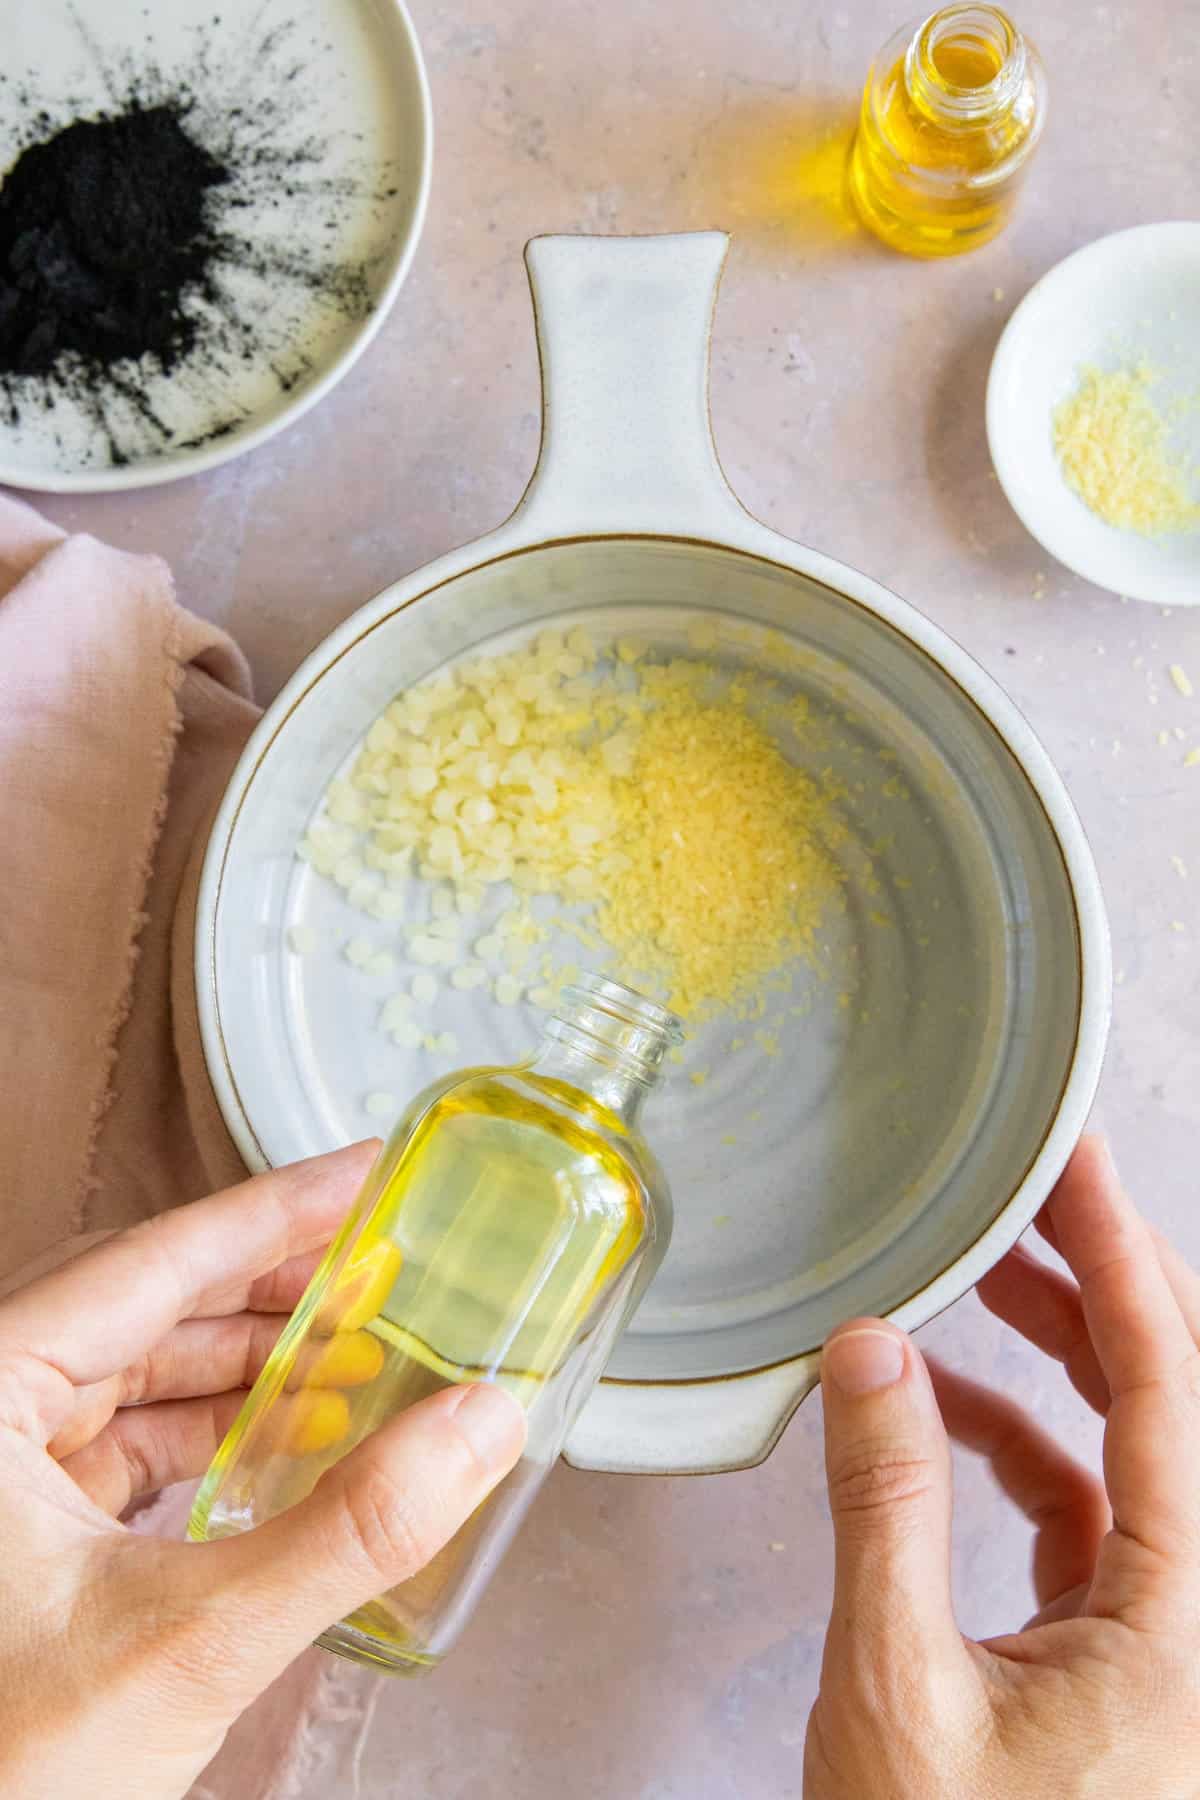
In a heat-resistant bowl, combine the beeswax, candelilla wax, palm shortening, almond oil, and castor oil. Heat in the microwave in 30-second intervals until the waxes and shortening are completely melted. Stir occasionally to help them blend.
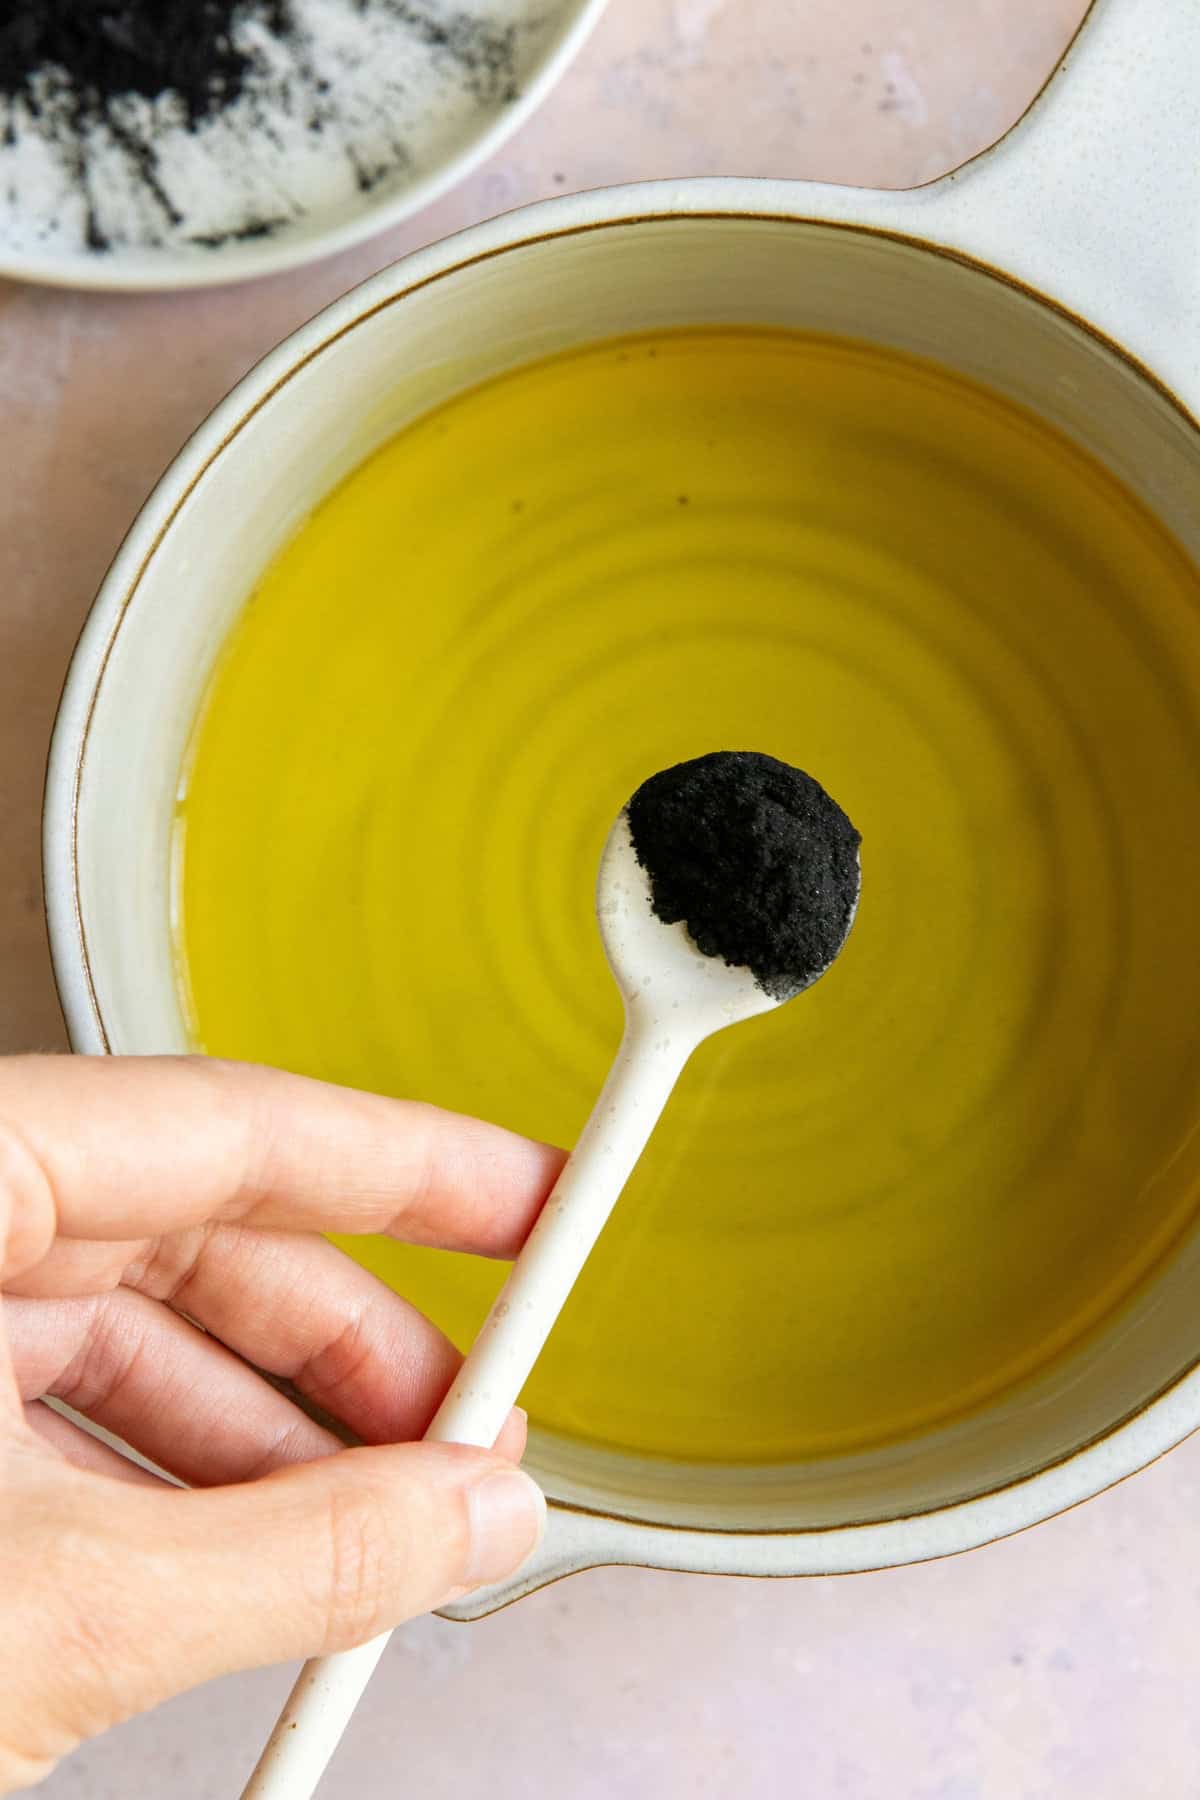
Add the vitamin E oil and black iron oxide powder to the mixture, stirring continuously. Adjust the amount of iron oxide to achieve your desired eyeliner color. Keep in mind that the color may change slightly as the mixture cools.
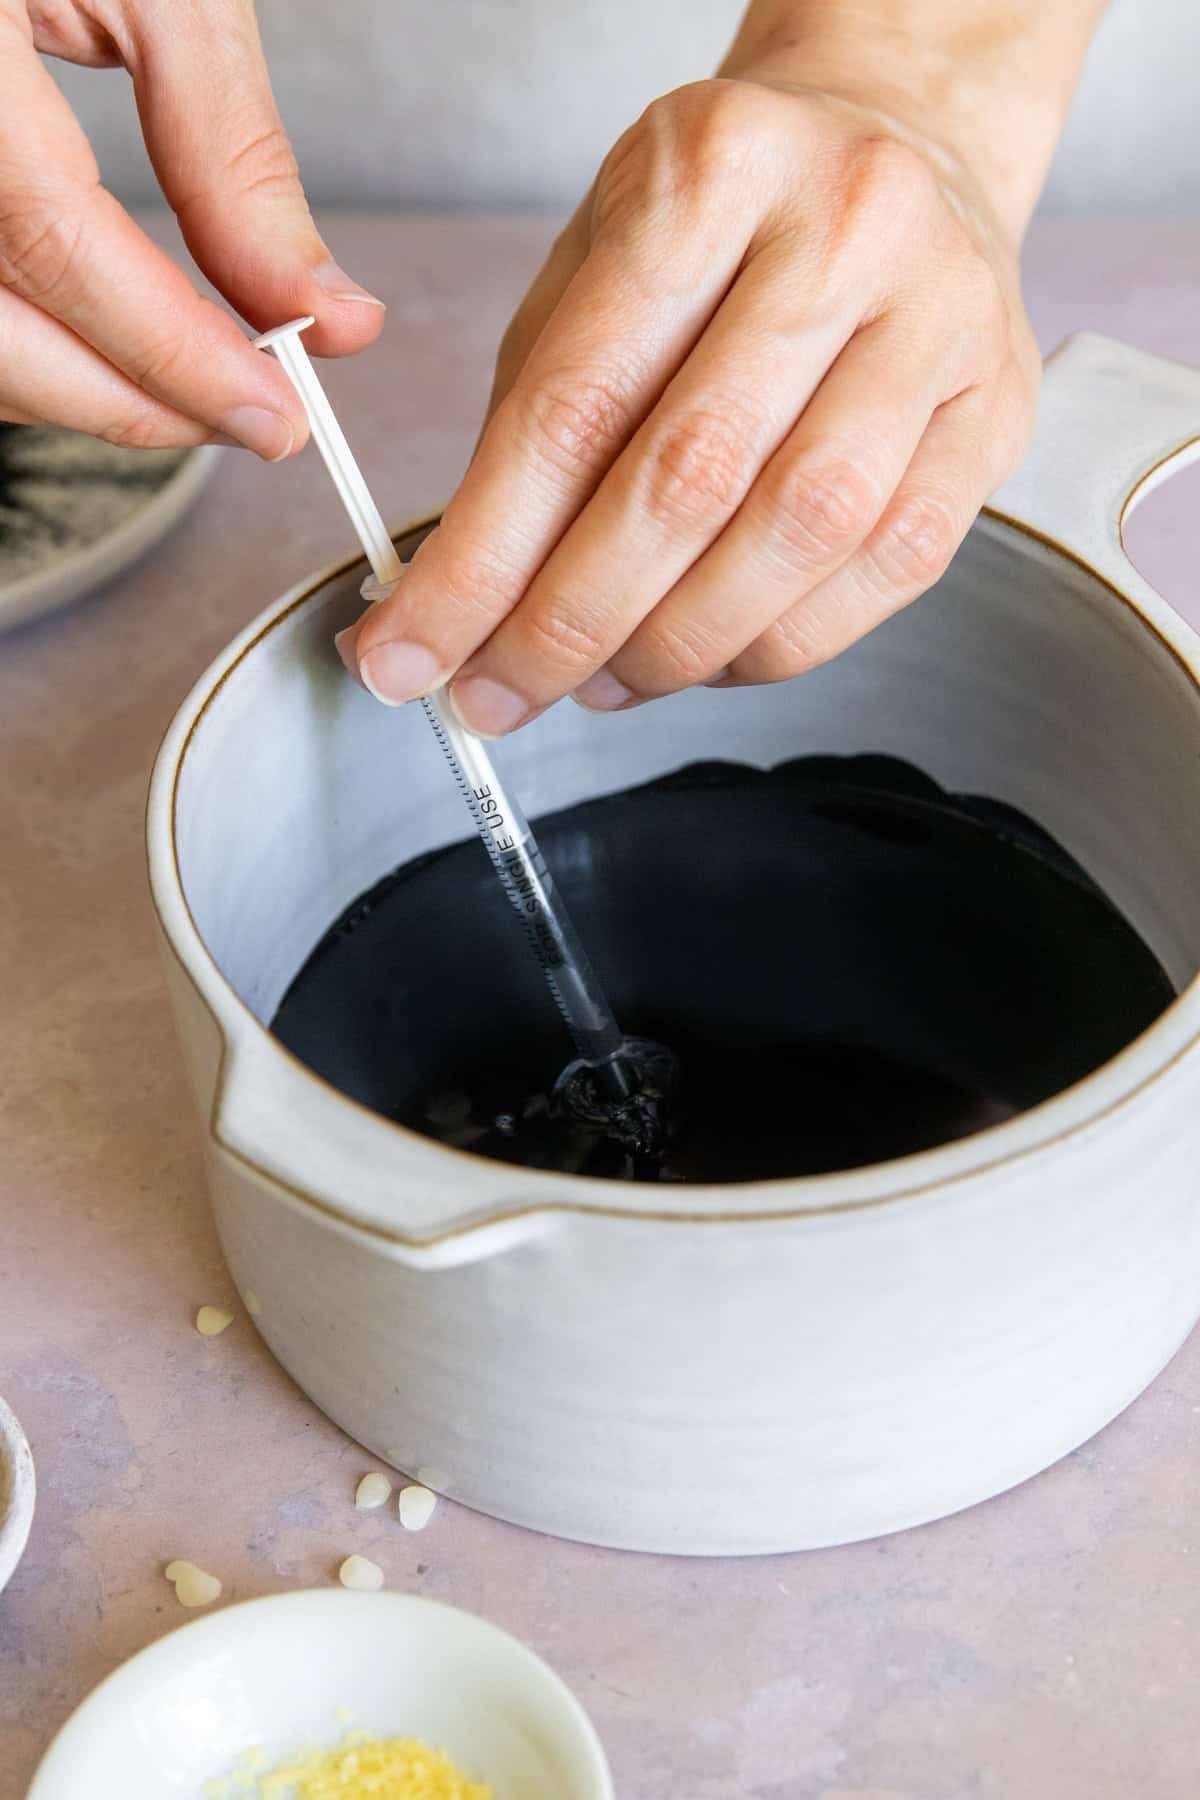
This next step can get pretty messy, so make sure to lay several paper towels over your work area and keep a roll of clean paper towels nearby.
While the wax is still hot, draw some of the mixture into a needless syringe.
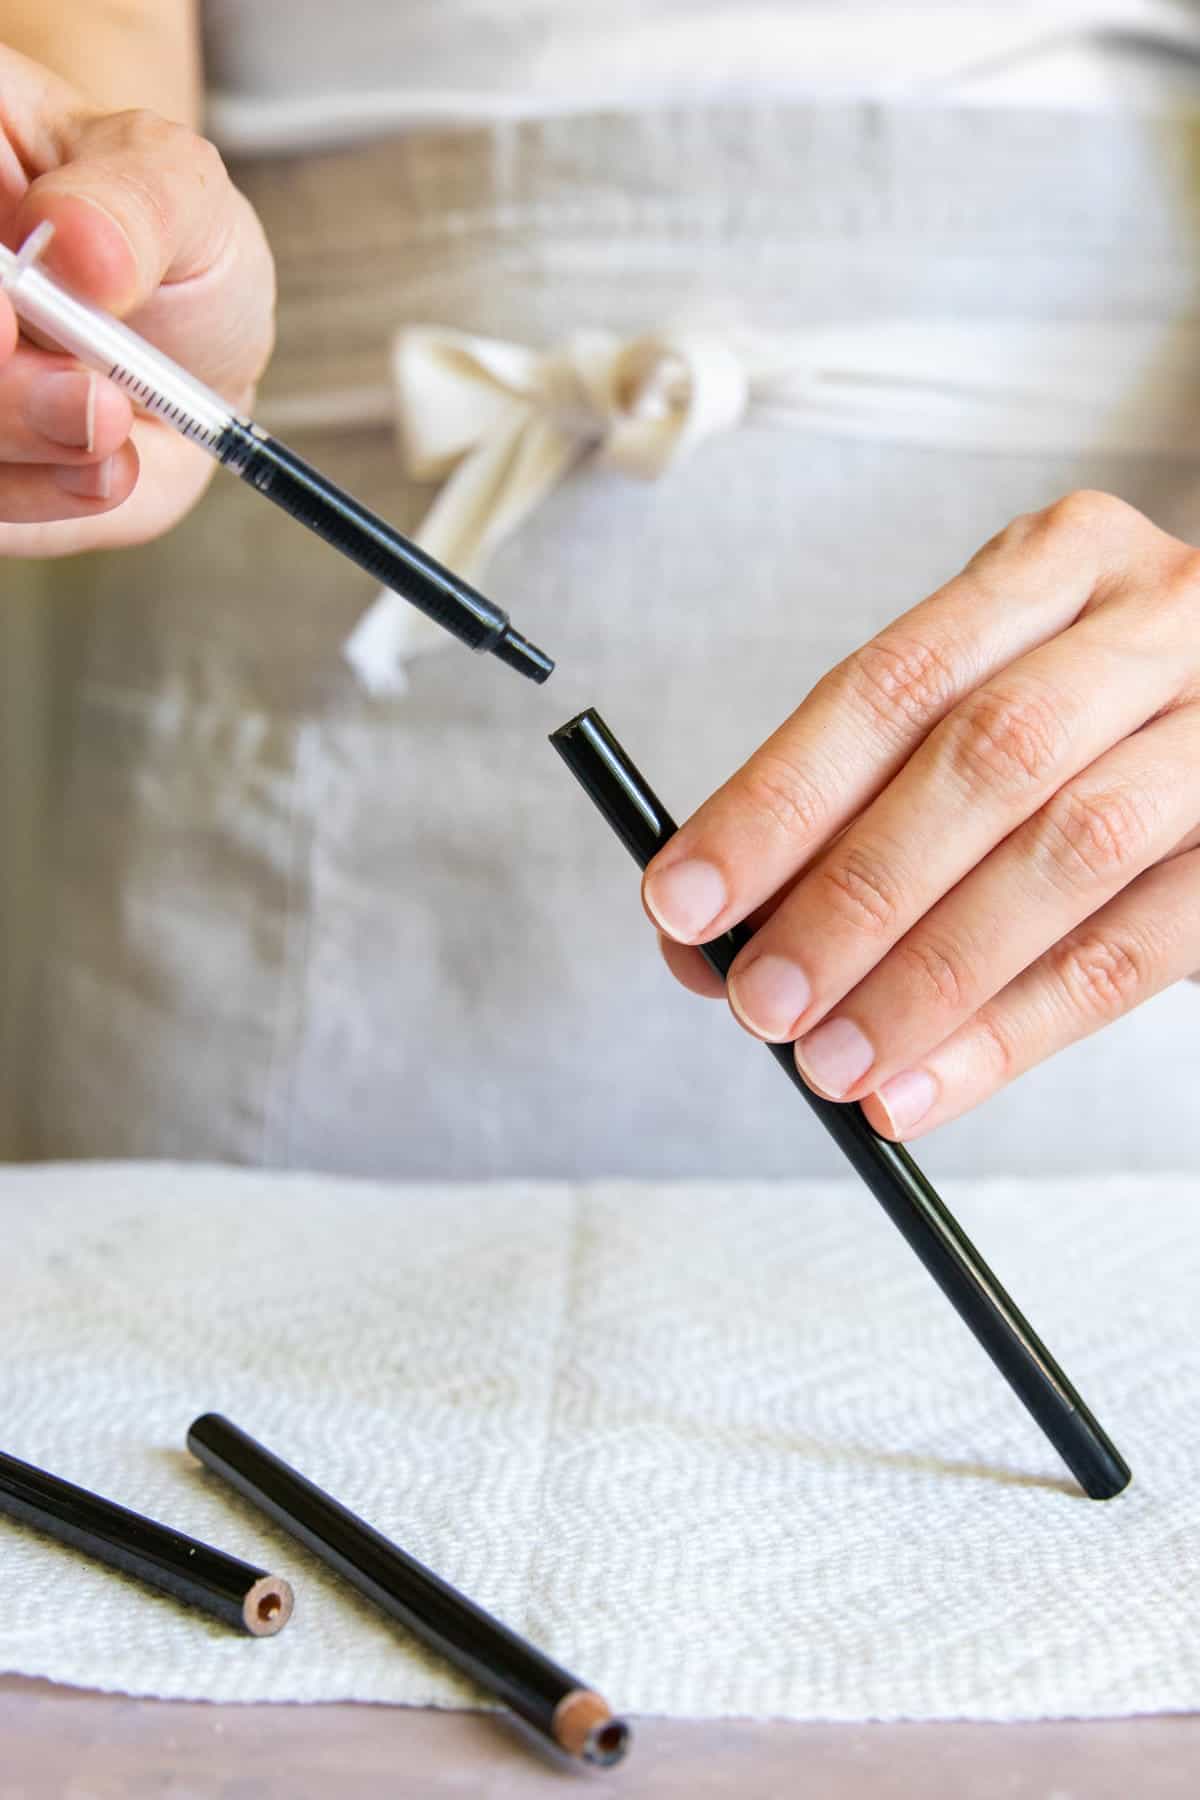
Moving as quickly as you can, transfer the mixture into the empty pencil casings (make sure to put the end cap on the pencil before filling!) Fill them to the top, as the mixture will shrink slightly as it cools and solidifies. If the mixture shrinks a little too much as it cools, add more of the melted oil mixture as best you can.
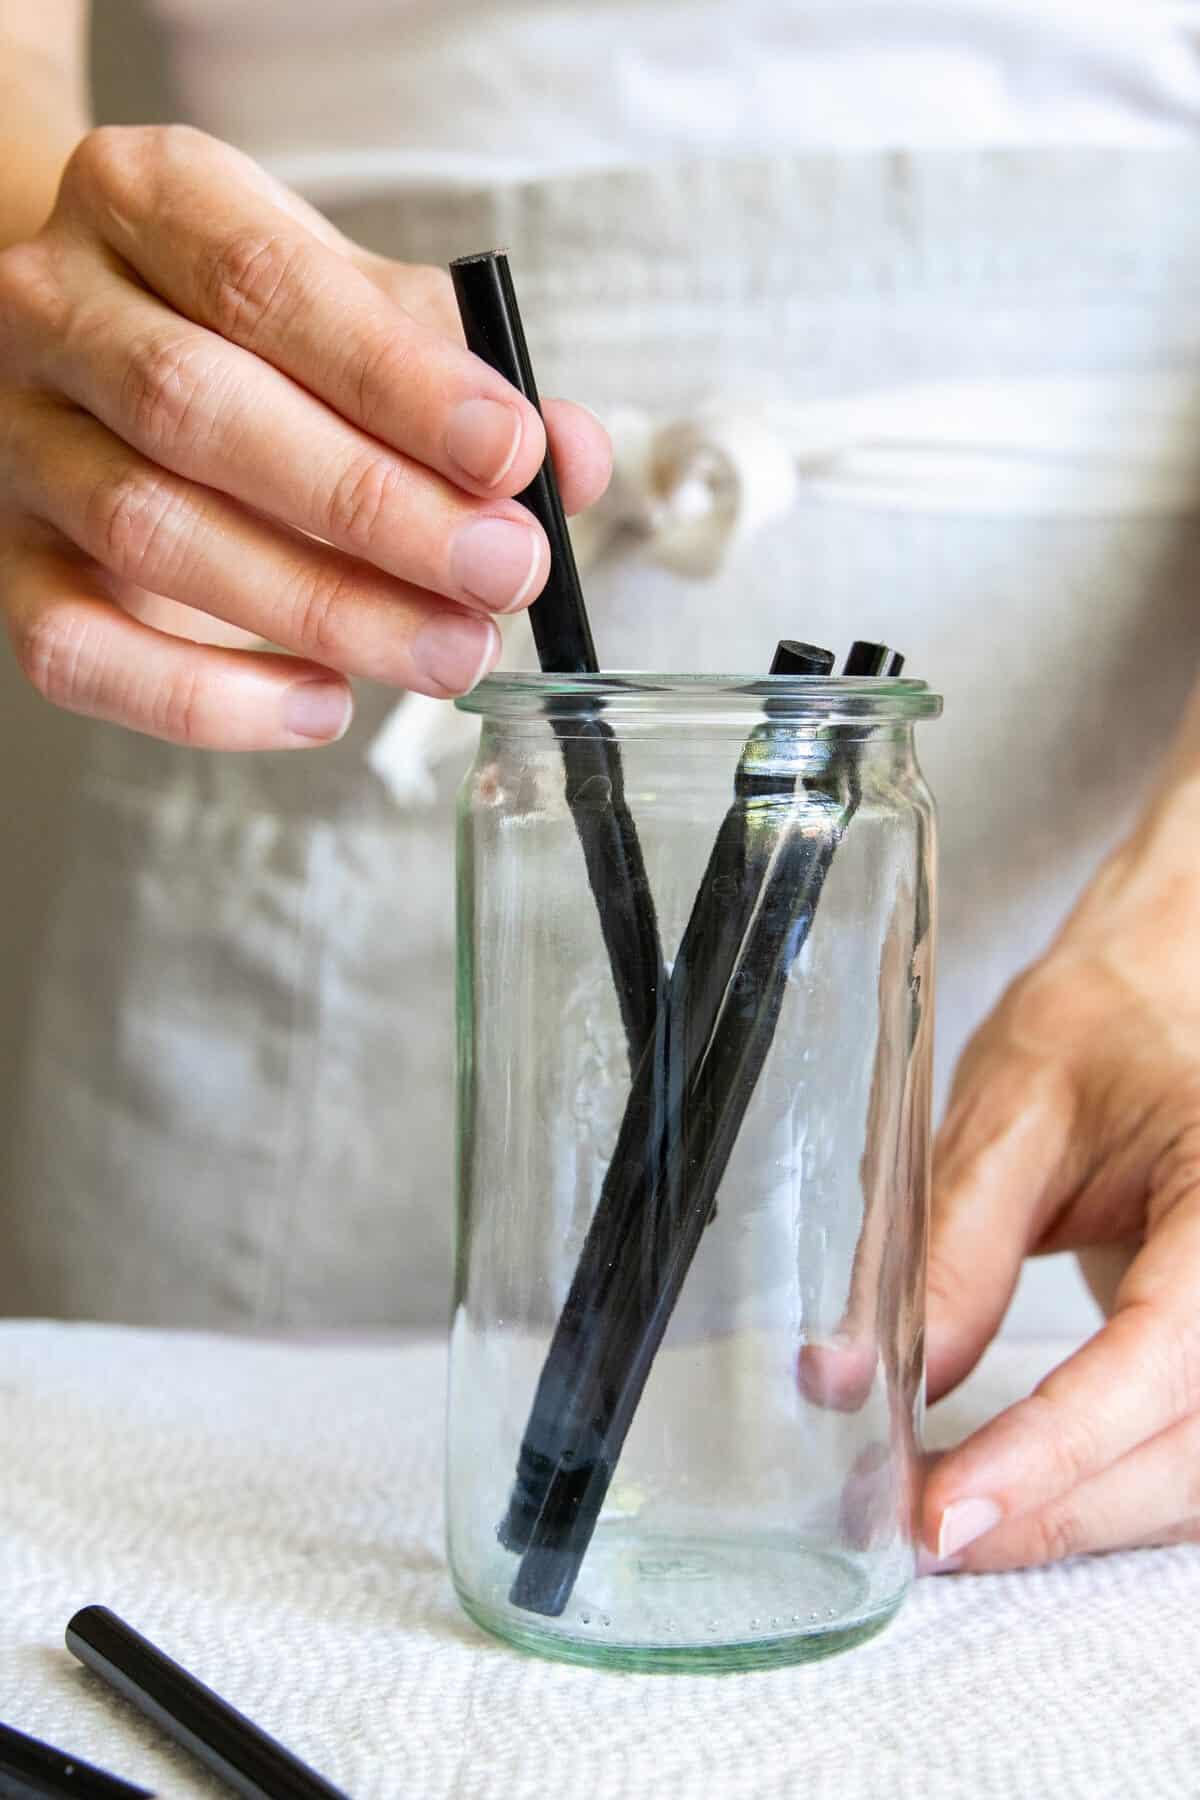
Stand the filled pencils right-side up in a glass and allow them to cool overnight before sharpening.
Use the homemade pencil eyeliner just like any other eyeliner, and apply it gently to your eyelids near your lash line. If you notice any irritation or discomfort, discontinue use and consult a dermatologist.
2. How to Make Pressed Powder Eyeliner
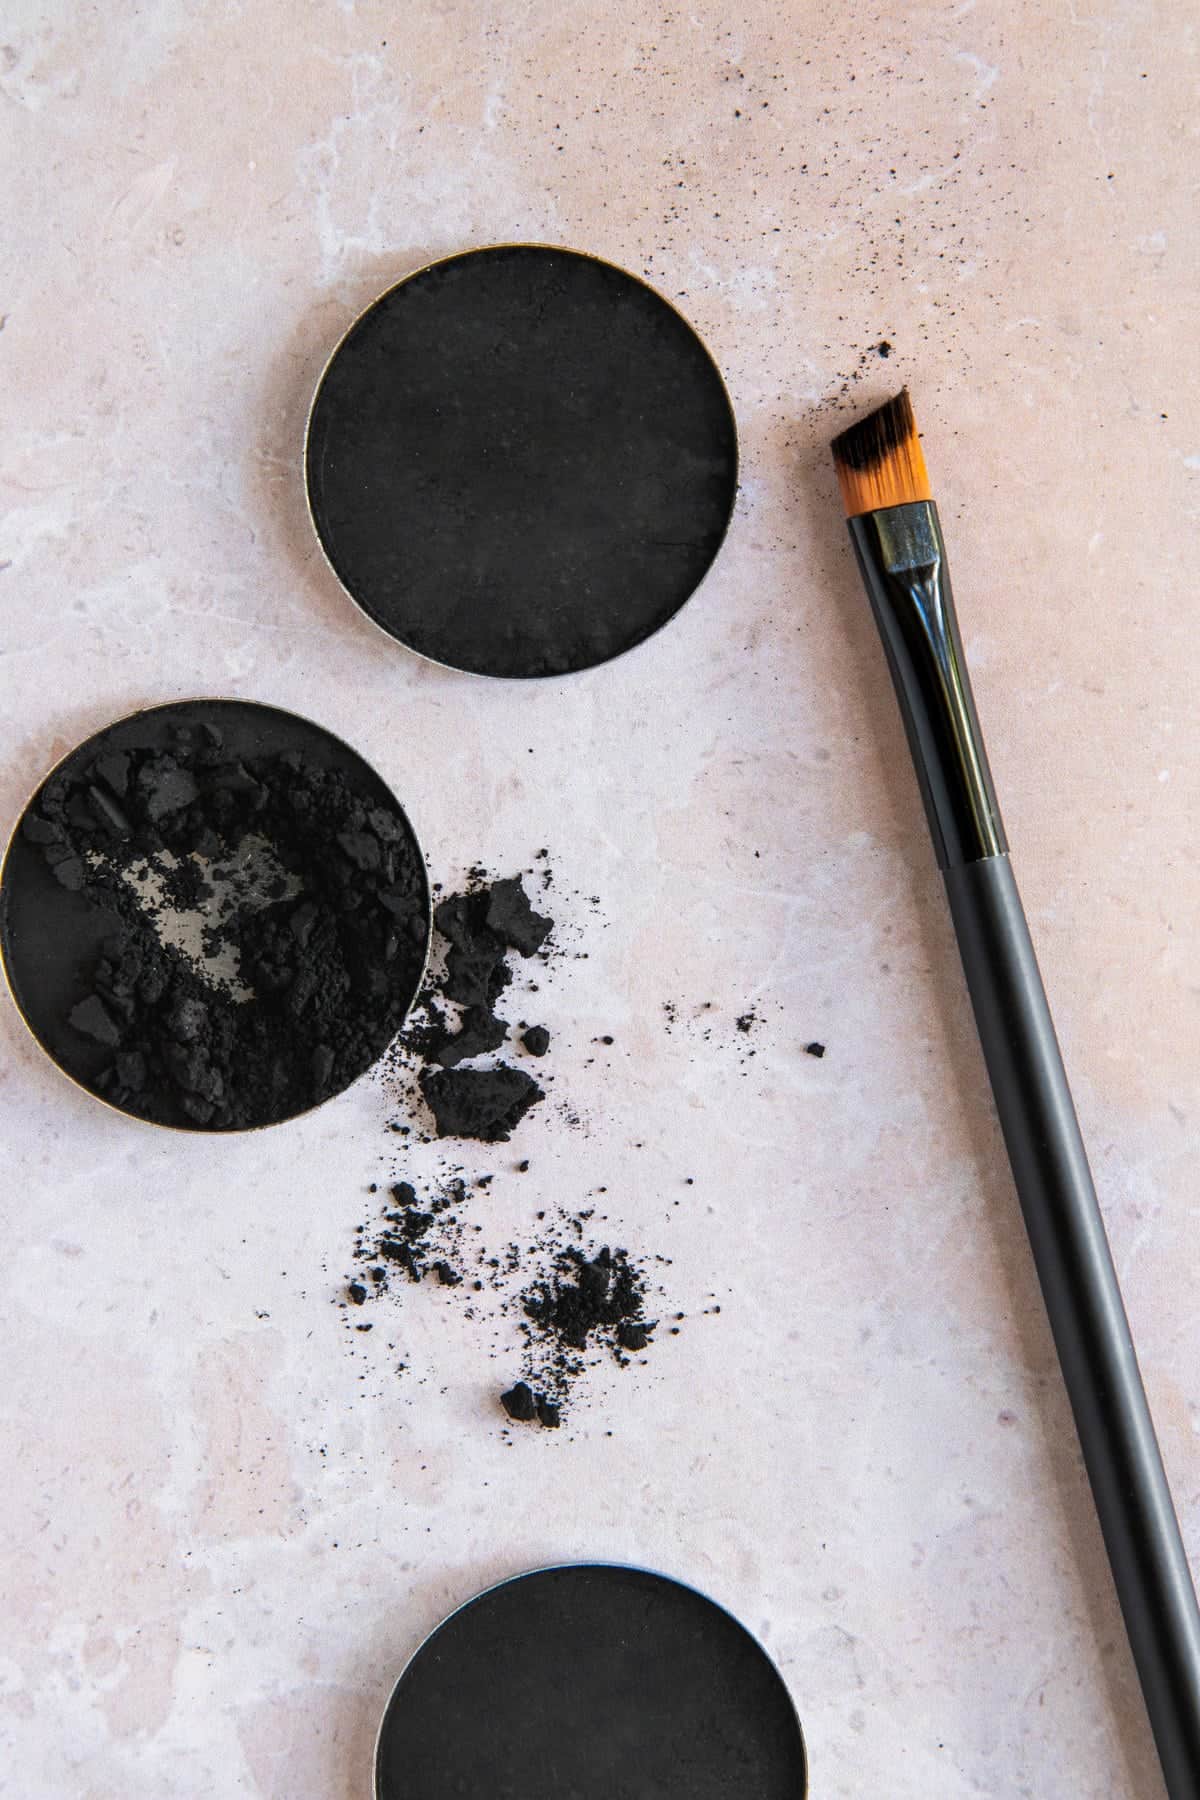
Pressed powder eyeliner is great for getting that soft, smokey eye popularized by all the beauty magazines. It also comes with the benefit of longer-lasting wear, making it an excellent choice for those of us who want to look polished all day long.
Ingredients
Makes 2 pans
- 1 tablespoon iron oxide (or activated charcoal)
- 6 drops sweet almond oil
- 4 drops vitamin E oil
- 2 empty makeup pans
- Coffee grinder
- Tissue paper
- A quarter, a 1-inch dowel, or any other flat object you can use to press the powder into the pan
Instructions
Make sure to wear a face mask for this one since the iron oxide powder has a tendency to get into the air during the grinding process.
- In a clean coffee grinder, combine the black iron oxide powder, sweet almond oil, and vitamin E oil. Pulse the mixture 10–15 times to thoroughly mix the oils and powder. The oils will help bind the powder and create a creamy, pressable consistency.
- Spoon the powder into an empty makeup pan.
- Place a small piece of tissue paper over the pressed eyeliner mixture, and using a quarter or wooden dowel, press the powder firmly into the pan.
- Without removing the tissue, let the pressed eyeliner set and dry for a few hours or even overnight in a cool, dry place.
- Once the eyeliner is completely dry and firm, carefully remove the tissue paper.
- To use, dip your brush or applicator into the pressed eyeliner, tap off any excess, and apply it to your eyelids. Start with a light application and build up the intensity as desired.
- Store the pressed eyeliner in a cool, dry place away from direct sunlight. Since it’s pretty fragile and can break easily, keep it somewhere it won’t get bumped or dropped.
3. How to Make Liquid Eyeliner
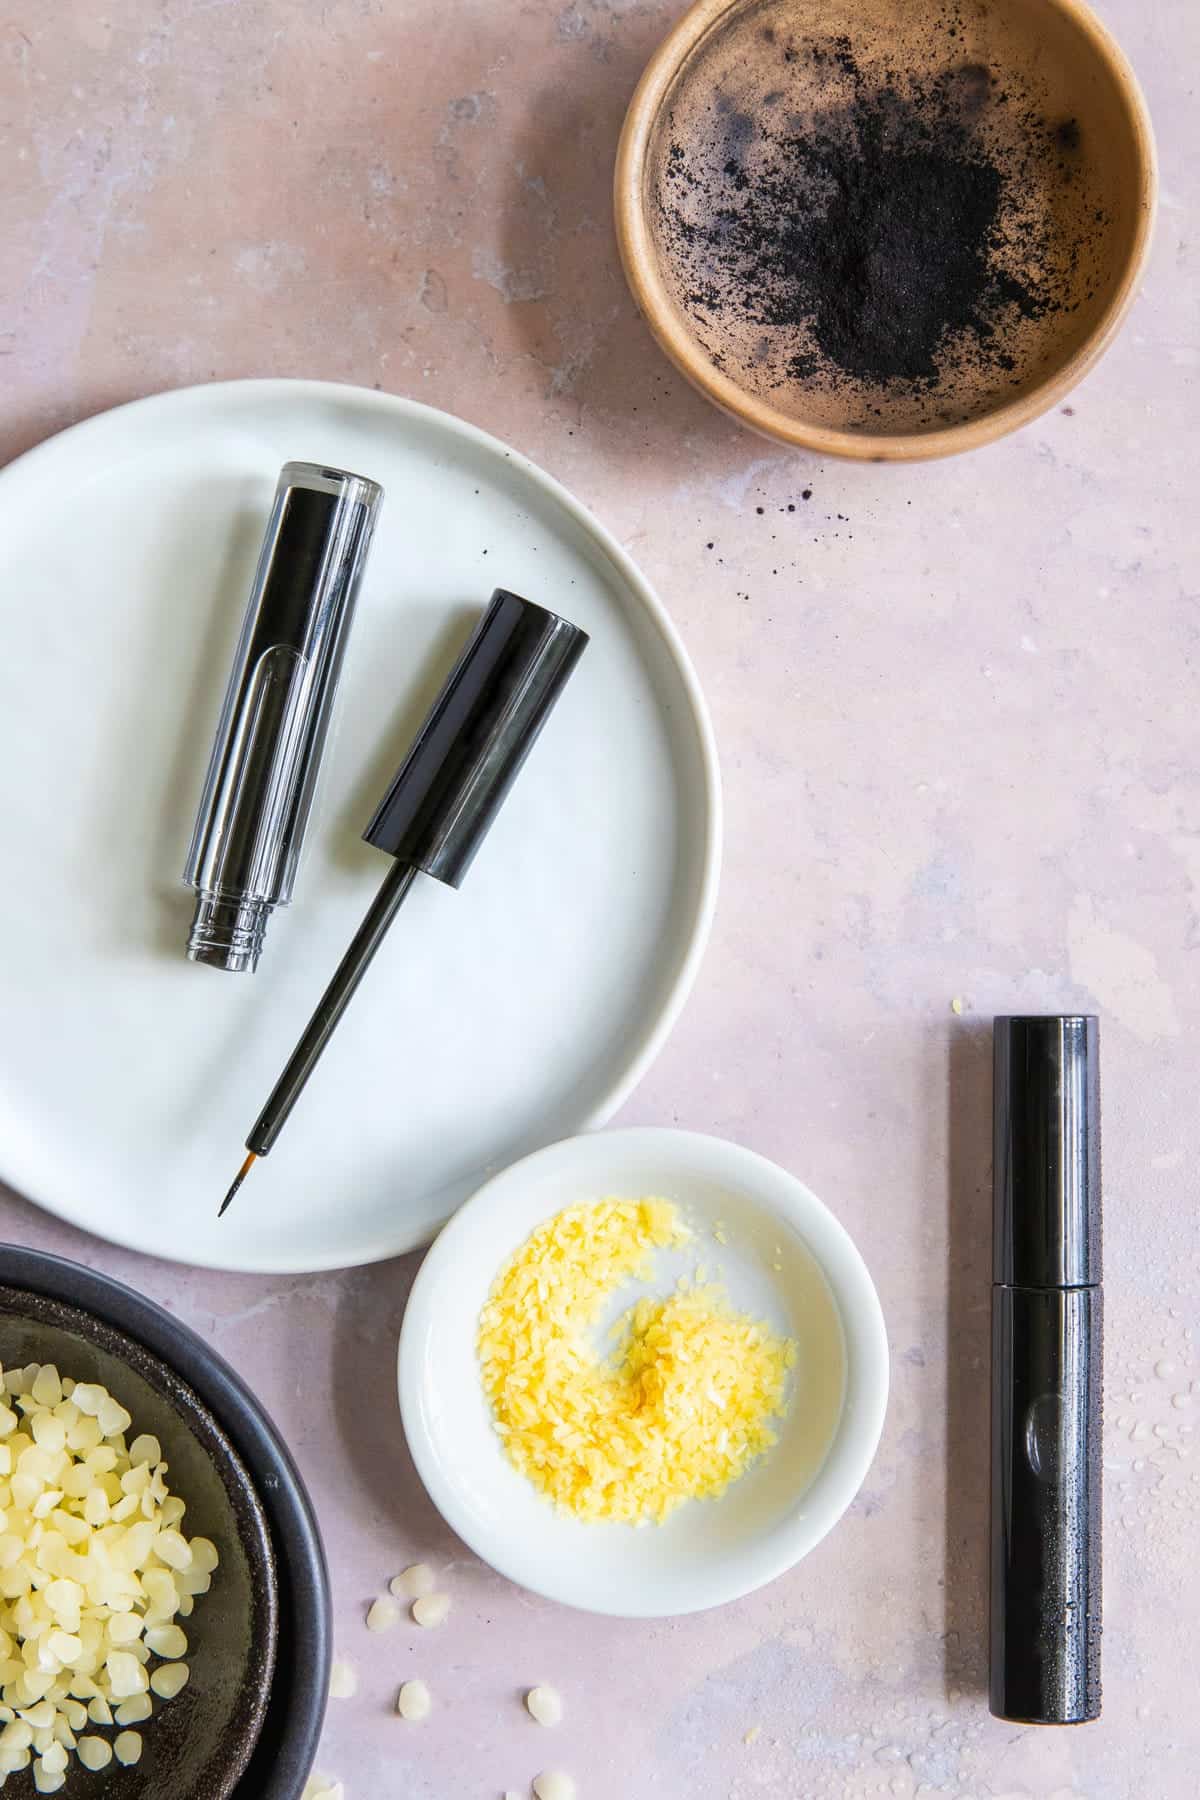
By combining just the right amounts of sweet almond oil, candelilla wax, beeswax, and vitamin E, you’re left with a custom liquid eyeliner that not only brings out the beauty of your eyes but also nourishes lashes and takes care of your delicate skin.
Unlike the other recipes, this homemade eyeliner includes mica powder for a bit of added shimmer. Of course, you’re free to leave it out or include it in the other recipes if you like. It’s up to you.
Ingredients
Makes 2–3 eyeliner tubes
- 2 teaspoons iron oxide (or activated charcoal)
- 1 teaspoon mica powder (optional but great for adding a bit of shimmer)
- 2 tablespoons sweet almond oil
- ½ teaspoon beeswax
- ½ teaspoon candelilla wax
- ½ teaspoon stearic acid
- 10 drops vitamin E oil
- Microwave-safe bowl
- Spoon
- Empty eyeliner tubes with brush wand
Instructions
- In a microwave-safe bowl, combine the sweet almond oil, candelilla wax, beeswax, and stearic acid. Place the bowl in the microwave and heat in short bursts until the waxes and stearic acid are completely melted. Stir well.
- Slowly add the iron oxide powder and mica powder (if using). Stir thoroughly to disperse the powders and get rid of any clumps. If needed, add more colorant to achieve your desired color and intensity.
- Once the mixture has cooled slightly but is still in liquid form, add the vitamin E oil, which acts as a natural preservative and helps nourish the skin.
- Before transferring to a tube, dip the brush wand from one of your empty eyeliner tubes into the mixture and test the consistency. If it’s too thick, you can add a bit more sweet almond oil to achieve a smoother texture.
- Carefully pour the liquid eyeliner mixture into the empty eyeliner tubes. Leave a bit of space at the top to prevent spillage when inserting the brush wand.
- Once the eyeliner tubes are filled, cap them and let them cure overnight.
- Apply the liquid eyeliner using the brush wand, just like you would with any other liquid eyeliner.
- Make sure they are tightly closed to prevent air and moisture from entering. Store the liquid eyeliner tubes in a cool, dry place.
FAQ
Adjust the consistency by altering the ratio of waxes and oils. More wax creates a firmer texture, while additional oils result in a creamier texture. Experiment until you find the balance that allows for smooth application without being too soft or too hard.
While it’s challenging to achieve a truly waterproof formula with DIY ingredients, you can enhance the longevity and water resistance of your eyeliner by adding more beeswax or using oil-based pigments. However, keep in mind that commercial waterproof eyeliners typically contain specialized additives and chemicals to give them a waterproof consistency.
Homemade eyeliner can have a shorter shelf life than its store-bought counterparts since it doesn’t contain strong preservatives. I would recommend using your eyeliner within 3 to 4 months and regularly inspect it for changes in texture, smell, or appearance.
If you like, you can use a broad-spectrum preservative like Germall Plus.
Yes, you can repurpose empty eyeliner containers if they are thoroughly cleaned and sanitized beforehand. Make sure the containers are in good condition before filling them with your homemade liquid eyeliner.
The safety of your homemade liquid eyeliner depends on the quality of the ingredients used. Choose skin-friendly, hypoallergenic ingredients, and always perform a patch test before applying near your eyes to avoid any adverse reactions.
Eye Care Recipes
Looking for more natural eye care recipes? Try these:



Leave a Comment